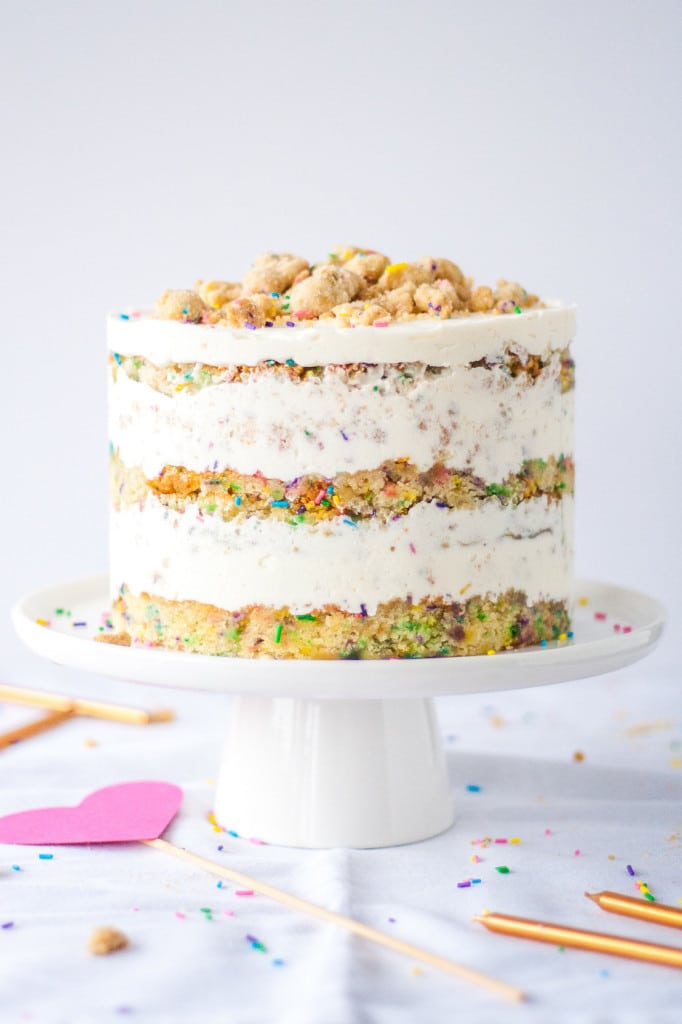
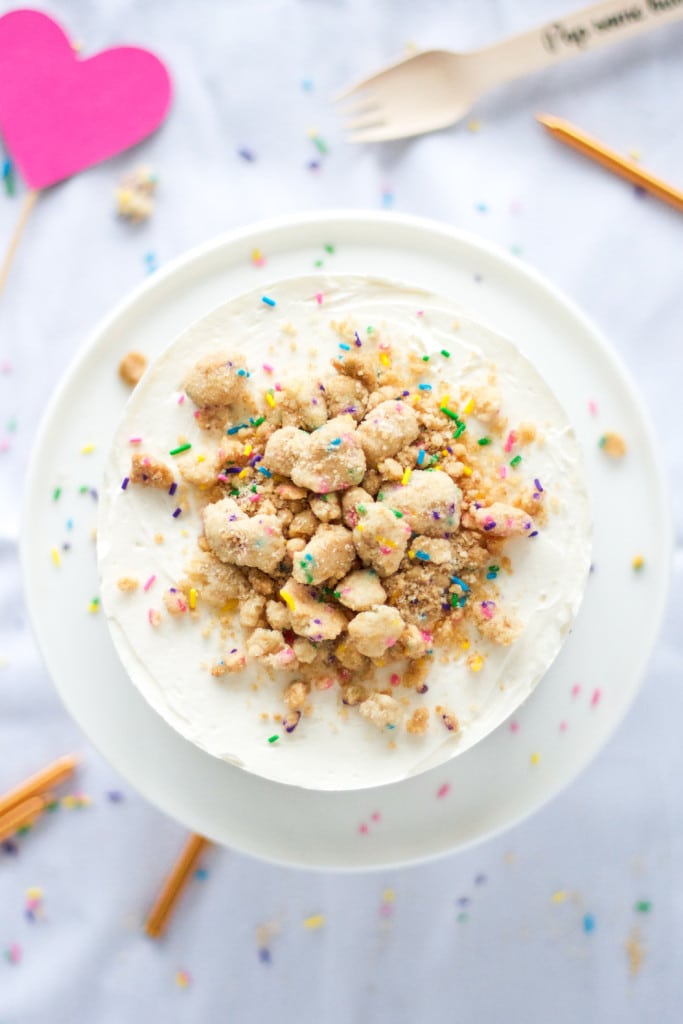
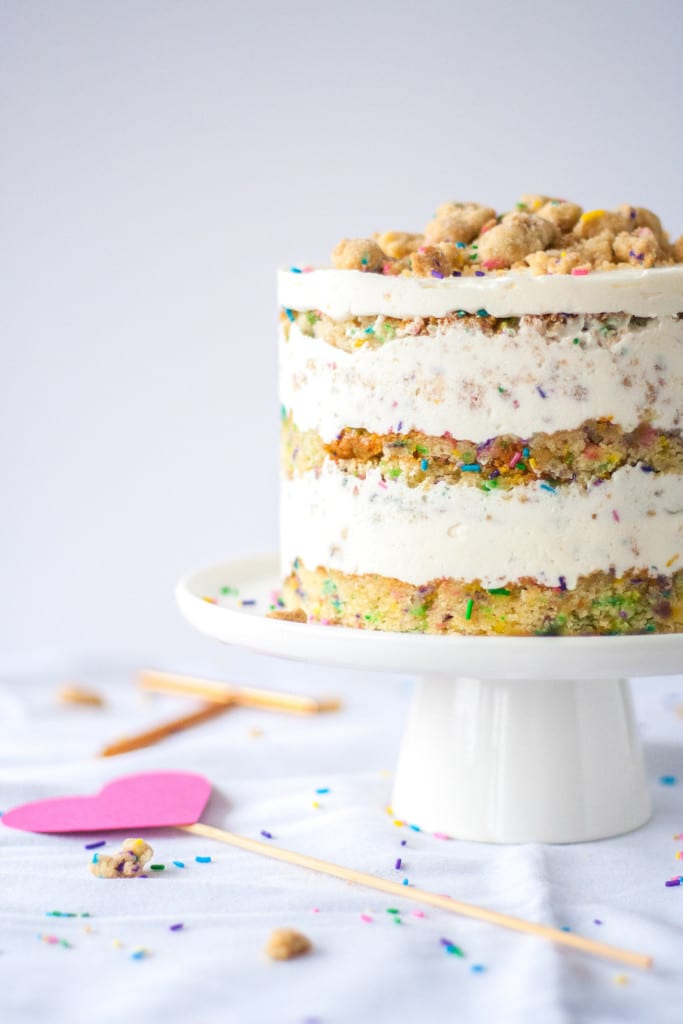
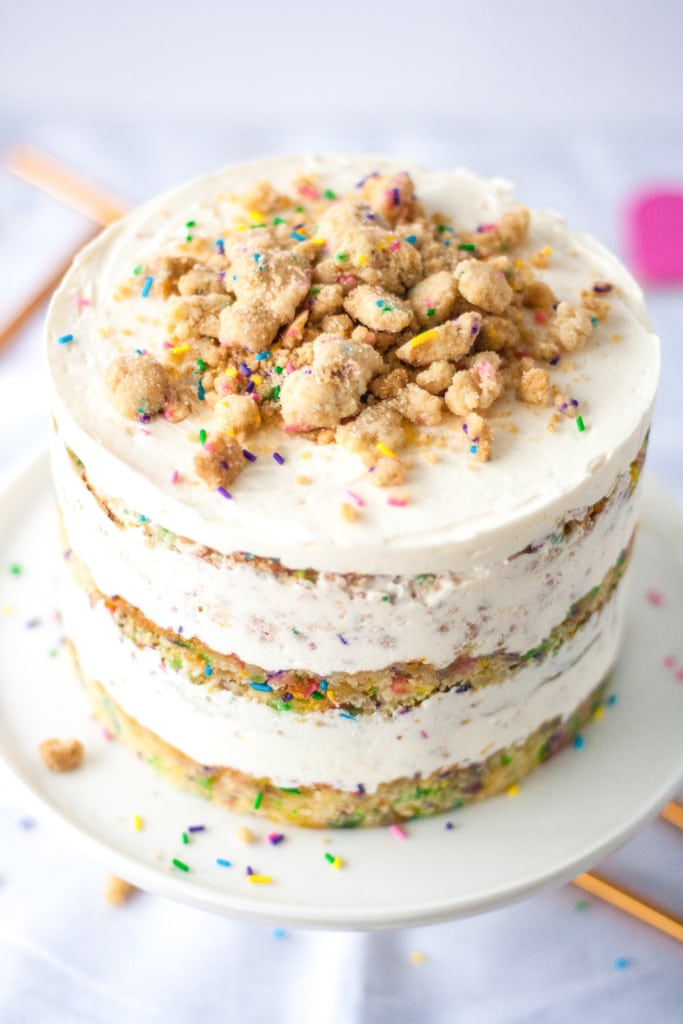
The Ultimate Birthday Cake. A sweet funfetti cake, topped with a cream cheese buttercream, and delicious cookie crumble.
To say that this cake was involved is an understatement. Not only did I have to purchase specific ingredients (cake flour, glucose, grapeseed oil, clear vanilla extract), I also had to buy new tools and equipment (quarter-sheet pan, 6″ cake ring, acetate). This was a project and I was totally up for it, especially since it was going to be for my husband’s birthday. I wanted it to be over the top and special.
If you know anything about Momofuku recipes, you know they are kind of ridiculous and there are multiple separate components that need to be created for the final product. Many people fail at making them for one reason or another. I’d made their cookies before as a sort of first easy (lol) stab at a Momofuku recipe. I didn’t fail on those, but they were definitely not easy. This cake on the other hand, even though it looks almost perfect, had some pretty epic fails.
After I’d finished making it, I vented over email to my friend Nancy @ Gotta Get Baked, so she’s already heard a (less censored) version of this story, but here goes…
Ok seriously, this god damn cake. It was all going to perfectly fine. I paced myself, measured EVERYthing in advance for each component, and organized myself like never before. I was on point. The crumble was super easy, as was the frosting, both worked out perfectly. No issues.
Then I got to baking. The cake was a frikken disaster. I had cake all over the bottom of my oven and what was left in the pan sank like a ton of bricks after I took it out. Epic fail.
Round 2, I figure I must have messed something up in the mixing so I try again, with the same sheet pan. In hindsight I don’t know what I was thinking, but she said quarter-sheet and I had a quarter-sheet! Basically a repeat of the first cake, except this time I put another sheet pan under it to catch the drippings. There were a lot of drippings. Sigh.
BOTH cakes were a total fail. And why? Pan size. Again, I got totally screwed over by pan size. I’d been screwed over by it before here and here and I’d learned my lesson, so I wasn’t going to mess with changing up the pan size again. So, I specifically purchased a quarter-sheet pan as Christina Tosi’s recipe calls for. Well, did you know not all quarter sheet pans are the same size? Apparently. Even though mine specifically says “quarter-sheet pan” on the back of it, it is evidently not even close to the quarter-sheet pan they use at Momofuku. I finally discovered (post cake completion) that hers are 10×15″ where the one I bought is actually 9.5×12″. That is a HUGE difference! You think they’d specify pan size specifically in their recipes. That’s a pretty standard thing to do!
That was only part of the problem. The cake took forever to set, and I like to rotate my pans part way because my oven sucks. Well when I went to check this one after 30mins, I must have nudged it a bit too much, because it literally deflated in front of my eyes. Many expletives were thrown. To top it off, the second cake wasn’t baked enough because I relied on Christina Tosi’s cake testing instructions of “poke it” and “looks like the centre is set” instead of my trusted method of a wooden skewer. I ended up using mostly the first cake with one layer from the second. All the layers were much thinner than they should have been, but I was done at that point.
Assembly was a bit of a pain as well, but I won’t bother you with the boring details there. Mostly stupid mistakes on my part, and rushing things, and having a disaster of a kitchen. As soon as I stuck it into the freezer, I swore I’d never make another Momofuku recipe again. Ever. But then I tasted it and o.m.g. It’s honestly the BEST cake I have EVER had. No joke. The cake is sweet, but the frosting isn’t, and the cookie crumble with it all basically makes the cake. I’ll definitely make the frosting again, and different versions of the crumble for cakes in the future. I’m for sure taking a Momofuku break for a while though…
So there you have it. Another baker taken down by a Momofuku recipe. Ok maybe I’m exaggerating. Overall, I am happy with how it turned out and it IS delicious, but I could have done without the fails.
Here are a few key things about this recipe, should you attempt it on your own, along with some insider tips now that I’ve gone through it once:
- Clear Vanilla Extract – Use it! Initially I wasn’t going to bother with this and just use my regular stuff, but I’m so glad I did. Christina Tosi says to use it for flavor, but the biggest factor for me was color. I’d seen some pics of other bakers who didn’t use the clear stuff, and their frosting turned out kinda beige. Not the pretty stark white. So, use the clear stuff!
- Citric Acid – I couldn’t find this at my local grocer and didn’t want to hunt it down for just a “pinch” in a recipe so I used a bit of lemon juice instead. Worked perfectly fine.
- Frosting – I used 1.5x the recipe for frosting. In my research, some bloggers were saying to double the recipe, but I opted to do 1.5x and it was perfect. I had a tiny bit left over, but otherwise I think it was a great ratio, even with my super thin cake layers.
- Timing – I wouldn’t recommend trying to do this all in one day. It’s certainly doable, but for sanity’s sake, make the crumble and cake one day, then do the frosting and assembly the next day.
- Pan Size – For the love of all things baked and delicious, make sure your “quarter-sheet pan” is 10×15″ before you attempt this!! I’ve also thought about using three 6″ cake rounds and seeing how that would turn out. The layers might be a bit thicker and have more of a finished look on the outsides, but I’m sure it would taste just as delicious, and would likely be a lot easier to manage.
This cake is not for the faint of heart. It’s a ton of work, but the effort will be worth it in the end when you finally have a slice or two of this amazing cake!
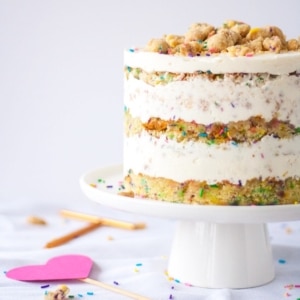
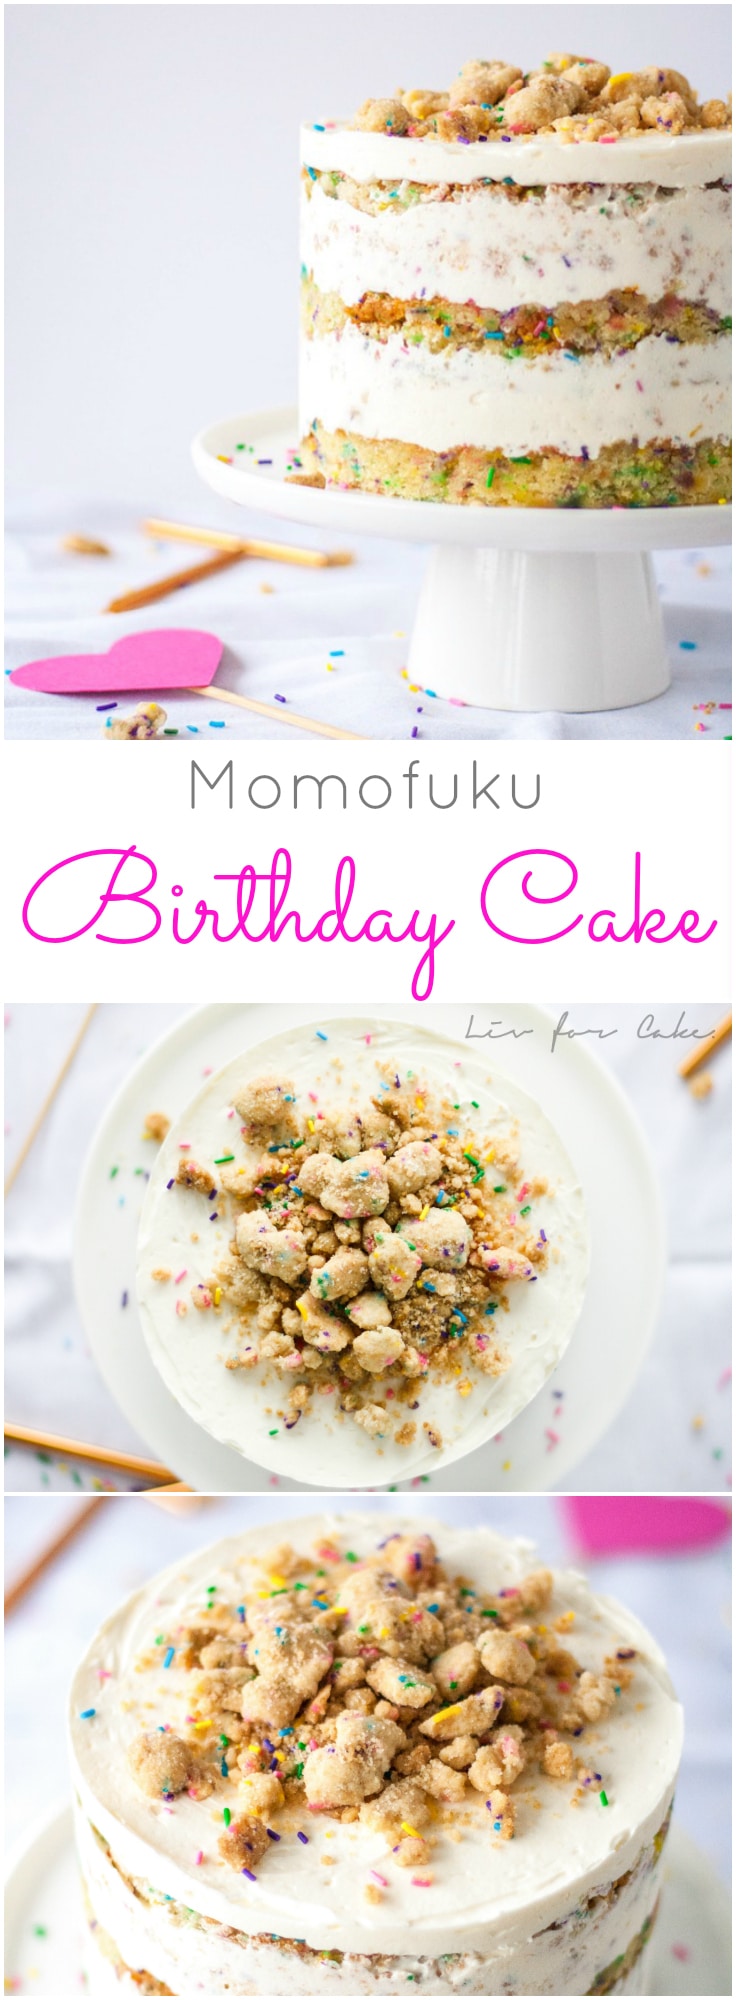
Momofuku Birthday Cake
Ingredients
Crumble
- 100 g granulated sugar 1/2 cup
- 25 g light brown sugar 1 1/2 Tbsp (tightly packed)
- 90 g cake flour 3/4 cup
- 2 g baking powder 1/2 tsp
- 2 g kosher salt 1/2 tsp
- 20 g rainbow sprinkles 2 Tbsp
- 40 g grapeseed oil 1/4 cup
- 12 g clear vanilla extract 1 Tbsp
Cake
- 55 g unsalted butter room temperature (4 Tbsp, 1/2 stick)
- 60 g vegetable shortening 1/3 cup
- 250 g granulated sugar 1 1/4 cups
- 50 g light brown sugar (3 Tbsp tightly packed)
- 3 large eggs
- 110 g buttermilk 1/2 cup
- 65 g grapeseed oil 1/3 cup
- 8 g clear vanilla extract 2 tsps
- 245 g cake flour 2 cups
- 6 g baking powder 1 1/2 tsp
- 3 g kosher salt 3/4 tsp
- 50 g rainbow sprinkles 1/4 cup
- 25 g rainbow sprinkles for sprinkling 2 Tbsp
Frosting (1.5x the original recipe):
- 172.5 g unsalted butter at room temperature (1 1/2 sticks)
- 75 g vegetable shortening 1/4 cup + 1/8 cup
- 82.5 g cream cheese 3 oz
- 37.5 g glucose 1.5 Tbsp
- 27 g corn syrup 1.5 Tbsp
- 18 g clear vanilla extract 1.5 Tbsp
- 300 g powdered sugar sifted, 1 7/8 cups
- 3 g kosher salt 3/4 tsp
- .38 g baking powder pinch
- .38 g citric acid I used 1/4tsp lemon juice
Soak
- 55 g milk 1/4 cup
- 4 g clear vanilla extract 1 tsp
Instructions
Crumble:
- Preheat oven to 300F and line a baking sheet with parchment or a silpat.
- In the bowl of a stand mixer fitted with the paddle attachment, combine all dry ingredients (sugars, flour, baking powder, salt, sprinkles). Mix on low until well combined.
- Add oil and vanilla, mix again on low to distribute until small clusters form.
- Bake for 15mins.
- Cool completely before using on cake.
- Store in an airtight container for 1 week at room temperature or 1 month in the fridge or freezer.
Cake:
- Preheat oven to 350F and spray a quarter-sheet pan (10”x15”) cooking spray and line with parchment or a silpat.
- In a medium bowl, whisk together cake flour, baking powder, salt, and 50g (1/4 cup rainbow sprinkles). Set aside.
- In the bowl of a stand mixer fitted with the paddle attachment, combine butter, shortening, and sugars. Beat on med-high for 2-3mins. Scrape bowl if necessary.
- Add eggs one at a time, fully incorporating after each addition. Scrape bowl.
- Turn mixer to low and stream in buttermilk, oil, and vanilla. Increase mixer to med-high and beat for 4-6minutes until mixture is light, fluffy, and no streaks of fat or liquid remain. Scrape bowl.
- On low speed, add flour mixture and mix just until batter comes together, 30-60 secs.
- Spread cake batter in an even layer in the pan and sprinkle with remaining 25g (2 Tbsp) rainbow sprinkles.
- Bake for 30-35mins or until a cake tester comes out clean.
- Cool completely on a wire rack.
- The cooled cake can be stored in the fridge, wrapped in plastic wrap, for up to 5 days.
Frosting:
- In a medium bowl, sift together confectioners sugar, salt, and baking powder. Set aside.
- In the bowl of a stand mixer fitted with the paddle attachment, combine butter, shortening, and cream cheese. Beat on med-high for 2-3mins until the mixture is smooth and fluffy. Scrape bowl.
- Turn mixer to low and stream in glucose, corn syrup, and vanilla. Increase mixer to med-high and beat for 2-3mins until smooth and glossy white. Scrape bowl.
- Turn mixer to low and add in sugar mixture and citric acid (I used lemon juice). Once combined, turn mister to med-high and leaf for 2-3mins until white and smooth.
- Use immediately, or store it in an airtight container in the fridge for up to 1 week.
Soak:
- Whisk together the milk and vanilla in a small bowl or measuring cup.
Assembly:
- Cut acetate into two 3” high and 20” long strips.
- Place a piece of parchment or silpat onto the counter and invert cake onto it. Peel off parchment/silpat from bottom of the cake.
- Using the cake ring, stamp out 2 circles (start in the corners to be able to get 2 full ones). These will be your top and bottom layers. Stamp out 2 half circles from the remaining scraps.
- Clean cake ring and place in the center of your quarter-sheet pan lined with parchment or a silpat.
- Place 1 strip of acetate inside the cake ring to line it. **Make sure the cake ring is completely dry or you won’t be able to get it out of the ring after freezing!!**
- Place your less pretty full layer into the bottom. Dip a pastry brush into the soak and brush onto the cake layer.
- Using the back of a spoon, spread 1/5 of the frosting in an even layer over the cake.
- Sprinkle 1/3 of the crumble evenly over the frosting. Press down with the back of your hand to anchor them in place. (I reserved the chunkiest crumbs for the very top).
- Using the back of a spoon, spread 1/5 of the frosting in an even layer over the crumble.
- With your index finger, tuck the second strip of acetate between the cake ring and the top 1/4 inch of the first strip of acetate, so that you have a clear ring of acetate 5 to 6 inches tall – high enough to support the height of the finished cake.
- Place the two half circle cake pieces on top of the frosting layer and press in additional cake scraps to fill in the layer. Use the back of your hand to press the scraps together into a flat even layer.
- Repeat steps 6, 7, and 8.
- Place the remaining cake round onto the frosting and cover the top with remaining 1/5 frosting. Spread frosting evenly or a bit messier if you like.
- Top with remaining crumble — either around the edge or in the center, however you like.
- Place sheet pan into the freezer and freeze for a minimum of 12 hours. Cake will keep in the freezer for up to 2 weeks.
- At least 3 hours before serving, remove the cake from the freezer and using your fingers and thumbs, pop the cake out of the cake ring. Gently peel off the acetate and transfer cake to platter or stand.
- Let it defrost in the fridge or counter for a minimum of 3 hours (wrapped well in plastic, the cake can be refrigerated for up to 5 days).



Kat says
Hi,
I absolutely love your recipe, thank you so much!
Just wondering if you have any tips to make the frosting less sweet?
Thank you!
Olivia says
Hi Kat! It’s difficult with this frosting as the sugar adds stability. So less sugar means an even softer frosting. You could try adding less sugar and see how it goes and/or add a bit more salt.
Kat says
Hi,
Can I substitute the grapeseed oil with canola oil?
Thank you!
Olivia says
Hi Kat! Yes that should work fine.
Teresa says
Hi this is my first ever comment on Pinterest. Just wanted to thank you for your Milk Bar Birthday Cake recipe. I made it today and it looks great so far. It’s currently in the freezer and I’ll be bringing it for my daughter in laws birthday Sunday. I did taste bits and pieces as I went along…everything tasted delicious.
I chose your recipe because you’re funny, you increased frosting recipe and you had the 15 by 10 pan in clearly in your recipe!
( I had ordered the 13 by 9 sheet) which was on other recipes and….well…overflow was prevented when I saw your blog! Thanks again!
Olivia says
Hi Teresa! Thank you for taking the time to leave a comment! I’m glad you found the post helpful and entertaining 🙂 I hope your DIL loves it!
Teresa says
Hi Olivia, my DIL was crazy over the cake! She didn’t know it could be made at home and was touched that I did that for her. She kept taking pictures of it and sending it to her friends. What a show stopper!
Olivia says
Yay! I’m so happy to hear that! <3
Madison B says
I’m so glad that you listed the quarter sheet pan dimensions!! I followed this recipe off of Milk Bar’s website and my cake was a disaster! I measured everything to the gram and couldn’t figure out why my cake wasn’t baking properly… it must be the pan size! Mine is also 9.5 by 12inches. Tomorrow I’ll make it again after I buy a larger quarter sheet pan.
Thanks for the tips!! Super helpful!
Olivia says
Hi Madison! So glad you found this helpful! Let me know how the second go turns out 🙂
Roann Martin says
Hi Liv, would like to try this cake for my husband’s birthday next month, but he wishes to have a chocolate cake, do you have suggestions on how to convert this into chocolate one? Thank you!!
Olivia says
Hi Roann! Not easily, no. It would require changes to multiple ingredients and some experimentation. Why don’t you bake the cake layers from this cake (https://livforcake.com/mocha-chocolate-cake/) and then the rest from this one. Let me know if you try that!
Jacki says
I made this for my quarantine birthday last year and it was amazing!!! Looked and tasted perfect!!
Olivia says
Hi Jacki! It’s such a delicious cake, I’m so glad you loved it too! 🙂
Jennifer says
I’ve made several of her cakes. They are all great for the most part. I did decide that it is way easier to use the 6″ cake pans. The carrot cake one is good but her carrot cake isn’t my fav. Maybe you have tried it by now who knows. and maybe you decided to use the 6″ cake pans. But I would suggest if you havent, to try another. They all rock. I got on here to find myself a cake to make for my birthday. I saw this. I might go a head and make it. I do love all the cakes I’ve made from your site.
Olivia says
Hi Jennifer! I haven’t tried any of her other ones yet but I keep meaning to. I did LOVE the flavor and textures in this one, but I would definitely use 6″ cake pans next time for ease. Hope you have a wonderful birthday!
Marita says
Thank you! All of your effort was not for naught! I followed your directions and my cake turned out perfect! I should have squished the layers down a bit more but it was fabulous anyway. I will make this again.
Olivia says
Yay! So happy it turned out!
Maricar says
I plan to make this cake sometime in the next couple weeks. My question is why is there baking powder on the frosting?
Olivia says
Hi Maricar! I followed Christina Tosi’s recipe for the most part and she included it in hers. I’m not entirely sure why to be honest. I think it would be totally fine to leave it out.
Anisha Seth says
Hi,
Is the glucose a must or can it be substituted for something else?
Actually do you have any idea why Tossi specifically requests both corn syrup and glucose? Like what’s the science behind those choices?
Olivia says
Hi Anisha! I’m not sure why she requests both of those to be honest. I would just replace it with more corn syrup!
Kat says
Hi! Just wondering why you used the half circles/ cake “scraps” in the second layer rather than the bottom layer as it’s done at Milk Bar/Momofuko. Plan on tackling this recipe soon but now don’t know whether to put the cake scraps in the bottom or middle layer. Please help! 😰
Olivia says
Hi Kat! I used them in the middle because having the bottom and top layer be full/solid will help with stability. I don’t think it will be a disaster either way though clearly since that’s the way Momofuku does it.
Kat says
Hi! You mentioned that you can keep the cake on the sheet pan in the freezer for up to 2 weeks. Should it be covered or not? Not sure how to prevent freezer burn. If kept in the freezer for 2 weeks how would I store it in the freezer?
Olivia says
Hi Kat! The finished cake shouldn’t need covering, not really. The sides are covered with the acetate and the frosting is insulating it from the top. You could definitely wrap the whole thing in plastic wrap too though.
Mel says
I love your blog! How tall is this cake? Asking because my freezer is maxed, need to figure out how much room i need!
Olivia says
Hi Mel! I’d say it’s about 6″ or so tall. Maybe a bit more with the crumble on top.
Kat says
Hi! Did you use a 6″ cake ring? If so, what was it’s height? I’m not sure whether to purchase one that is 2.5 or 3 inches in height for this recipe.
Olivia says
Hi Kat! Yes, I used a 6″ cake ring that’s 3″ tall.
Charlotte says
Hi Olivia!!
In the UK our pan sizes are all slightly different from the US, I can get a hold of a 10x15inch pan sheet but I wondered what is the typical depth of a sheet pan over there? I have a whole host of different options available to me here so I want to make sure I get one that is deep enough for a good height on the cake! Thank you also very much for this super helpful breakdown of the process, I’ve made lots of notes from your page 🙂
Olivia says
Hi Charlotte! For the sheet pan I used I believe it was about 1″ deep. Definitely more shallow than regular cake pans. I believe it was actually called a jelly roll pan.
Charlotte says
Oh it’s not as tall as I expected!!
Thank you so much for your response 🙂
Lena says
Hello,
so looking forward to finally make this recipe for my husband’s birthday!
I have one question though: corn syrup is very difficult to find in Germany. Is it possible to replace it with something else (maybe up the glucose…?) or does it have a specific function? If yes, I will absolutely keep looking for it 🙂
Thank you so much for your help and for your wonderful recipes, of which I already made many and loved every single one.
Olivia says
Hi Lena! Do you have golden syrup? That will work as a replacement. Otherwise, you can use honey or just leave it out altogether. It won’t make a huge difference in the frosting 🙂
Marco says
Hi, I was wondering how tall are those 10×15 sheet pans? Thanks
Olivia says
Hi Marco! My pan was about 1″ tall or so.
Jane says
Just finished this cake! I used 3×6 inch round cake pans and assembled as a regular cake. Definitely gave up the amazing cut edge look but it gave me the confidence to take on this cake. I made a vanilla buttercream as the birthday celebrant (my husband) doesn’t like cream cheese. I subbed avocado oil for grapeseed oil. During assembly, I found it easier to frost the bottom of the next layer and then press into the crumble layer rather than try to frost the crumble. I can’t wait to try it! Thanks for all the good tips!
Olivia says
Hi Jane! I hope you both loved it. Thanks for all your tips!
Jaclyn says
Hello! I am making this cake/assembling tomorrow (have made the crumbs and frosting). I am doing it the 6” pan way and am hoping for the best. Since I don’t have the cake ring (but am still considering getting acetate) is there an easier way to assemble this? Can I just wing it without the ring and acetate and hope for the best, or is that not advised? I’ve just never assembled anything like that and not sure why it seems so complicated..
Olivia says
Hi Jaclyn! You can totally wing it and frost it like a regular cake. Part of the complicated nature is to get the perfect naked cake effect on the sides of the cake. There is no frosting on the sides of the cake layers at all. I’m trying to remember how soft the frosting is and how difficult to work with but it’s been a long time since I made it. I would just give it a go and frost it like a regular cake! 🙂
Deborah says
First of all, I was hesitant about making this cake. My son’s girlfriend asked about it last year, so I decided I would surprise her this year. I am an experienced cook, but only bake pound cakes…nothing like this. But with your explicit directions, this was a breeze to make. I got all the ingredients , except I substituted agave for glucose. The cake is now defrosting and awaiting delivery to her later this evening. Thanks for the step-by-step. If I can make this cake, anyone can!
Olivia says
Hi Deborah! I am so happy you gave this one a try and I’m glad you found my post and recipe easy to follow. I hope she loves it!
Amy says
I’m debating trying this for my daughter’s 15th birthday. We both love to bake and often surprise each other with cakes from your site. She’s made me the caramel apple layer cake twice and it’s one of my favorite ever cakes!
Some commenters have said the cake is dense. That doesn’t sound like a good thing to me!
Is the crumble basically like sugar cookies with sprinkles?
Also, why is there baking powder in the frosting?
I have a vanilla layer cake recipe I love. I have a butter cookie with sprinkles recipe I love. I have a vanilla frosting recipe I love. Is it worth all the hassle and extra ingredients to follow this recipe exactly, or can I just take inspiration and end up with something similarly delicious? Thoughts?
Also contemplating your brown butter cake….
Olivia says
Hi Amy! This cake should not be dense, but if you’re eating it cold right out of the fridge/freezer it will be. The crumble, I suppose so? But it’s truly delicious and I wouldn’t skip making that part. Re: the baking powder in the frosting, I can’t say for sure. I didn’t create the original recipe only modified it slightly! It’s really up to you if you’d rather just use your own recipes for a similar result. I have to say though, this cake is DELICIOUS. It is a crap ton of work though, so keep that in mind, but it was honestly one of the best cake I ever had still to this day. It is on the sweeter side though. It just depends on what you’re going for and how much effort you want to exert 🙂
Amy says
It’s less a question of being willing to work and more of feeling certain of success!
I used my vanilla cake recipe and a cream-cheese buttercream I love, but I made the cookie crumbles and it turned out great. Delicious and beautiful, if not entirely accurate 😉
Olivia says
Awesome, so glad it worked out for you 😀