Take a lunchbox classic to the next level with these surprisingly easy Peanut Butter & Jelly Cookie Cups!
Good old peanut butter & jelly sandwiches. It’s a childhood favorite for many. I say “childhood favorite”, but let’s be real here, I had one just the other day. There is just something so comforting about that peanut butter & jelly combination, and I often reach for it if I’m feeling a bit snackish or just need some comfort food.
I am pretty particular about how I eat my pb&j sandwiches — it HAS to be on white bread, with smooth peanut butter (Kraft or Skippy), and raspberry jam. That is the only combo that works for me. I’ve tried other jams and they just don’t pair quite as well in my opinion. But as you know, I have a little bit of a raspberry addiction around here. It is the #1 berry after all!
Before we get into the deliciousness of these peanut butter & jelly cookie cups, let’s talk about how much I hate these pics. Ugh. I don’t even want to tell you how many hours I spent shooting and editing (including an entire reshoot on a white background). I ended up going with the original ones (go figure), but I don’t love them, and the editing was a pain in the ass. I just could NOT get the colors to look right. I probably spent way more time on them than I should have (as usual). And they still look funny to me. Super frustrating. But, it is what it is.
While we’re at it, I also hate the pics from last week’s Chocolate Orange Cake. I have serious perfectionist issues that I am trying to work on. I keep telling myself that no one will notice the issues I see (but some people WILL). I try to tell myself that it doesn’t make sense to spend so long editing/taking pics, since really I just need more time doing it and gaining experience to get it to the level I want. A year from now I’ll be much better at photography (in theory), so no amount of tweaking will get them to that point right now.
Alright, moving on! To these killer Peanut Butter & Jelly Cookie Cups!
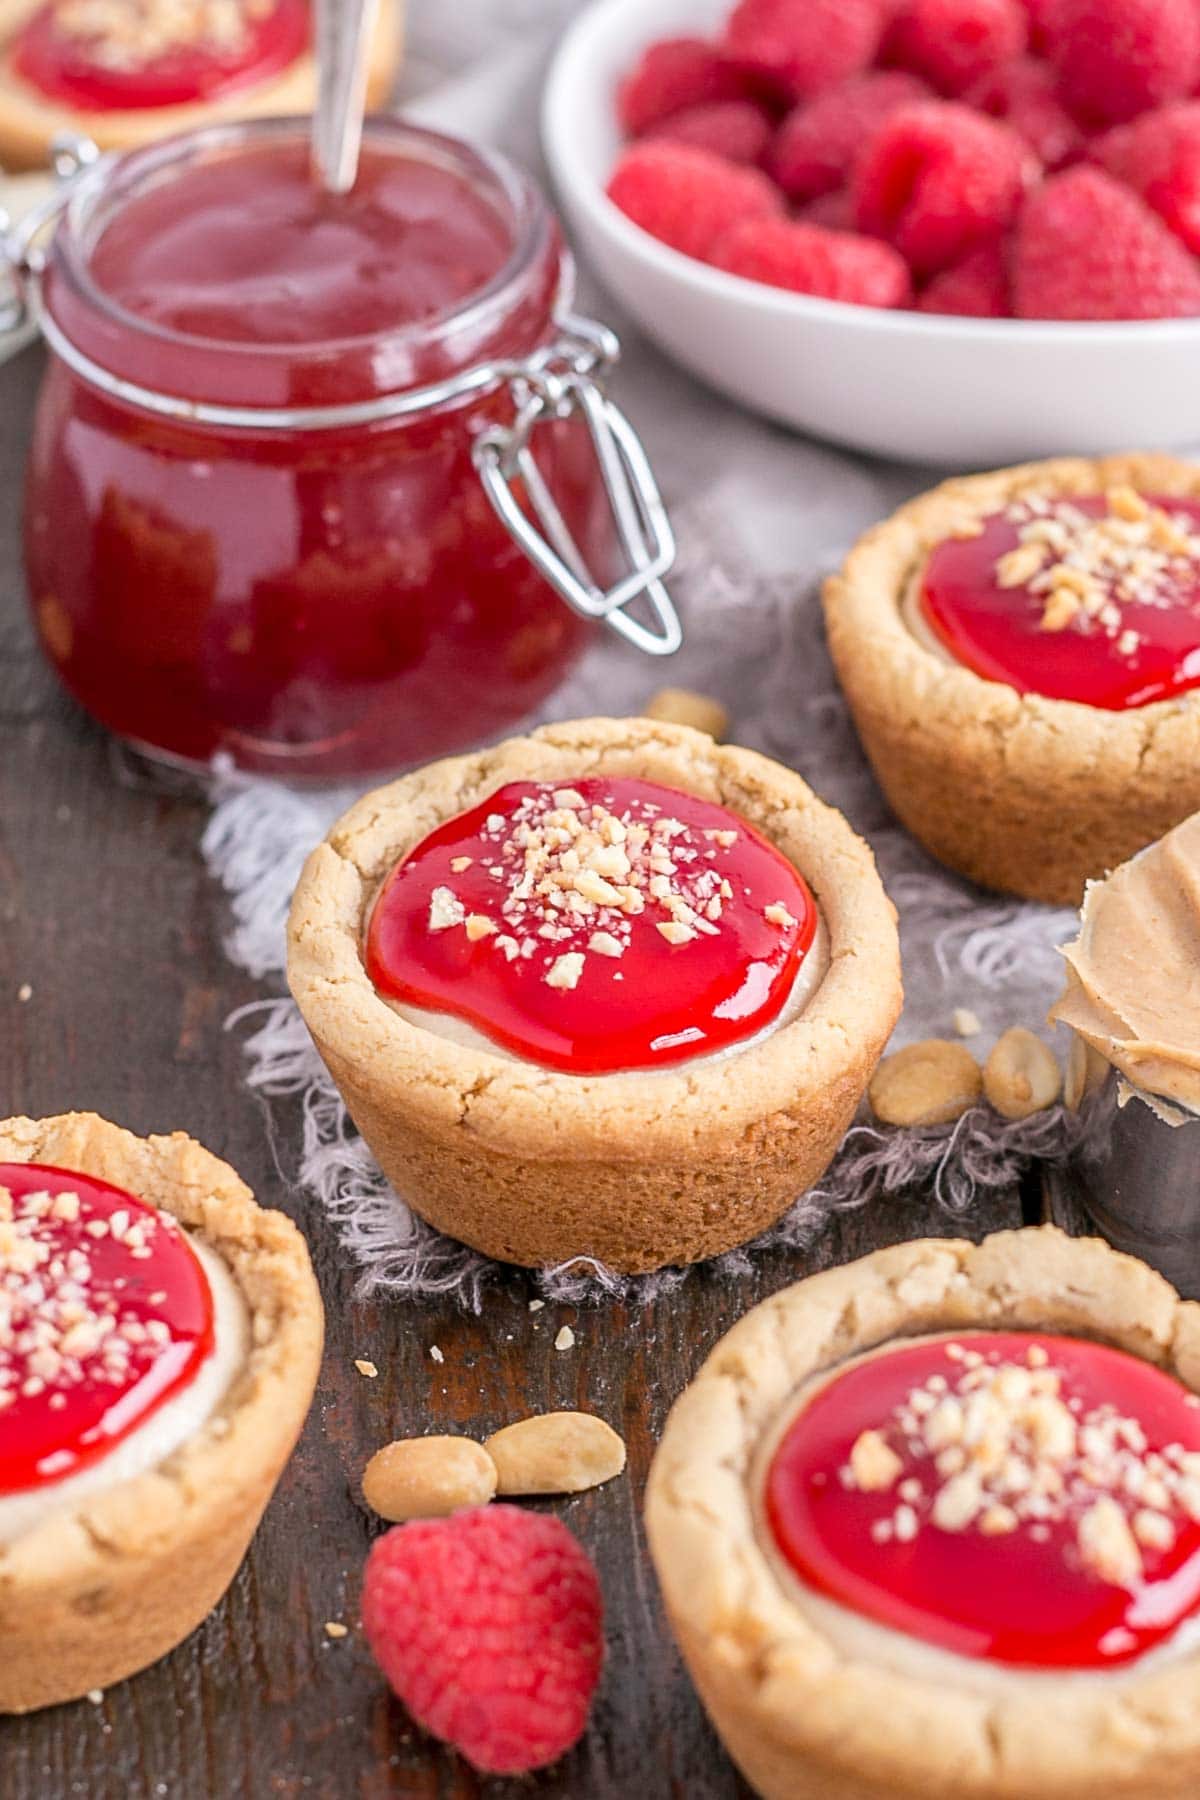
Ryan says they are his second favorite now, the first being my S’mores Cookie Cups. That is seriously high praise! Those s’mores ones were deadly and these peanut butter & jelly ones have definitely earned their place in my top three (along with the S’mores Cookie Cups and the Eggnog Cheesecake Cookie Cups).
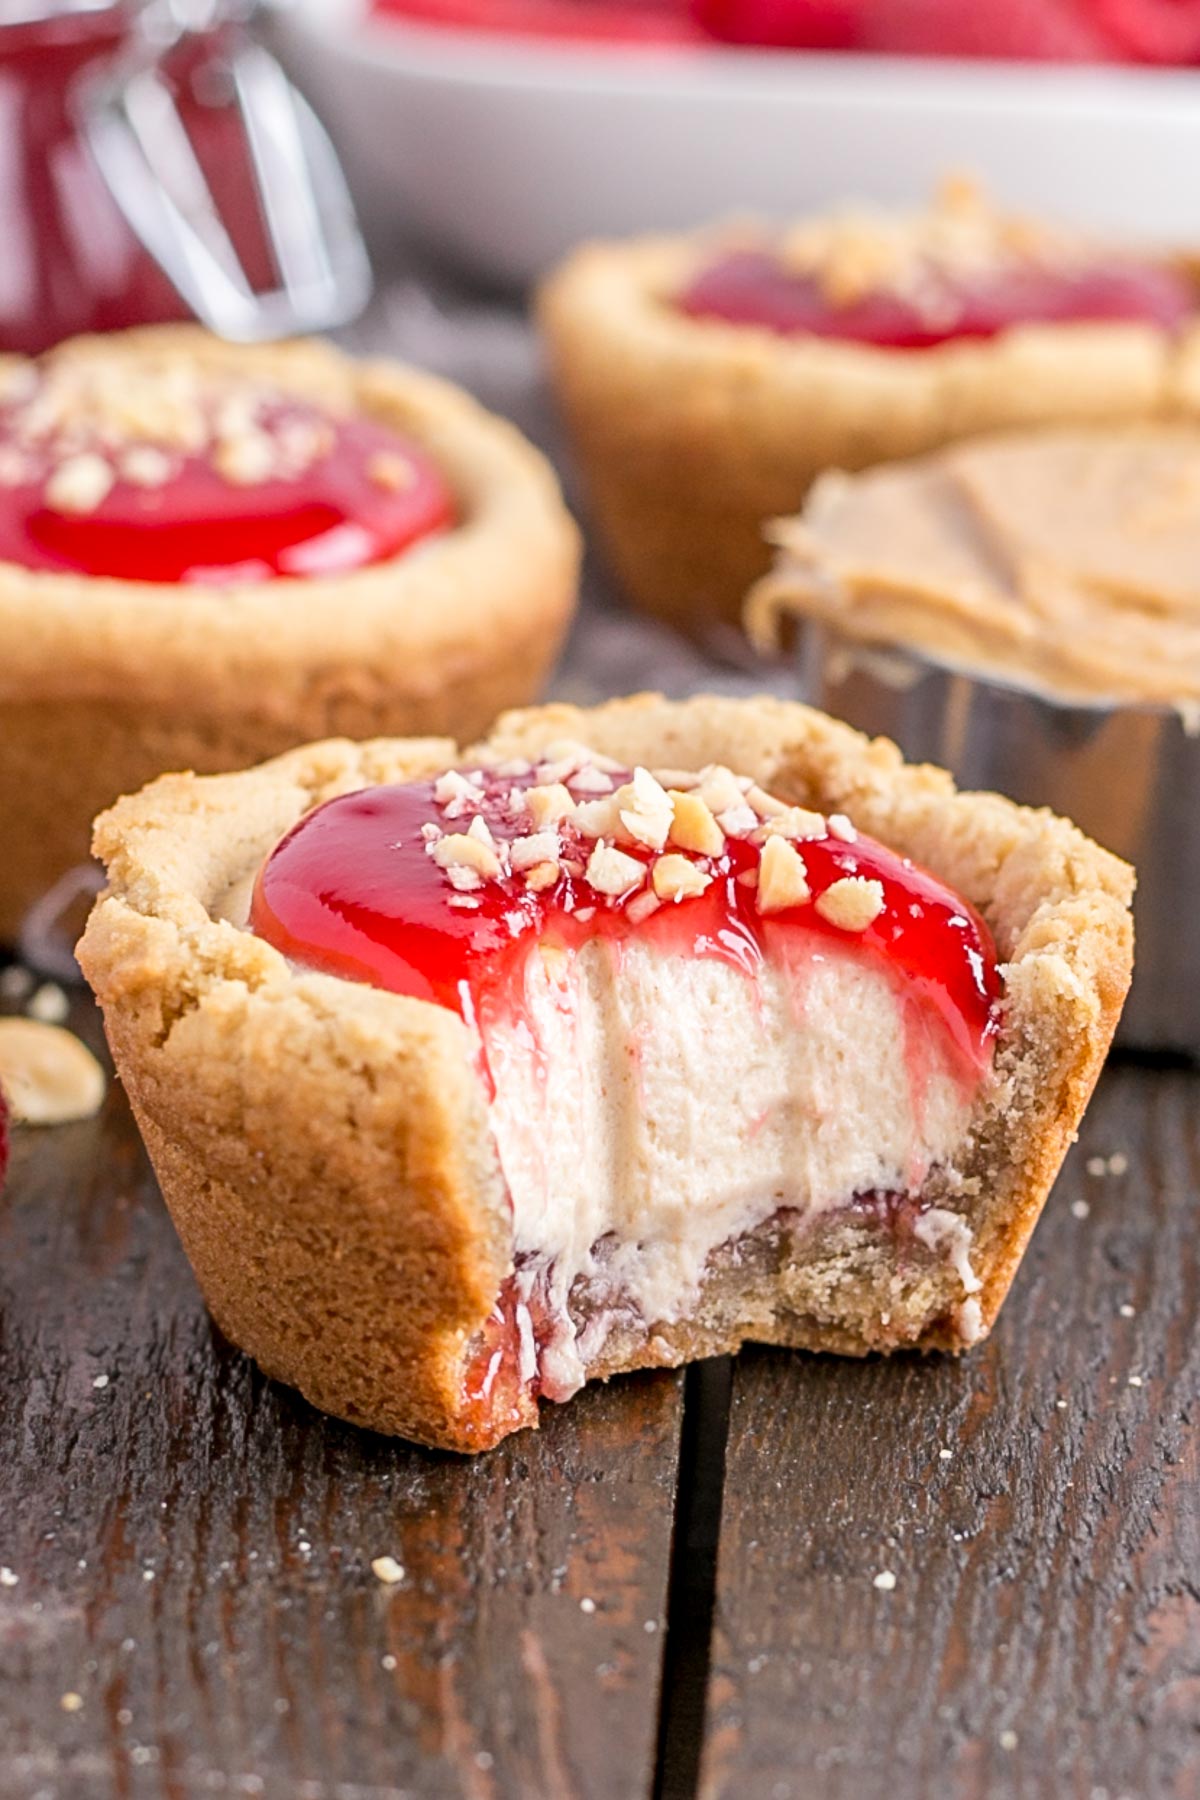
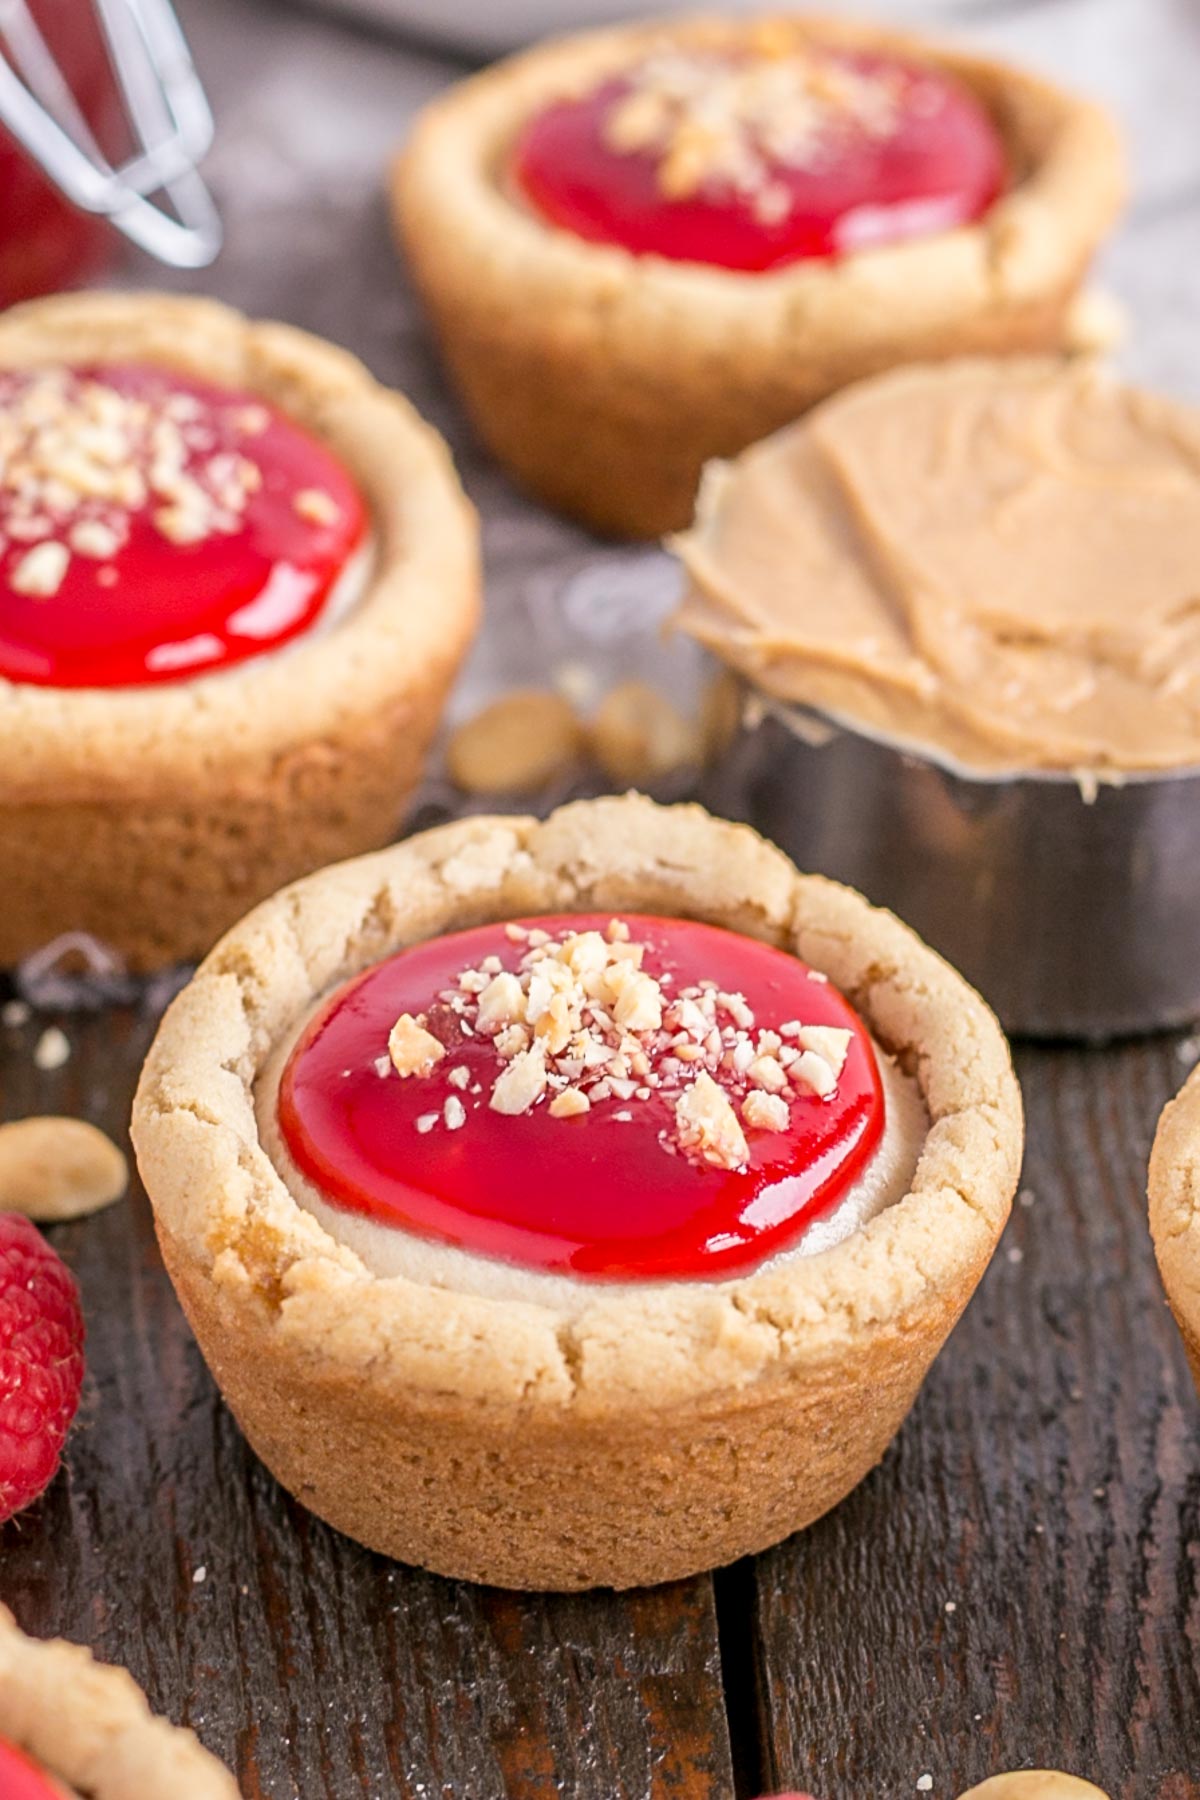
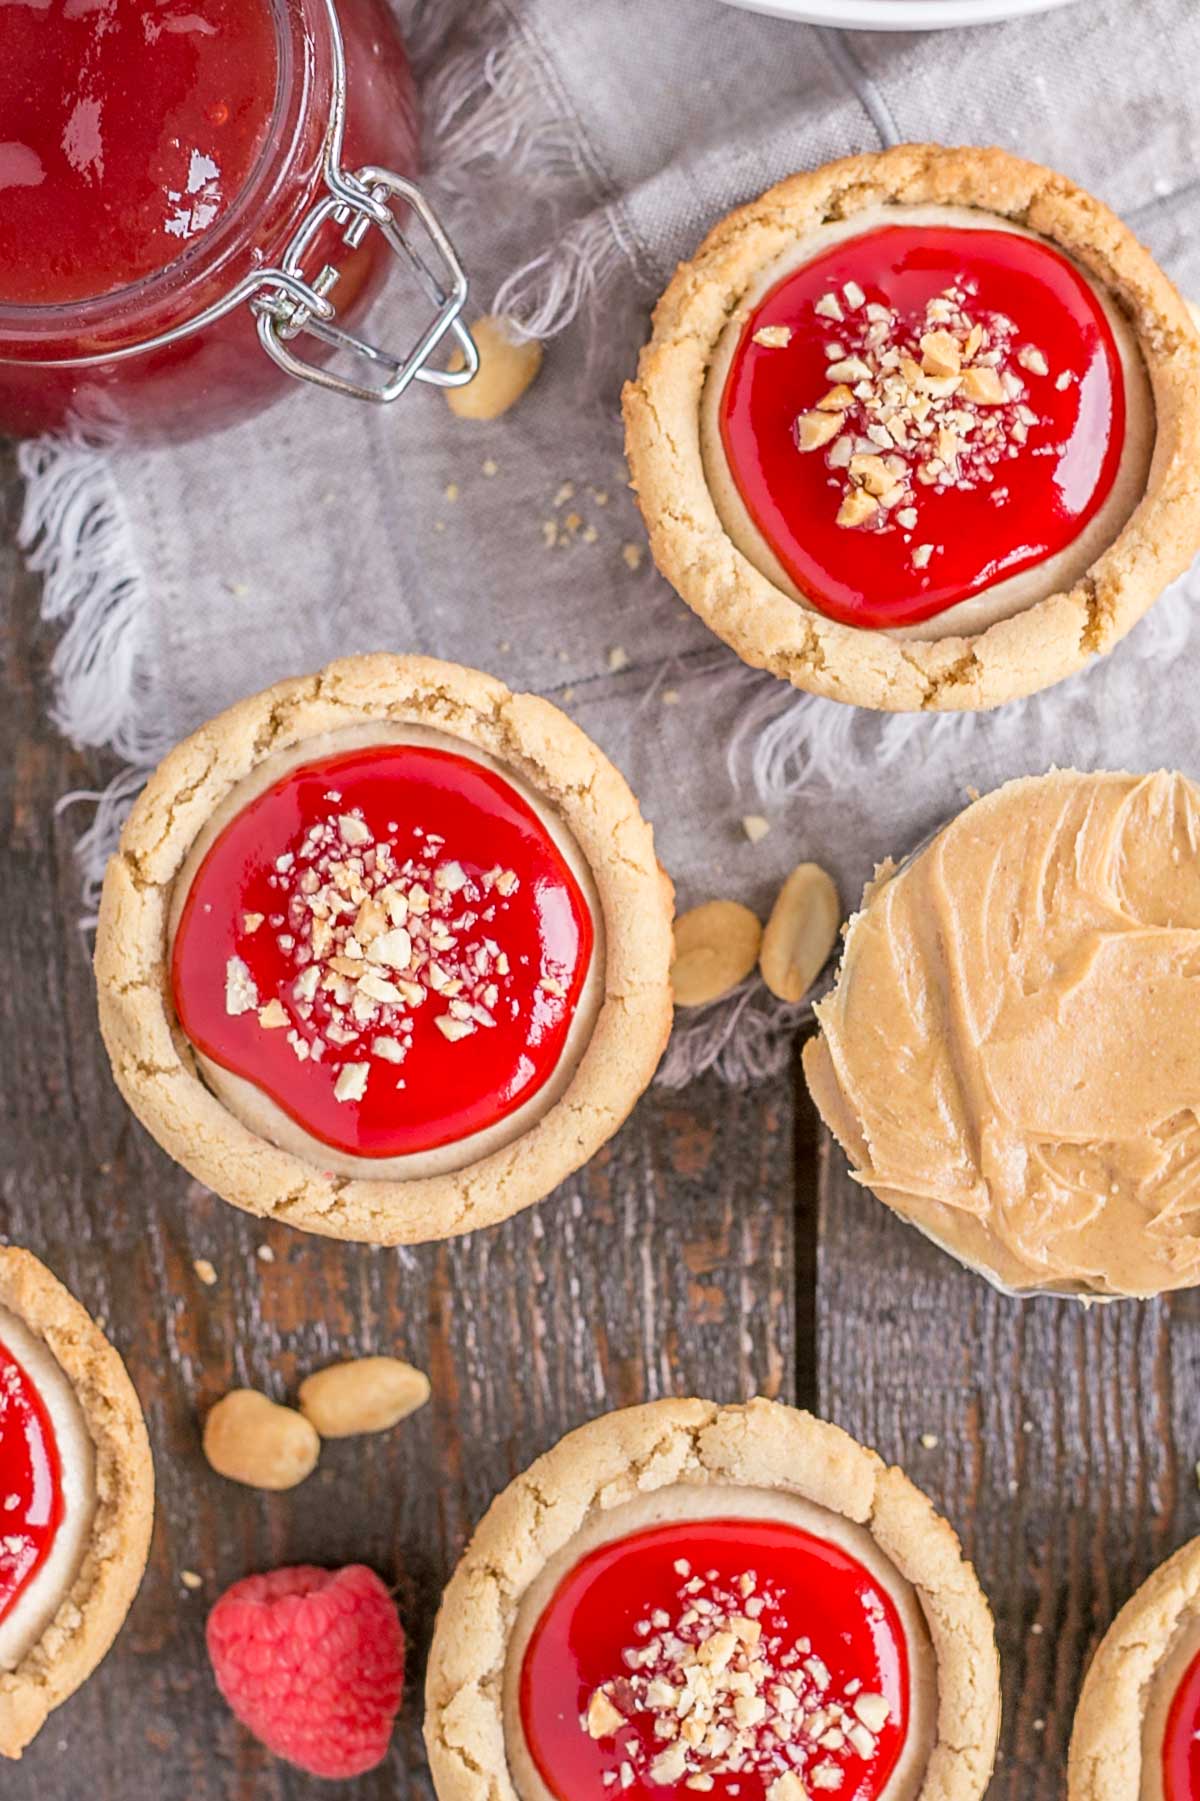
As with all of my cookie cups, these are also really easy to make. The base for these peanut butter & jelly cookie cups is a good old peanut butter cookie. I had forgotten how good peanut butter cookies can be! I filled them with a little bit of seedless raspberry jam (though you can use any jam you like), added some peanut butter mousse on top of that, and topped it off with a more jam and chopped peanuts.
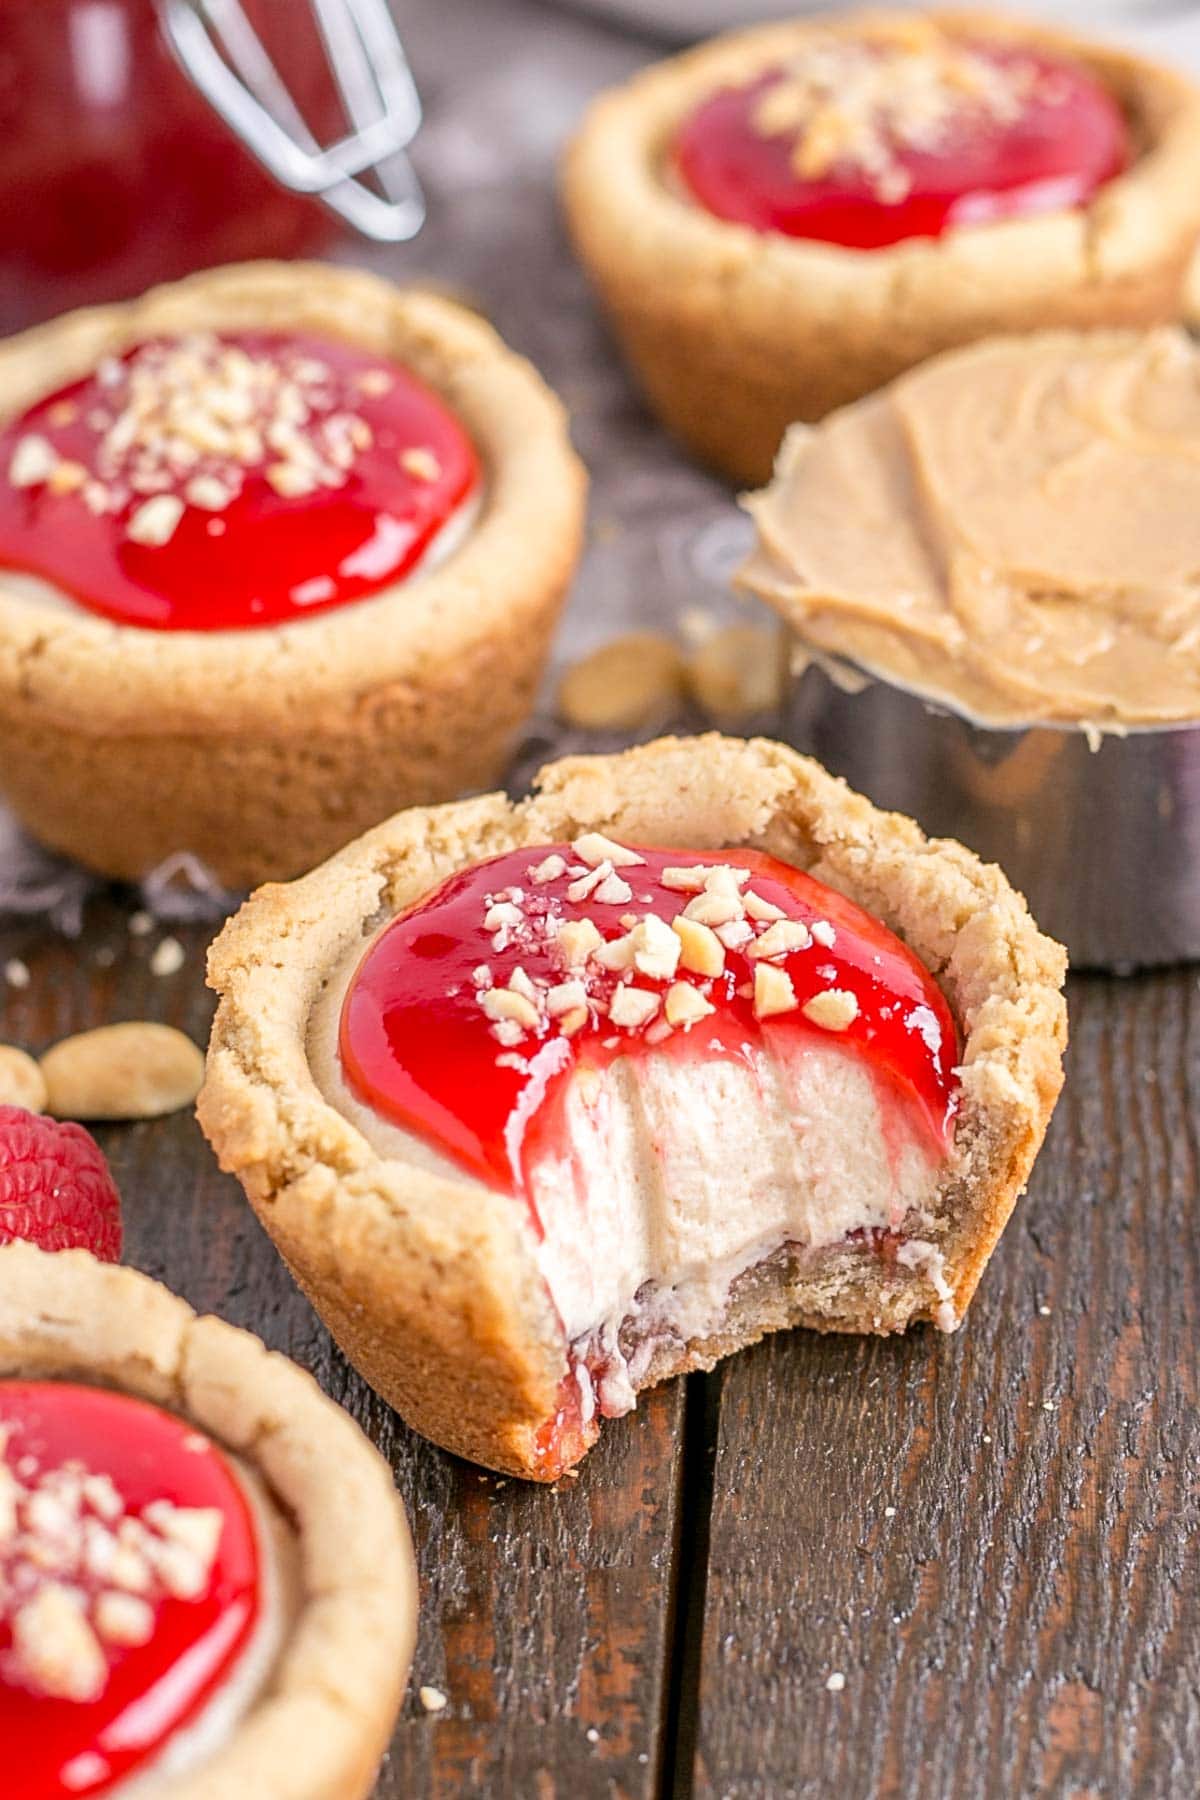
These Peanut Butter & Jelly Cookie Cups are seriously SO good. They taste just like a peanut butter & jelly sandwich! But better, because they’re a dessert :).
I hope you love them as much as we do!
Notes & tips for this Peanut Butter & Jelly Cookie Cups:
- You can use any type of jam you like — I prefer seedless raspberry, but any will work, seeded or not.
- Do not use natural peanut butter in either the cookie or the filling. It has a much higher oil content and will affect the recipes.
- These freeze very well! Store in fridge for up to 5 days or in freezer (in an airtight container) for 1-2 months.
- Best served cold, out of the fridge.
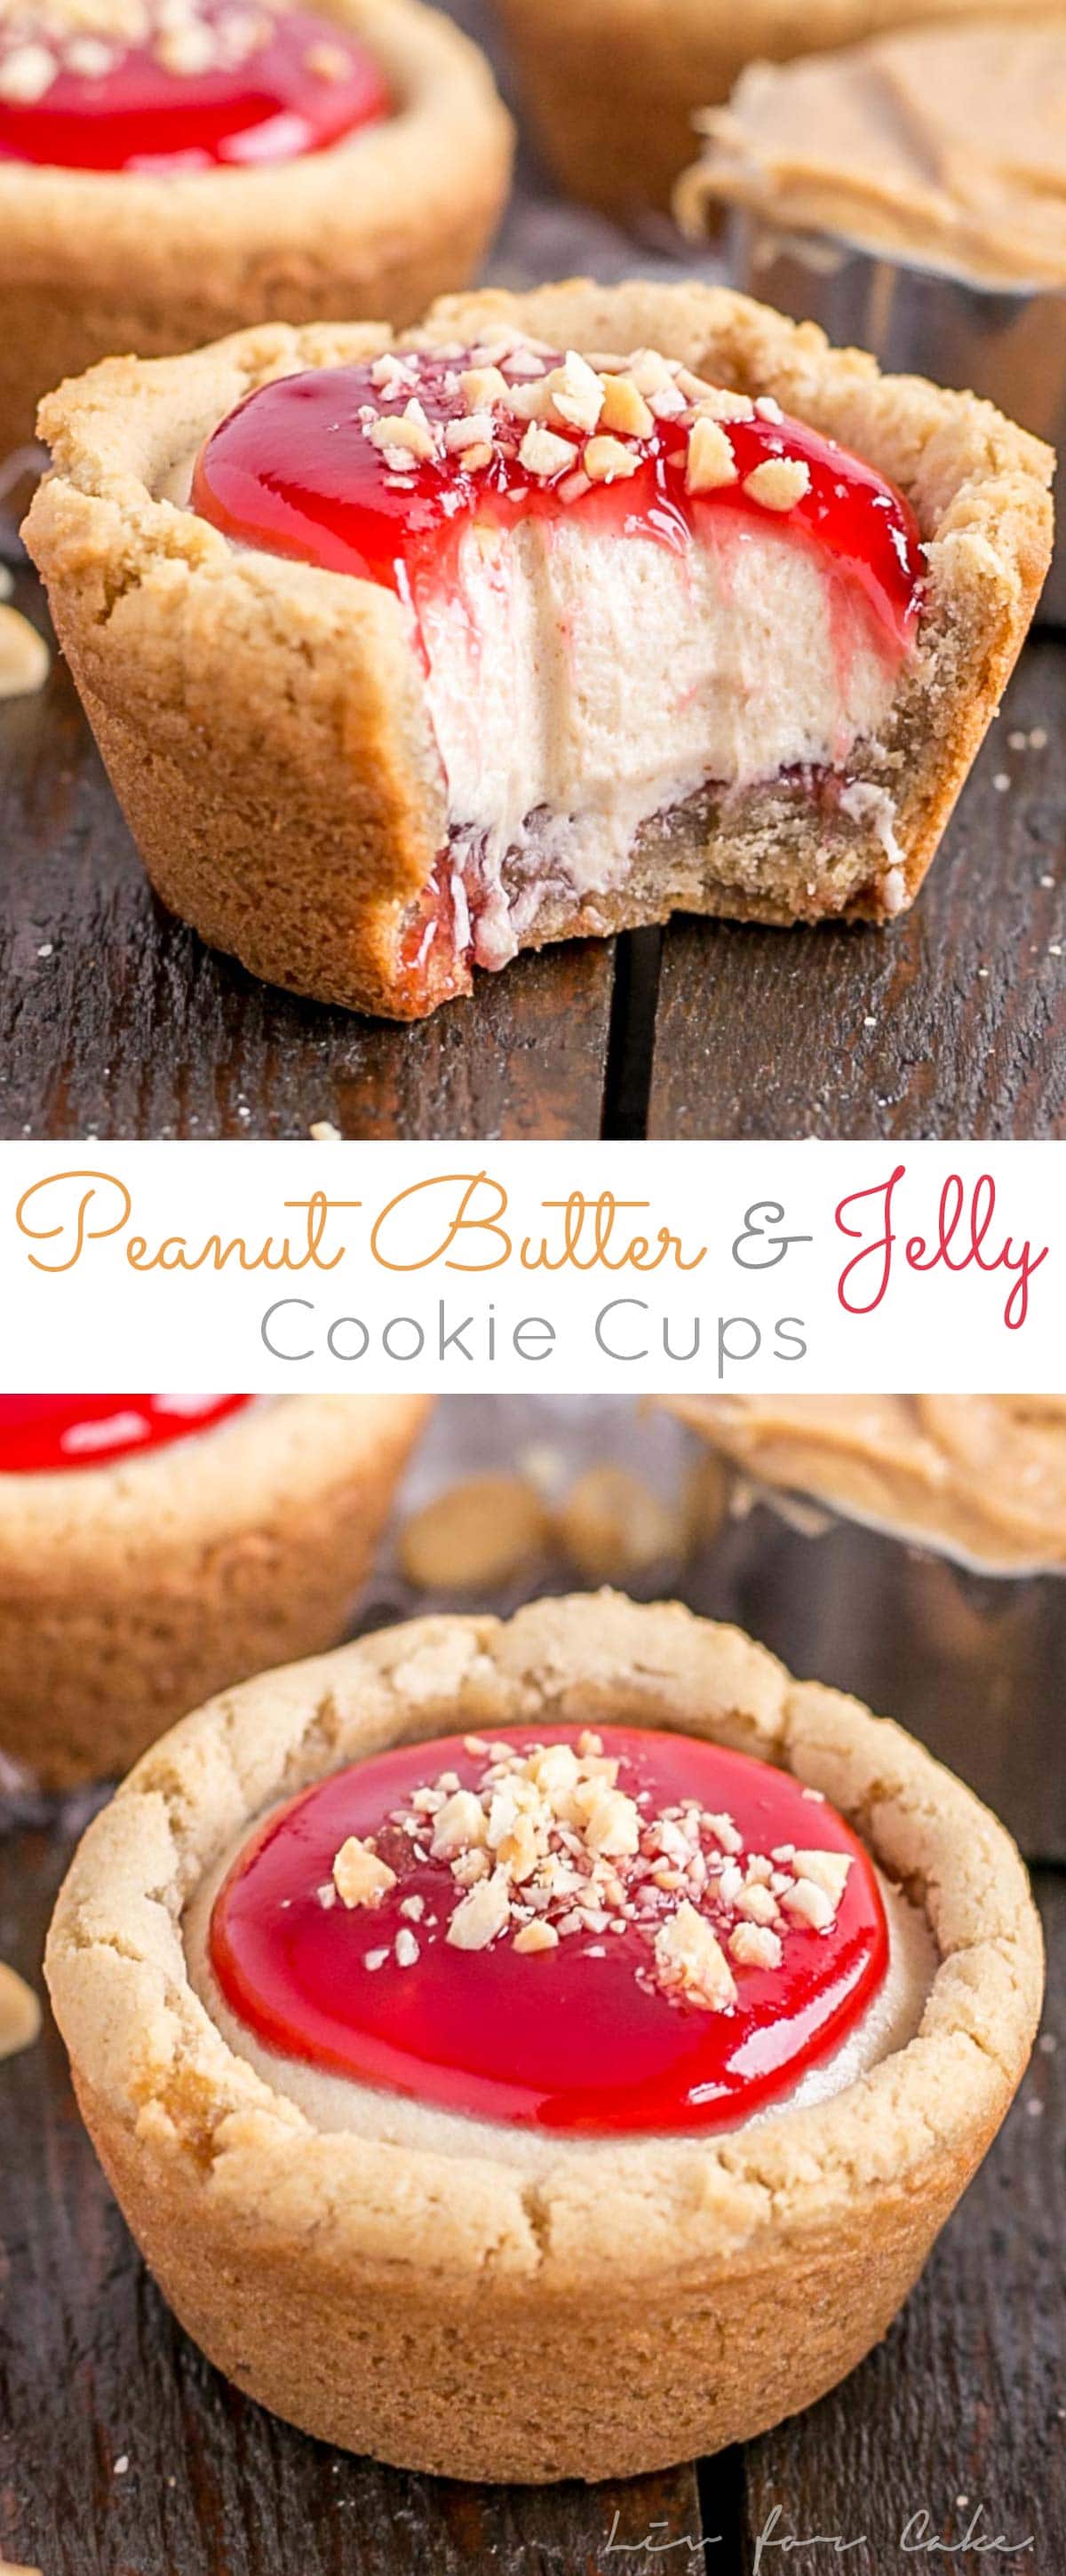
Peanut Butter & Jelly Cookie Cups
Ingredients
Peanut Butter Cookie Cups:
- 1 1/4 cups all-purpose flour
- 1/4 tsp baking soda
- 1/2 tsp salt
- 1/4 cup unsalted butter room temperature
- 1/4 cup smooth peanut butter smooth, not natural
- 1/4 cup granulated sugar
- 1/2 cup light brown sugar packed
- 1 large egg room temperature
- 1 tsp vanilla extract
Peanut Butter Mousse Filling:
- 1/2 cup heavy whipping cream cold
- 3 oz cream cheese softened
- 1/4 cup granulated sugar
- 1/2 cup smooth peanut butter smooth, not natural
Other:
- 1 cup raspberry jam seedless (or any jam you like)
- peanuts chopped (optional)
Instructions
Peanut Butter Cookie Cups:
- Preheat oven to 350°F. Spray a regular sized muffin tins with cooking spray.
- Whisk together flour, baking soda, and salt, set aside.
- Beat butter and peanut butter until smooth.
- Add sugars and beat on med-high until pale and fluffy (approx. 2-3mins). Reduce speed and add egg and vanilla. Beat until combined.
- Add flour mixture and mix until just combined.
- Using a large cookie scoop (3 Tbsp), scoop dough into muffin tins, press down to flatten slightly.
- Bake for 10-12 mins or until lightly browned and mostly set.
- Remove from oven and immediately use a small jar or container to press firmly down in the center to create a well. Cool in pans for 10 mins, then place on wire rack to cool completely.
Peanut Butter Mousse:
- Whip heavy cream until stiff peaks (ideally with a cold whisk and in a cold bowl).
- In a separate bowl, beat cream cheese and sugar until smooth. Add peanut butter and mix until smooth.
- Add whipped cream to the peanut butter mixture 1/2 cup at a time and beat until combined.
Assembly:
- In a microwave safe bowl, heat raspberry jam to thin out. 20 second intervals. Spoon 1 to 1 1/2 tsp of raspberry jam into each cookie cup. Chill for 20mins.
- Pipe peanut butter mousse on top of raspberry jam. Refrigerate until set (approx. 2 hours).
- Top with additional raspberry jam and chopped peanuts if desired.
- Serve cold and eat within 2-3 days. Or freeze for up to 4 weeks.




Fannie sistrunk says
Can you used splenda brown and white in these
Olivia says
Hi Fannie! I haven’t tried it myself so I can’t say for sure. For best results make the recipe as written.
Erica says
For the cookie part-can omit the peanut butter?
Olivia says
Hi Erica! No, you can’t from this recipe but if you want a plain cookie cup you can use these ones instead: https://livforcake.com/strawberry-cheesecake-cookie-cups/
JJO says
Have you ever used a mini muffin pan ? Any advice? Thanks
Olivia says
Hi JJO! I haven’t myself, but many people have. Bake them for about 7-8 minutes or so.
Sarah Horn says
these were absolutely amazing
Olivia says
Yay! So happy you liked them Sarah 🙂
Tarn Allen says
Oh man, this peanut butter mousse is heaven! So smooth. I made these cookie cups for a special birthday girl who loves peanut butter and chocolate even more than PB&J, so I replaced the jelly with chocolate ganache under and on top of the mousse, and sprinkled Reese’s Pieces on top instead of peanuts. Sooooo good, and an option if the PB&J sounds just a bit too healthy for you! 😄
Olivia says
Hi Tarn! I love your combo! I need to try that 🙂 So happy you liked these 🙂
Christine says
Hi Liv, I made the PB&J cookie cups and the strawberry cookie cups in the mini version for a social event and they were the rave. I also made the Smor version in a mini, (for a social event) but the meringue did not turn out. So at the last minute used fluff in a jar. But again there was a stampede to the table they were displayed on. I am not sure why the meringue did not turn out, but i’m thinking it may have something to do with the type of pot I used. A teflon low heat pot. But my question is in the strawberry and blueberry CC’s, why is there a difference in the dough for the cups?
Olivia says
Hi Christine! So happy to hear you love my cookie cups!! 😀
It’s possible that the meringue didn’t work out because there was some trace of grease in the bowl or pot or some yolk in the whites? Have a read through the meringue portion of this post for tips 🙂 https://livforcake.com/swiss-meringue-buttercream-recipe/
For the Cookie Cups — its the same exact recipe, only that I used a half portion of it for the blueberry ones 🙂
Christine says
Hi Liv, if I use a mini muffin tin, what is the cookie scoop size I should use?
Olivia says
Hi Christine! I’ve never done them in a mini pan myself, but I’d maybe try a small (2 tsp) scoop and see?
Brittany M. says
I used a heaping tablespoon when I make these and usually bake for 8-9 minutes first, and when they get out I use the back of a metal teaspoon to make the well. I sometimes pop them in for another 30-60 seconds if they’re still a little gooey, but I’ve done this for all the cookie cups and they finish baking when you let them sit in the pans.
In fact, I just made these this morning (about to fill them!) and the oreo ones last night and they’re all so delicious!
Olivia says
Thanks for the tips Brittany! So glad you like them 😀
Jill says
These look amazing. I wonder: could a person alter this on hot days by replacing mousse with peanut butter ice cream? Or would it ruin the texture?
Olivia says
Hi Jill! I think that would work perfect and be delicious!
erika says
hello . if i make this in a mini muffin pan should I reduce the time on the oven or the temperature?
Olivia says
Hi Erika! Temperature would be the same but time would be shorter for sure. Start checking at 8mins or so.
Elisabeth Benson says
In the cookie recipe you don’t mention when to add the peanut butter. Can you clarify?
Olivia says
Hi Elisabeth! Good catch, I beat it with the butter first. I’ve updated the recipe!
Elisabeth Benson says
thanks so much for the quick reply.
Cindy Rodriguez says
Oh wow! This looks so amazing and kind of dying over the peanut butter mousse. I can’t wait to try this as I know my kids will love it.
Olivia says
Thanks Cindy! I hope you like them 🙂
Julie R says
Thank you for sharing this fun recipe…love peanut butter cookies! One clarification though, these are made in mini muffin tins correct? It really didn’t specify in the directions.
Olivia says
Hi Julie! The ones I made are in regular muffin tins, but you could totally do minis! I hope you like it 🙂
Olga says
I love this recipe!!!!!!!!! and this cute form to serve them, in individual portions… It´s great
Kisses
Olivia says
Thanks Olga! These are SO delicious. I hope you try them 🙂
Kristen Chidsey says
Well I love your pictures (and these cookie cups) But I can only aspire to have pictures like yours!
Olivia says
Thanks so much Kristen! xo