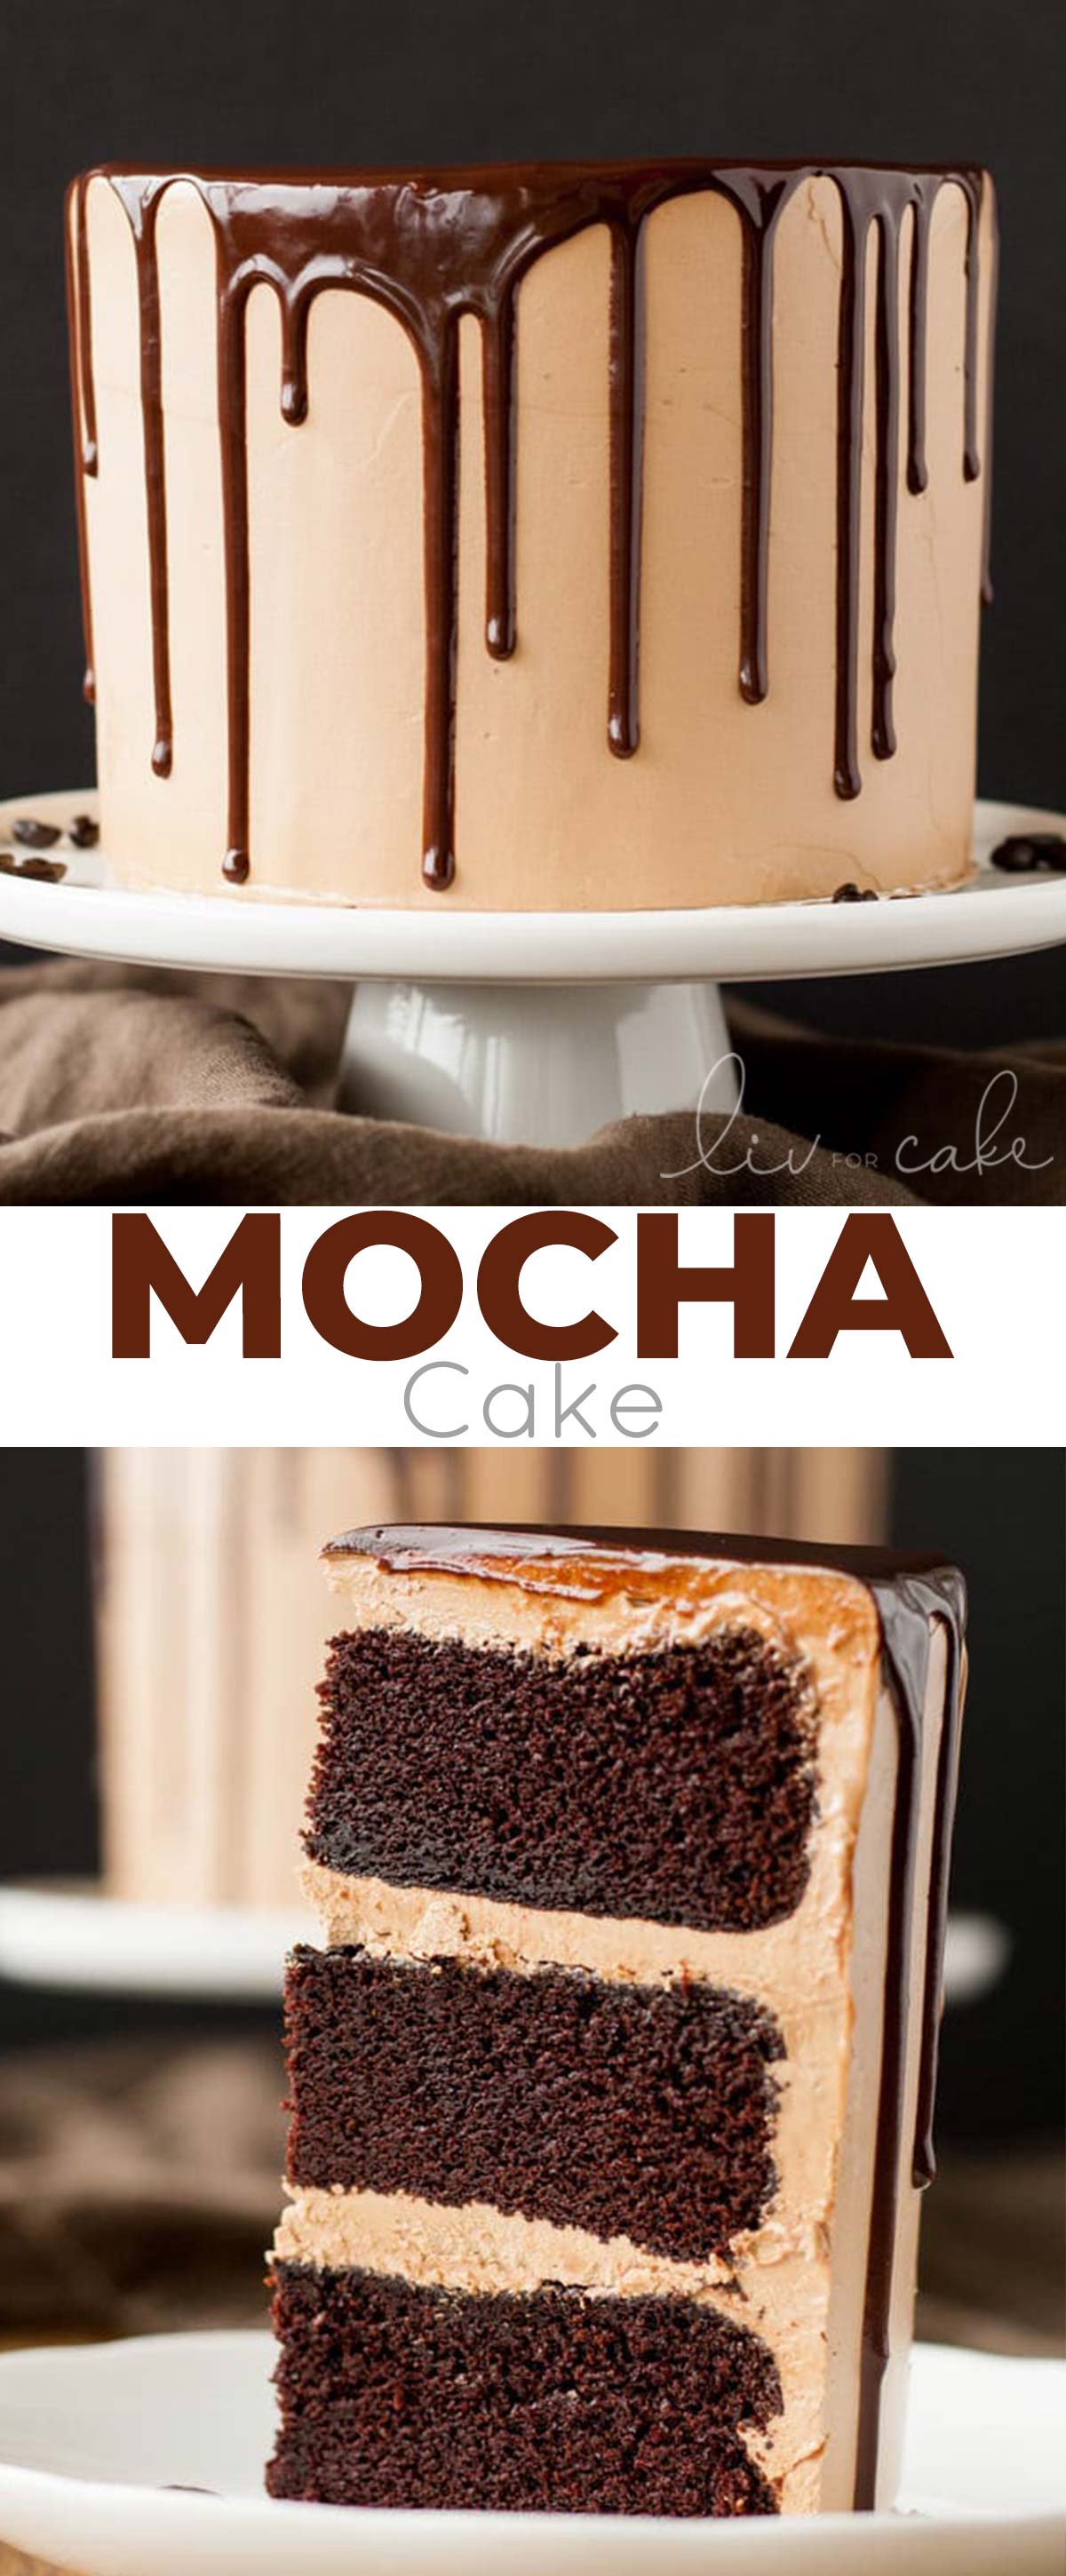
This Chocolate Mocha Cake is the ultimate indulgence. A rich dark chocolate cake with a silky mocha Swiss meringue buttercream.
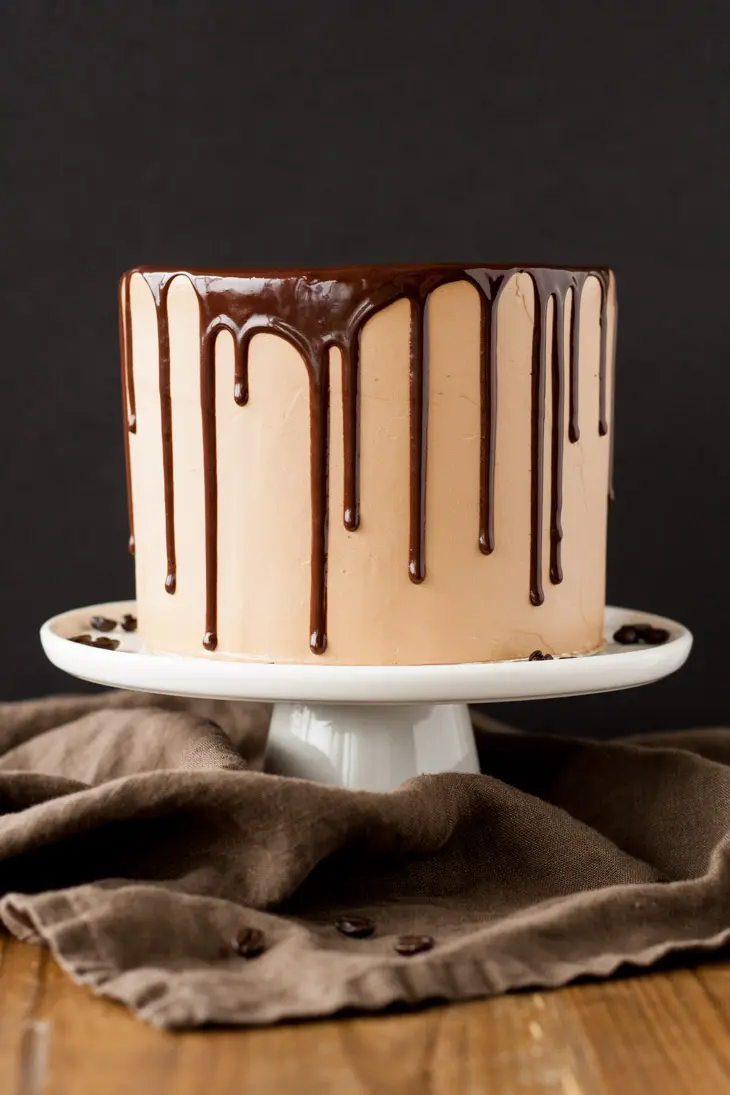
This cake right here? It’s amazing. I mean, it knocked the Momofuku Birthday Cake right out of the #1 spot, and that was a damn good cake.
This Chocolate Mocha Cake is seriously. SO. GOOD.
Rich dark chocolate cake and a silky Mocha Swiss Meringue buttercream, topped with a dreamy chocolate ganache. Does it get any better? I don’t think so.
If you’ve been following Liv for Cake for a while, you know this is one of my oldest (and one of my favorite) recipes. If you haven’t tried it, you NEED to. You will not regret it.
The frosting is my favorite thing ever — you’ll be eating that with a spoon and thanking me later.
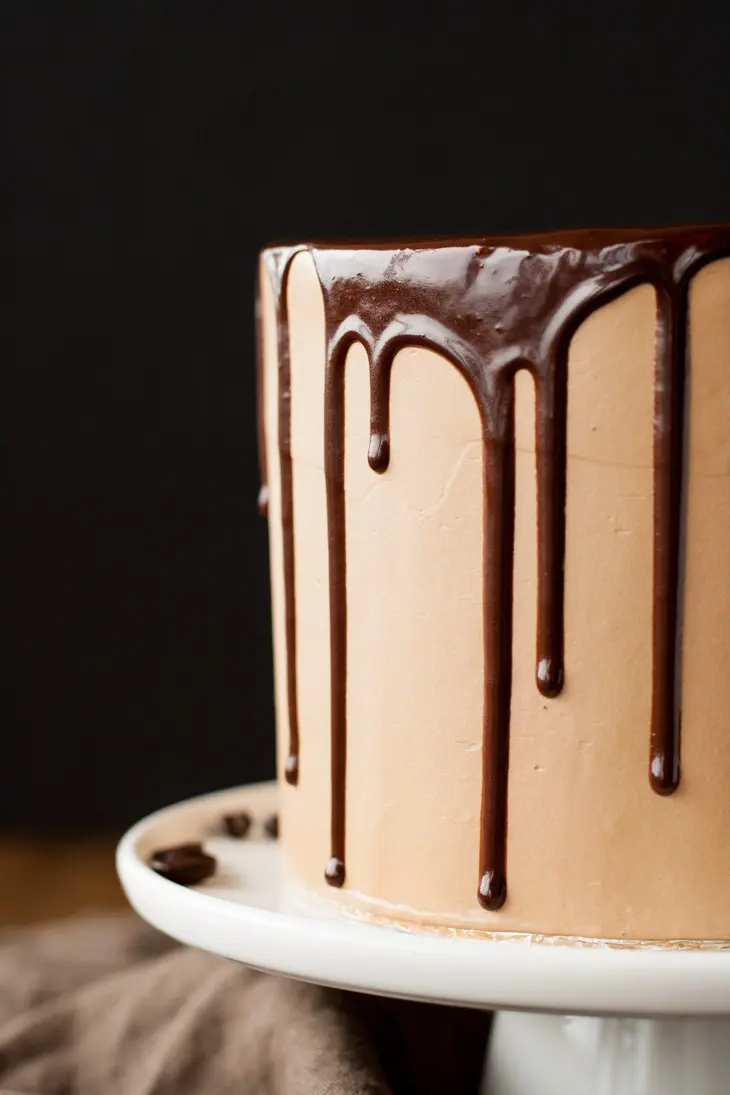
How to make this Mocha Cake
For the cake layers, I used my very favorite Chocolate Cake recipe modified slightly for the 6″ pans and I used hot coffee instead of hot water in the cake batter. You can’t really taste the coffee, maybe only slightly, but it does help the chocolate flavor stand out.
I like to use Dutch-process cocoa powder as it’s richer in flavor, but any regular cocoa powder will work just fine.
Mocha Buttercream
THIS, people, is honestly the best thing you’ll ever eat. Silky Swiss meringue buttercream with espresso and chocolate. It is pure heaven!
The recipe calls for instant espresso powder (not granules). This is a very fine powder and should dissolve perfectly into the buttercream.
Some people were having the issue of flecks of espresso powder in their buttercream because it didn’t dissolve fully. This may be due to the brand of espresso powder used. This is the brand I use and it works really well. However, I’ve updated the recipe to include dissolving the espresso powder first in 1 tsp of hot water. It’s optional though.
Can I use Regular Espresso Or regular Coffee?
No, you must use instant coffee that dissolves completely in water.
You could use regular instant coffee vs instant espresso powder, but you’d want to make it quite strong to match the flavor. I haven’t experimented with this myself, but it would really be totally fine. You can add more or less to your liking.
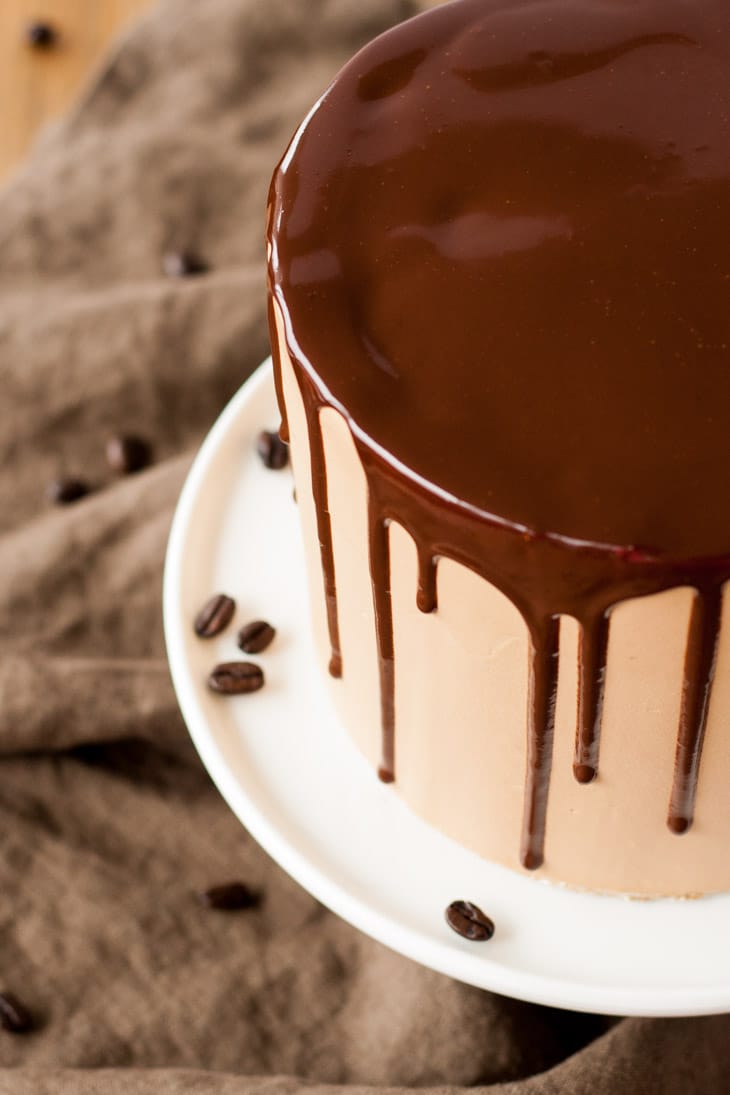
How to do a Drip Cake
I kept the cake decorating simple, as I wanted to do the drippy ganache technique. It’s surprisingly easy (I swear!), the key thing is to get your ganache to the right consistency which may require some trial and error.
Step #1 is to frost the cake evenly and smooth the sides and top. This is probably the most time intensive part if you want to get it perfect (which, obviously, I do).
I used a small offset spatula to roughly frost the cake and then a bench scraper to smooth everything out. This is the part that took the most time.
I had to patch some areas here and there, so it took a while to get it perfect. It really helps if you have a turntable to do this on, so that you can spin it while holding the bench scraper at an angle.
You don’t have to shell out a lot of money on a turntable, but I do not recommend getting a plastic one. They’re not super stable and don’t spin smoothly.
To get those smooth sides, you need a smooth spin! I use a lazy susan from Ikea that works great.
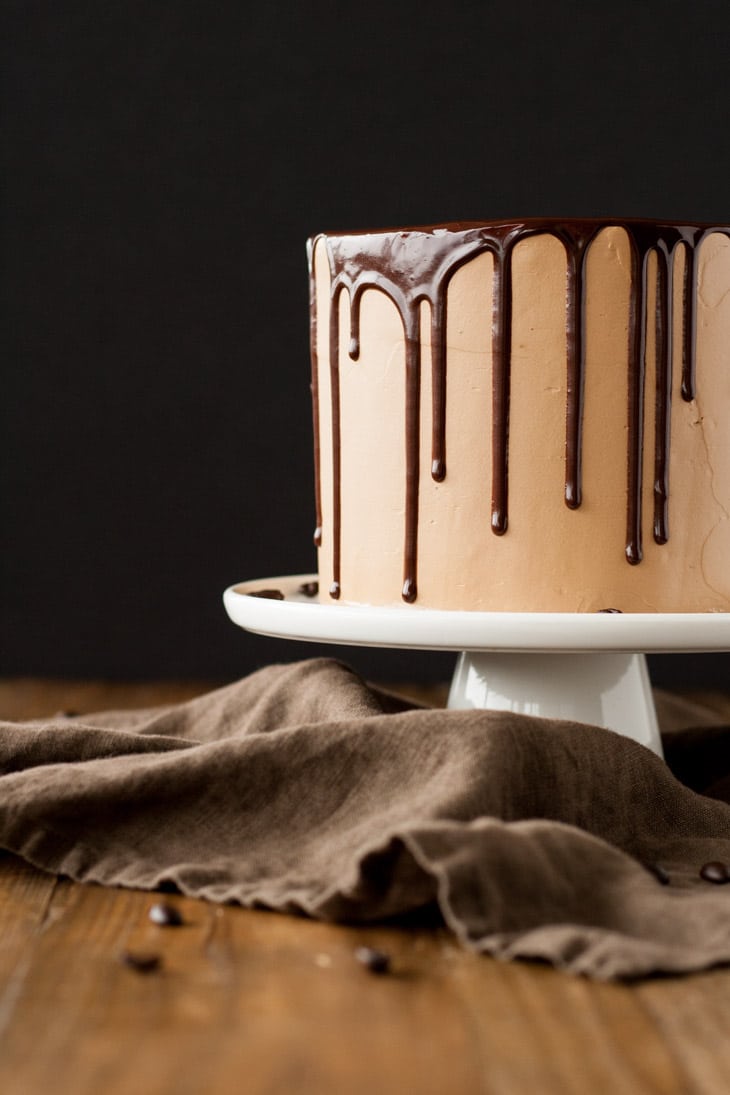
Once I got the top and sides mostly perfect, I popped the whole thing in the fridge and made the ganache.
Once the ganache cooled and thickened slightly, I took out the cold cake and used a teaspoon to drop dollops of ganache along the edges and let it drop down the sides.
I added more/less on certain areas to vary the drips a bit. You can also just pour a bunch of ganache on the top and use your offset spatula to nudge it over the sides, but I wanted a bit more control over the drips, and my research said that the spoon technique was a good approach.
I was worried that the ganache would harden quickly on the cold cake, but I had plenty of time to work with it. Once the drips were good, I poured a bit of ganache on the top to fill that in, and smoothed it with a small offset spatula.
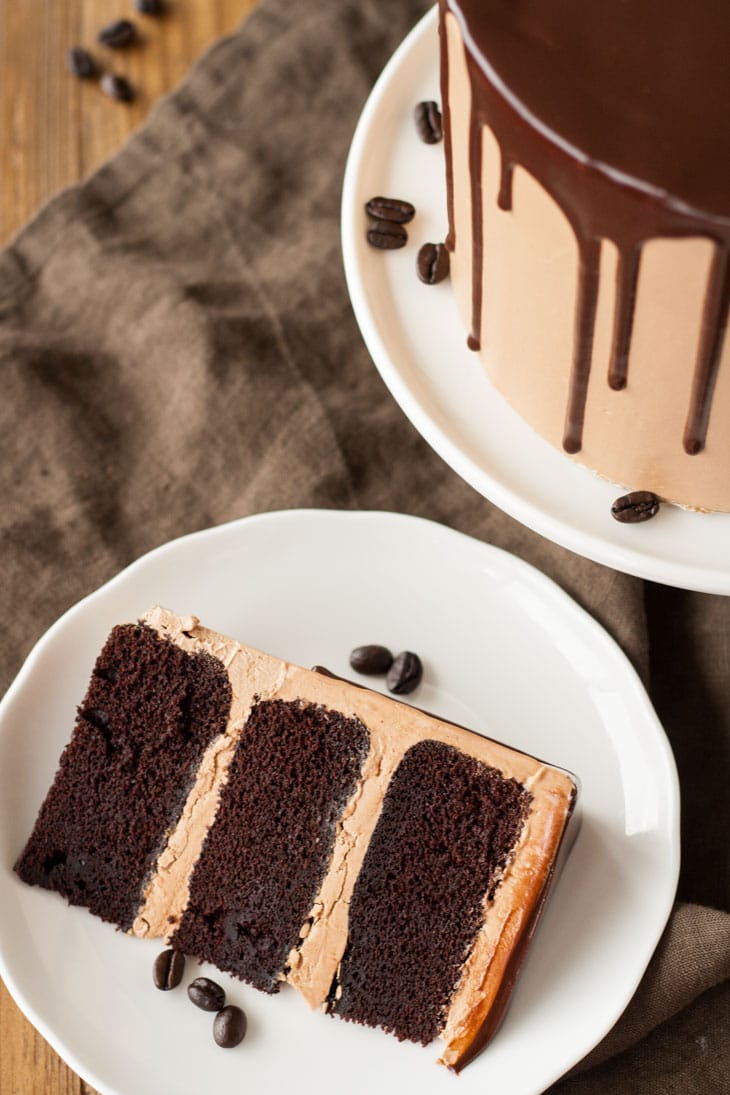
This Swiss meringue buttercream gets very firm in the fridge (like butter does), so you’ll want to leave the cake out for a couple hours before serving so that it can soften up.
When I took photos and cut the cake, it was still hard, so you can see that it’s not totally silky smooth between the layers.
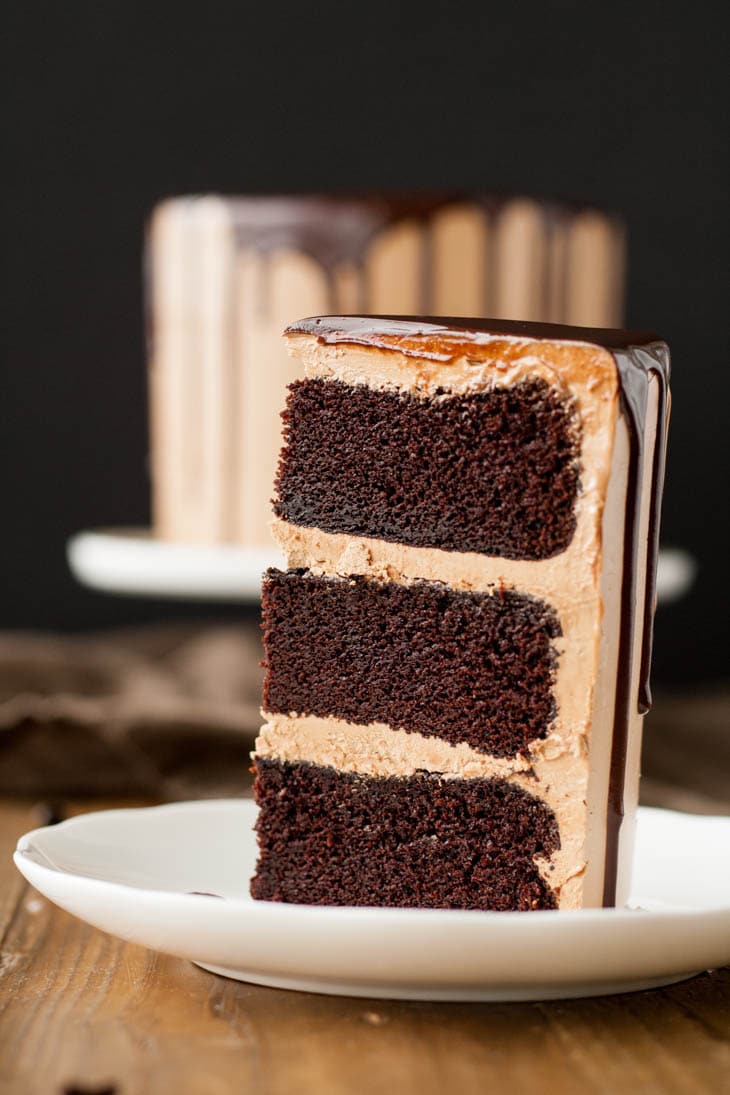
This Chocolate Mocha Cake is insanely good. Like, ridiculous. It is my all-time favorite cake!
I mean, just LOOK at that piece! The cake is dense, moist, and ultra chocolatey. The buttercream is silky, smooth, and has the BEST mocha flavor ever.
You will not be disappointed with this cake. I promise!
More Coffee Flavored Cake recipes
- White Chocolate Mocha Cake
- Kahlua Cake With Mocha Buttercream
- Vanilla Latte Cake
- Gingerbread Latte Cake
- Eggnog Latte Cake
- Pumpkin Spice Latte Cake
Notes & tips for this Chocolate Mocha Cake
- The recipe as-is will also work in two 8″ pans. For three 8″ pans, 1.5x the recipe.
- To make cupcakes, all you need to do is reduce the baking time — start checking at 15mins or so.
- You can use regular cocoa powder if you don’t have Dutch-process.
- For the frosting, the coffee you use must be instant. See post for more details.
- For the ganache, I let mine set overnight (with plastic wrap placed directly on the surface). It will be too thick at this point, so I microwave it for 10 secs and stir it until it’s the right consistency.
- The drip technique works best on a chilled cake so that the drips set quickly.
- Be sure to check my Swiss Meringue Buttercream post for tips and troubleshooting.
- Learn how to keep your cakes moist using Simple Syrup.
- To help ensure your cake layers bake up nice and flat, check out my How to Bake Flat Cake Layers post!
Mocha Cake
Ingredients
Chocolate Cake:
- 1 1/2 cups all-purpose flour
- 1 1/2 cups granulated sugar
- 3/4 cup Dutch-processed cocoa powder sifted
- 1 1/2 tsp baking soda
- 1 tsp baking powder
- 1 tsp salt
- 1/4 cup vegetable oil
- 3/4 cup buttermilk
- 3/4 cup strong brewed coffee hot
- 2 large eggs
- 2 tsp vanilla extract
Mocha Buttercream:
- 3 large egg whites
- 1 cup granulated sugar
- 1 1/2 cups unsalted butter room temperature, cubed
- 1 tsp vanilla extract
- 1 Tbsp instant espresso powder dissolved in 1 tsp hot water, cooled
- 3 oz dark chocolate chopped, melted, and cooled
Ganache Drip:
- 3 oz dark chocolate
- 3 oz heavy whipping cream
Instructions
Chocolate Cake:
- Preheat oven to 350F, grease three 6″ round baking pans and dust with cocoa powder. Line bottoms with parchment.
- Place all dry ingredients into the bowl of a stand mixer fitted with a paddle attachment. Stir to combine.
- In a medium bowl whisk all wet ingredients (pour coffee in slowly as not to cook the eggs if very hot).
- Add wet ingredients to dry and mix on medium for 2-3 mins. Batter will be very thin.
- Pour evenly into prepared pans. I used a kitchen scale to ensure the batter is evenly distributed.
- Bake until a cake tester comes out mostly clean. A total of 30-35mins.
Mocha Buttercream:
- Place egg whites and sugar into the bowl of a stand mixer, whisk until combined.*
- Place bowl over a pot with 1-2" of simmering water and stir constantly with a whisk until the mixture is hot and no longer grainy to the touch or reads 160F on a candy thermometer (about 3mins).
- Place bowl on your stand mixer and whisk on med-high until the meringue is stiff and cooled (the bowl is no longer warm to the touch (approx. 5-10mins))
- Switch to paddle attachment (optional). Slowly add cubed butter and mix until smooth.
- Add vanilla, melted chocolate, and espresso powder. Whip until smooth.**
Ganache Drip:
- Finely chop chocolate and place into a bowl. Bring cream just barely to a simmer and pour over chopped chocolate. Cover with plastic wrap and let stand 2 mins. Stir gently with a spatula until combined and smooth. Allow to cool and thicken slightly before using on cake.***
Assembly:
- Place one layer of cake on a cake stand or serving plate. Top with approximately 2/3 cup of frosting and spread evenly. Repeat with remaining layers and apply a thin coat of frosting all over the cake. Chill for 20mins.
- Frost and smooth the sides. Chill for 20mins.
- Using a small spoon, place dollops of ganache around the top edges of the cooled cake, allowing some to drip down. Fill in the top of the cake with more ganache and spread evenly with an offset spatula.
Notes
** The buttercream may look like it’s curdled at some point. Keep mixing until it is completely smooth.
*** You can make the ganache in advance and let it set overnight (with plastic wrap placed directly on the surface). It will be too thick at this point, so I microwave it for 5-10 secs and stir it until it’s the right consistency.
Originally published Aug 23, 2015



Pam says
I made this for a friend’s birthday. Everyone raved about this cake. People started requesting this cake for their birthday. It was that good! Absolutely delicious!
Olivia says
So happy everyone loved it, Pam!
Myra says
I never review things nor am I even the worlds AVERAGE baker, but I made this and it turned out BEAUTIFULLY – I just had to say something about it. I’m so happy about it!
Olivia says
Yay! So glad to hear that, Myra. I hope you try more of my recipes 🙂
Celia says
Heya! Would it be possible to do this recipe by baking it in a 9×13 pan, and if so, do you know what the baking time might be like? Thanks in advance for the help.
Olivia says
Hi Celia! It’s hard to say how long every oven bakes differently. Baking time should be similar to what’s listed but make sure to check on the cake while baking.
Irena says
Hey! I want to make this cake for a baby shower using 3 2″x9″ rounds, what serving size do you suggest? I want them nice and thick and don’t mind a little extra for cupcakes! I also am thinking of using a homemade dulce de leche for a filling, what do you think? Can’t wait to try this recipe! Thanks for sharing!
Olivia says
Hi Irena! Converting pan sizes is always tricky. Here are some sites I use as a guideline:
http://www.joyofbaking.com/PanSizes.html
https://www.cookipedia.co.uk/recipes_wiki/Cake_tin_conversion_charts
Based on that, and if you don’t mind extra, I would 2.5x the recipe for three 9″ pans. The batter is thin and rises a lot so don’t fill the pans more than half full. The DDL filling will be delicious. I have a DDL version of this cake here: https://livforcake.com/chocolate-dulce-de-leche-cake/