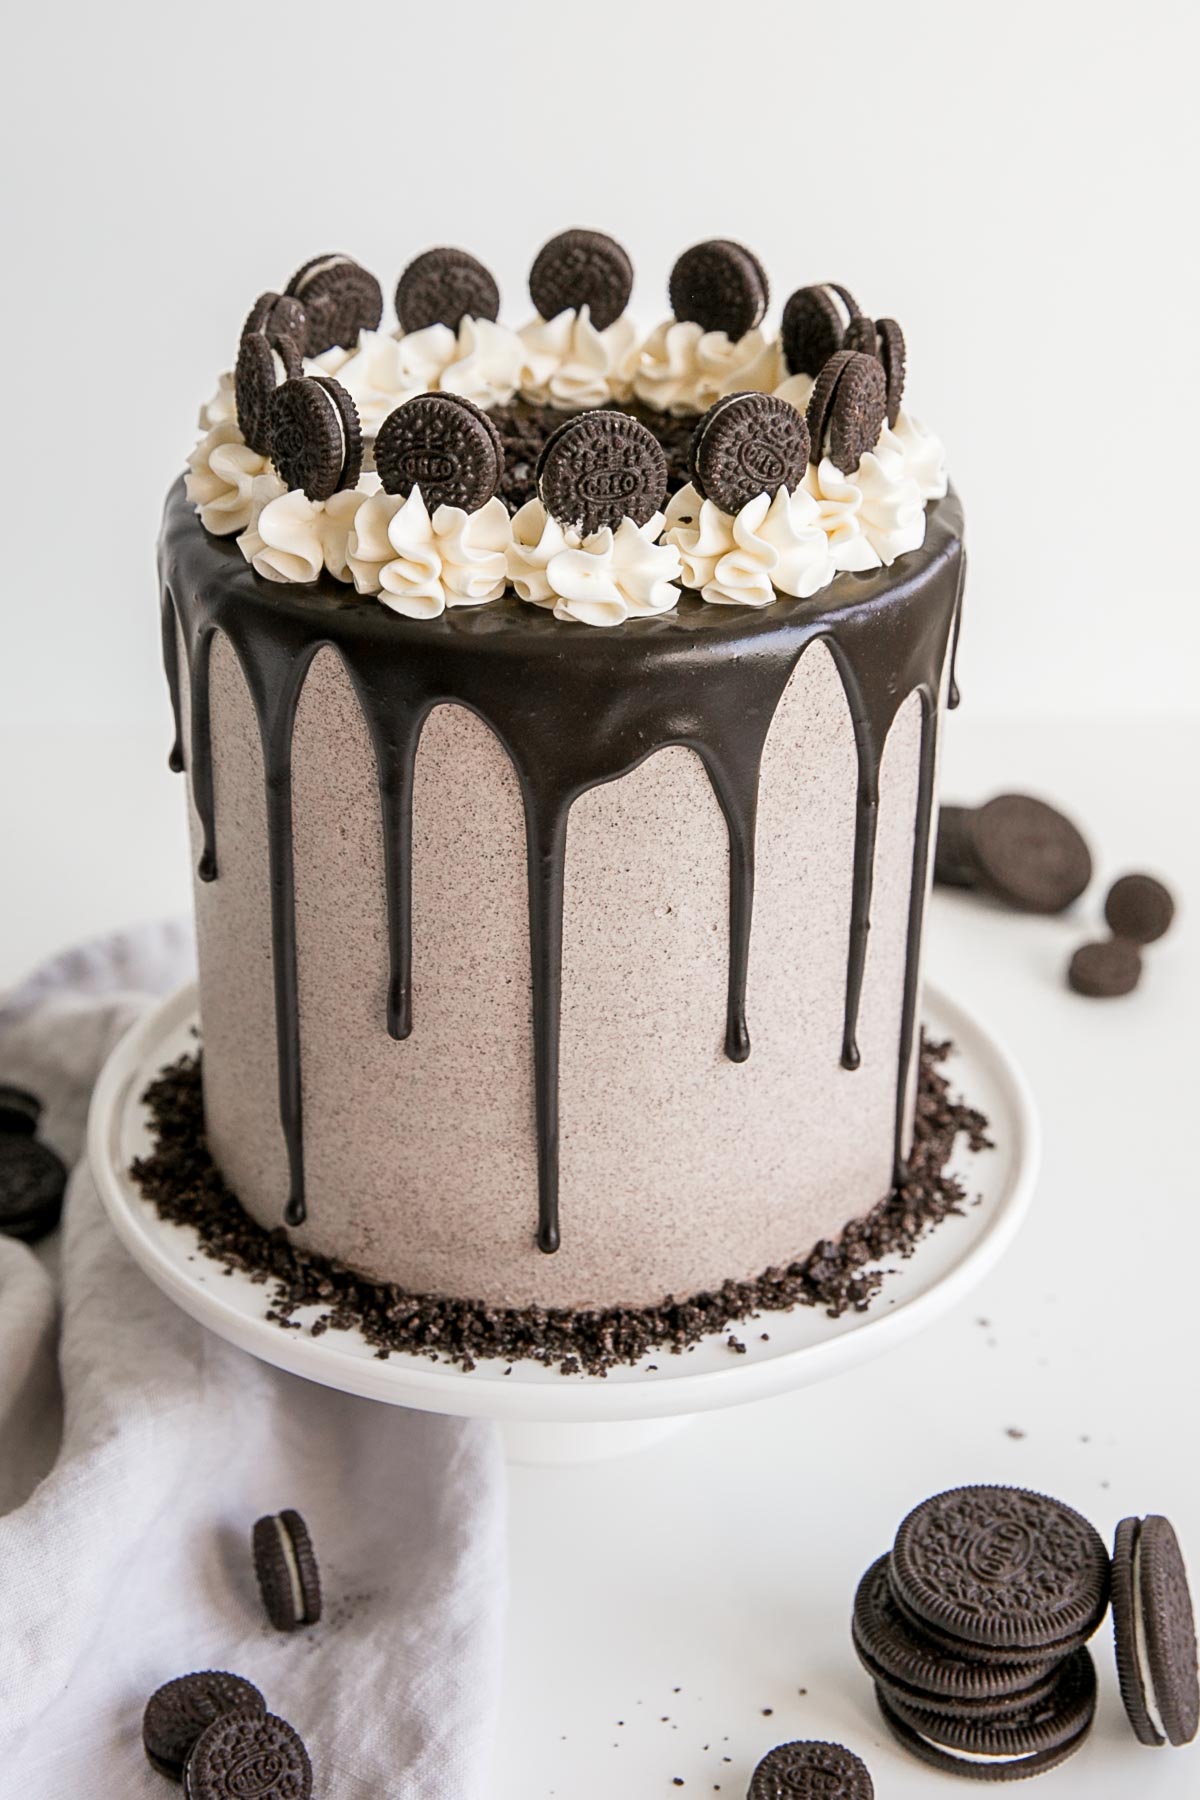
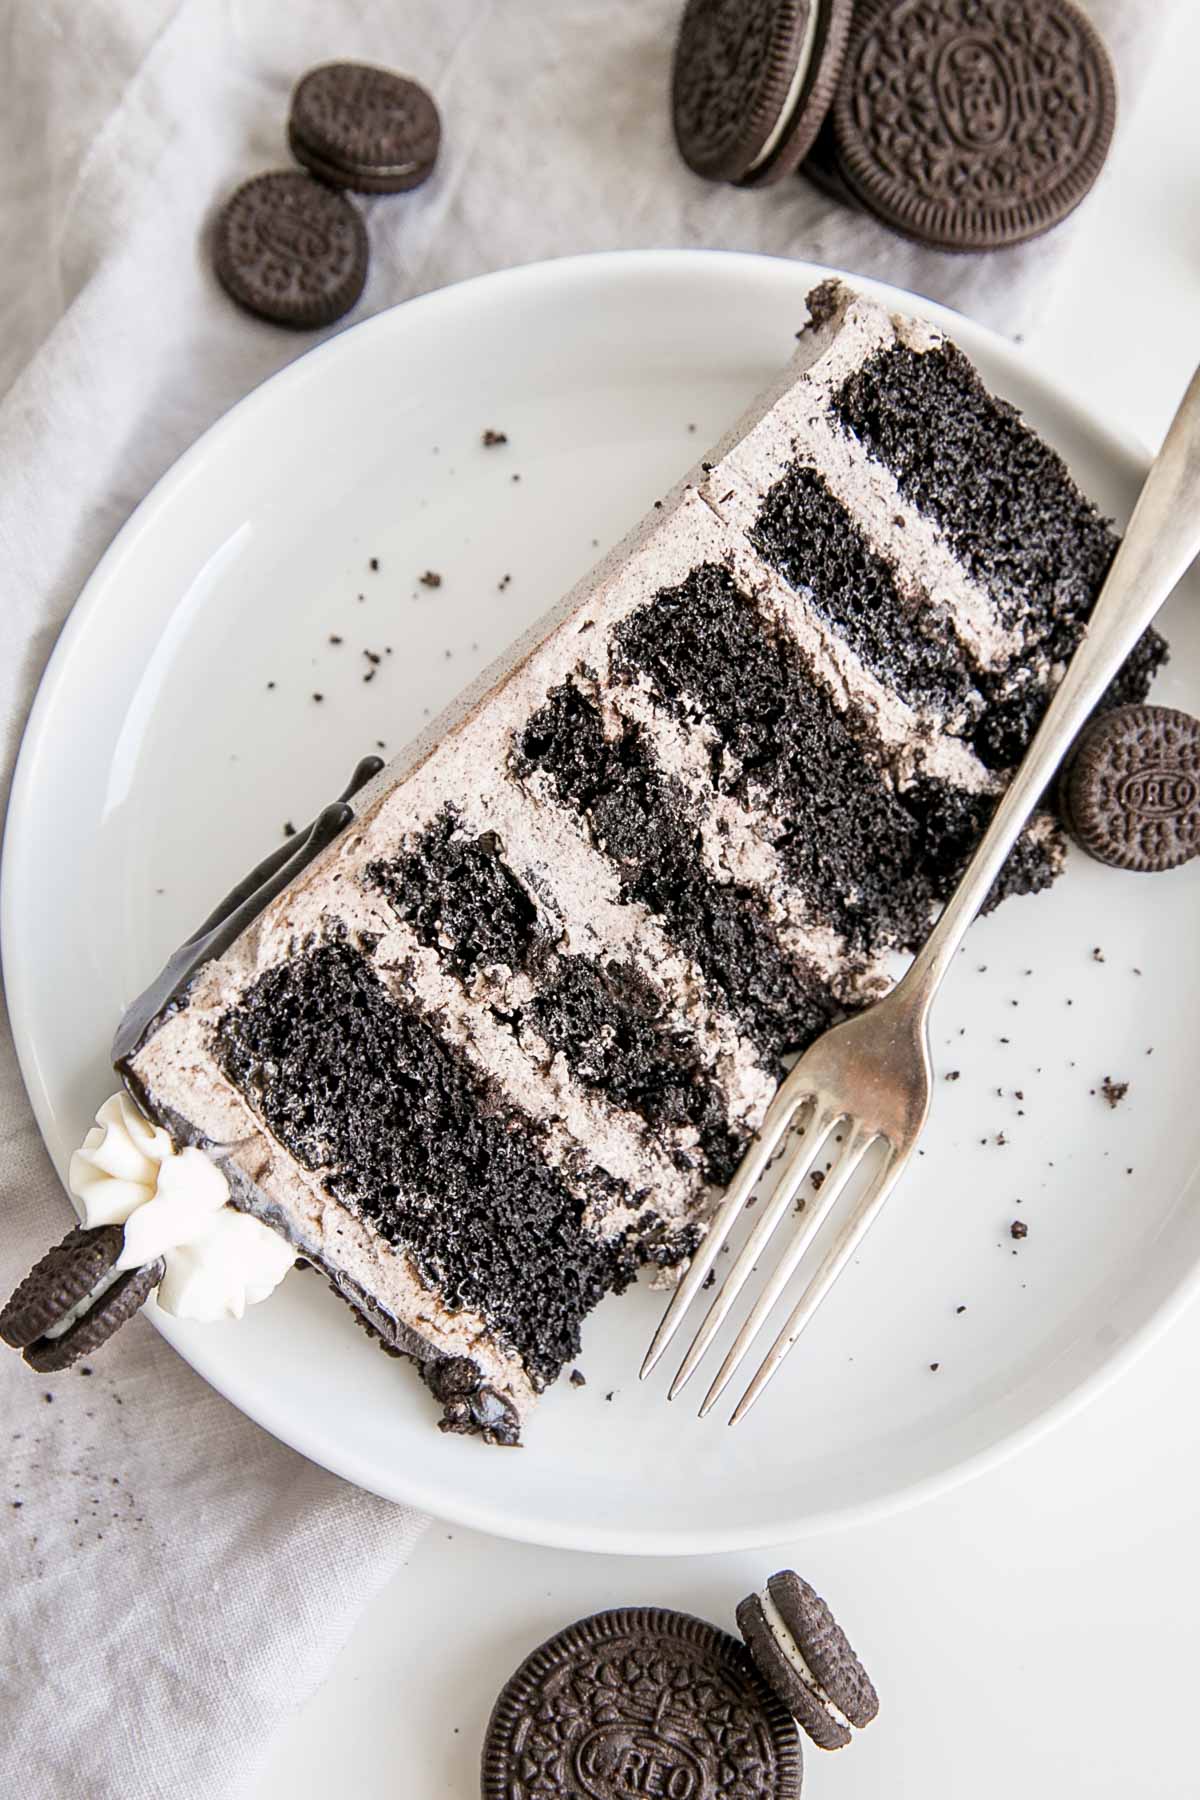
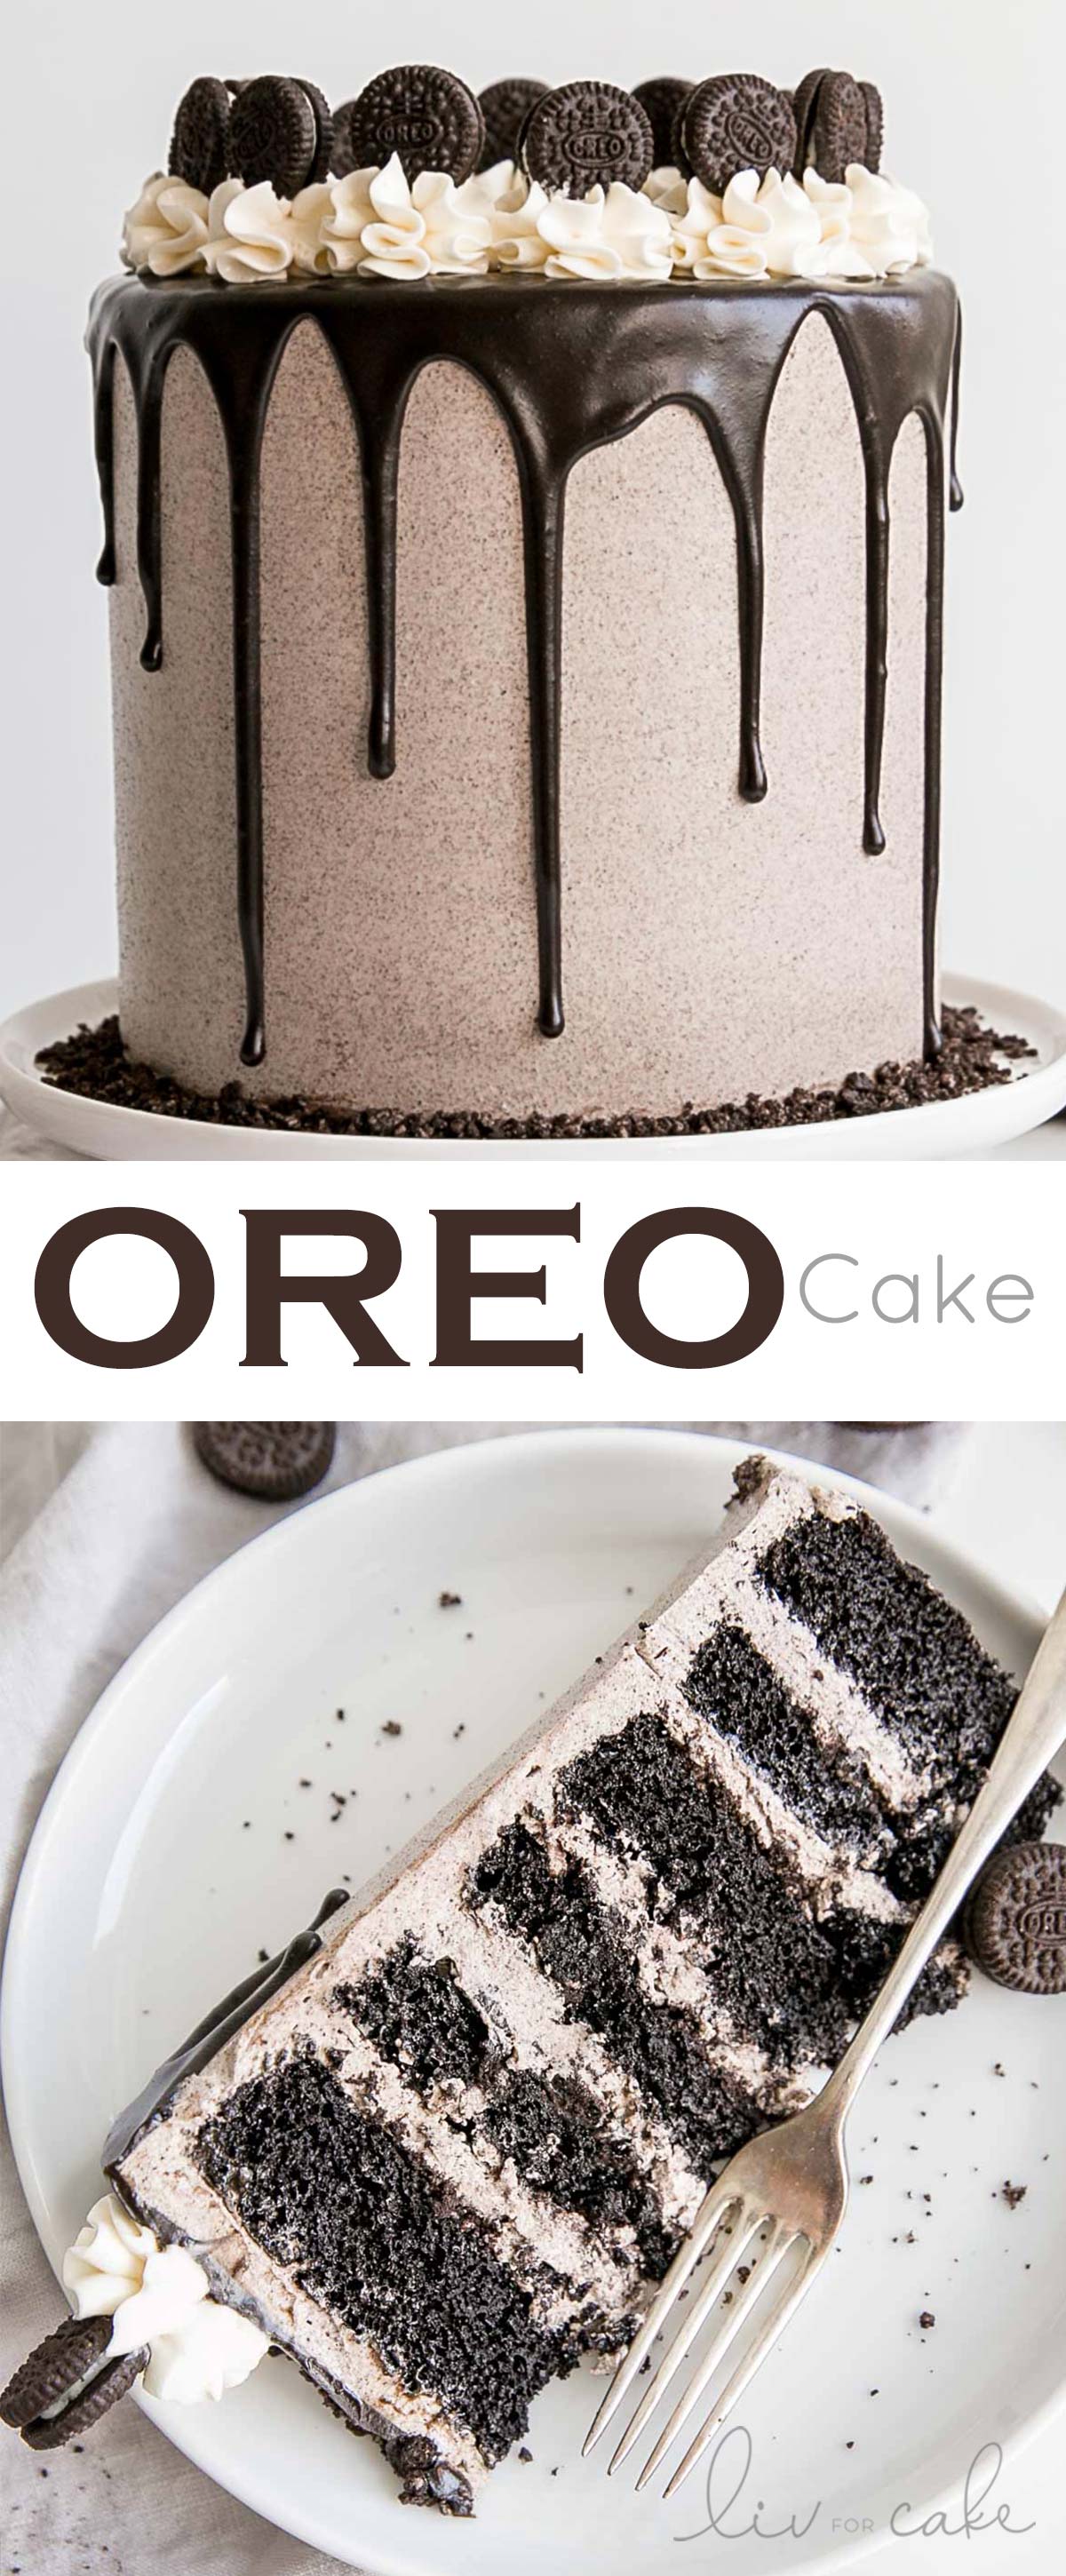
Six decadent layers of Oreo cake, Oreo buttercream, and a dark chocolate ganache. Perfect for the cookies and cream lover in your life!
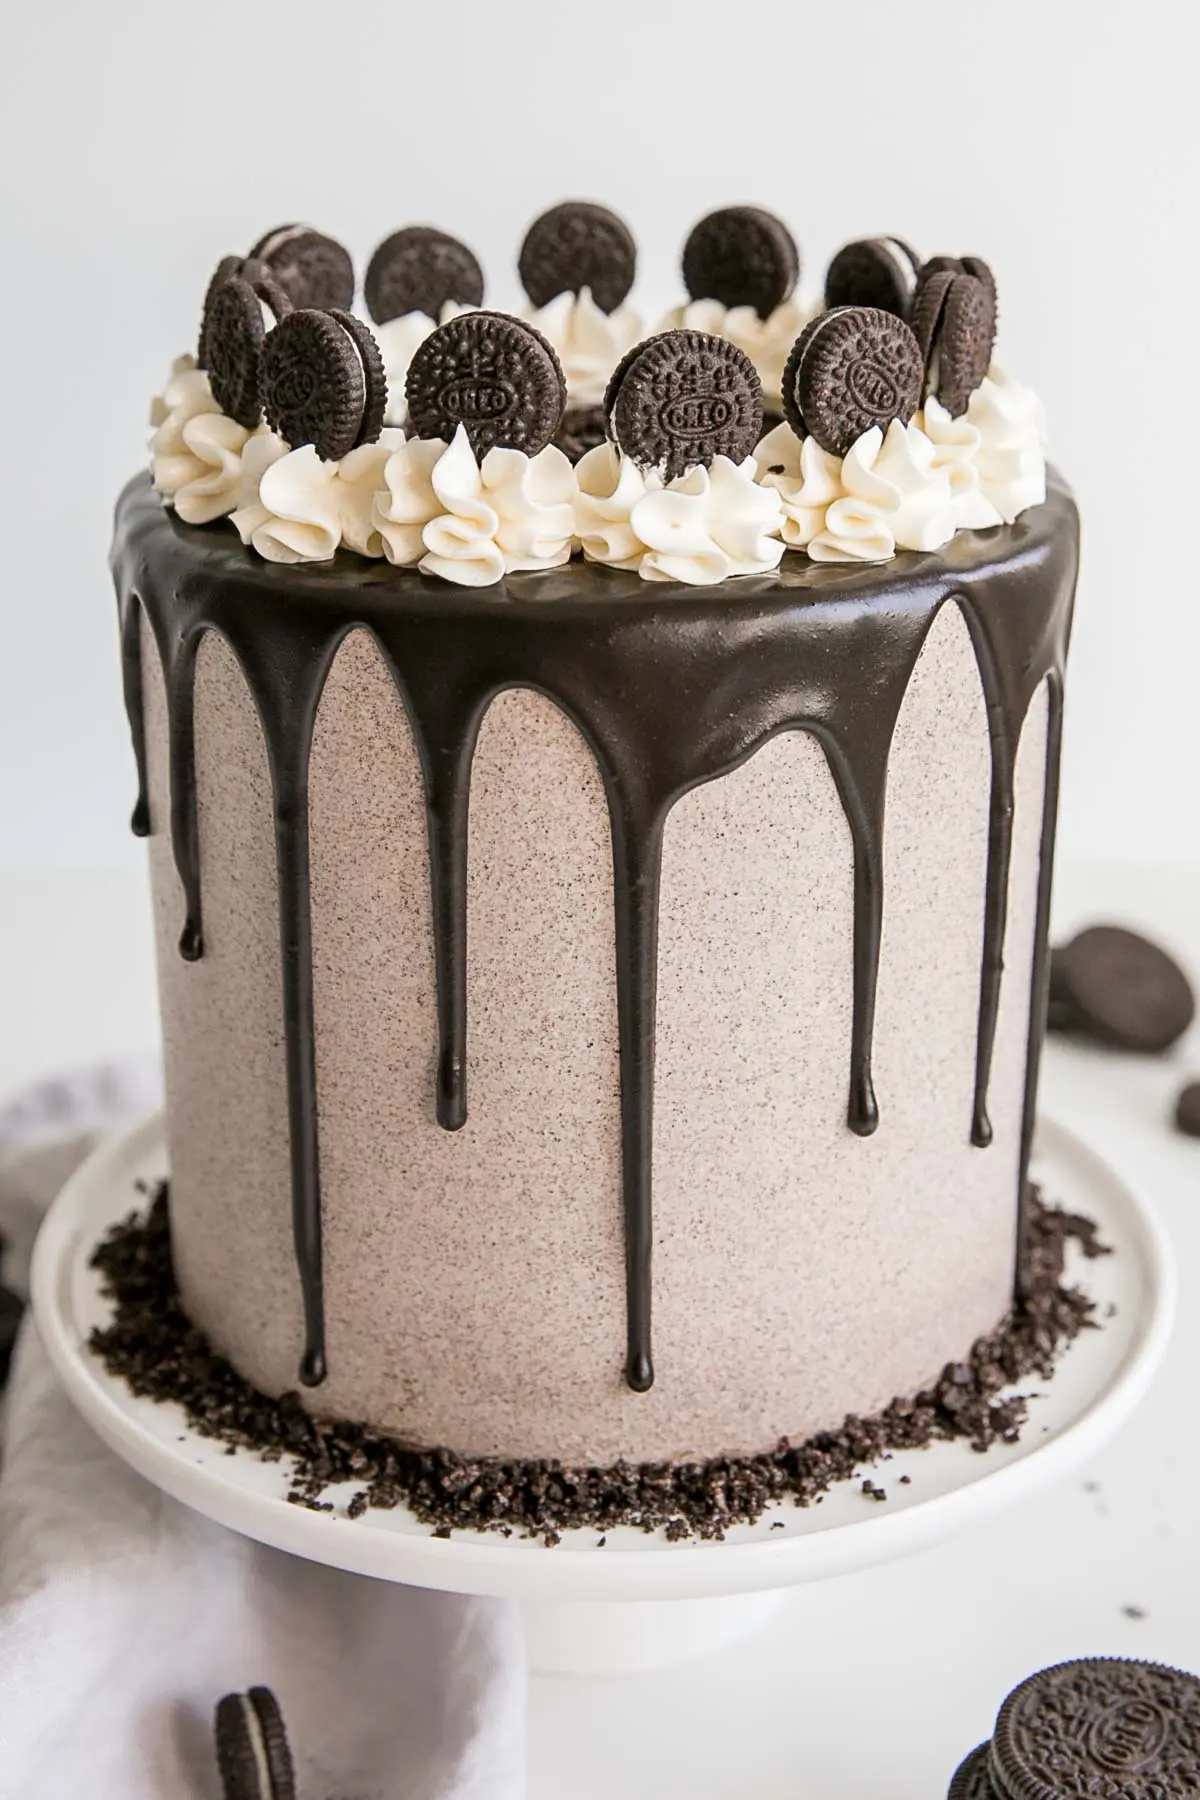
Hello Oreo lovers! Do I have your attention? Good, because this cake is for you. This Oreo Cake is actually an update of one of my older recipes (from 2016!). The photos were in dire need of a refresh, and I wanted to tweak the recipe a bit.
As you know, Ryan tends to be my go-to guy for ideas when I’m stuck on something to bake. Naturally, he gravitates to things that he already loves and asks me to turn them into cakes. Hence the Cinnamon Toast Crunch Cake, the S’mores Cake, and the Turtles Cake, to name a few.
When he suggested an Oreo Cake my arm didn’t need much twisting. I am a HUGE fan of Oreos. Though, truthfully, I prefer Golden Oreos to the original. Something about that vanilla cookie flavor goes so well with the Oreo filling! Be sure to check out my Golden Oreo Cake too for a delicious alternative.
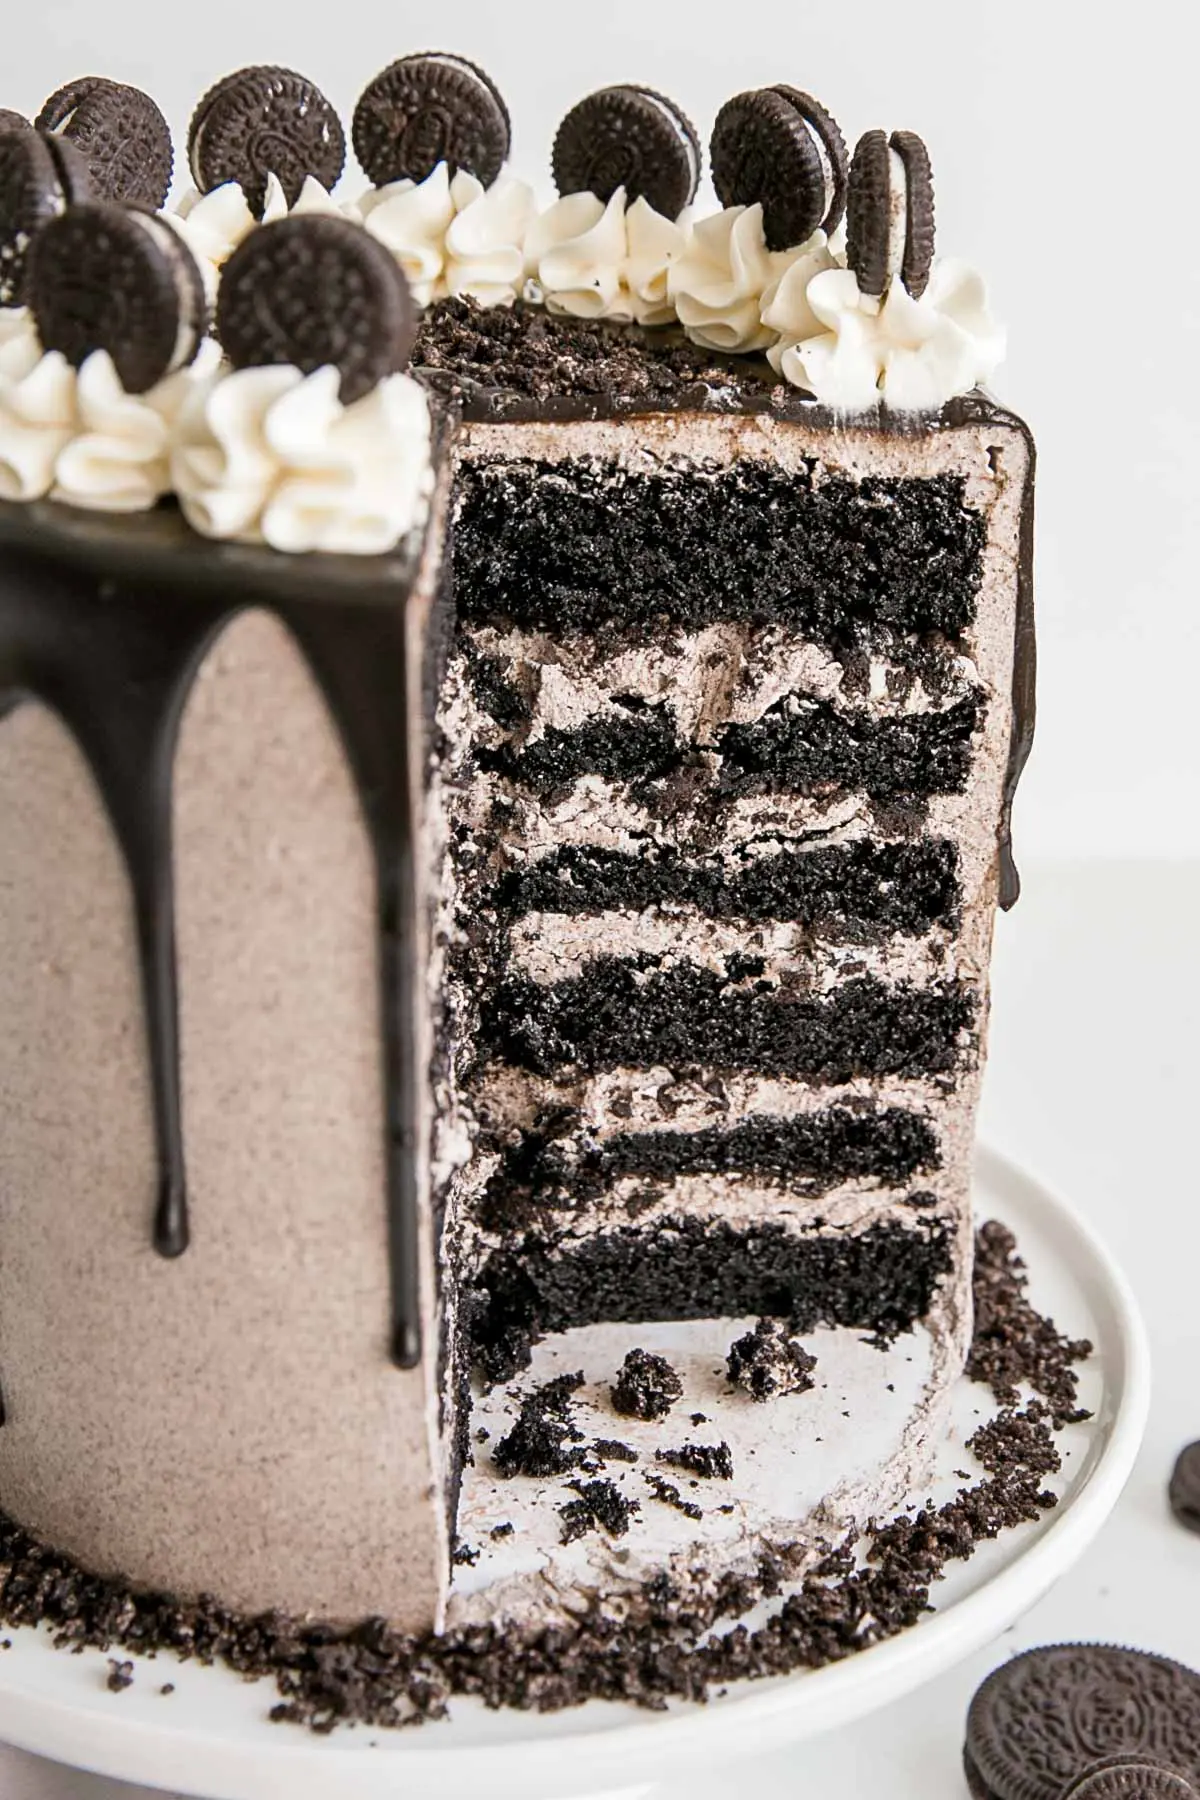
How Do You Make Oreo Cake?
This cake is packed with Oreo cookie flavor in the best ways possible. I modified my favorite chocolate cake recipe, and made a couple key modifications to Oreo-ify it:
- I swapped out some of the all-purpose flour for Oreo cookie crumbs
- I swapped out some of the cocoa powder for black cocoa
The Oreo cookie crumbs are very easy to get in Canada. You can literally find them in almost any grocery store, right next to the graham cracker crumbs. I hear they aren’t as easy to find in the US (is that right?). Really though, any chocolate cookie crumbs will do.
If you can’t find chocolate cookie crumbs, you can just make your own by separating Oreo cookies from the filling and pulsing the cookie parts in a food processor. Be sure to separate them — do not attempt to pulse whole cookies and use those in the cake batter.
Black cocoa powder is one of my favorite things ever. It’s what gives Oreo cookies that deep rich color and flavor. Black cocoa powder is a super dark Dutch-process cocoa, which basically means it’s had even more acid stripped from it.
Cake Tip!
It’s not recommended to replace all of the cocoa in a recipe with black cocoa powder, due to it’s very low fat content — it can make baked goods dry. Substituting half or so should be more than enough to get the flavor and color to come through.
If you don’t have black cocoa powder, you can substitute more Dutch-process or regular cocoa powder. It will affect the color and flavor slightly.
I used Oreo cookie crumbs again in the Swiss meringue buttercream frosting. This added both flavor and color in just the perfect way.
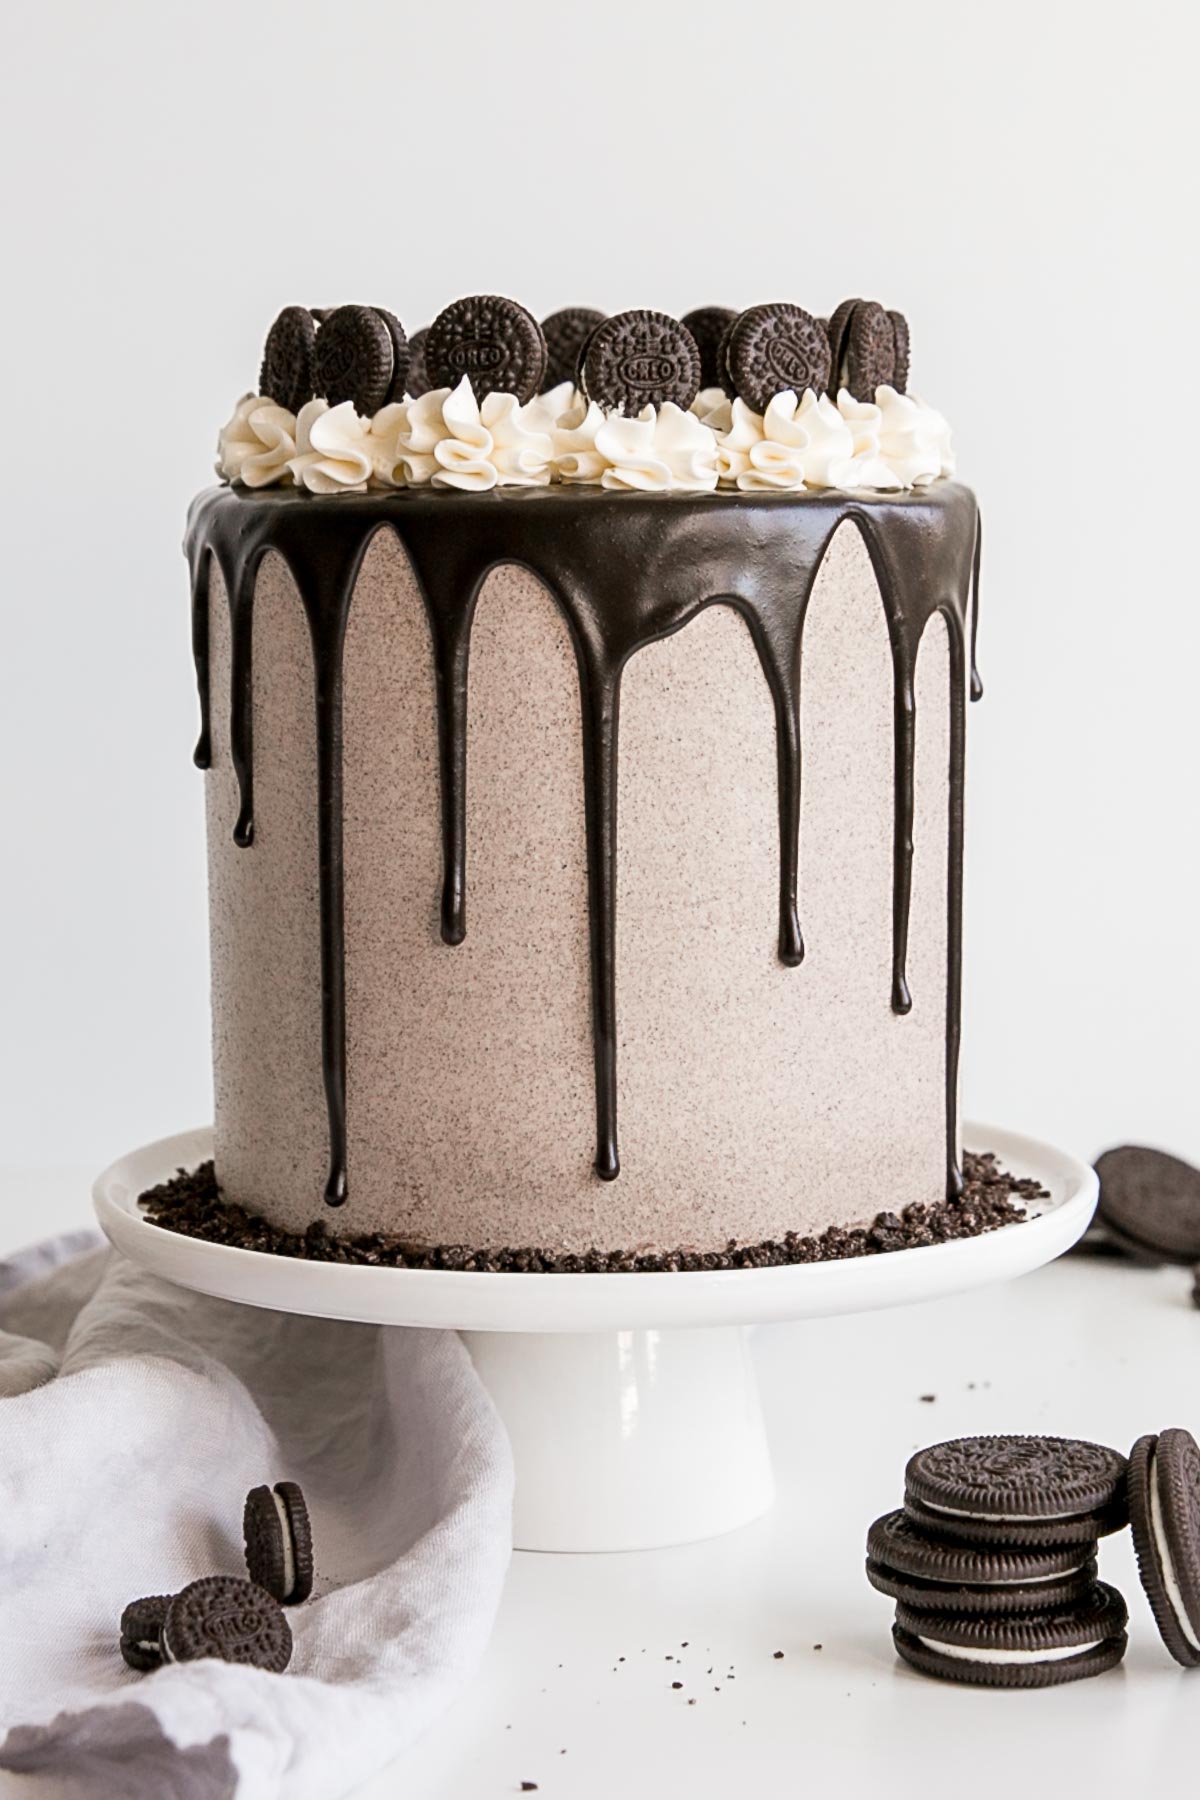
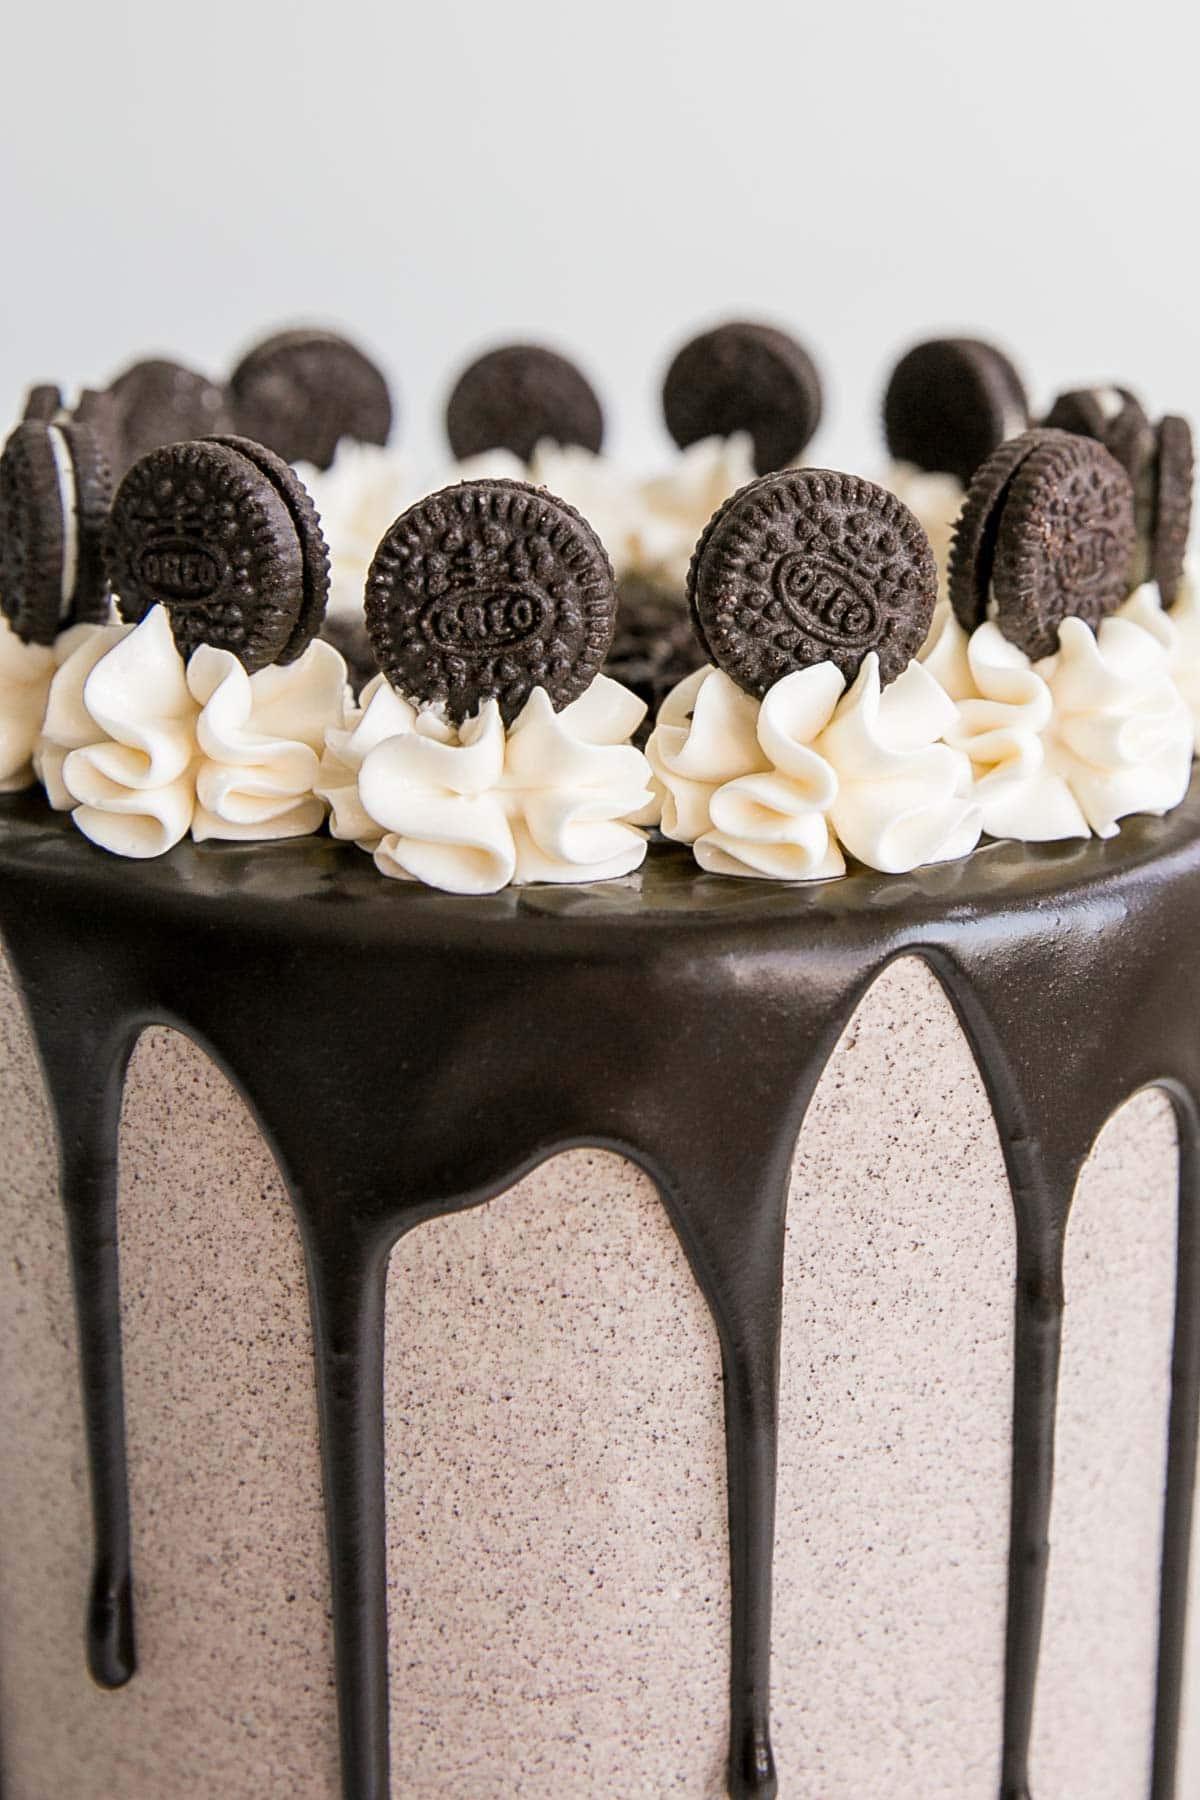
For additional flavor and texture, I added some chopped-up Oreo cookies between each of the cake layers, and finished the whole thing off with a dark chocolate ganache drip for good measure. I’ve been back on the drip cake trend lately, and I think that’s a good thing.
I tried to darken the dark chocolate ganache by adding some black color gel to the cream before microwaving it all. This worked okay, but it made the ganache a bit dull. At least I assume that’s what it was.
The only other difference was that I used the ganache later the same day instead of leaving it overnight and nuking it a bit in the morning to thin it out. But I think it was the color gel. It’s not shiny, but I think this color looks better than a brownish ganache would have.
Nothing, honestly. They are basically one and the same. Some people prefer to call them cookies and cream desserts, and some people Oreo. There are a ton of companies out there that produce cookies and cream desserts. There is some debate about which came first (kind of a chicken and egg thing happening).
I didn’t spend a ton of time researching it, but basically, it seems that everyone is claiming to have created the sandwich cookies. It’s the Oreo brand that popularized them, so they’re the ones we know today.
This Oreo Cake has been a popular recipe here on Liv for Cake over the years. If you’re a cookies and cream fan or have one in your life, you will LOVE this cake!
Frequently Asked Questions
How can I convert this recipe?
- The recipe as-is will also work in two 8″ pans, though the layers will be a bit thinner. For three 8″ pans, 1.5x the recipe. Baking time may need to be adjusted.
- To make cupcakes, all you need to do is reduce the baking time — start checking at 15mins or so. The recipe will make 18-24 cupcakes depending on size.
- For other conversions go here.
Can I make it in advance?
- The cooled cake layers can be baked ahead of time, double wrapped in plastic wrap, and frozen for up to 3 months. Take out 2-3 hours before assembly.
- The frosting can be placed in an airtight container and refrigerated for 1 week for frozen for 3 months. Bring to room temp and rewhip before using.
- The ganache can be made a day in advance and left on the counter overnight (with plastic wrap placed directly on the surface). It will need to be warmed slightly to thin out.
- The finished cake (whole or sliced, stored airtight) can be frozen for up to 3 months.
Can I get the measurements by weight/grams?
- There is a Metric option in the recipe card. If you click it it will convert everything to grams.
- This conversion is done automatically and I cannot guarantee the accuracy but many readers have had success using the metric option for this recipe.
What if I don’t have Black Cocoa/Dutch-process Cocoa Powder?
- If you don’t have black cocoa powder, you can substitute more Dutch-process or regular cocoa powder. It will affect the color and flavor slightly.
- I like to use Dutch-process cocoa powder in all of my chocolate recipes, but regular cocoa powder will work just fine. Dutch-process has had some of the acid stripped from it and yields a richer flavor overall. Again, it won’t make or break the recipe to use regular cocoa powder here.
What if I don’t have buttermilk?
- Buttermilk is not optional and cannot be swapped for milk as it will affect the overall result.
- If you don’t have buttermilk, you can make your own at home by combining 1 cup of milk (whole milk ideally, but I often just use 1%) with 1 Tbsp of lemon juice or vinegar and letting it sit for 10mins.
Can I use hot coffee instead of hot water?
- You’ll often see this kind of chocolate cake recipe using hot coffee instead of hot water in the batter, and you can use either.
Tips for making this Oreo Cookies and Cream Cake
- You can do this as a 3 layer cake instead of thinner 6 layers, but you will have some buttercream left over.
- I added a couple drops of black color gel to the ganache to darken it. This is optional.
- The cake layers are easiest to frost when they are chilled, as they are a bit firmer and help the buttercream set quicker.
- Check out my tutorial on How to Make Ganache for making the drip.
- I like to prepare my cake pans using Homemade Cake Release then line with parchment.
- Be sure to check my Swiss Meringue Buttercream post for tips and troubleshooting.
- Learn how to keep your cakes moist using Simple Syrup.
- To help ensure your cake layers bake up nice and flat, check out my Flat Top Cakes post!
Oreo Cake
Ingredients
Cake:
- 1 cup all-purpose flour
- 1/2 cup Oreo cookie crumbs sift first then measure to remove larger chunks
- 1 1/2 cups granulated sugar
- 6 Tbsp Dutch-processed cocoa powder sifted
- 6 Tbsp black cocoa powder
- 1 1/2 tsp baking soda
- 1 tsp baking powder
- 1 tsp salt
- 1/4 cup vegetable oil
- 3/4 cup buttermilk
- 3/4 cup hot water or hot coffee
- 2 large eggs
- 2 tsp vanilla extract
Oreo Buttercream:
- 6 large egg whites
- 2 cup granulated sugar
- 2 cups unsalted butter room temperature, cubed
- 1 tsp clear vanilla extract optional
- 1 cup Oreo cookie crumbs sifted
Dark Chocolate Ganache:
- 3 oz good quality dark chocolate chopped
- 3 oz heavy cream
- 1-2 drops black color gel optional
Assembly:
- 10 Oreos chopped
- mini Oreos optional
Instructions
Oreo Cake:
- Preheat oven to 350F, grease three 6″ round baking pans and dust with cocoa powder. Line bottoms with parchment.
- Place all dry ingredients into the bowl of a stand mixer fitted with a paddle attachment. Stir to combine.
- In a medium bowl whisk all wet ingredients (pour coffee in slowly as not to cook the eggs if very hot).
- Add wet ingredients to dry and mix on medium for 2-3 mins. Batter will be very thin.
- Pour evenly into prepared pans. I used a kitchen scale to ensure the batter is evenly distributed.
- Bake until a cake tester comes out mostly clean. A total of 30-35mins.
- Cool 10minutes in the pans then turn out onto a wire rack to cool completely. Once cooled, cut each layer in half horizontally to get 6 layers.
Oreo Buttercream:
- Place egg whites and sugar into the bowl of a stand mixer, whisk until combined.*
- Place bowl over a hot water bath on the stove and stir with a whisk until the mixture is no longer grainy to the touch (approx. 3mins).
- Place bowl on your stand mixer and whip on med-high until the meringue is stiff and cooled (the bowl is no longer warm to the touch (approx. 5-10mins)).
- Switch to paddle attachment. Slowly add cubed butter and mix until smooth.
- Add vanilla and whip until smooth.** Remove about 1 cup of buttercream and set aside.
- Add Oreo cookie crumbs to the remainder of the buttercream and whip until smooth.
Dark Chocolate Ganache:
- Add cream to a medium microwave safe bowl. Add 1-2 drops of black color gel and stir to combine (optional). Add chopped chocolate and microwave in 10second intervals, stirring in between, until completely smooth and shiny. Set aside to cool completely and thicken before using as a drip.
Assembly:
- Place one layer of cake on a cake stand or serving dish. Top with about 2/3 cup Oreo buttercream and sprinkle with chopped Oreos. Repeat with remaining layers. Do a think crumb coat all over the cake and chill for 20mins.
- Frost and smooth the outside of the cake with the remaining Oreo buttercream. Chill for 30mins until firm.
- Using a small spoon, place dollops of ganache around the top edges of the cooled cake, allowing some to drip down. Fill in the top of the cake with more ganache and spread evenly with an offset spatula. Allow to set for a few minutes.
- Fit a piping bag with a 1M piping tip. Fill with the white buttercream that was set aside. Pipe rosette dollops on top of the cake. Place a mini Oreo in the center of each dollop if desired.



Shaggie says
Hi Olivia,
Can I use black cacao instead of black cocoa?
Olivia says
Hi Shaggie! No, that is not the same thing from my experience. For best results use black cocoa powder.
Linda W says
I have been reading that you should use baking powder when you use dutch processed cocoa and black cocoa powder, and to use baking soda when you use natural cocoa. I used your recipe and the cake did not rise. Please help me to get this straight.
Olivia says
Hi Linda! The cake should actually rise a LOT — double in size for sure. I would check to make sure your baking powder and baking soda are both fresh. You need to use both for this recipe as well as the buttermilk so that everything is activated properly. Also make sure that you’re using three 6″ pans.
Bonnie W says
I use both. Fresh baking soda and baking powder. Every single time they collapse in the middle. I’ve baked with and without baking strips. I am using Dutch-process cocoa and black cocoa. Using buttermilk. I’ve checked oven temp, that’s right. I baked for a full 35 minutes. They have already collapsed in the center when I open the oven door. It feels like there is not enough gluten to support the structure maybe? But I’m at my wits end. The collapse in the middle is huge. I don’t know what else to do/try.
Olivia says
Ahh ok, collapsing in the middle is a different issue than not rising at all so there are a few things we can troubleshoot. Firstly, are you at high elevation, over 3000ft? That can cause problems such as this. This would cause a quick rise and collapse in the oven. But since it’s collapsing when you open the oven that usually means that the cake wasn’t done and needs more time. Did you use three 6″ pans or adjust the pan sizes? Every oven bakes differently. I suggest leaving it in for longer but if elevation or pan size is a factor let me know and we can troubleshoot that.
Gina LeBlanc says
This ganache is way to thick and just lays there . No drip. Product is very expensive and ive wasted so much trying . Cake is great
Olivia says
Hi Gina! Sorry to hear you had trouble with the ganache! It should be quite thin actually especially right after making it. It will thicken up if you let it sit but warming it up will get it to a pourable consistency again.
Varsha says
Hey! Thanks so much for the recipe. I’d like to make this as a 9 inch cake with atleast 3 layersthatare 2inches in height. Would tripling the recipe be enough?
Olivia says
Hi Varsha! Converting pan sizes is always tricky. Here are some sites I use as a guideline:
http://www.joyofbaking.com/PanSizes.html
https://www.cookipedia.co.uk/…/Cake_tin_conversion_charts
Based on that I would 2.25x the recipe for three 9″ pans. Make sure not to fill the pans more than half full though. The batter is super thin and doubles in size.
Heidi says
Hi,
Any advice for high elevation. I made the cake and it did not turn out at all.
Olivia says
Hi Heidi! Chocolate cakes like this are particularly challenging at high elevation due to all the raising agents. You will need to make some adjustments and it might take some experimentation on your part. I’ve never baked in high altitude, but here are some tips: https://www.kingarthurflour.com/learn/high-altitude-baking.html
Here are some general guidelines if you’re at 3000ft:
• Increase the oven temperature by 15-25F
• Decrease baking time by 5-10mins.
• Decrease sugar by 1 Tbsp per cup
• Decrease baking powder by 1/8 tsp per cup
• Increase liquid by 1-2 Tbsp per cup
• Add 1 Tbsp of flour
If you’re higher up than 3000ft, you will need to increase/decrease the ingredients incrementally. Again, it will require some experimentation. There are some great resources for high altitude baking out there.
Amy says
This was one of the best cakes I’ve ever made, and a showstopper at that. I used 8” tins and I’m glad I did. What a behemoth! Even a bit shorter and squatter, it barely fit into my cake carrier once the rosettes and mini Oreos were in place! For ease of assembly, I baked the cake layers one night and finished the buttercream and assembly the next morning. Thank you for helping me make an amazing birthday cake!
Olivia says
Hi Amy! So happy you loved it. Thanks for your tips!
Judy says
With COVID and 2020, while all the businesses were shutting down I had 4 birthdays in a 3 week time period of April -May. I decided to try my hand at making special cakes for my children while we were quarantined. I have used your recipes for all of them and have been surprisingly proud of my outcomes. I continue to make the cakes for my family’s birthdays and special occasions instead of ordering them. I try new things (with your guidance) and have loved all of the recipes I’ve tried. Today I made this Oreo cake and it turned out amazing!! My favorite yet. It was my first try at the Swiss merengue and I am hooked. Just wanted to stop by and say thank you. Cake baking has become quite a hobby of mine and I wouldn’t be as successful without your help.
Olivia says
Hi Judy! Thank you so much for the wonderful comment! You totally made my day. I’m so glad you found my recipes and that they’ve been part of your special celebrations. And yay for trying (and loving) SMBC!! It’s a game changer 🙂
Vasileia says
Hey Olivia, it’s my second time making the recipe. The first time it came out great but I used three layers instead of six. I would like to ask you whether you find that a three-layer cake is more stable than a six-layer. This time it will have to be moved. Also, how do you separate the batter equally in the tins? That was the most difficult part when making the cake the last time.
Olivia says
Hi Vasileia! A three layer would probably be a bit more stable but it depends on several factors. If the cake is chilled before transport then the frosting sets quite firm and should be no stability issues depending on how long it’s being transported and how far etc. I use a kitchen scale to make sure I have an equal amount of batter in each tin. I bake in three tins and then cut each of those layers in half. I hope that helps!
Cristina says
Not sure what I did wrong
The cake was very sunken in in the middle. I know the batter is wetter than most but not sure if that is correct. ? Any tips or insight would be super. The cake tasted great ! Just had the sunken in effect after baking. Thanks for this yummy dessert idea❤️
Olivia says
Hi Cristina! Did it sink in the middle after you took it out of the oven? If so then it just means it needed to be baked for longer. Every oven bakes differently so you need to check on the cakes as they are baking. If it sank IN the oven while still baking that can be due to either improper leavening, opening the oven before the cakes are set, or high elevation. I hope that helps!!
Thomas says
I’m using a scale, when measuring the cocoa powder should we use tablespoon like the recipe states or the metric amount. As the tablespoon amount is much less than if you measured it in grams, if you know what I mean
Olivia says
Hi Thomas! If you’re using a scale you should use the metric amount for the stuff listed in grams and tsp/tbsp if it’s listed in ml. I hope that helps!
nicolette says
Really yummy cake, but I felt the portions were way off. I doubled the recipe, which said would be 24 servings, but I’m guessing it’s closure to 16… and not generous sized pieces at all… just in case someone else is wanting to use this cake for a crowd!
Olivia says
Hi Nicolette! So happy you loved it. What size pans did you use for the 24 servings? I find they are quite generous as it’s a 6 layer cake, but everyone has their own preferences 🙂
Lindsay says
I have tried many of your recipes all fantastic. Which would you say work best for tiered cakes?
Olivia says
Hi Lindsay! Really most all of them should work provided the cakes are properly supported. Something with a soft whipped cream might be more of a challenge stacking but anything with a buttercream should be fine.
Dusty says
Hello, what do you recommend to make this in two 9″ round pans?
Olivia says
Hi Dusty! Converting pan sizes is always tricky. Here are some sites I use as a guideline:
http://www.joyofbaking.com/PanSizes.html
https://www.cookipedia.co.uk/recipes_wiki/Cake_tin_conversion_charts
I would probably 1.5x the recipe. You can change the Servings to adjust the amounts. Baking time may need to be adjusted. Be sure not to fill the pans more than half full.
Janet says
How do I adjust the Oreo cookie cake recipe for a 9×13 pan? Also how long would I bake it for?
Olivia says
Hi Janet! Converting pan sizes is always tricky. Here are some sites I use as a guideline:
http://www.joyofbaking.com/PanSizes.html
https://www.cookipedia.co.uk/recipes_wiki/Cake_tin_conversion_charts
Based on that, the recipe should work as-is in a 9×13 pan but the overall height might be lower. You can 1.25x the recipe if you like. Baking time is hard to say as every oven bakes differently! If you leave the recipe as is the baking time will be shorter. If you increase it it should be close to what’s listed. Here are the checks I run through to test if a cake is done:
1. Peek through the oven window. To see if the cakes are a nice golden brown (doesn’t really work for chocolate cakes).
2. Nudge the oven. Gently nudge your oven (assuming it’s free-standing and not built-in). If there is any jiggle in the center of the cakes, leave the oven door closed and bake for a few minutes longer.
3. Nudge the pans. Open the oven and gently nudge the pans. If there is any jiggle in the center of the cakes, close the oven door and bake for a few minutes longer.
4. Poke the cake. Gently poke the top of the cake with your finger. If the cake is firm and springs back, it’s ready for the next step.
5. Toothpick test. Insert a toothpick into the middle of the cake. When there are a few crumbs on the toothpick, the cake is ready. You want crumbs on there because the cake keeps cooking when you take it out of the oven.
Shelly says
I’m trying to make these as cupcakes, if my brain isn’t completely FRIED. (I tried professional level “recipe math” for 9” pans. Then realized you used 3!-6” pans, and I have 2-9” pans. It dawned on me later the conversion table is 1:1. 🤯)!!
SO! CUPCAKES IT IS!
What would you do with the ganache? I guess if I bake and get “peaks”, I could dip? Or if they are fairly flat, just spoon on a layer?
I guess I’m asking if it really makes a difference in the overall flavor.
Thanks!
And, YES I actually did finish the conversion from 3-6” to 1-6”, then 6” to 9”, and X2 for 2-9” pans!! 😳🤪
Olivia says
Hi Shelly! The recipe as-is will make 18-24 cupcakes depending on size. I would drizzle the ganache over the frosted cupcakes 🙂
Taylor says
I am making this for someone pregnant. Is there a frosting that would work that does not contain raw eggs??
Olivia says
Hi Taylor! Yes, I have a few options that would work well. Just add Oreo cookie crumbs to them:
https://livforcake.com/ermine-frosting/
https://livforcake.com/german-buttercream/
https://livforcake.com/simple-vanilla-buttercream/
Alex says
hi, i was wondering if i could make this as an 8×8” cake and if so how much of the recipe should i use and how long is the baking time? thanks
Olivia says
Hi Alex! Converting pan sizes is always tricky. Here are some sites I use as a guideline:
http://www.joyofbaking.com/PanSizes.html
https://www.cookipedia.co.uk/recipes_wiki/Cake_tin_conversion_charts
Stacey says
I’m attempting this cake for my mum’s birthday, but I can’t find black cocoa, only a huge bag of it! What can I use instead? I can get 100% cocoa chocolate bar?
Olivia says
Hi Stacey! I talk about this in the Tips section above the recipe: If you don’t have black cocoa powder, you can substitute more Dutch-process or regular cocoa powder. It will affect the color and flavour slightly.
Amber Ellis says
What’s the purpose of parchment if the pans are already greased and dusted?
Olivia says
Hi Amber! Even with greasing and dusting the cakes can sometimes stick to the bottom. The parchment is just an extra layer of protection from that.
Allyson says
This cake is so delicious and so pretty. I always feel intimidated by Swiss meringue buttercream but it really is quick and easy to make, and is so smooth and creamy and not too sweet. My family LOVED it.
Olivia says
Hi Allyson! So happy everyone loved it. Thanks for the feedback!