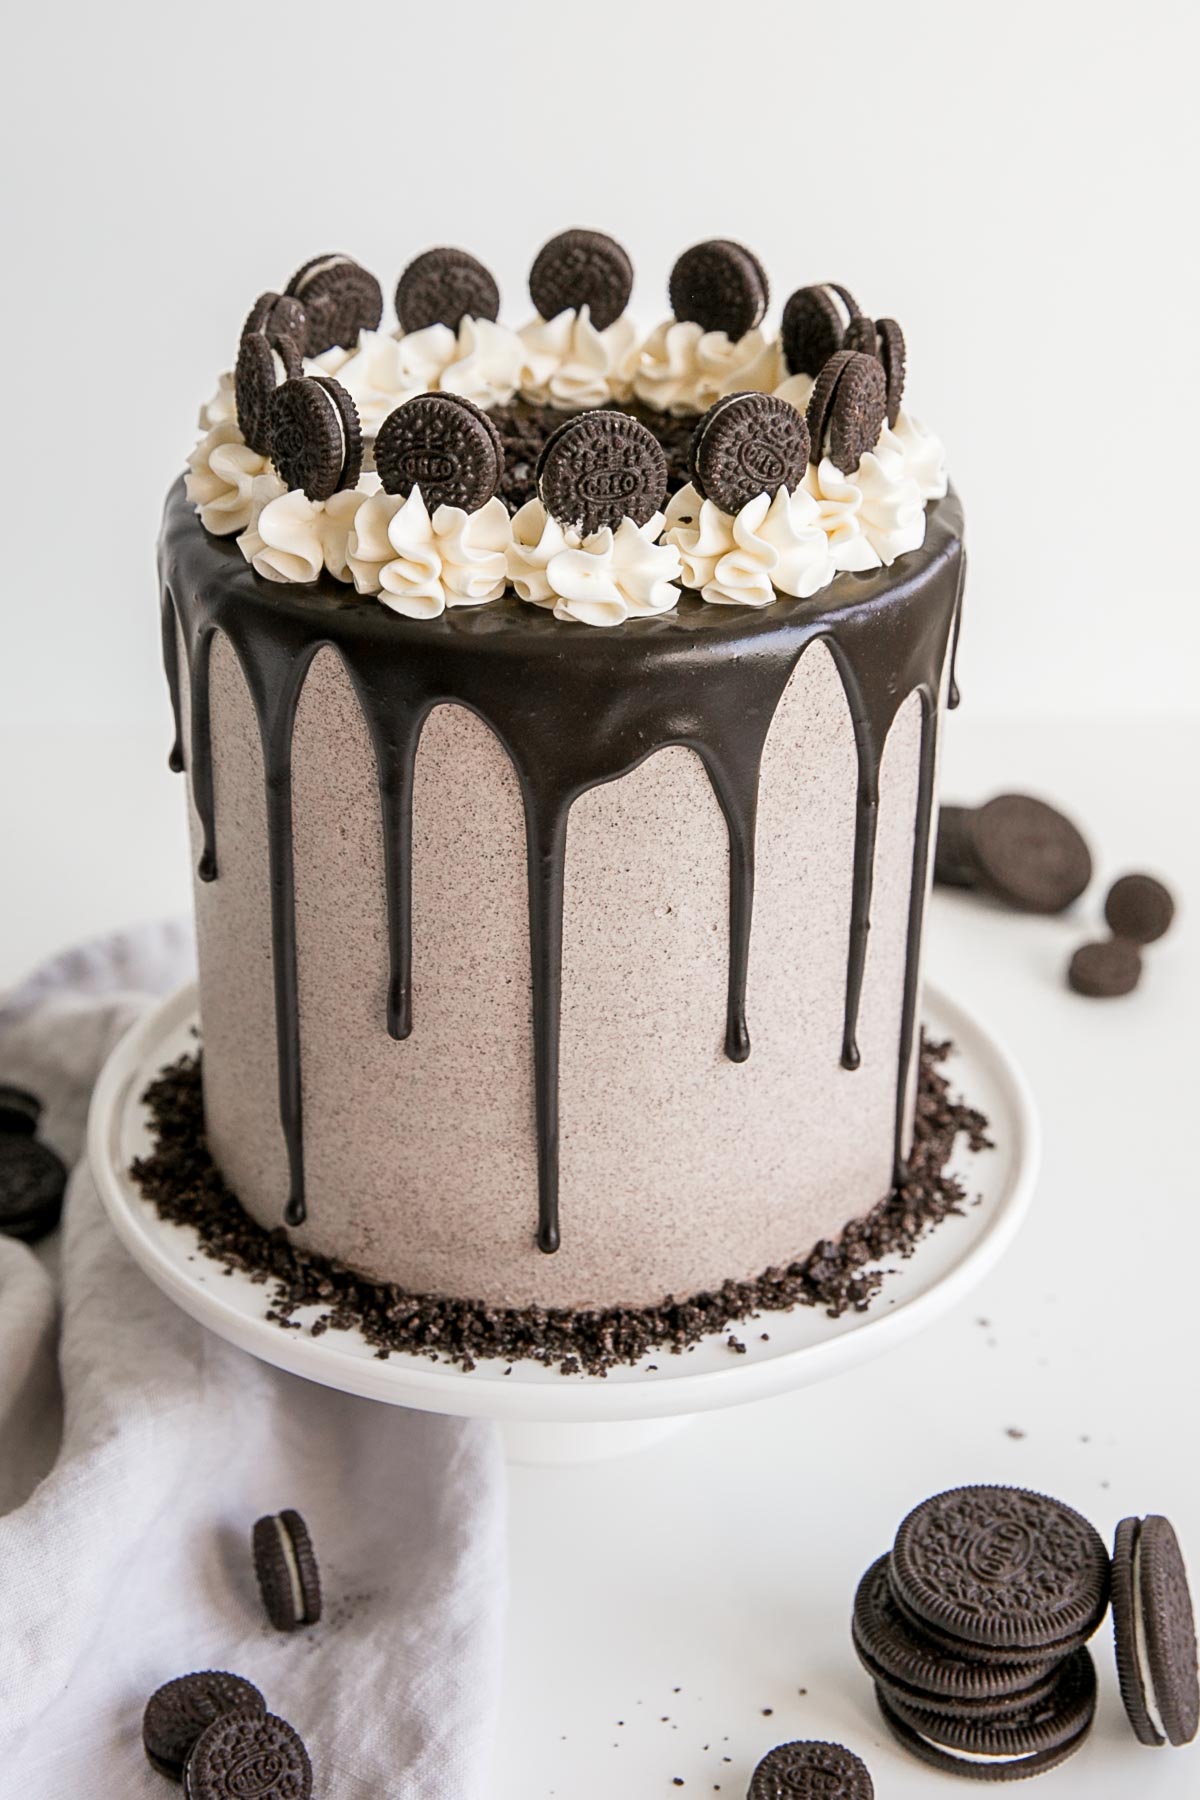
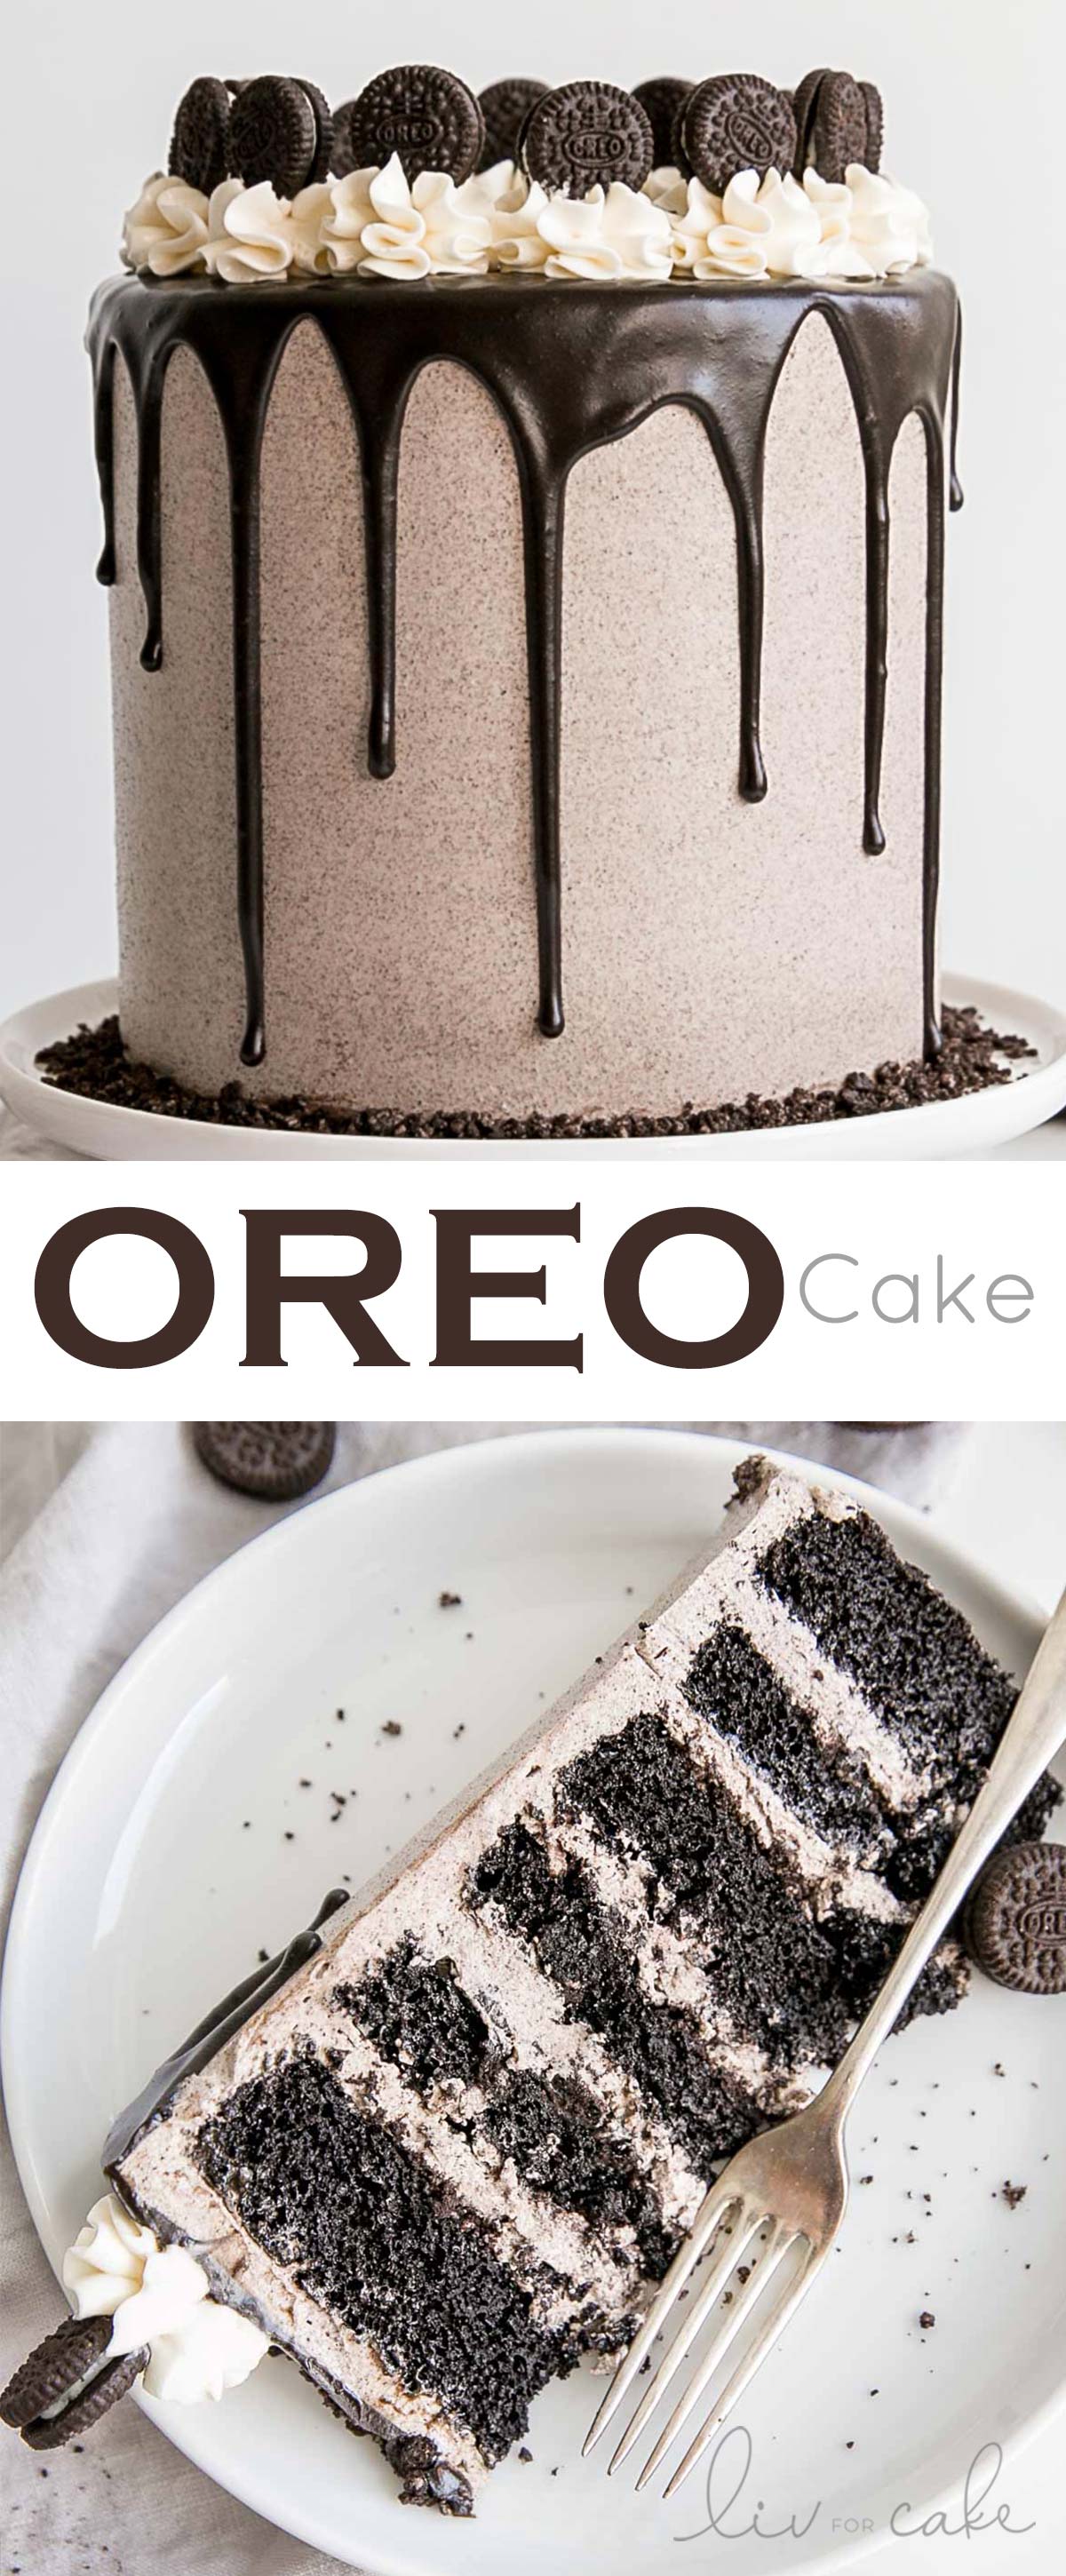
Six decadent layers of Oreo cake, Oreo buttercream, and a dark chocolate ganache. Perfect for the cookies and cream lover in your life!
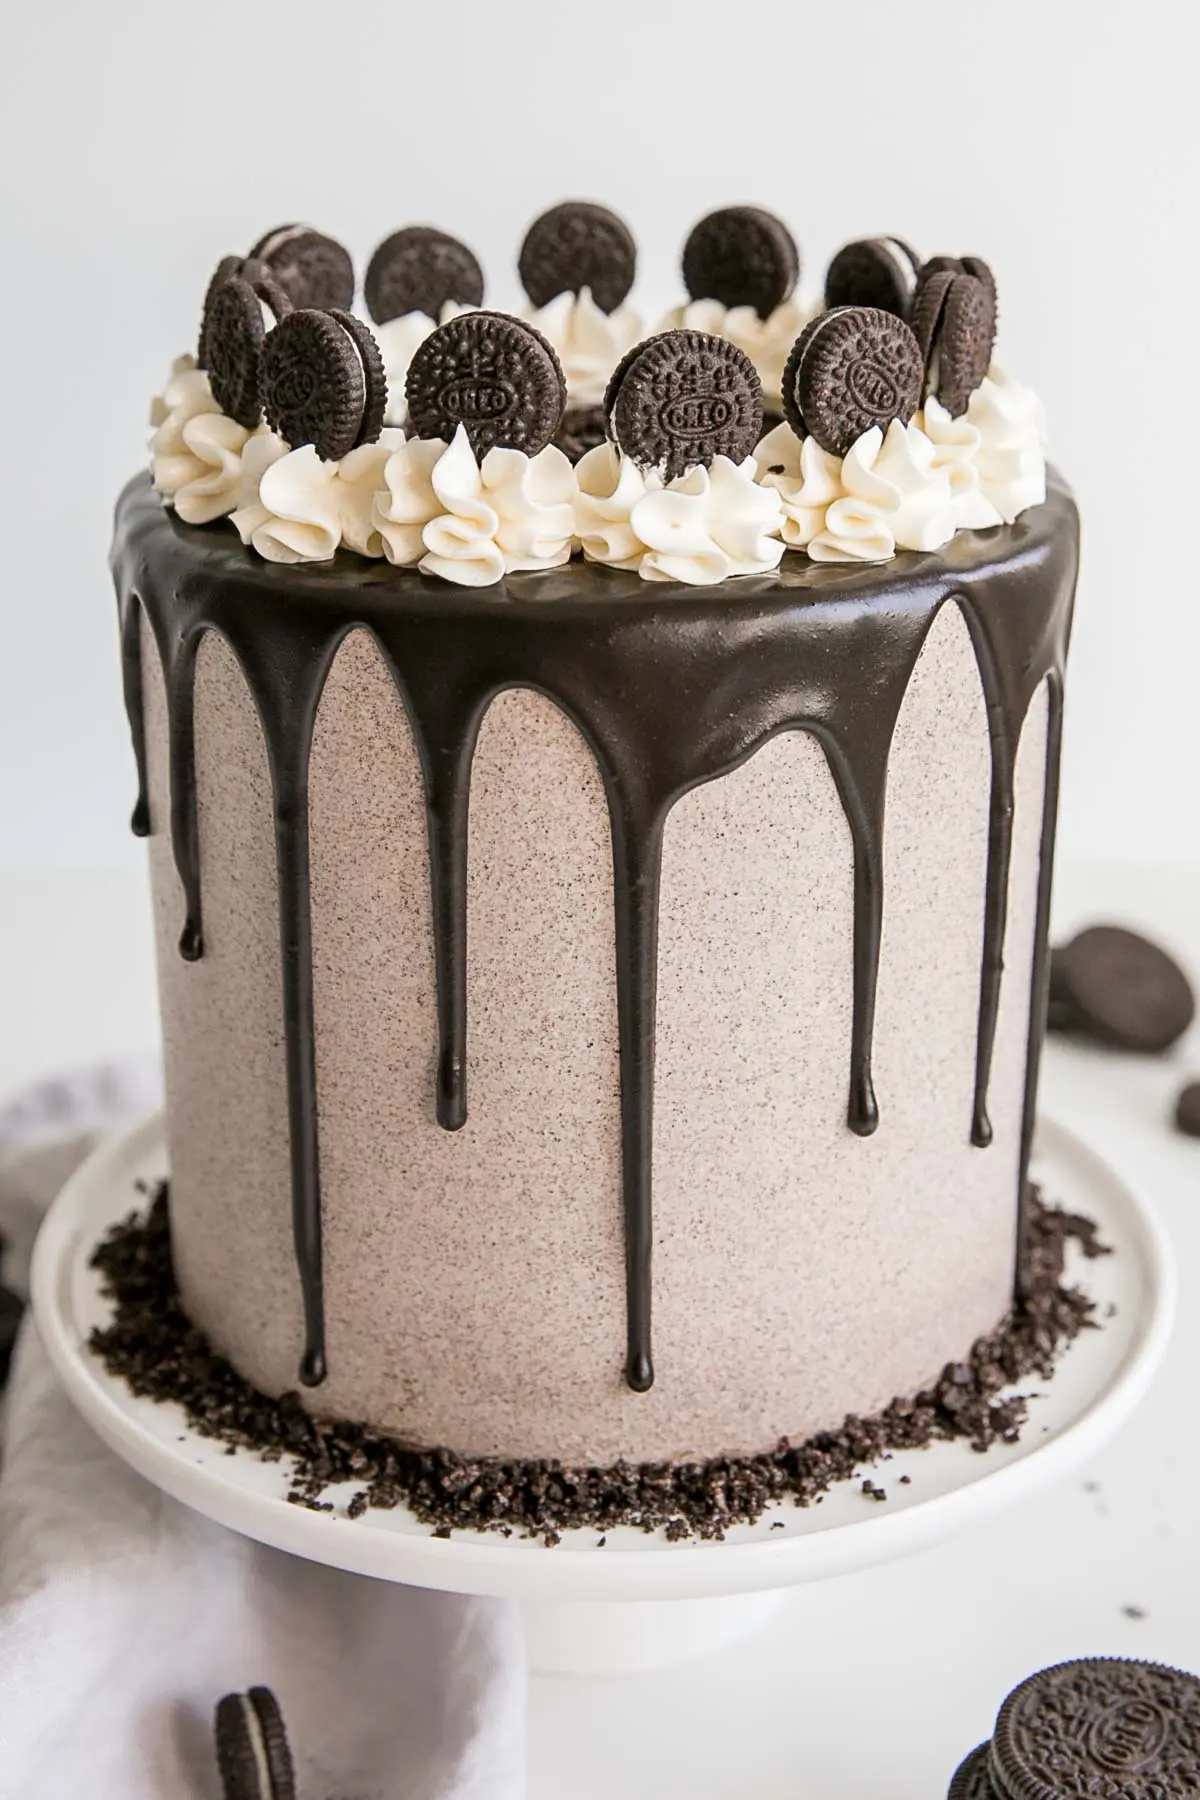
Hello Oreo lovers! Do I have your attention? Good, because this cake is for you. This Oreo Cake is actually an update of one of my older recipes (from 2016!). The photos were in dire need of a refresh, and I wanted to tweak the recipe a bit.
As you know, Ryan tends to be my go-to guy for ideas when I’m stuck on something to bake. Naturally, he gravitates to things that he already loves and asks me to turn them into cakes. Hence the Cinnamon Toast Crunch Cake, the S’mores Cake, and the Turtles Cake, to name a few.
When he suggested an Oreo Cake my arm didn’t need much twisting. I am a HUGE fan of Oreos. Though, truthfully, I prefer Golden Oreos to the original. Something about that vanilla cookie flavor goes so well with the Oreo filling! Be sure to check out my Golden Oreo Cake too for a delicious alternative.
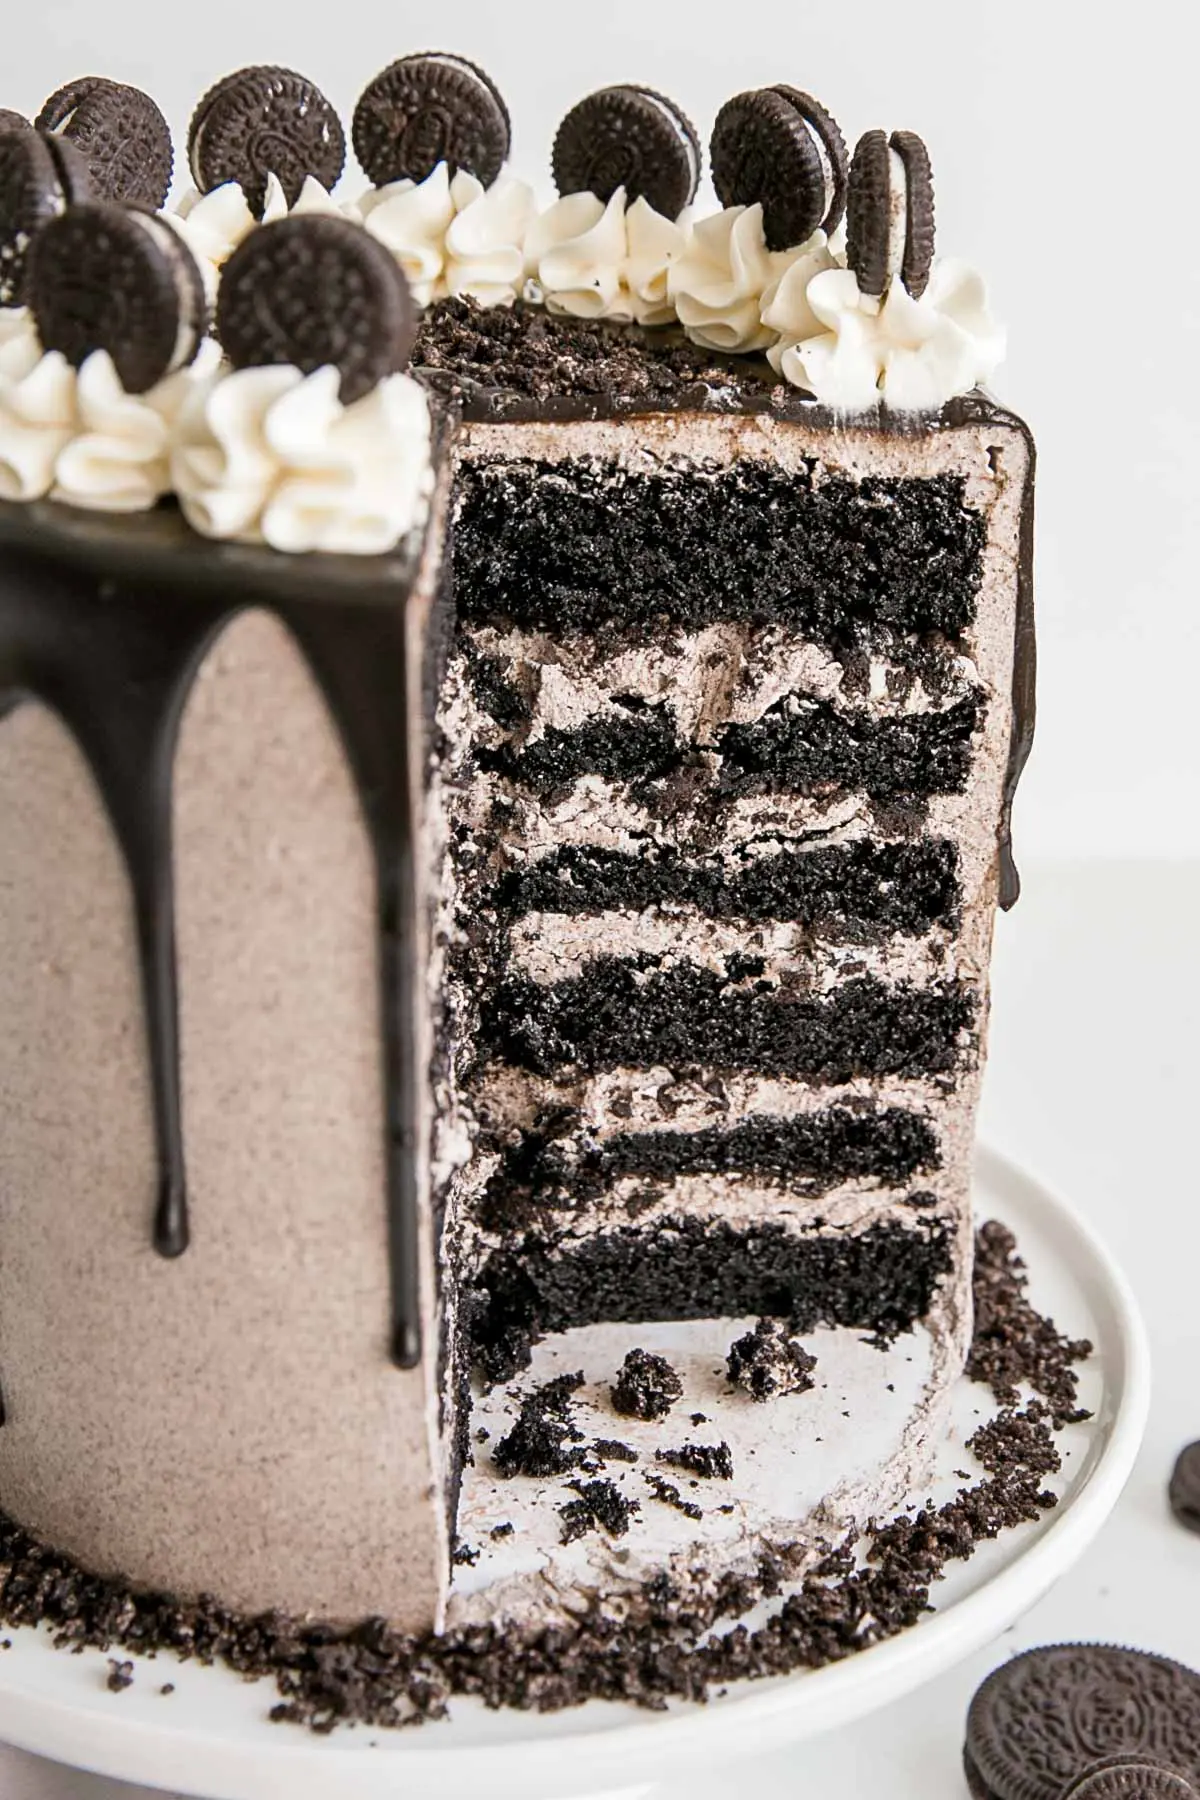
How Do You Make Oreo Cake?
This cake is packed with Oreo cookie flavor in the best ways possible. I modified my favorite chocolate cake recipe, and made a couple key modifications to Oreo-ify it:
- I swapped out some of the all-purpose flour for Oreo cookie crumbs
- I swapped out some of the cocoa powder for black cocoa
The Oreo cookie crumbs are very easy to get in Canada. You can literally find them in almost any grocery store, right next to the graham cracker crumbs. I hear they aren’t as easy to find in the US (is that right?). Really though, any chocolate cookie crumbs will do.
If you can’t find chocolate cookie crumbs, you can just make your own by separating Oreo cookies from the filling and pulsing the cookie parts in a food processor. Be sure to separate them — do not attempt to pulse whole cookies and use those in the cake batter.
Black cocoa powder is one of my favorite things ever. It’s what gives Oreo cookies that deep rich color and flavor. Black cocoa powder is a super dark Dutch-process cocoa, which basically means it’s had even more acid stripped from it.
Cake Tip!
It’s not recommended to replace all of the cocoa in a recipe with black cocoa powder, due to it’s very low fat content — it can make baked goods dry. Substituting half or so should be more than enough to get the flavor and color to come through.
If you don’t have black cocoa powder, you can substitute more Dutch-process or regular cocoa powder. It will affect the color and flavor slightly.
I used Oreo cookie crumbs again in the Swiss meringue buttercream frosting. This added both flavor and color in just the perfect way.
For additional flavor and texture, I added some chopped-up Oreo cookies between each of the cake layers, and finished the whole thing off with a dark chocolate ganache drip for good measure. I’ve been back on the drip cake trend lately, and I think that’s a good thing.
I tried to darken the dark chocolate ganache by adding some black color gel to the cream before microwaving it all. This worked okay, but it made the ganache a bit dull. At least I assume that’s what it was.
The only other difference was that I used the ganache later the same day instead of leaving it overnight and nuking it a bit in the morning to thin it out. But I think it was the color gel. It’s not shiny, but I think this color looks better than a brownish ganache would have.
Nothing, honestly. They are basically one and the same. Some people prefer to call them cookies and cream desserts, and some people Oreo. There are a ton of companies out there that produce cookies and cream desserts. There is some debate about which came first (kind of a chicken and egg thing happening).
I didn’t spend a ton of time researching it, but basically, it seems that everyone is claiming to have created the sandwich cookies. It’s the Oreo brand that popularized them, so they’re the ones we know today.
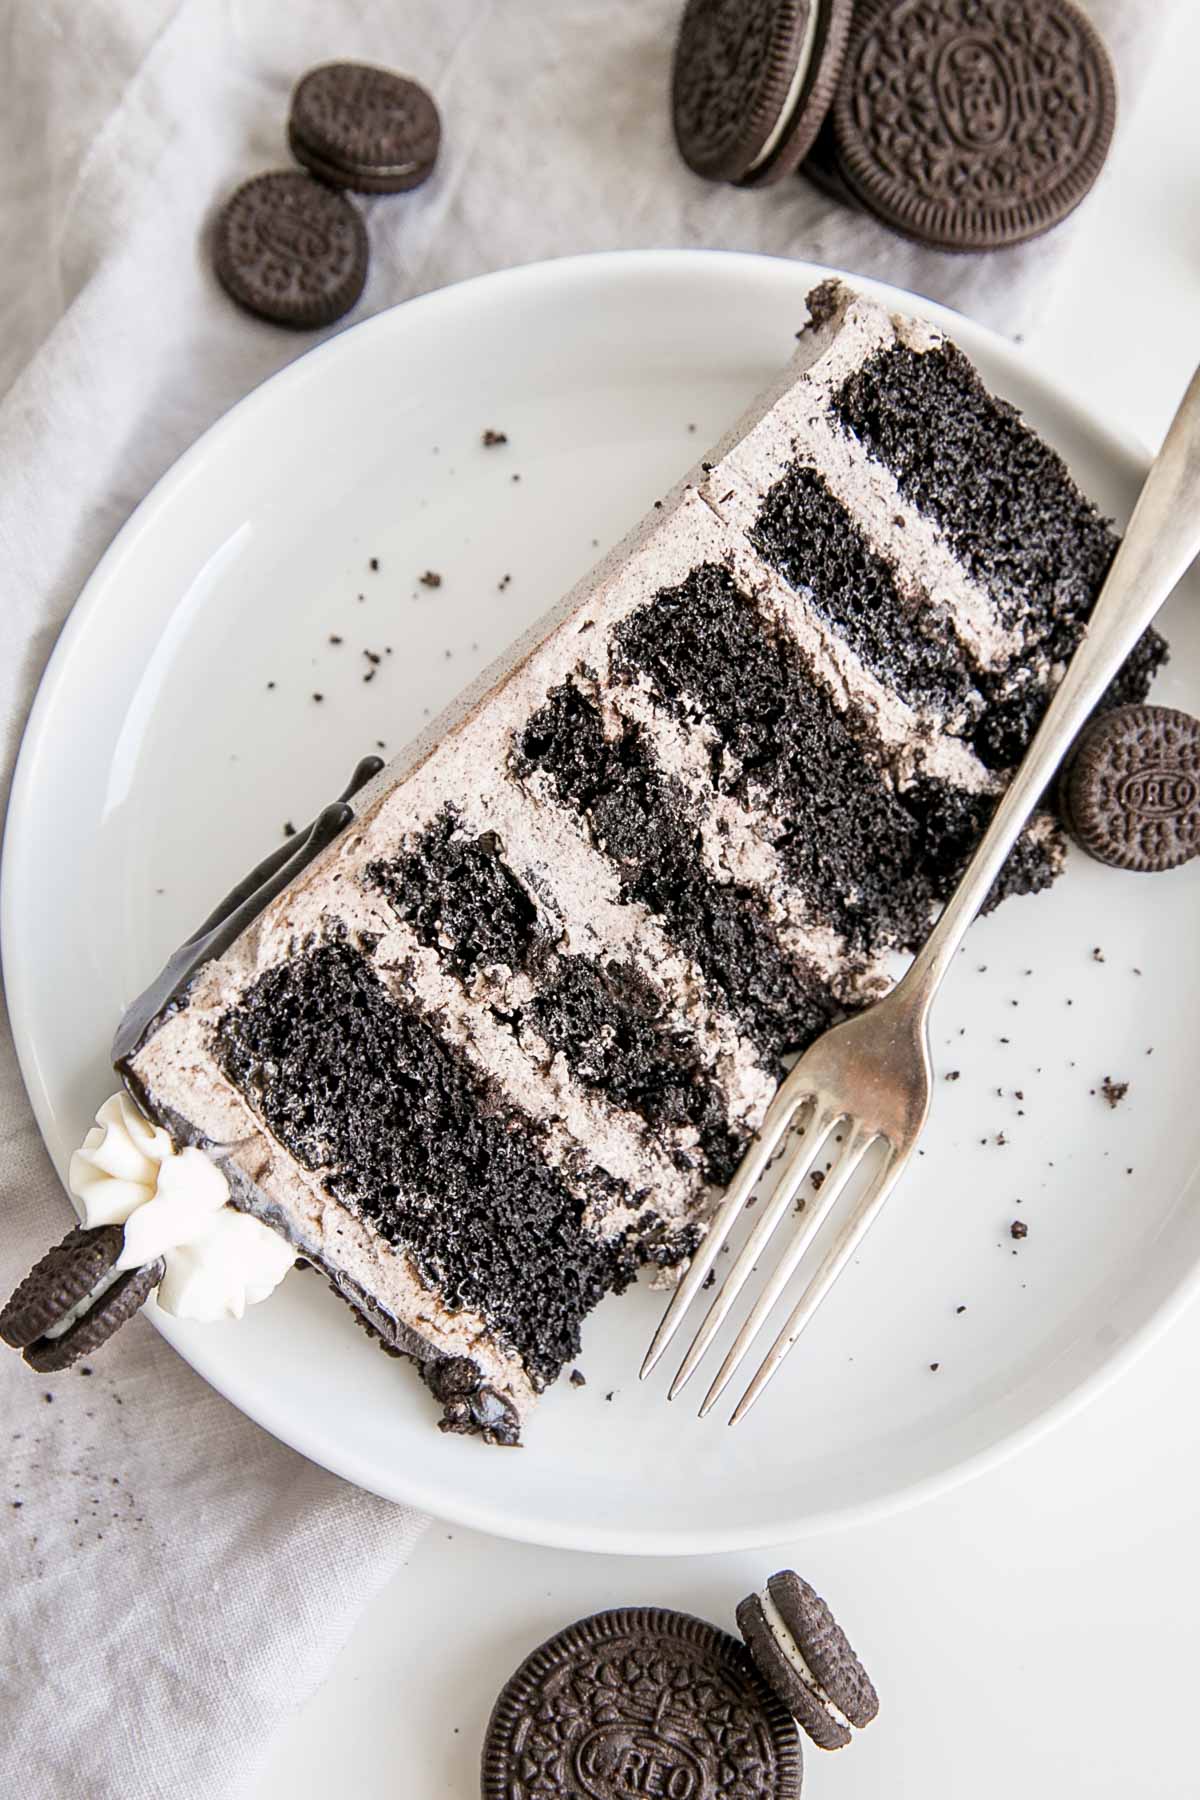
This Oreo Cake has been a popular recipe here on Liv for Cake over the years. If you’re a cookies and cream fan or have one in your life, you will LOVE this cake!
Frequently Asked Questions
How can I convert this recipe?
- The recipe as-is will also work in two 8″ pans, though the layers will be a bit thinner. For three 8″ pans, 1.5x the recipe. Baking time may need to be adjusted.
- To make cupcakes, all you need to do is reduce the baking time — start checking at 15mins or so. The recipe will make 18-24 cupcakes depending on size.
- For other conversions go here.
Can I make it in advance?
- The cooled cake layers can be baked ahead of time, double wrapped in plastic wrap, and frozen for up to 3 months. Take out 2-3 hours before assembly.
- The frosting can be placed in an airtight container and refrigerated for 1 week for frozen for 3 months. Bring to room temp and rewhip before using.
- The ganache can be made a day in advance and left on the counter overnight (with plastic wrap placed directly on the surface). It will need to be warmed slightly to thin out.
- The finished cake (whole or sliced, stored airtight) can be frozen for up to 3 months.
Can I get the measurements by weight/grams?
- There is a Metric option in the recipe card. If you click it it will convert everything to grams.
- This conversion is done automatically and I cannot guarantee the accuracy but many readers have had success using the metric option for this recipe.
What if I don’t have Black Cocoa/Dutch-process Cocoa Powder?
- If you don’t have black cocoa powder, you can substitute more Dutch-process or regular cocoa powder. It will affect the color and flavor slightly.
- I like to use Dutch-process cocoa powder in all of my chocolate recipes, but regular cocoa powder will work just fine. Dutch-process has had some of the acid stripped from it and yields a richer flavor overall. Again, it won’t make or break the recipe to use regular cocoa powder here.
What if I don’t have buttermilk?
- Buttermilk is not optional and cannot be swapped for milk as it will affect the overall result.
- If you don’t have buttermilk, you can make your own at home by combining 1 cup of milk (whole milk ideally, but I often just use 1%) with 1 Tbsp of lemon juice or vinegar and letting it sit for 10mins.
Can I use hot coffee instead of hot water?
- You’ll often see this kind of chocolate cake recipe using hot coffee instead of hot water in the batter, and you can use either.
Tips for making this Oreo Cookies and Cream Cake
- You can do this as a 3 layer cake instead of thinner 6 layers, but you will have some buttercream left over.
- I added a couple drops of black color gel to the ganache to darken it. This is optional.
- The cake layers are easiest to frost when they are chilled, as they are a bit firmer and help the buttercream set quicker.
- Check out my tutorial on How to Make Ganache for making the drip.
- I like to prepare my cake pans using Homemade Cake Release then line with parchment.
- Be sure to check my Swiss Meringue Buttercream post for tips and troubleshooting.
- Learn how to keep your cakes moist using Simple Syrup.
- To help ensure your cake layers bake up nice and flat, check out my Flat Top Cakes post!
Oreo Cake
Ingredients
Cake:
- 1 cup all-purpose flour
- 1/2 cup Oreo cookie crumbs sift first then measure to remove larger chunks
- 1 1/2 cups granulated sugar
- 6 Tbsp Dutch-processed cocoa powder sifted
- 6 Tbsp black cocoa powder
- 1 1/2 tsp baking soda
- 1 tsp baking powder
- 1 tsp salt
- 1/4 cup vegetable oil
- 3/4 cup buttermilk
- 3/4 cup hot water or hot coffee
- 2 large eggs
- 2 tsp vanilla extract
Oreo Buttercream:
- 6 large egg whites
- 2 cup granulated sugar
- 2 cups unsalted butter room temperature, cubed
- 1 tsp clear vanilla extract optional
- 1 cup Oreo cookie crumbs sifted
Dark Chocolate Ganache:
- 3 oz good quality dark chocolate chopped
- 3 oz heavy cream
- 1-2 drops black color gel optional
Assembly:
- 10 Oreos chopped
- mini Oreos optional
Instructions
Oreo Cake:
- Preheat oven to 350F, grease three 6″ round baking pans and dust with cocoa powder. Line bottoms with parchment.
- Place all dry ingredients into the bowl of a stand mixer fitted with a paddle attachment. Stir to combine.
- In a medium bowl whisk all wet ingredients (pour coffee in slowly as not to cook the eggs if very hot).
- Add wet ingredients to dry and mix on medium for 2-3 mins. Batter will be very thin.
- Pour evenly into prepared pans. I used a kitchen scale to ensure the batter is evenly distributed.
- Bake until a cake tester comes out mostly clean. A total of 30-35mins.
- Cool 10minutes in the pans then turn out onto a wire rack to cool completely. Once cooled, cut each layer in half horizontally to get 6 layers.
Oreo Buttercream:
- Place egg whites and sugar into the bowl of a stand mixer, whisk until combined.*
- Place bowl over a hot water bath on the stove and stir with a whisk until the mixture is no longer grainy to the touch (approx. 3mins).
- Place bowl on your stand mixer and whip on med-high until the meringue is stiff and cooled (the bowl is no longer warm to the touch (approx. 5-10mins)).
- Switch to paddle attachment. Slowly add cubed butter and mix until smooth.
- Add vanilla and whip until smooth.** Remove about 1 cup of buttercream and set aside.
- Add Oreo cookie crumbs to the remainder of the buttercream and whip until smooth.
Dark Chocolate Ganache:
- Add cream to a medium microwave safe bowl. Add 1-2 drops of black color gel and stir to combine (optional). Add chopped chocolate and microwave in 10second intervals, stirring in between, until completely smooth and shiny. Set aside to cool completely and thicken before using as a drip.
Assembly:
- Place one layer of cake on a cake stand or serving dish. Top with about 2/3 cup Oreo buttercream and sprinkle with chopped Oreos. Repeat with remaining layers. Do a think crumb coat all over the cake and chill for 20mins.
- Frost and smooth the outside of the cake with the remaining Oreo buttercream. Chill for 30mins until firm.
- Using a small spoon, place dollops of ganache around the top edges of the cooled cake, allowing some to drip down. Fill in the top of the cake with more ganache and spread evenly with an offset spatula. Allow to set for a few minutes.
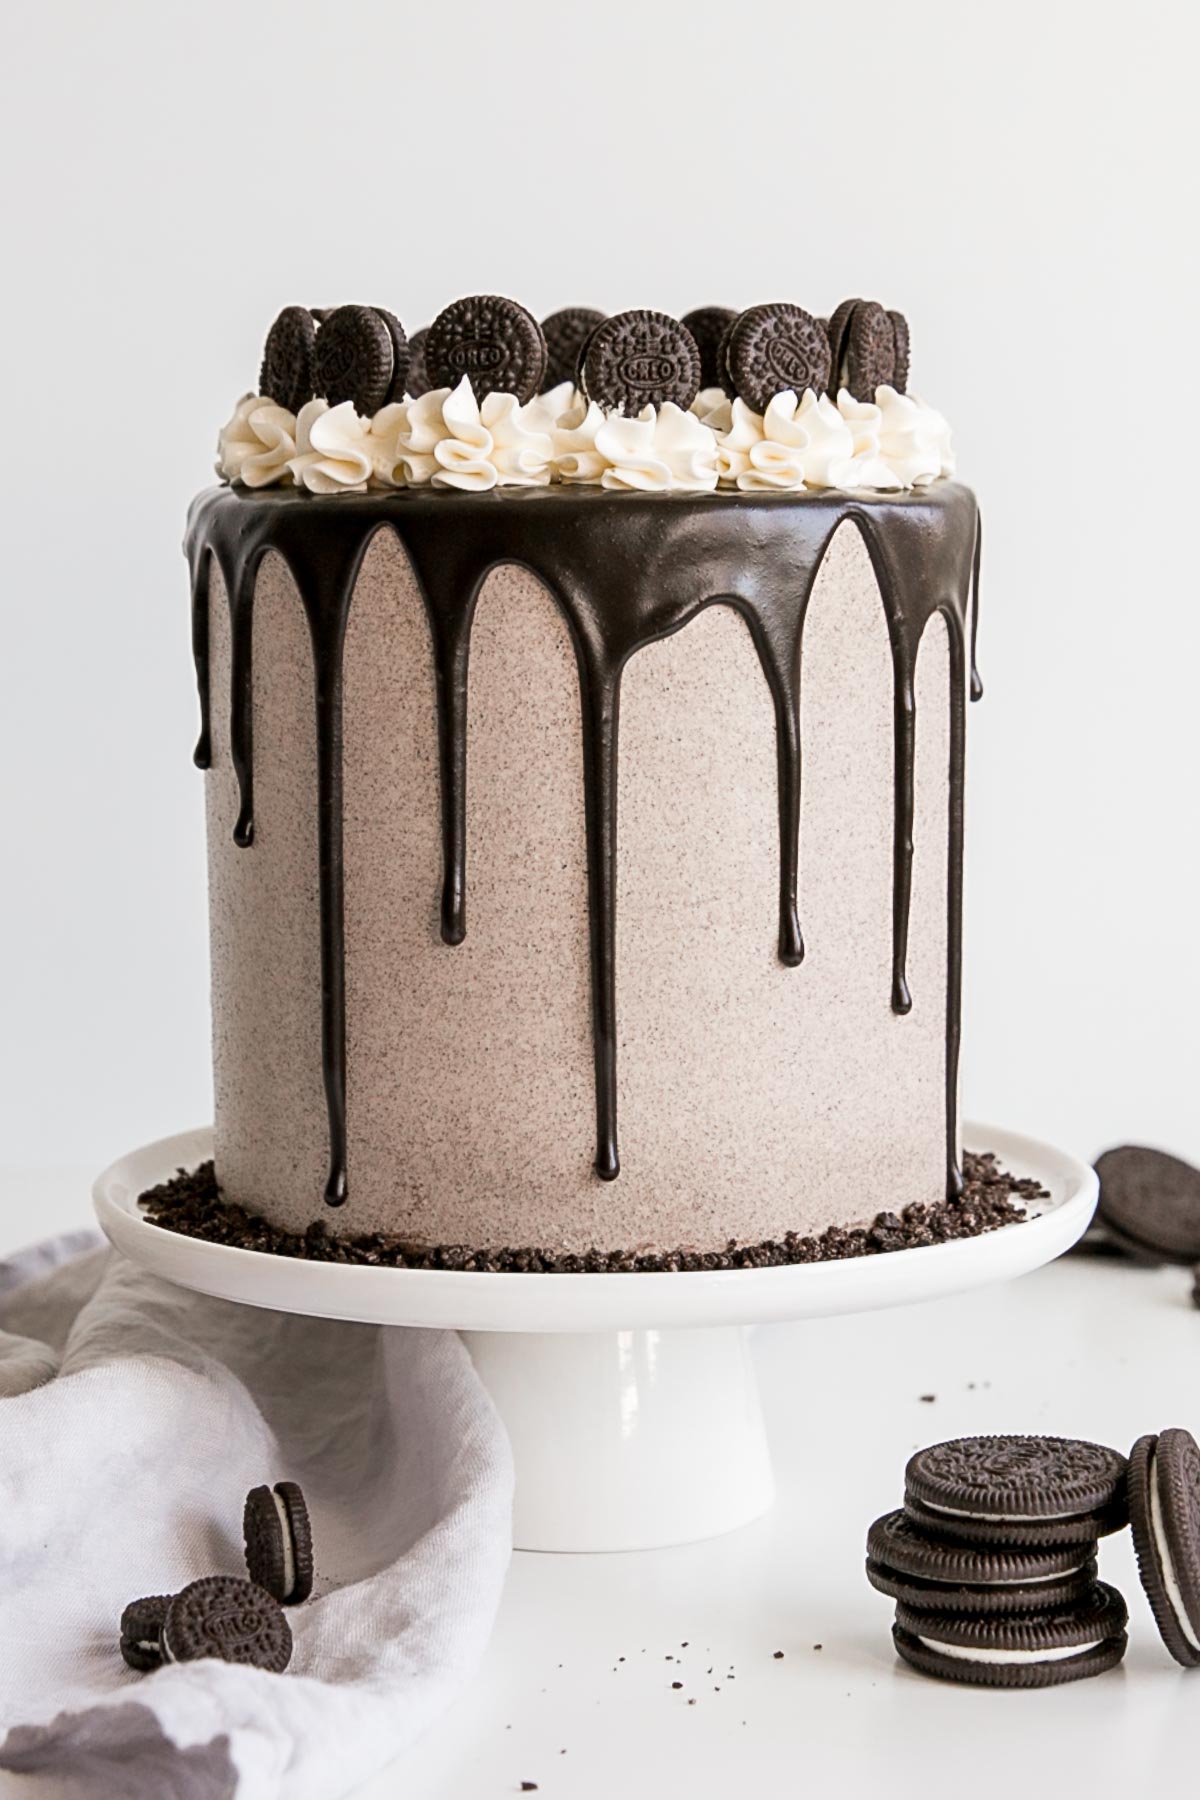
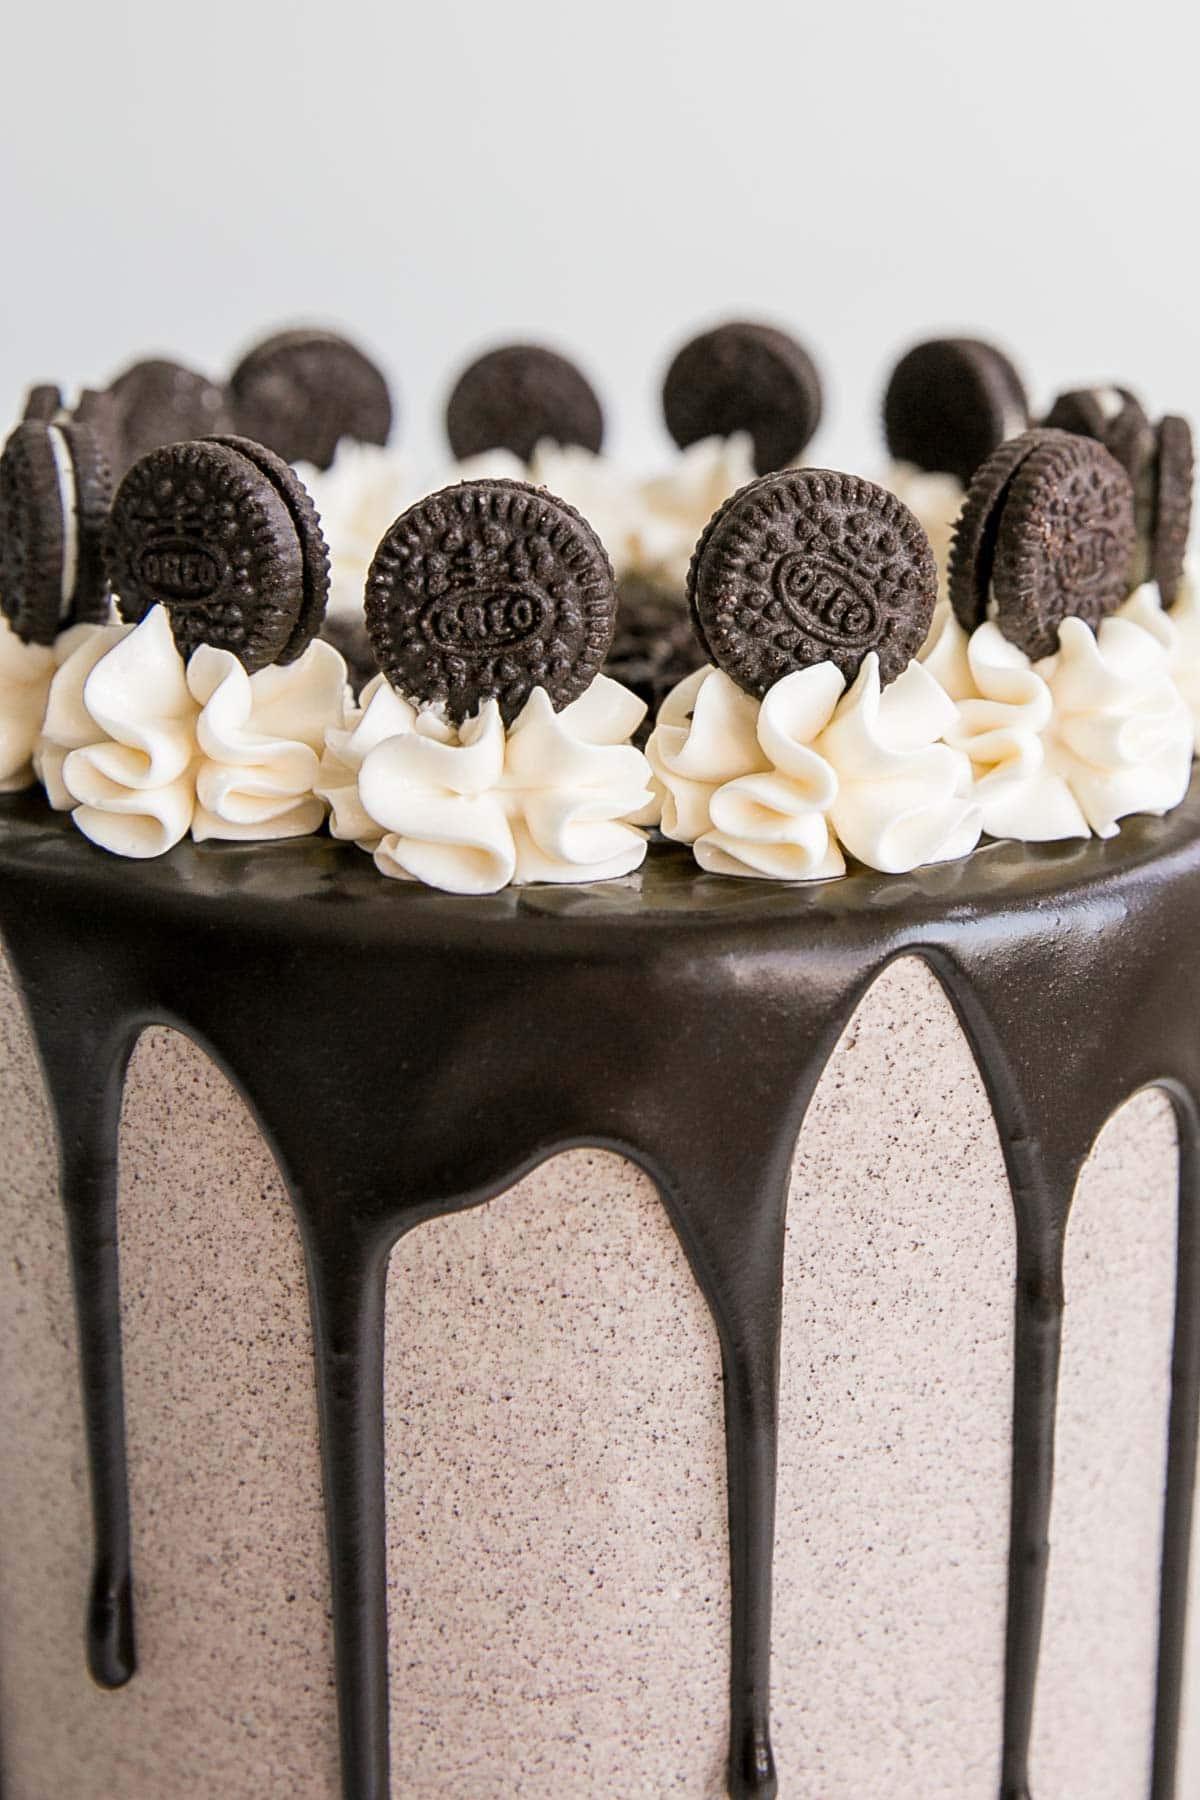
- Fit a piping bag with a 1M piping tip. Fill with the white buttercream that was set aside. Pipe rosette dollops on top of the cake. Place a mini Oreo in the center of each dollop if desired.



Sherry says
This is my go to chocolate cake recipe! Sooooo good!! Do you know how many cups of batter it makes? I’ve never measured it before. I need to make a 12×18 sheet cake (1/2 sheet cake).
Olivia says
Hi Sherry! I haven’t measured it myself either. Converting pan sizes is always tricky. Here are some sites I use as a guideline:
http://www.joyofbaking.com/PanSizes.html
https://www.cookipedia.co.uk/recipes_wiki/Cake_tin_conversion_charts
How deep is your 12×18″ pan? I think one full recipe should work if it’s 1″ tall, if you want taller and the pan is taller then try doubling the recipe. Make sure not to fill the pan more than half full as the batter doubles in size.
Lisa Pinette says
This is the best Oreo cake I’ve ever made. My sister requested it for her birthday and it was a huge hit!
Olivia says
So happy you loved it, Lisa!
ppl says
made this for a birthday and even non-cake eaters really enjoyed. absolute win!
Olivia says
So glad everyone loved it 🙂
Diana says
Hi Liv,
Testing the recipe right now. I’m way past the recommended baking times but the tester still coming out with crumbs. Is that normal? Like a sticky fudge coating on the toothpick…
Olivia says
Hi Diana! It sounds like it might need a bit more time. Every oven baks differently. How much longer have they been in?
Kayla says
Hi! I plan to make this as a sheet cake but what size should i use? I was going to use an 8×8 pan and do 1.5x the recipe.
Olivia says
Hi Kayla! Converting pan sizes is always tricky. Here are some sites I use as a guideline:
http://www.joyofbaking.com/PanSizes.html
https://www.cookipedia.co.uk/recipes_wiki/Cake_tin_conversion_charts
Based on that, the recipe as-is would be enough for a 10×10″ pan. For an 8×8 you’ll have more than enough and can make cupcakes with any extra. Be sure not to fill the pan more than half full. The batter is very thin and rises a LOT.
Sarah Saleem says
Hello if I want to make a 4 layer 8 inch cake do I double the whole recipe?
Olivia says
Hi Sarah! It depends on how thick you want the layers. I cut each of my layers in half here so if you want the same thickness then leave the recipe as is, bake two 8″ cakes and then cut them in half after. If you want 4 full size cake layers then yes, double it.
Kayla says
Hello, I’m attempting to make this for my sons birthday in a few weeks, when measuring out the batter in the pans, how much batter should be in each pan? Thank you!
Olivia says
Hi Kayla! I’ve never measured it. I just split it equally between the three pans.
JP says
Be aware that you need to do 1.5x the recipe for 3 pans. It’s not clear in the recipe but only stated in the FAQs. I wondered why my layers were so thin.
Olivia says
Hi JP! You only need to 1.5x the recipe if you’re using three 8″ pans. The recipe as-is is for for three 6″ pans.
Kourtney says
I loved making this for my family and they all really enjoyed it. Said it was better then Oreo cookie itself. I was wondering if I made it into cupcakes how long would I need to cook the cupcakes for?
Olivia says
Hi Kourtney! I’m so happy you loved it 🙂 I recommend to start checking the cupcakes at about 15mins or so.
Kayla says
Hello! I was planning to make this as a sheet cake, what size pan should i use? Thank you and I look forward to making this!
Aimee says
Hi!! My family loves this cake and it has been requested many times over the years.
It has been requested again for the next birthday.
Is there any chance you could send me the link to the original recipe?
I’m sure that the updated version is EVEN better however my kids REALLY loved the other.
I’m kicking myself for not ever printing out the other recipe. Instead, I would do my search and I would always find your yummy Oreo cake.
Thank you for all the yumminess : )
Olivia says
Hi Aimee! I don’t have the original recipe handy I’m afraid, but the changes were really minimal. It was mostly a redo to update the photos! I hope you give this one a try, I really don’t think you’ll notice a difference!
Sarah says
Absolutely loved this recipe!! Made this for my nephew’s birthday, made 1 2-tier 4in mini cake and 1 1/2 dozen cupcake. He LOVES oreos and LOVED this cake, it was also a hit with everyone at the celebration! The batter was way wetter than I’m used to which made me nervous but it worked and was SUPER delicious! Highly recommend this recipe if you’re looking for an oreo cake recipe, this is the one!! Definitely will be making this again, this recipe is a keeper
Olivia says
Hi Sarah! Thanks for the wonderful feedback. I’m so happy that you and your nephew loved it!
JG says
I have to say, I have now made this recipe 3 times, twice as cake and once as cupcake. I also use your ermine buttercream with cocoa and oreos to frost, and can I just say it is a HUGE HUGE hit each time. Both cakes were polished off nearly immediately and the cupcakes were eaten right away. Your recipes are so fantastic, and so perfectly written. Cannot wait to try more!
Olivia says
Hi JG! Thanks so much for the wonderful feedback. I’m so happy you love it!
Kourtney says
How long did you cook the cupcakes for? How full did you make the liners? And what temperature, the same as the recipe? Thank you!
Olivia says
I recommend to start checking the cupcakes at about 15mins or so. Baking temperature should stay the same.
Anna says
Once I added the butter to the meringue it all became very flat. Is it supposed to be not as whipped and thick as it was before adding the butter?
Olivia says
Hi Anna! I have a detailed tutorial on the buttercream here: https://livforcake.com/swiss-meringue-buttercream-recipe/ The butter should be added slowly as not to completely deflate the merinuge.