Peanut butter cake layers and frosting paired with your favorite jam. This Peanut Butter & Jelly Cake is a childhood flashback in the best way possible.
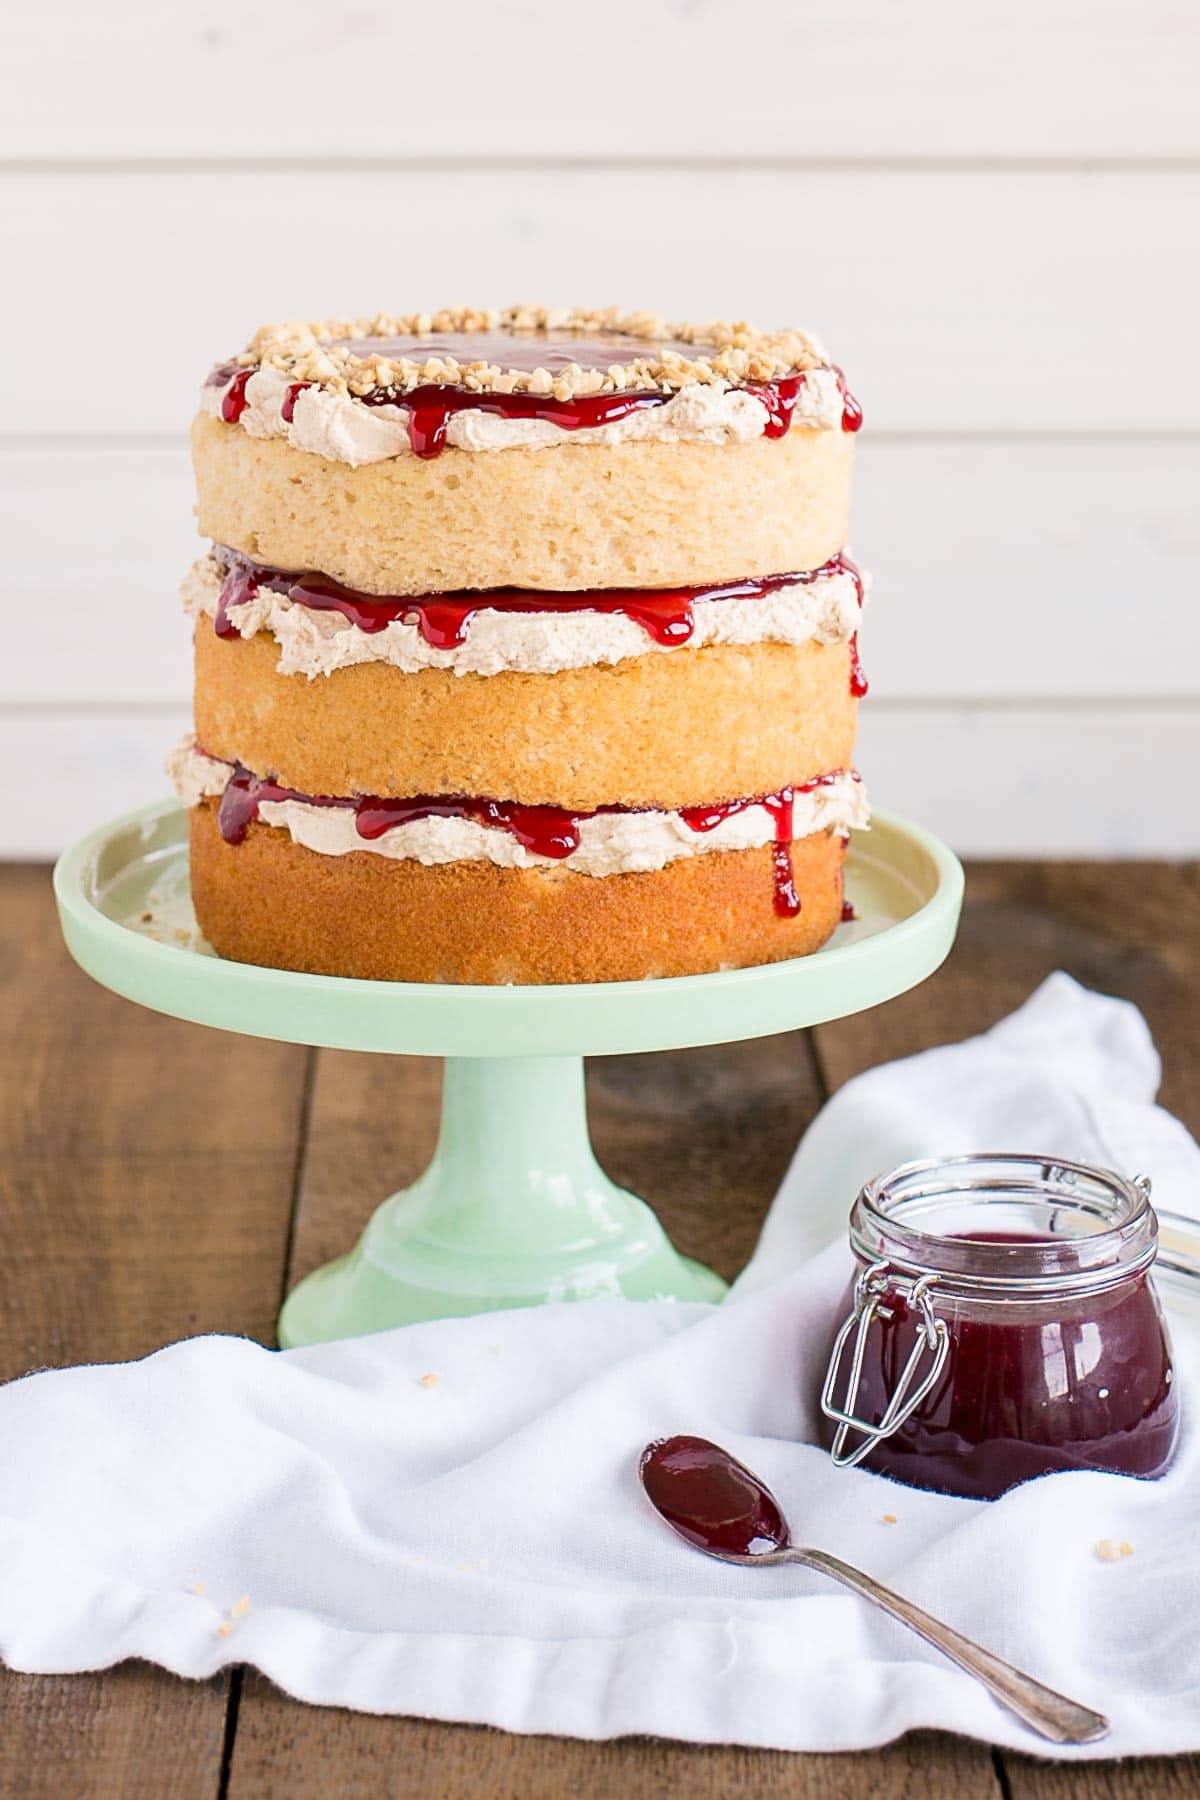
In case it’s felt like Liv for Cookie Cups over here lately, rest assured that I have some delicious cakes coming your way over the next few weeks, starting with this Peanut Butter & Jelly Cake! I am a huge fan of this combo. That classic peanut butter & jelly flavor just takes me back to my childhood. I’m actually surprised it’s taken me so long to turn it into a cake.
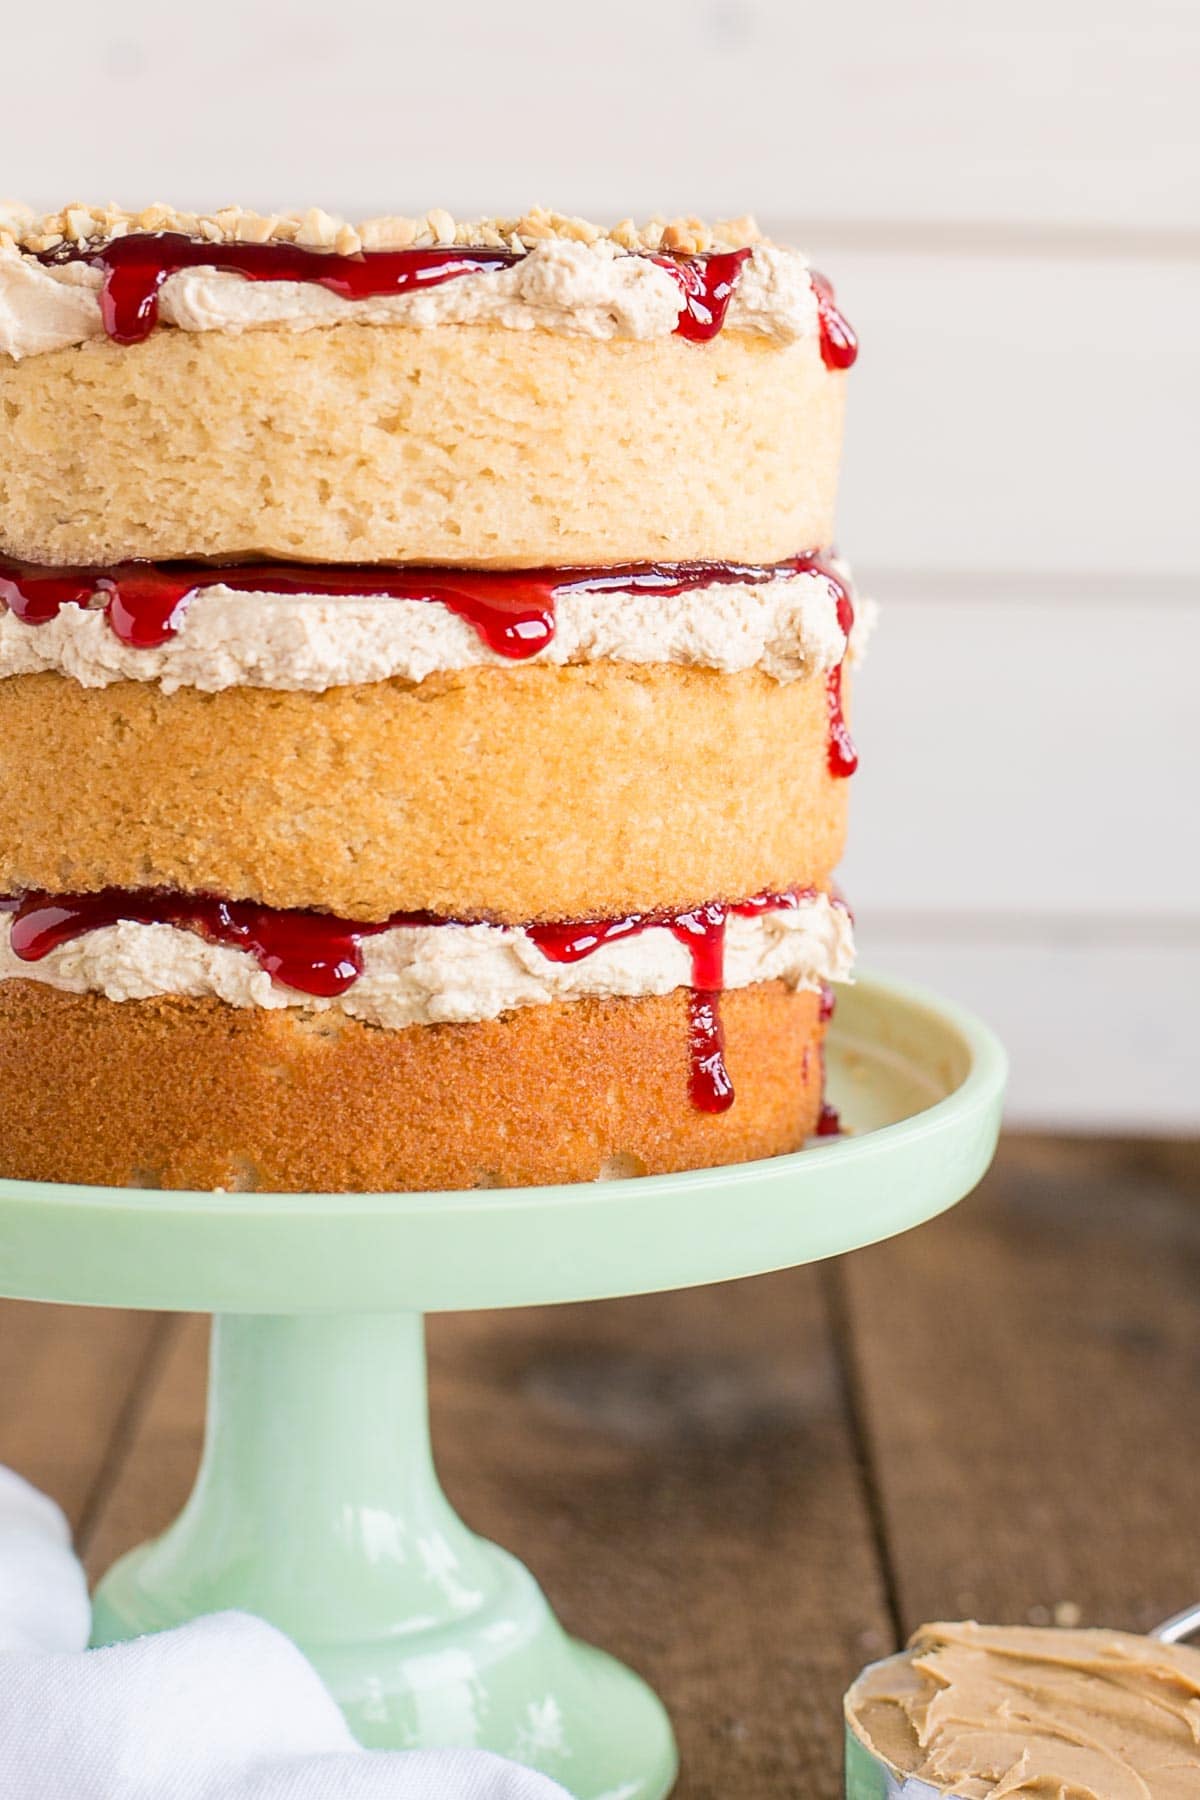
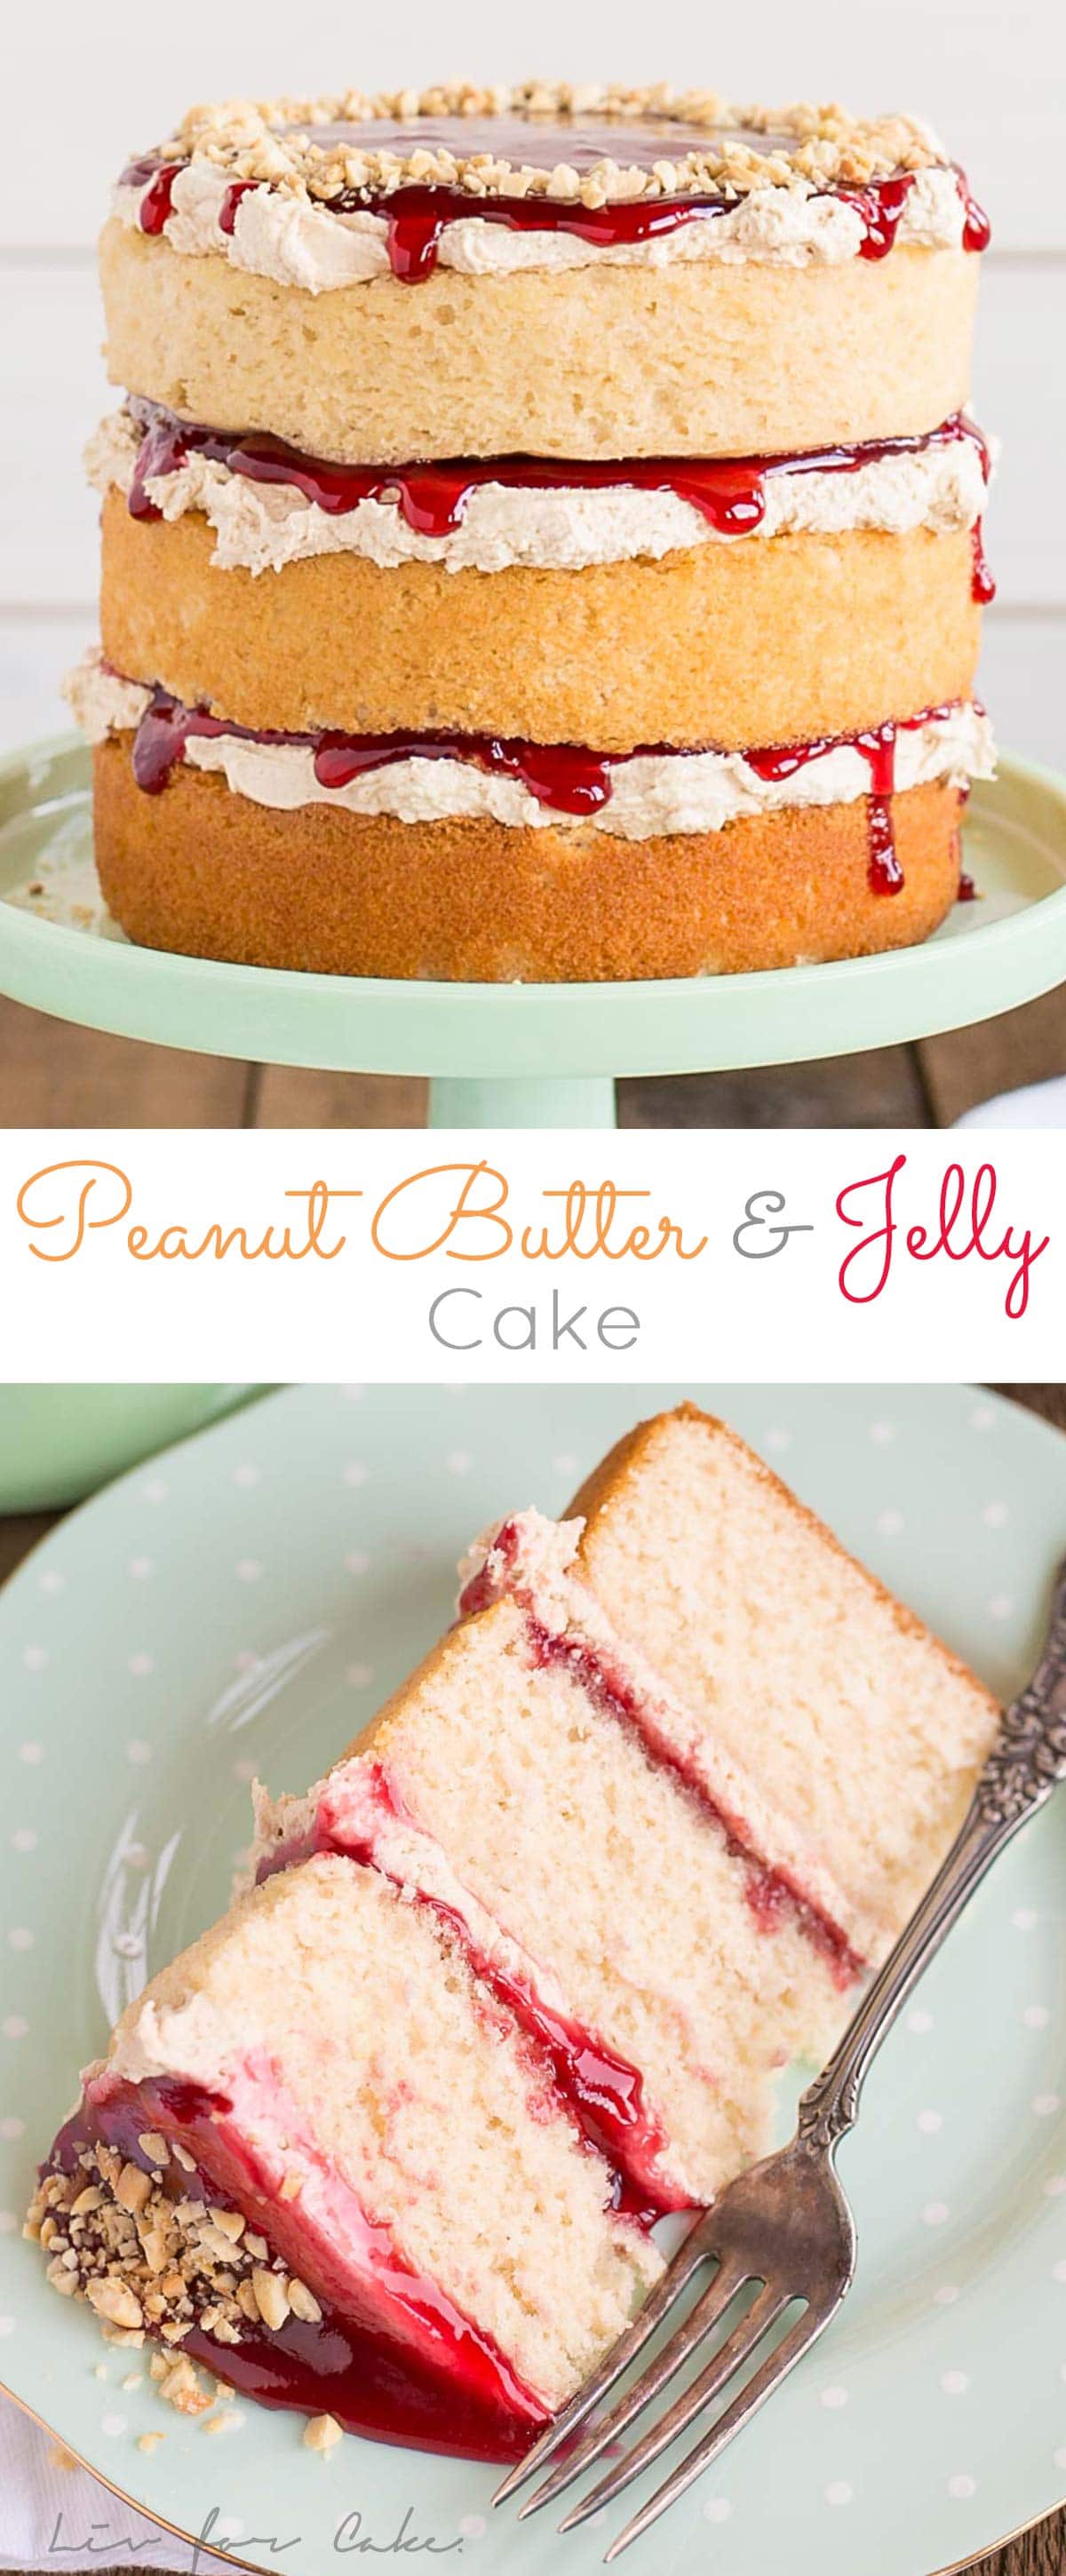
The unintentional ombre effect on these pretty layers is due to the fact that my oven sucks. The oven in our last place sucked too, but for different reasons. This new one has major hot spots, and it makes cooking 3 cake layers (evenly) at a time virtually impossible. Rotating the pans doesn’t help either, because by the time the cakes have set enough to safely rotate, one of the layers is always practically done (and very brown).
I’ve tried to rotate the layers a little earlier, but on more occasions than I’d like to count, one of them wasn’t set enough and collapsed on me. SO frustrating. I almost always have to take the layers out at separate times based on level of done-ness.
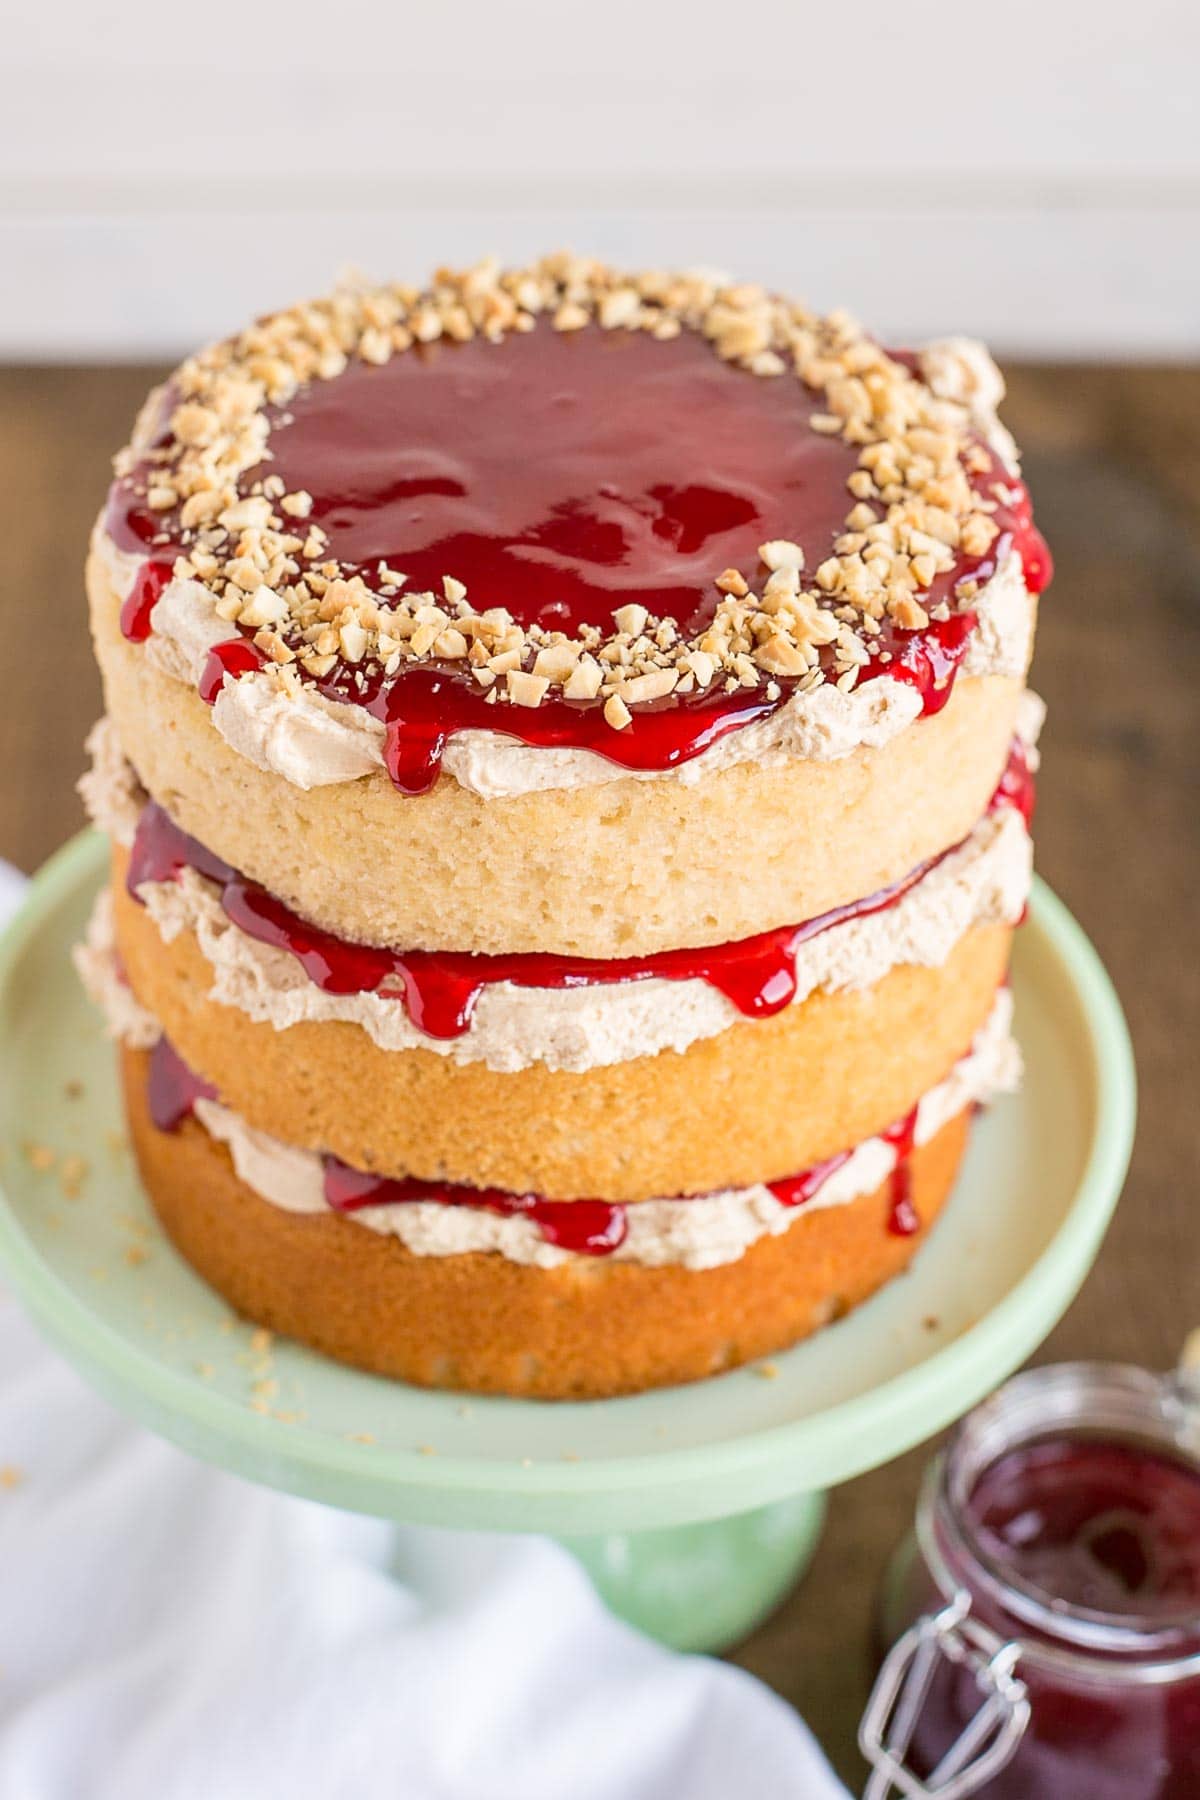
So, my intent was to do a naked cake for this Peanut Butter & Jelly Cake, but now I had unevenly colored layers to deal with. The lazy baker in me was not about to remake and rebake these cake layers, so I decided to stack them into an ombre effect. Despite not being what I intended, I think it actually looks quite pretty.
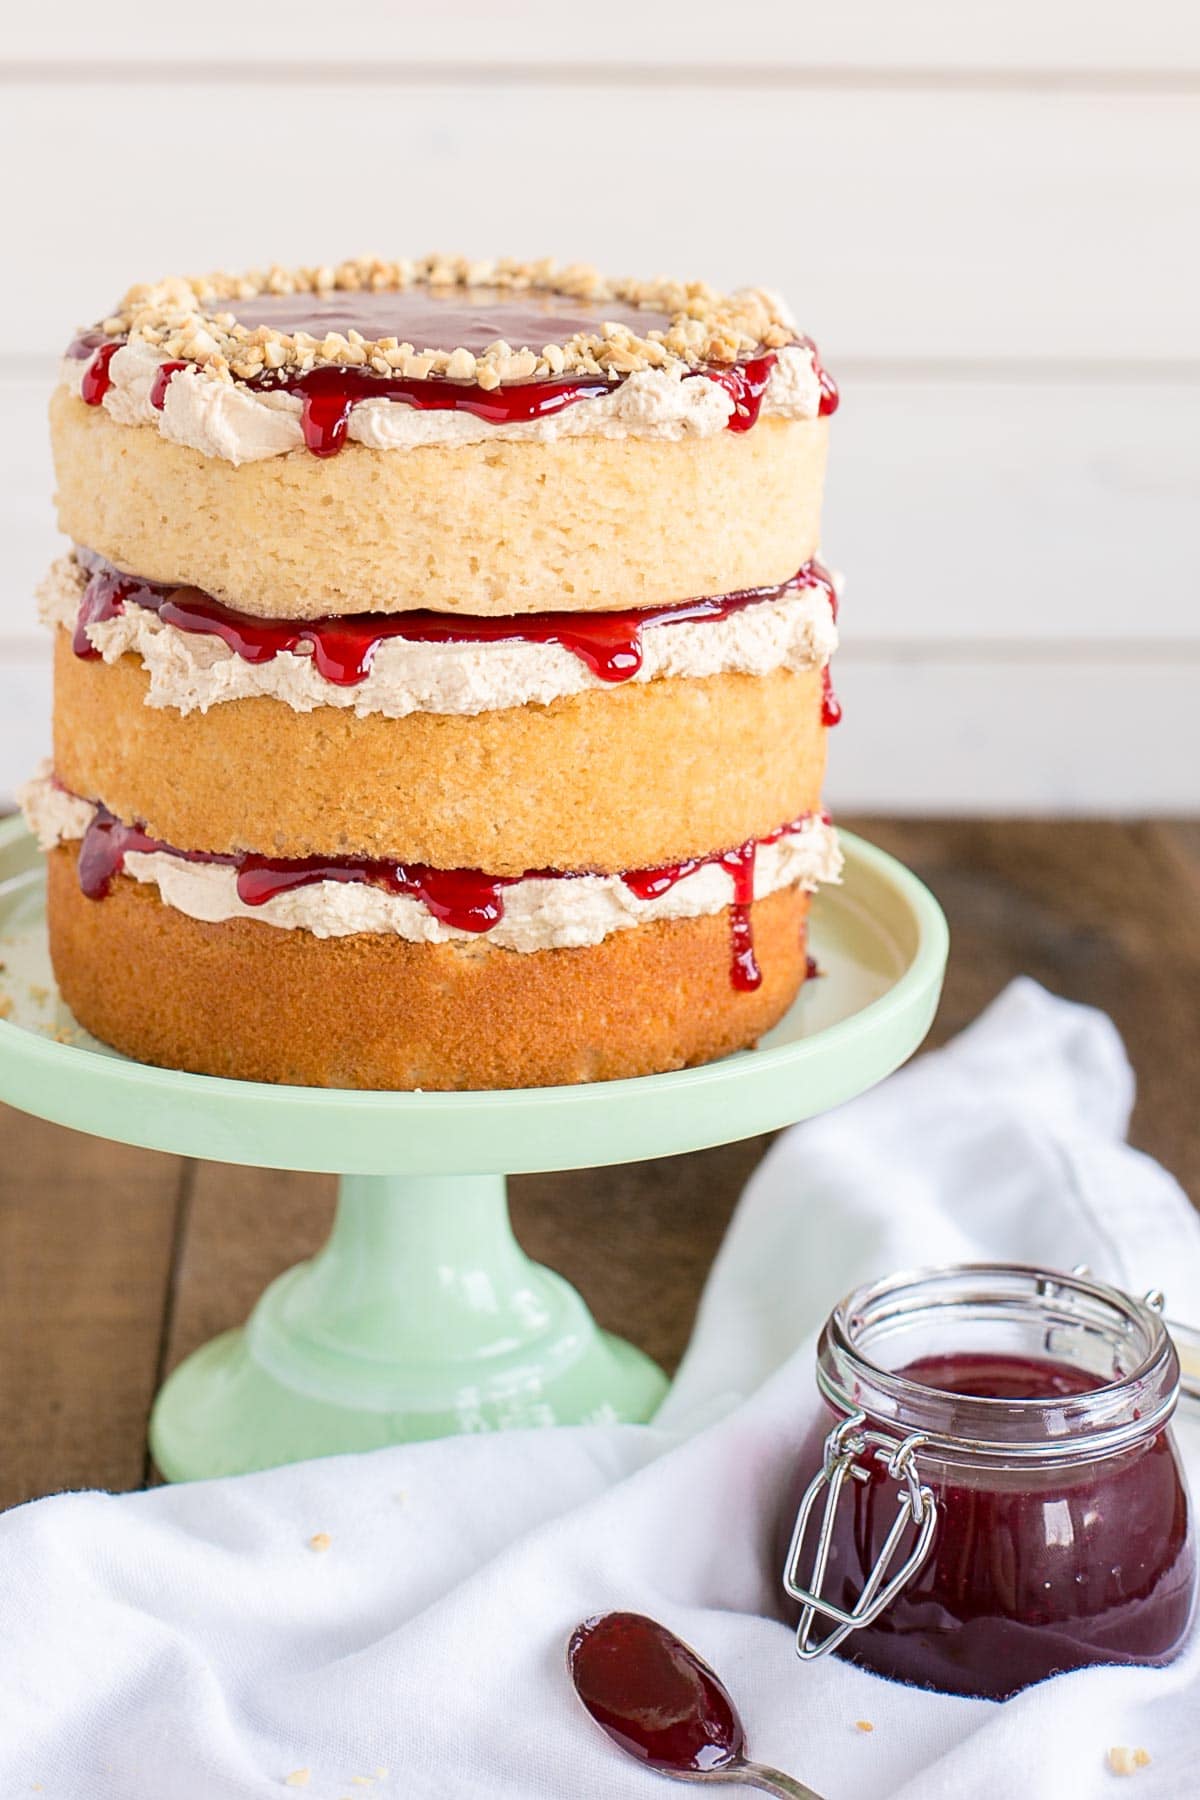
This Peanut Butter & Jelly Cake is one of the easier cake recipes on Liv for Cake, both in terms of baking and decorating. It uses a powdered sugar-based frosting, which I consider easier than meringue-based frostings (though meringues are my fave), but it’s just as delicious. The only tricky part of this recipe is stacking the cake.
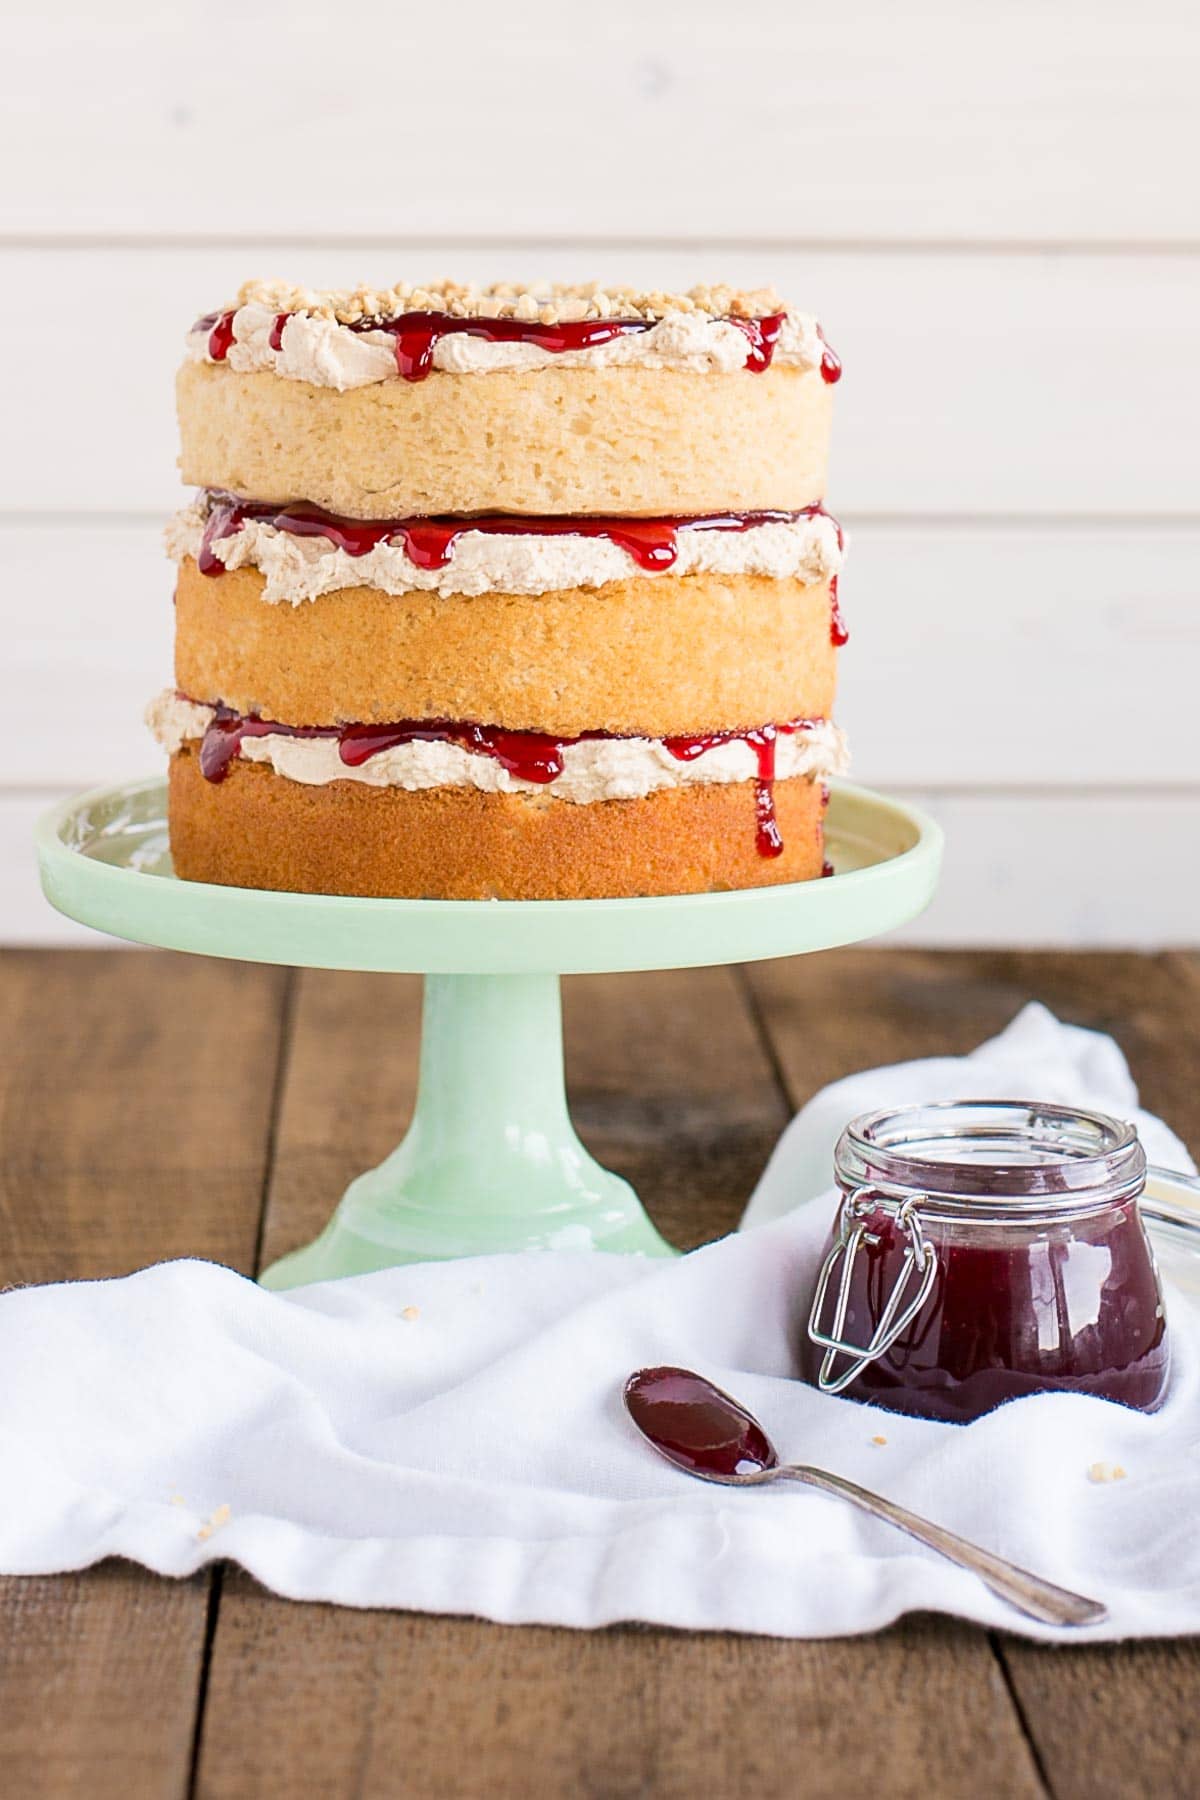
Because I put the jam on top of the frosting in each layer, it makes the assembly a bit more of a challenge. I used a decent amount of jam too (because I love it), which added to the difficulty. The jam makes the cake layers slide around quite a bit, so I recommend frosting and jamming each layer separately, then stacking them at the end. If that makes sense.
You could also try doing the jam first and then the frosting on each layer — that would help a bit but you wouldn’t have the pretty drip effect. Regardless of which way you decide to go, I also recommend putting some skewers through the top of the cake once it’s stacked for additional support.
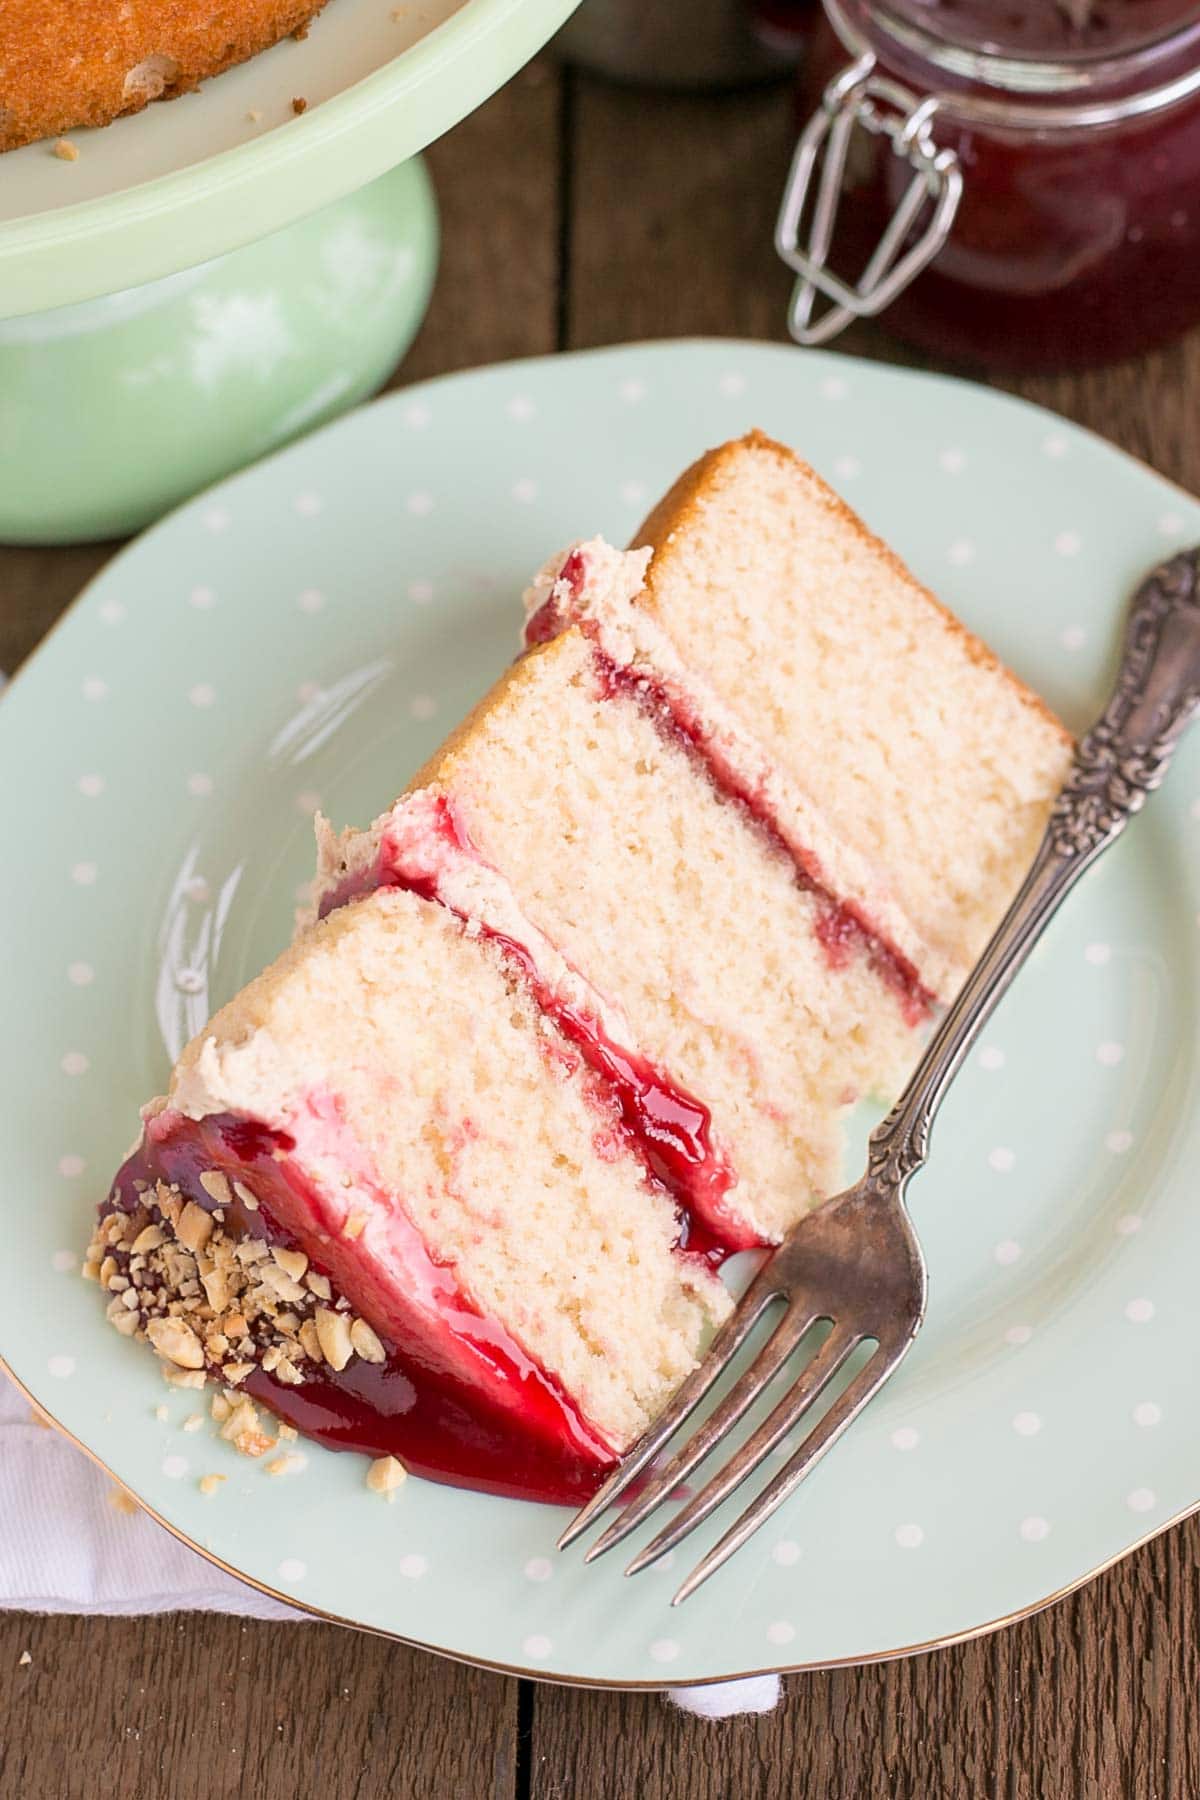
This Peanut Butter & Jelly Cake tastes just like a PB&J sandwich, but with delicious cake layers instead of bread. If you’re as big a fan of this combo as I am, you will love this cake!
Notes & tips for this Peanut Butter & Jelly Cake:
- You can use any type of jam you like — I prefer seedless raspberry, but any will work, seeded or not.
- Do not use natural peanut butter in either the cake or the frosting. It has a much higher oil content and will affect the recipes.
- The layers are best frosted individually and then stacked as the jam makes them slide easily.
- Place wooden skewers into the cake for additional support.
- To help ensure your cake layers bake up nice and flat, see my tips here.
Peanut Butter & Jelly Cake
Ingredients
Peanut Butter Cake:
- 1 1/2 cup all-purpose flour
- 1 1/2 tsps baking powder
- 1/2 tsp salt
- 1/4 cup unsalted butter room temperature
- 1/4 cup smooth peanut butter smooth, not natural
- 1 cup granulated sugar
- 2 large eggs room temperature
- 1 tsp vanilla extract
- 3/4 cup buttermilk room temperature
Peanut Butter Frosting:
- 1/2 cup smooth peanut butter smooth, not natural
- 3 Tbsp unsalted butter room temperature
- 1 cup powdered sugar sifted
- 2 Tbsp heavy whipping cream room temperature
- 1/2 tsp vanilla extract
Assembly:
- raspberry jam seedless (or any flavor)*
- peanuts
Instructions
Peanut Butter Cake:
- Preheat oven to 350F and grease and flour three 6″ cake rounds, line with parchment.
- In a medium bowl, whisk flour, baking powder, and salt. Set aside.
- Using a stand mixer fitted with the paddle attachment, beat butter & peanut butter until completely smooth. Add sugar and beat on med-high (2-3mins).
- Reduce speed and add eggs one at a time, fully incorporating after each addition. Add vanilla.
- Alternate adding flour mixture and buttermilk, beginning and ending with flour (3 additions of flour and 2 of buttermilk). Fully incorporating after each addition. Do not overmix.
- Spread batter evenly into prepared pans. Smooth the tops with a spatula.
- Bake for approx. 25-30mins or until a toothpick inserted into the center comes out mostly clean.
- Place cakes on wire rack to cool for 10mins then turn out onto wire rack.
Peanut Butter Frosting:
- Beat butter until creamy. Add peanut butter and beat until well combined (2-3 mins).
- Add sifted powdered sugar in one 1/2 cup at a time and beat until combined. Add vanilla.
- Add cream one Tbsp at a time until desired consistency. Beat on high for 3 minutes until fluffy.
Assembly:
- Place one layer of cake on a cake stand or serving plate. Top with 1/2 cup of frosting and spread evenly. Top with 3 Tbsp of jam. Repeat with remaining layers, then stack each on top of the other.**
- Top with chopped peanuts if desired.
Notes
** The jam makes stacking the layers difficult. I recommend frosting each layer of cake separately and then stacking and also placing 3 cake skewers into the cake once stacked for additional support.



Courtney says
I made this cake for my sister’s birthday without alterations to the recipe. (She’s a huge fan of peanut butter, and of course of peanut butter and jelly.) While it was visually very appealing and the flavors were excellent, I found the texture of the cake to be quite dense and not as light or fluffy as I would have preferred it to be. It was good, but not great.
Thanks for a clear and well written recipe. Unlike some other commenters, I had no issues with the frosting splitting or separating.
Olivia says
Hi Courtney! I’m so glad you found the recipe easy to follow and that the buttercream worked well for you! My cakes tend to be more on the dense side rather than light and fluffy, but it shouldn’t be too dense. Overly dense cakes can be from overmixing the cake batter once the flour is added — it develops too much gluten.
Christina says
Hi Olivia, I was wondering what substitutions would need to be made if you wanted the cake part to be chocolate peanut butter, instead of just peanut butter?
Thank you!
Olivia says
Hi Christina! I would need to experiment a bit, but I’d probably just add in some cocoa powder to it 🙂
lindsay says
Question… when you say not to use natural peanut butter are you referring to the pre-packaged kind? Typically I go to the co-op and grind it fresh (mostly to avoid the added sugar).
Olivia says
Hi Lindsay! I mean specifically to use the one with added sugar. Natural ones (including homemade) have too much oil in them and it will affect the overall structure and consistency.
lindsay says
It was a hit at work… I did adjust it slightly as I don’t have 6 inch pans… I made 1 1/2 times batter and used my 9-inch pans and it seemed to work out… is that a consistent trick I can use? I’m considering making your strawberry marscopone cake (possibly with raspberries instead) and i think that also uses 6-inch pans.
Even if I wanted to invest in more pans, that’s not enough cake for my office…
Olivia says
Hi Lindsay! Are you wanting to keep it 3 layer and 9″? Or 2 layer? Converting pan sizes is always tricky. Here’s a site I use as a guideline: http://www.joyofbaking.com/PanSizes.html
Lindsay says
I was thinking 3 layer/9inch. 2 layers just looks short to me… that’s a great website, thank you! I googled a bit looking for an easy conversation but just ended up winging it because I had trouble finding something clear like this.
Nirit says
Hi, i just made it, but the cream separated after i finished mixing it 🙁 and i don’t have any more PB to make a new batch… maybe we don’t need to beat it on high in the end? it looked great before that beating.
Olivia says
Hi Nirit! Sorry to hear you’re having trouble with this one. How do you mean it separated? The cream is just to lighten the frosting up a bit so that it’s not so dense. Perhaps it was overmixed once the cream was added?
Karly says
I haven’t even tried this yet and I already know its my new favorite cake. I. Am. In. LOVE!
Olivia says
Thanks so much Karly! It’s seriously delicious, especially if you’re a pb&j fan 😀
Cindy Rodriguez says
This is soooo up my alley. And it’s one of my kid’s favorite sandwiches so how could they not love this in a cake form. Can’t wait to try!
Olivia says
I know, right? Such a great combo. I hope you try it! 🙂
Nila @ The Tough Cookie says
Yum, you had me at ‘peanut butter’ 😉 And I like the ombre effect, too! Thought it was intentional at first! Just curious: have you ever tried making a meringue buttercream peanut butter frosting? I tried it once, but it kept separating…
Olivia says
Thanks Nila! I was actually going to try a meringue pb frosting for this cake but changed my mind. Interesting that it kept separating for you, hmmm. Did you use a natural peanut butter? Or maybe it had something to do with the ratio of pb to butter in the frosting. I would probably make a normal meringue buttercream then add some pb in for flavour. Now I’m going to have to try it!
Nila @ The Tough Cookie says
I used Skippy to make the pb buttercream, but I was going for a super peanut buttery flavor, and therefore used a lot of pb. The buttercream looked great right after I mixed it up, and the flavor was awesome, but after sitting for a while it started to separate. Maybe you’ll have better luck 😉