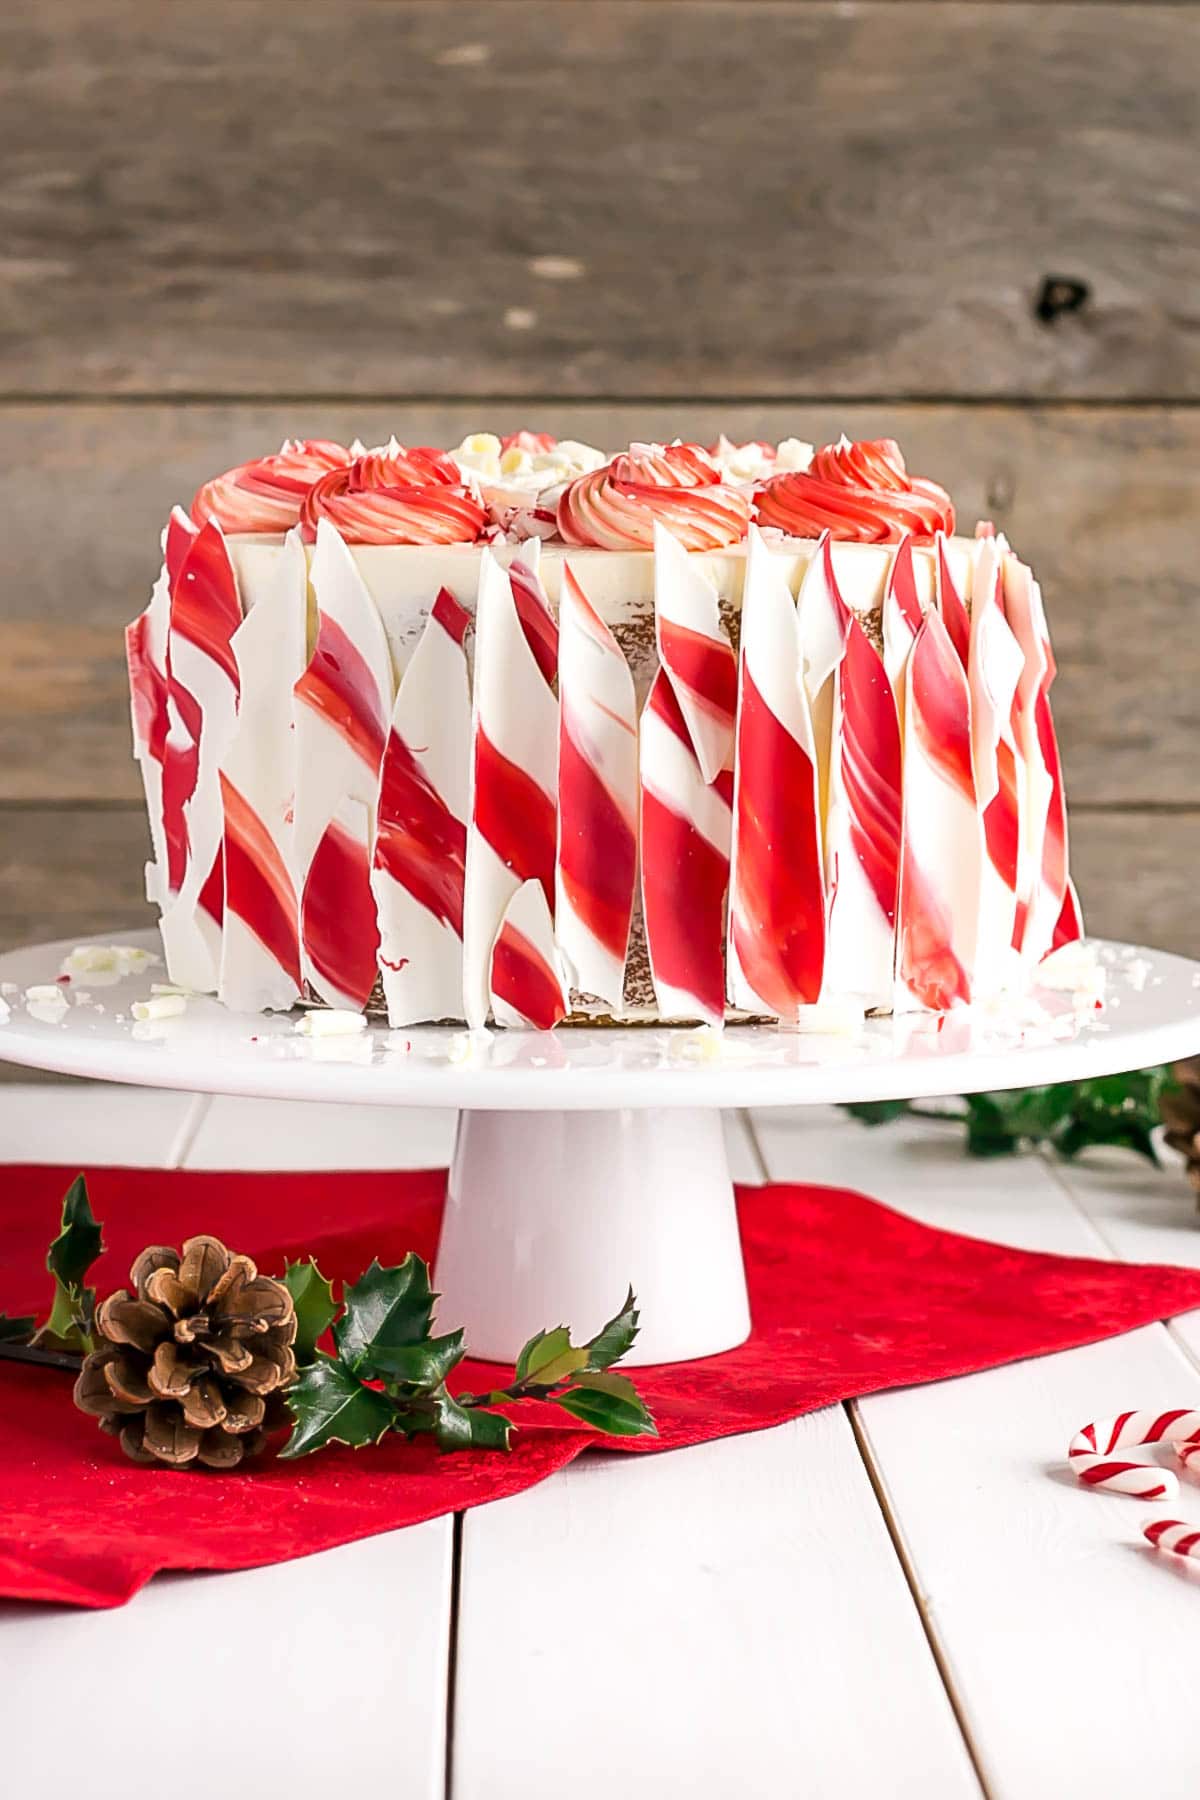
This White Chocolate Candy Cane Cake is the perfect addition to your holiday celebrations!
I don’t know about you, but the holidays have started to infiltrate our place.
It actually started two weeks ago, when we got back from celebrating my birthday in Walt Disney World (which was amazing). As soon as Nov 1st hit, it was out with everything Fall/Halloween/Pumpkin and in with festive holiday decor. Well, the holiday decor that was accessible to me, anyhow.
There’s still a whole bunch stashed away in the depths of our storage room. I could try and fish it out myself, but knowing my clumsy and accident-prone nature, I’m sure to destroy something. It’s just safer if I wait for Ryan to help.
Now that I think about it, maybe I’ll wrangle him into some of that today. Too soon??
I know it’s too soon for some, but for the past couple of years, I feel like I’ve missed out a bit on the holiday spirit. This is the busiest time of year for a food/dessert blogger, so I’m usually knee-deep in baking, writing, answering your questions, etc.
So I’ve brought a bit of Christmas out a little early so that I can enjoy it more. It is my favorite time of year, after all!
I’ve actually managed to get a head start on Christmas shopping too, which is unheard of, as I’m usually scrambling a week into December!
Naturally, with Christmas decor and Christmas shopping comes Christmas baking! There really is nothing better. I love the warm, comforting scents and flavors this time of year. So many delicious combinations of festive goodies and treats.
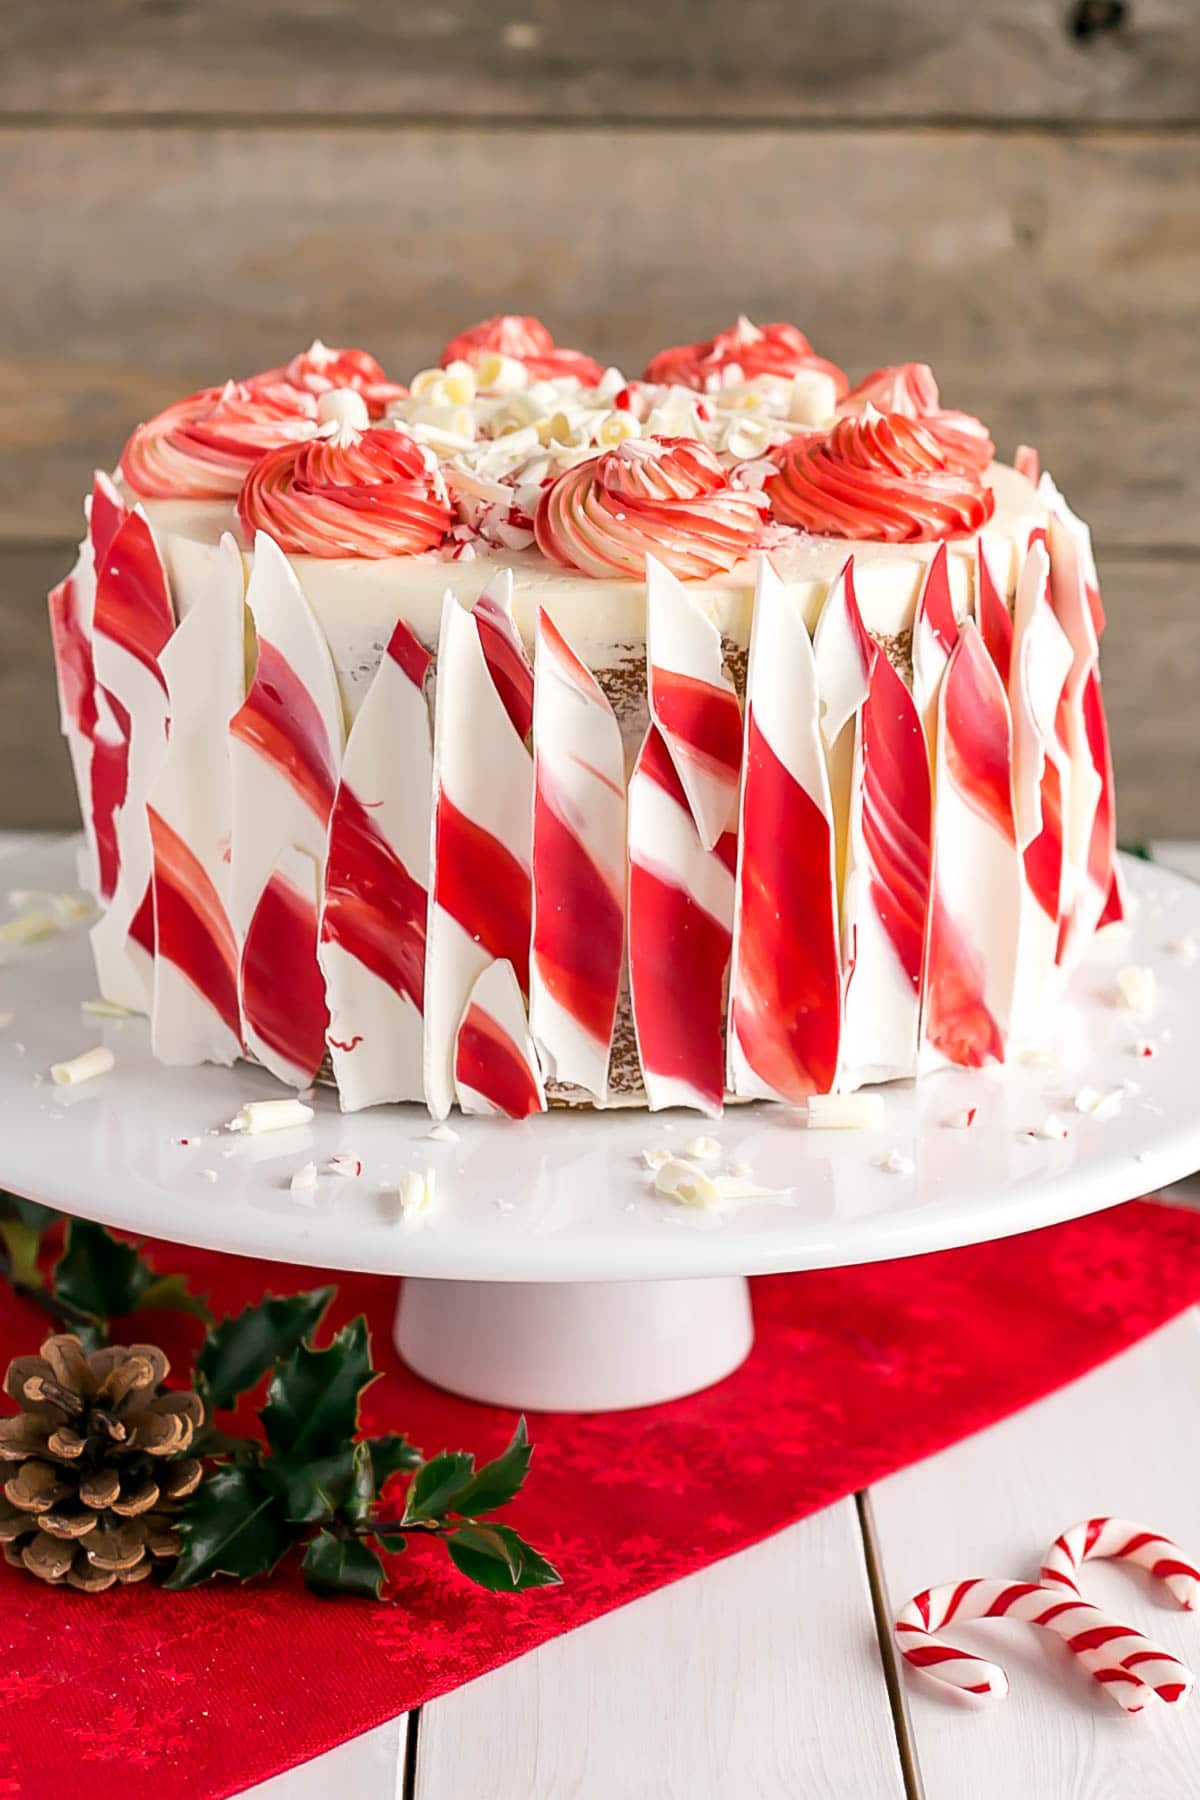
Today, to kick off this wonderful season, I bring you this White Chocolate Candy Cane Cake!
Candy Cane Bark
I’ve been wanting to do a candy cane inspired cake for a long time. I actually had one on my radar last holiday season, but didn’t quite get to it.
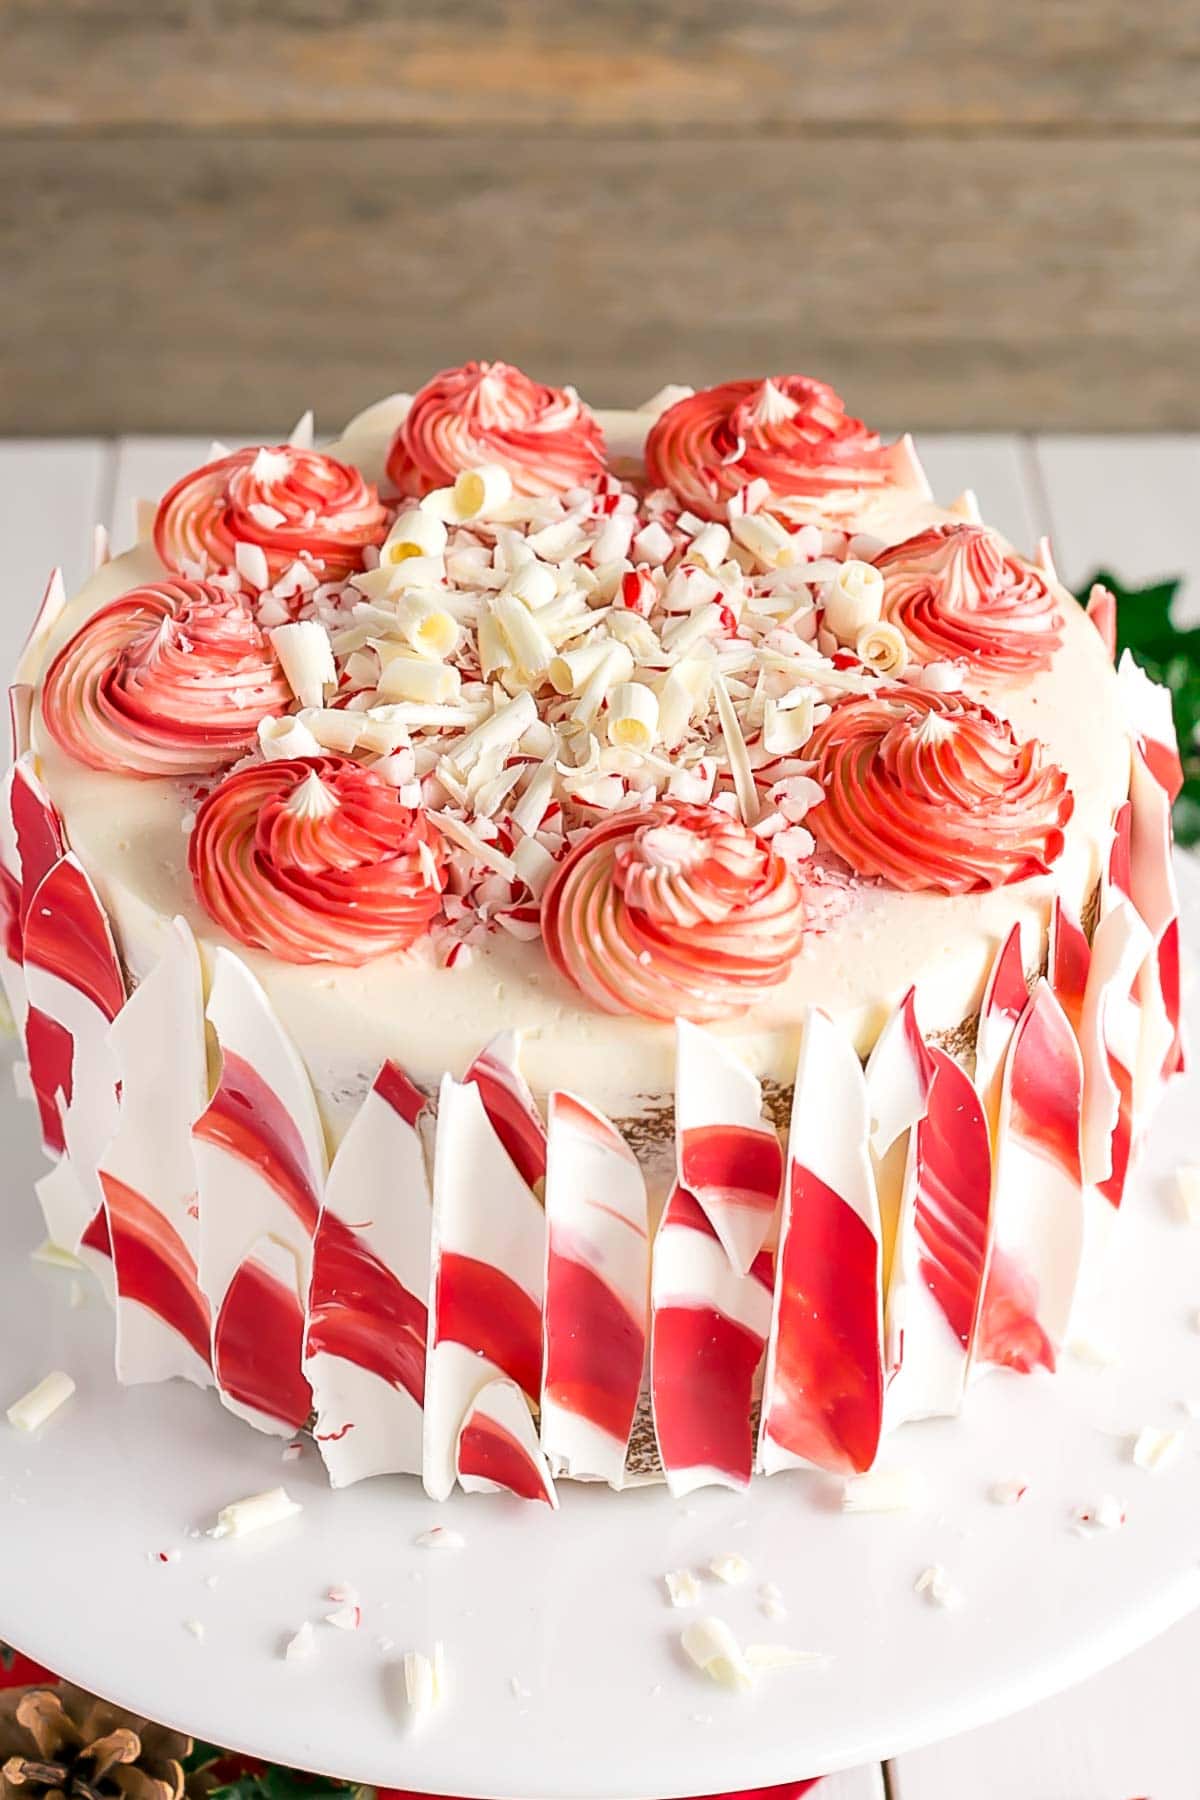
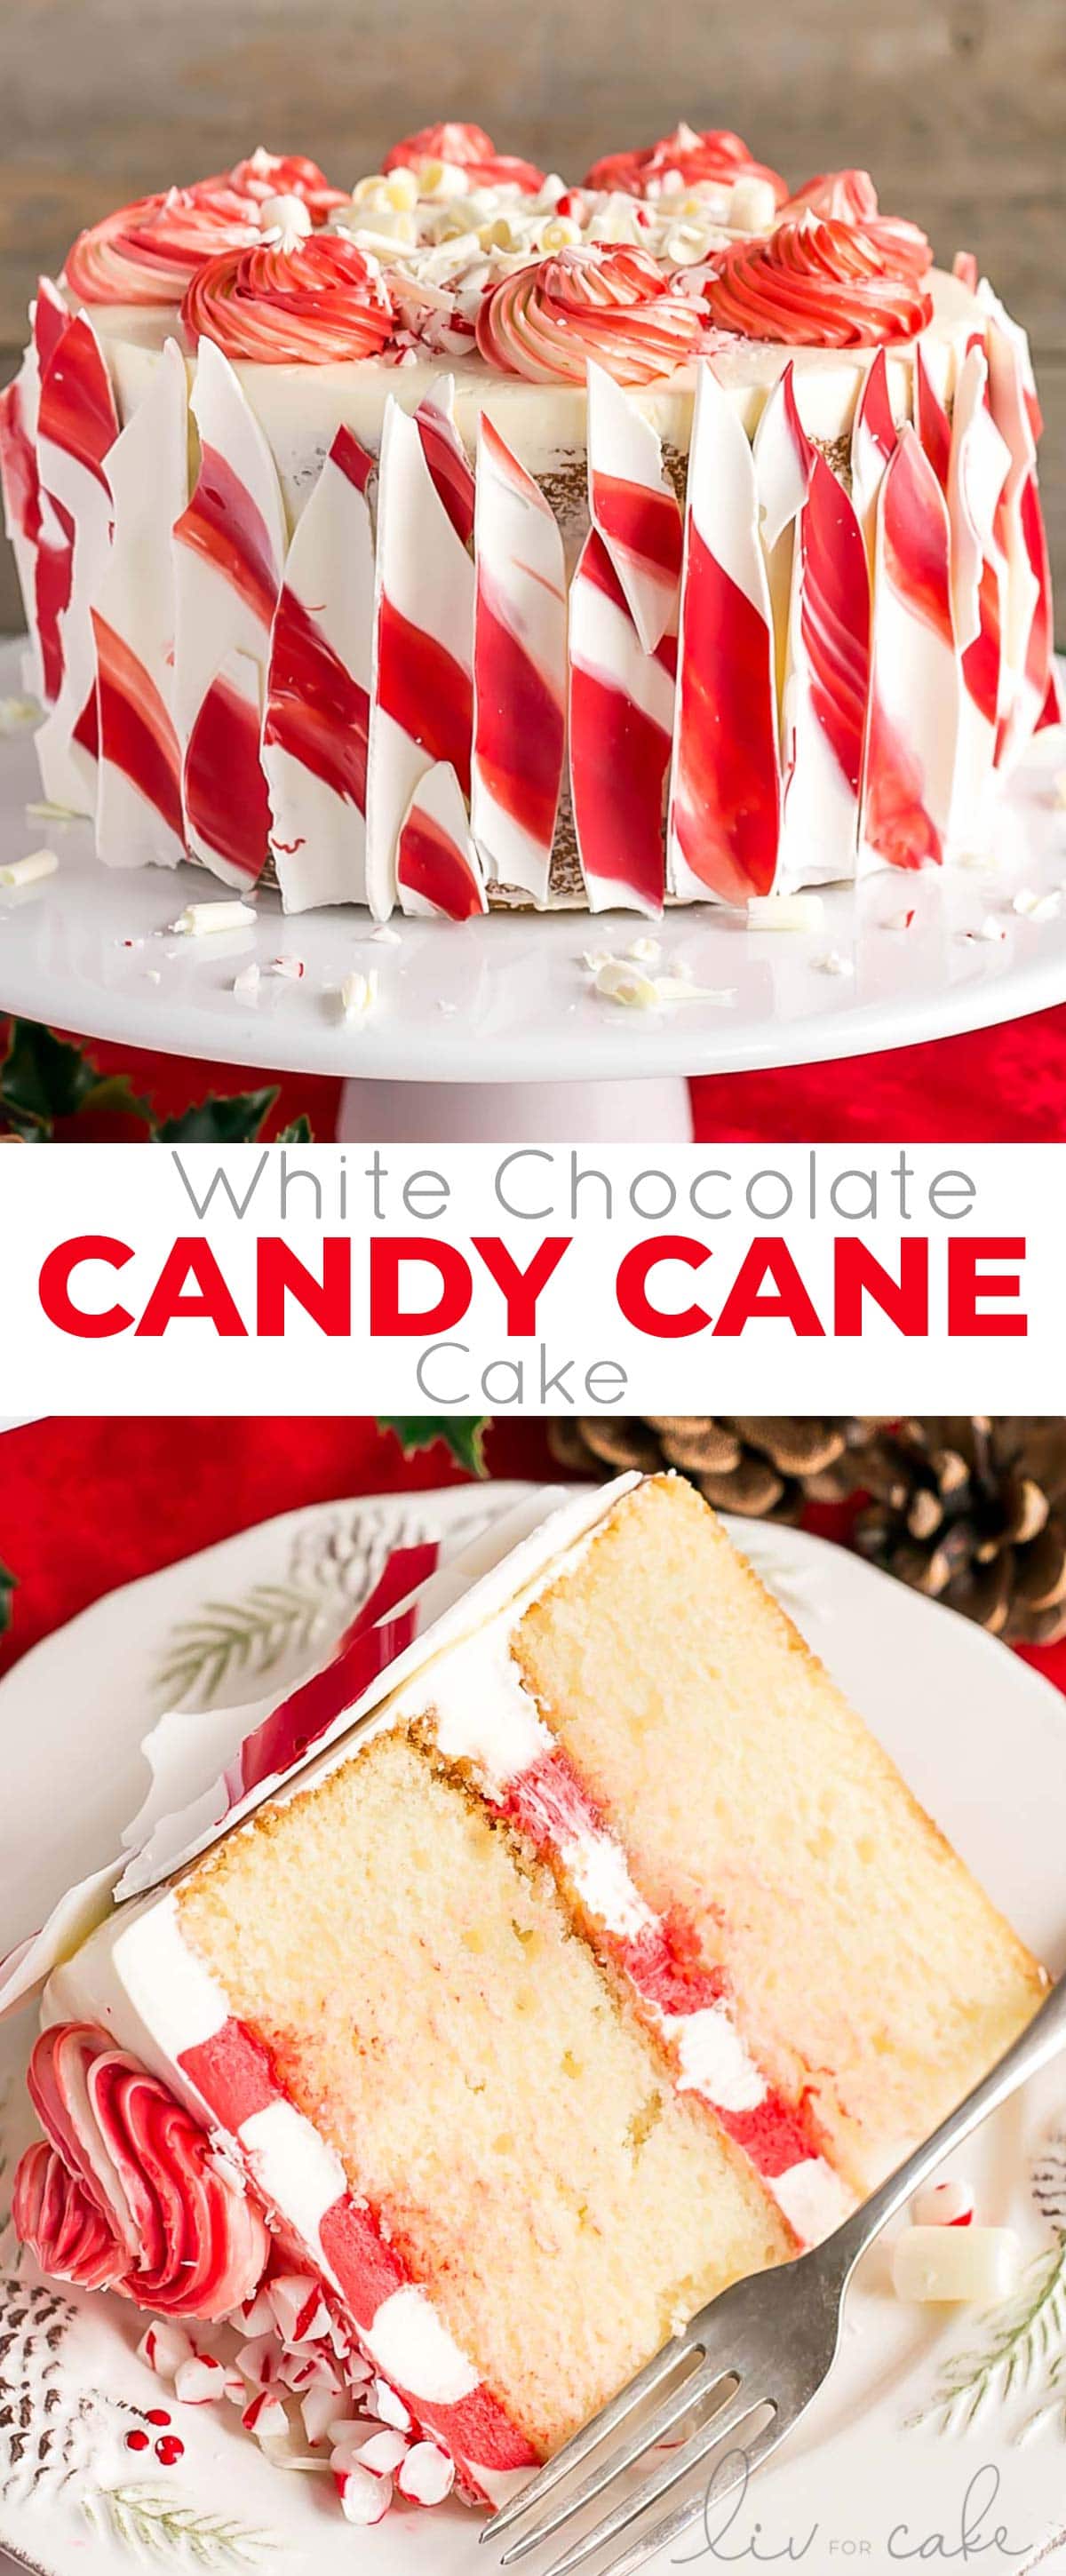
I really wanted the candy cane to shine through in both flavor and decoration, so decided to do a striped candy cane inspired bark on the outside of the cake, similar to the technique I used on my Black Forest Cake.
It’s easier to do than you’d think, I promise!
I used red and white candy melts to make it, but you could use white chocolate instead. The candy melts were pretty easy to work with though. Details in the recipe below, but check out my Black Forest Cake post for more information and links to a video tutorial.
Candy Cane Striped Buttercream
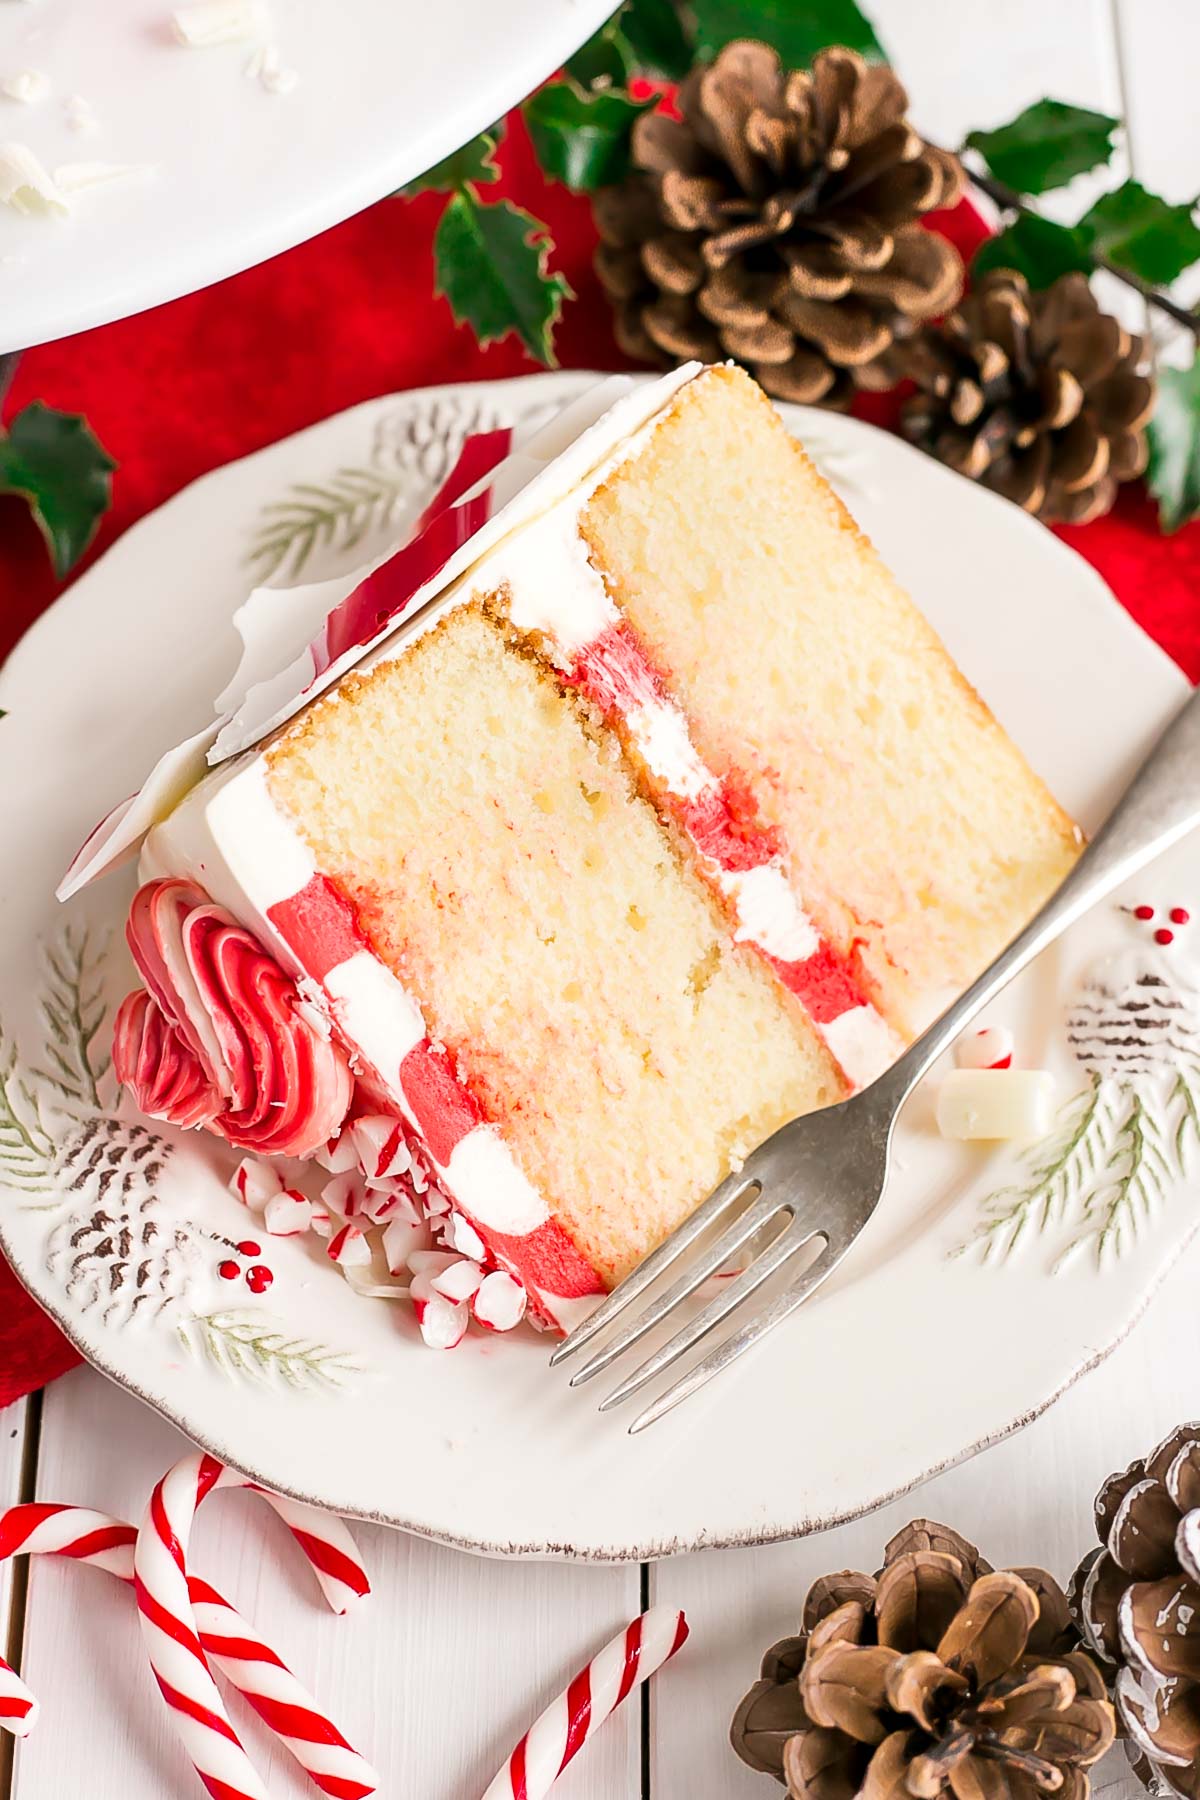
The candy cane striped buttercream inside the cake layers was actually really easy to do. I just filled two separate piping bags, one with red and one with white buttercream, and used a large round tip on both.
Starting with the white, I piped a circle around the outer edge of the cake layer. Then I worked my way in, alternating the colors. I think it turned out pretty well!
This cake is perfect for the holiday season. It’s so festive and bright that it will be the perfect addition to your holiday dinner tables!
Tips for making this White Chocolate Candy Cane Cake
- The recipe as-is will also work in three 6″ pans. For three 8″ pans, 1.5x the recipe.
- To make cupcakes, all you need to do is reduce the baking time — start checking at 15mins or so.
- The cooled cake layers can be baked ahead of time, double wrapped in plastic wrap, and frozen for up to 3 months. Take out 2-3 hours before assembly.
- The frosting can be placed in an airtight container and refrigerated for 1 week for frozen for 3 months. Bring to room temp and rewhip before using.
- I would probably just do white rosettes next time so that the red and white bark stood out more.
- I put peppermint in the cake layers but not the frosting. If you like, you can add it to the frosting too, but just know that it will likely overpower the white chocolate a bit and you may not be able to taste it as much.
- For more details on the candy cane bark, check out my Black Forest Cake post.
- For a cookie version of this cake, check out my White Chocolate Candy Cane Cookies!
- If you’re looking for more holiday inspired cakes, be sure to check out my Eggnog Cake, Gingerbread Cake, Pink Champagne Cake, and Sticky Toffee Pudding Cake!
- Be sure to check my Swiss Meringue Buttercream post for tips and troubleshooting.
- Learn how to keep your cakes moist using Simple Syrup.
- To help ensure your cake layers bake up nice and flat, check out my How to Bake Flat Cake Layers post!
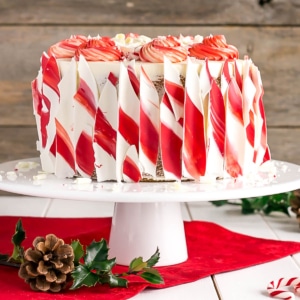
White Chocolate Candy Cane Cake
Ingredients
White Chocolate Peppermint Cake:
- 5 oz white chocolate chopped (or chocolate chips)
- 1 1/2 cup milk room temperature
- 2 1/2 cups all-purpose flour
- 2 1/2 tsp baking powder
- 1/2 tsp salt
- 3/4 cup unsalted butter room temperature
- 1 1/2 cup granulated sugar
- 3 large eggs room temperature
- 1 tsp vanilla extract
- 1 tsp peppermint extract
White Chocolate Swiss Meringue Buttercream:
- 6 large egg whites
- 1 1/2 cups granulated sugar
- 2 cups unsalted butter room temperature
- 6 oz white chocolate chopped, melted, cooled
- 1 tsp vanilla extract or peppermint if you prefer
- red color gel
Assembly:
- 200 g bright white candy melts
- 75 g red candy melts
- white chocolate curls
- candy canes chopped/crushed
Instructions
White Chocolate Peppermint Cake:
- Heat milk and chocolate until melted and combined, cool to room temperature.*
- Preheat oven to 350F. Grease and flour two 8″ cake rounds and line with parchment.
- In a medium bowl, whisk flour, baking powder, and salt until well combined. Set aside.
- Using a stand mixer fitted with a paddle attachment, cream butter and sugar on med-high until pale and fluffy (approx 3mins). Reduce speed and add eggs one at a time fully incorporating after each addition. Add peppermint extract.
- Alternate adding flour mixture and milk mixture, beginning and ending with flour (3 additions of flour and 2 of milk). Fully incorporating after each addition.
- Bake for 45-50mins or until a toothpick inserted into the center comes out mostly clean.
- Place cakes on wire rack to cool for 10mins then turn out onto wire rack and cool completely.
White Chocolate Swiss Meringue Buttercream:
- Place egg whites and sugar into the bowl of a stand mixer, whisk until combined.**
- Place bowl over a double boiler on the stove and whisk constantly until the mixture is hot and no longer grainy to the touch (approx. 3mins). Or registers 160F on a candy thermometer.
- Place bowl on your stand mixer and whisk on med-high until the meringue is stiff and cooled (the bowl is no longer warm to the touch (approx. 5-10mins)).
- Switch to paddle attachment. Slowly add cubed butter and mix until smooth.***
- Add white chocolate, vanilla (or more peppermint extract) and whip until smooth.
Candy Cane Bark:
- Melt red and white candy melts in bowls over simmering pots of water.
- Using a large offset spatula, spread white candy melts in a thin, even layer on a large sheet of parchment.
- Pour melted red candy melts into a piping bag. Snip off the tip to about 1/2″ in size. Pipe diagonal strips across the sheet of white. Spread using a small offset spatula to flatten.
- Roll up from the short side of the parchment. Place on a baking sheet and refrigerate or freeze until firm (approx. 30mins in fridge).
- Unroll to create chocolate bark.
- See this post for more details.
Assembly:
- Remove 1/3 of the frosting and color it red. You’ll need to use a fair amount of color gel to do this. Frosting will darken a bit over time.
- Fill one piping bag, fitted with a large round tip with the red frosting, fill another with the white.
- Place one layer of cake on a cake stand or serving plate. Alternate piping white and red circles starting from the outside edge working your way in.
- Place second cake layer on top and repeat the same process.
- Apply a thin coat of the white frosting on the outside of the cake. Smooth the sides and top. Leave a bit of the sides exposed for a naked look if desired. Chill for 20mins.
- Place remaining red and white frosting in a separate piping bag fitted with a French piping tip. I used a spatula to spread the white on one side of the piping bag and the red on the other. Pipe rosettes on the top of the cake.
- Fill the middle between the rosettes with chopped candy canes and white chocolate shavings if desired.
- Place candy cane bark around the outside of the cake. Adhere with some extra buttercream if needed.
Notes
** Ensure there is NO trace of egg yolks in your whites and that your mixer bowl and whisk is completely grease free or your meringue won’t stiffen.
*** The buttercream may look like it’s curdled at some point. Keep mixing until it is completely smooth.
Originally published on Nov 19, 2017




Teddi Paul says
I made this cake for a church potluck. Beautiful. I was going to flavor red buttercream with peppermint but forgot….personally would have liked it. Such a stunning cake. Thank you. Olivia for ALL the recipes and tips. So fun.
Olivia says
Hi Teddi! Thanks so much for the wonderful feedback! I’m so glad you liked it 🙂
Kevin says
Ha. My red candy melts got messy and blurry. The bark snapped along the white so each piece was red in the middle with blurry white marbling toward the edge. Looked like I slapped thin cuts of raw beef on the outside. Still delicious though. Got plans for next time.
Olivia says
Hi Kevin! Oh nooo lol. Not sure the raw beef look would be too appealing, hah. Sorry that happened. I hope you loved the cake though!
mona says
Hi Liv,
I have recently developed a taste for both cake baking and decorating, from the feedbacks, I feel I’m doing well by learning from genius like yourself. As I surf through the net, I came across your site which has all the excitement about cake baking as well as decorating. I really love the way you work around with your cakes which makes it all exciting.
Well done.
Olivia says
Hi Mona! Thank you so much. I can’t wait to hear what recipes you try! 🙂