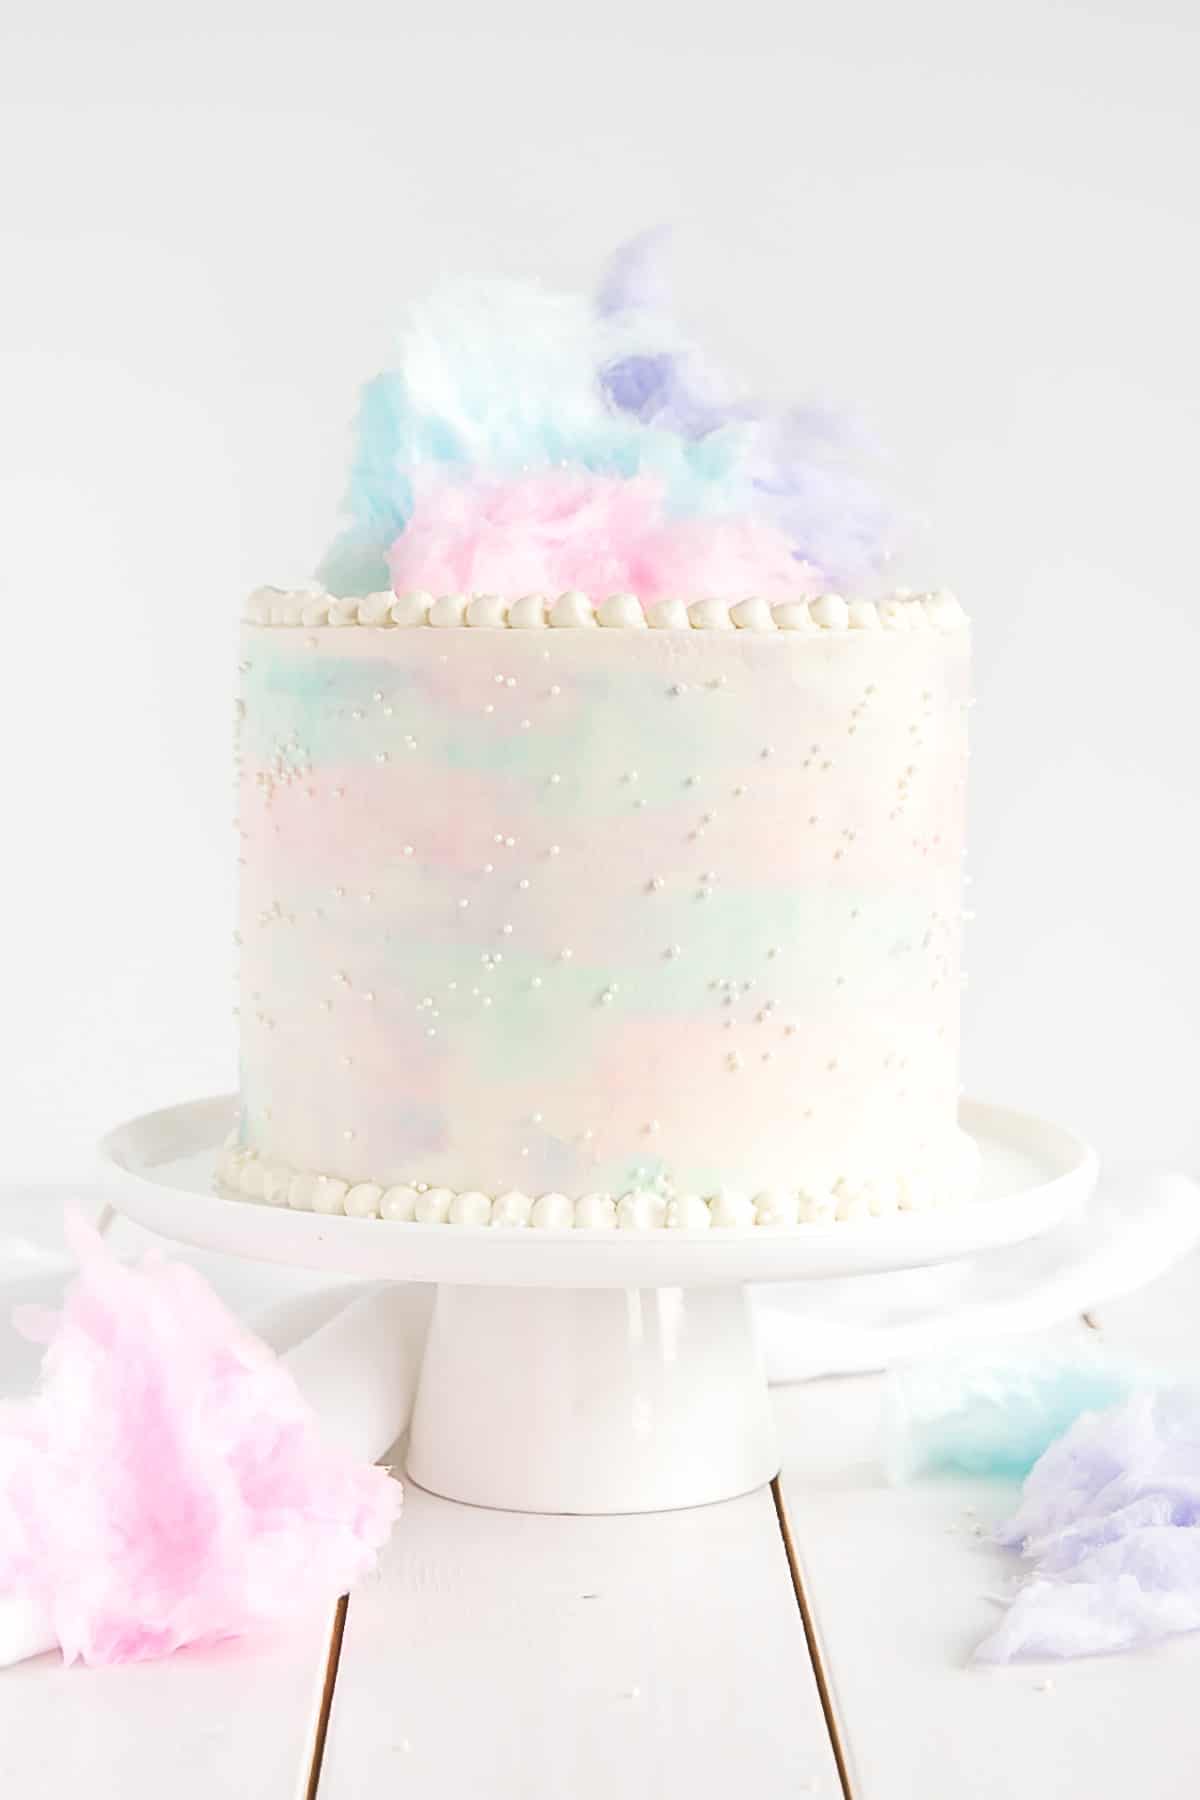
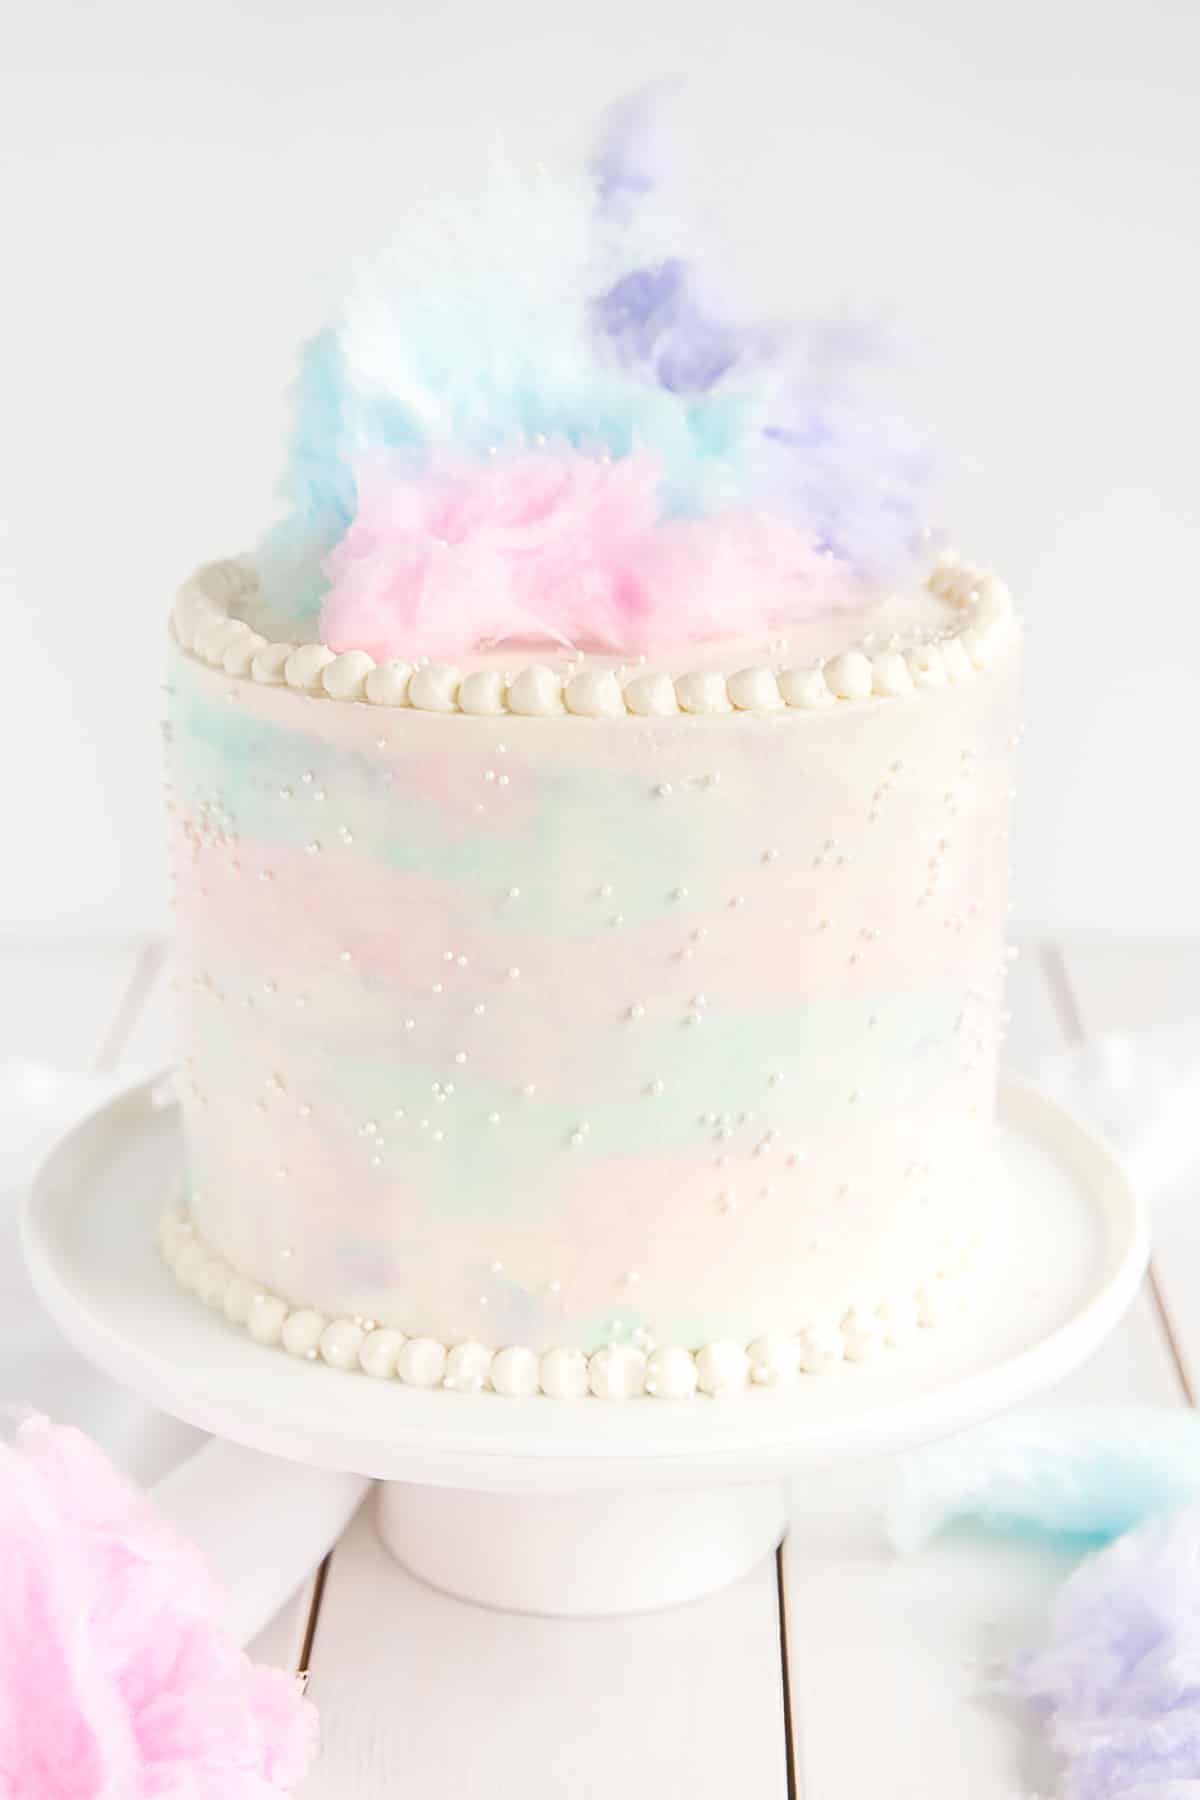
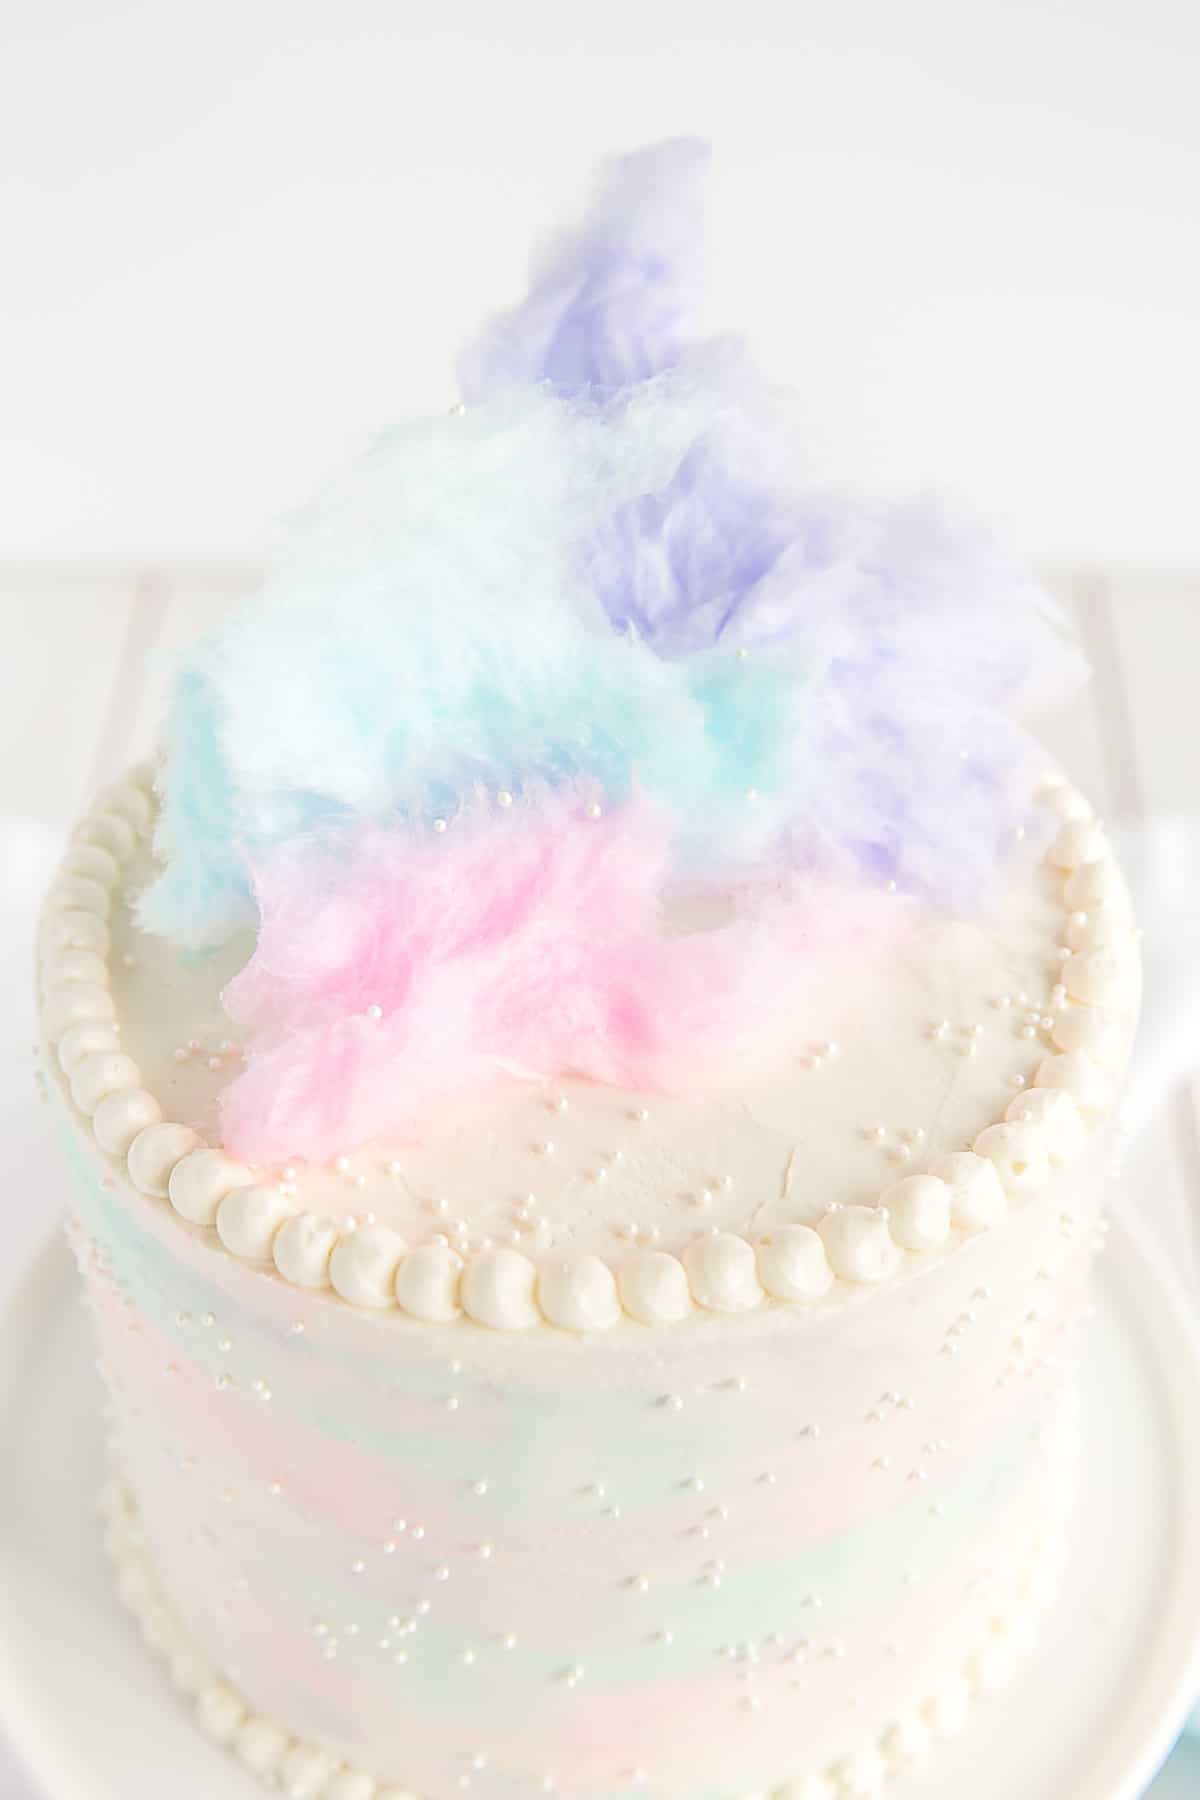
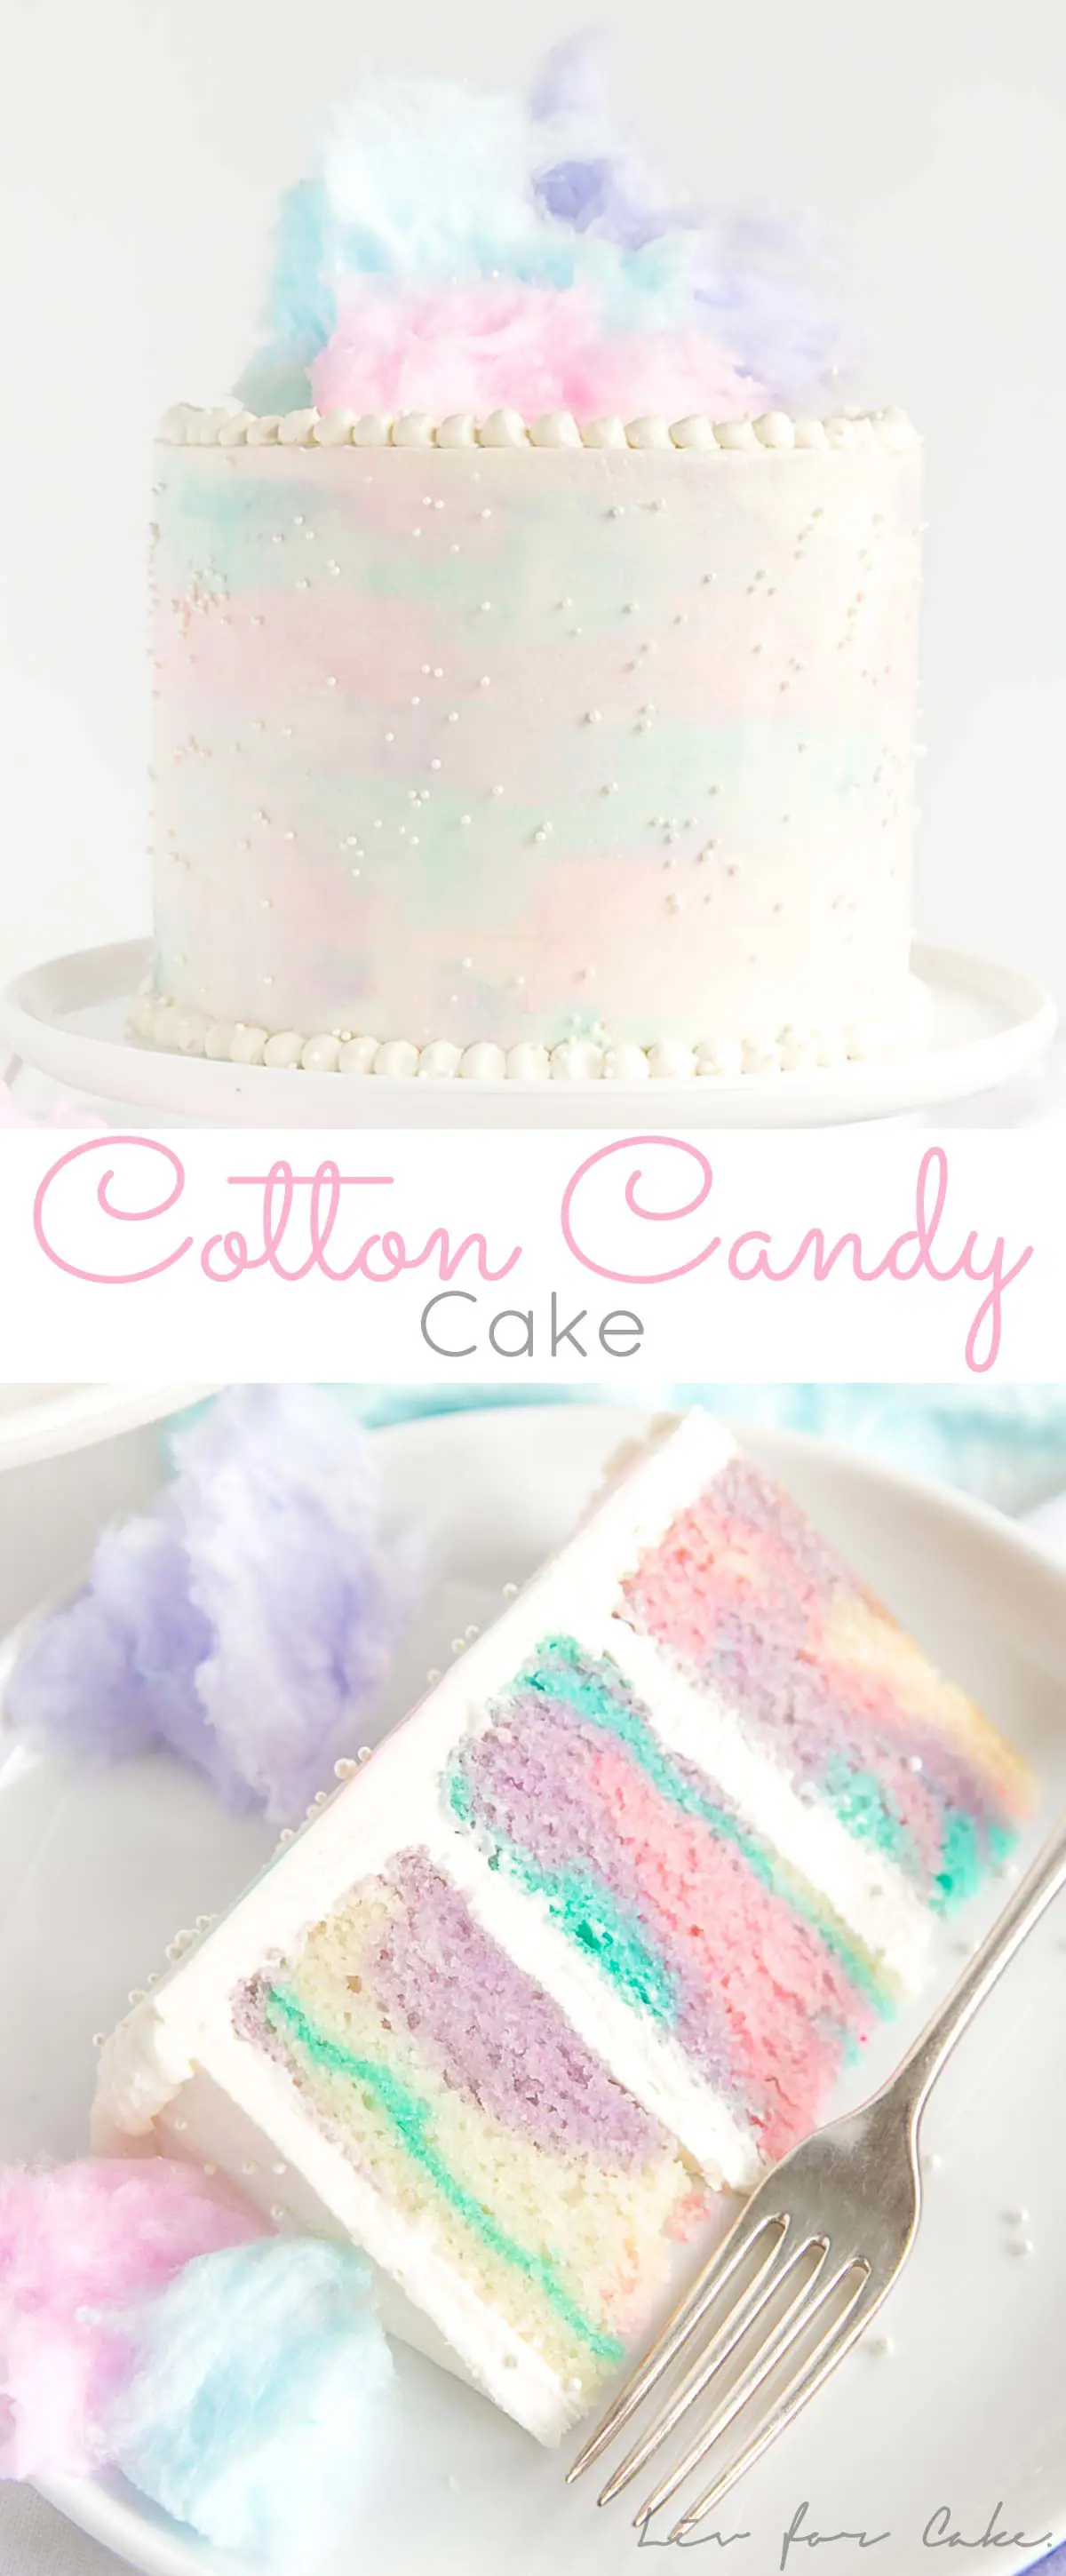
This Cotton Candy Cake has pretty marbled layers of light and fluffy cake paired with a cotton candy buttercream!
It all started with a container of pretty pastel cotton candy that I saw in the check out line at Homesense. I didn’t know exactly what I was going to do with it, or how I would turn it into a cake exactly, but the colors were so pretty I just had to have it. Impulse purchase was made.
Come to think of it, I’ve made a lot of impulse purchases in that lineup. The checkout aisle is always stocked and the lineup moves at a glacial pace (at best), so I’m not entirely surprised. Clearly Homesense knows what they’re doing. I wonder how many other people walked away with cotton candy they didn’t need that day?
When I decided to make this Cotton Candy Cake, I had no idea what a challenge (and pain in the butt) it would be to get actual cotton candy flavouing. I could have easily ordered it online, but the shipping cost was the same as the cost of the product and I was super offended by that, so I was determined to find it in store. I’m not even joking when I tell you I checked probably 10 stores in Canada AND the US and came up empty handed.
My favorite local gourmet shop had a spot for it, but it was all sold out because apparently people use these flavorings for vaping?? WHAT? Annoyed and frustrated, I left yet another store. I persevered though, and finally, FINALLY found one last bottle in a local cake shop. A cake shop that I hadn’t been to in years. Lesson learned, next time I’ll go there first!
Cotton candy flavoring (finally) in hand, it was time to come up with a plan for this cake.
The cotton candy I bought came in 4 different colors – pink, blue, purple, and yellow – so I decided to marble the cake with all of these colors. This would easy enough to do — I would split the batter into four bowls, color 3 of them and leave one plain. Except that just as I was about to split the batter up I realized I had forgotten to use the cotton candy extract! Seriously!! There was NO way I could leave that out given the hassle I went through to get it, and I was not about to remake the batter (laziness). So I added it right at the end, instead of with the eggs, and gave the batter another good mixing.
That mistake, coupled with coloring the batter, meant that the cake batter was crazy overmixed. I knew it would be, but I went with it anyhow.
What happens when you overmix cake batter?
There are a few tell-tale signs of an overmixed cake. The severity varies depending on just how much the batter was overmixed. Ideally, you want to mix just until the flour is incorporated.
Overmixing often leads to denser cakes because you’ve built up too much of the gluten. You’ll often also notice holes or tunnels when you cut into it. Severely overmixing cake batter will affect the entire structure of the cake so much that sometimes the layers will be so fragile that they will break coming out of the pans. That is what actually happened to me with this Cotton Candy Cake.
Once the cakes had cooled for 10mins in their pans, I could see there was a problem. They were still sort of clinging to the sides and very crumbly around the edges. I ran a knife along the sides to loosen them as much as possible and turned them out. The sides were very crumbly. Honestly, the sides mostly just fell off or stayed behind on the pan.
I was worried about whether you’d be able to tell once the cake was assembled and if it would look terrible, but I went with it anyhow. Did I mention I’m lazy?? You’d never really be able to tell though by the pic, right?
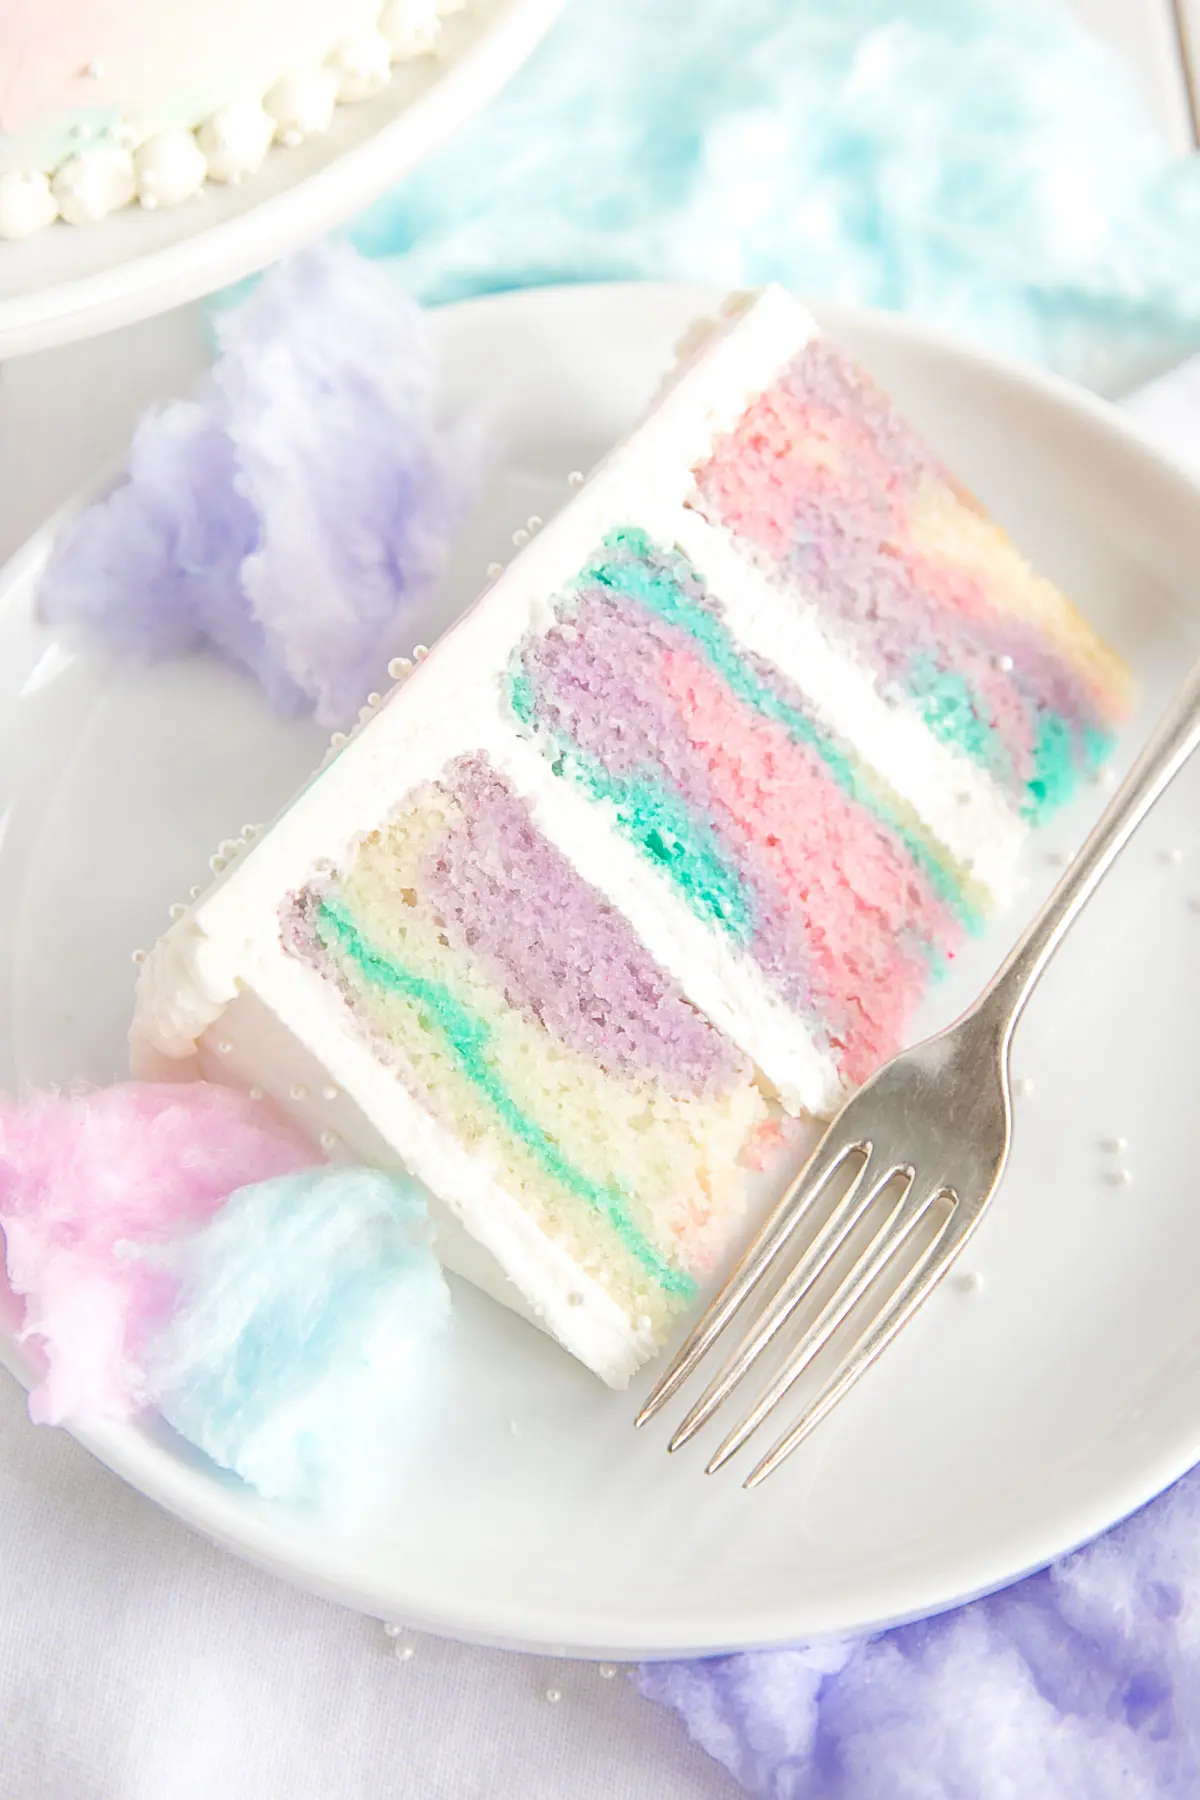
Let me tell you though, those little scraps that stuck to the pans were SO good. Another reason I decided just to go with it. I knew the cake tasted good and that the problems with the structure were simply due to overmixing (aka forgetting the damn extract). It likely would have been fine if I didn’t also color the batter. The two coupled together were just a recipe for disaster.
Any time you’re coloring batter there is a risk of overmixing. Really, it’s impossible to avoid overmixing to some extent. If you’re doing just one solid color, I actually recommend adding a bit of color gel into your butter & sugar mixture. That way you get the color at least some of the way there already. That’s how I did it for my Pink Velvet Cake, and just added a bit more color at the end if I needed it.
While we’re on the topic of coloring cake batter, don’t do as I did and just squirt the color into your cake batter because you are too lazy to use a toothpick like I was. This led to some MUCH darker blue batter than I was going for. I tried to add more of the uncolored batter to lighten it, but it was too far gone. You’ll need a couple drops of color gel in there, but less than comes out with a squirt!
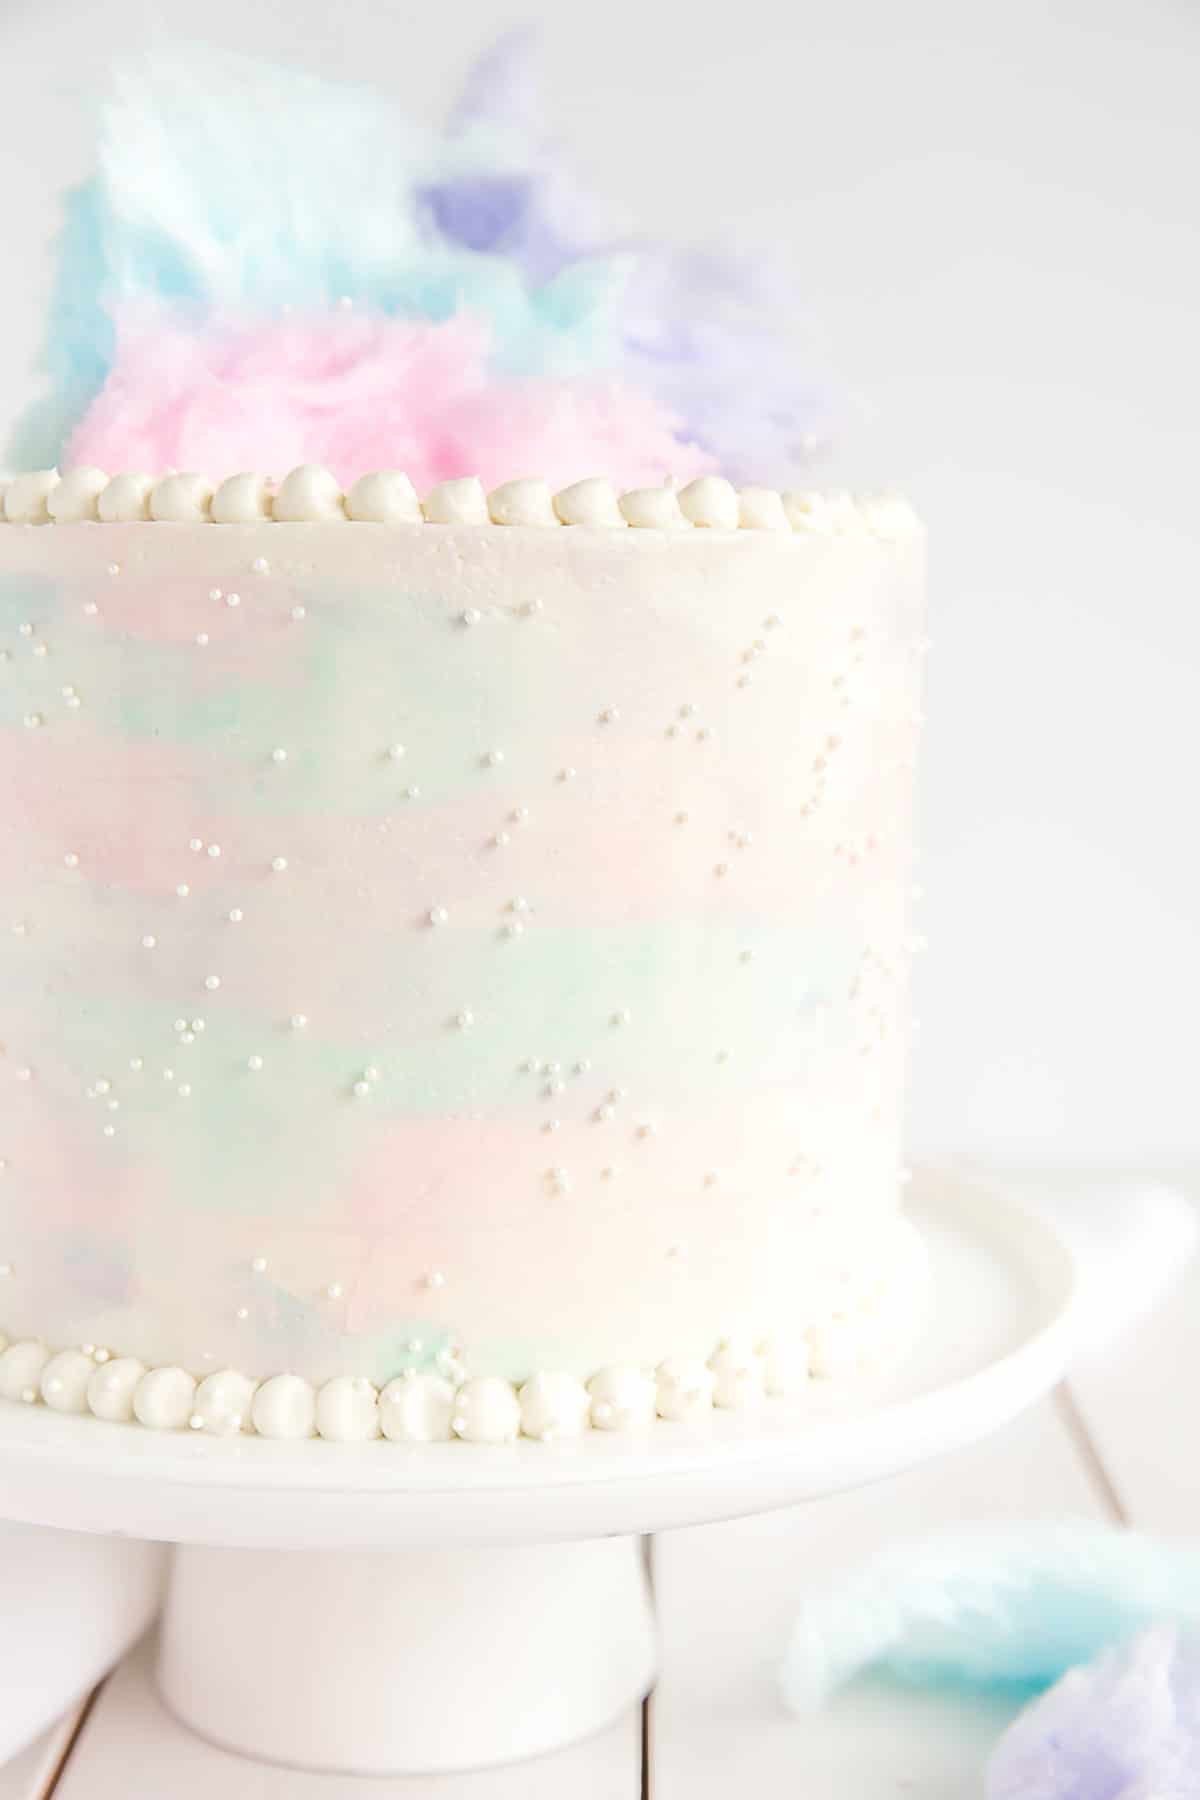
My frosting, on the other hand, could have used way more color. The watercolor effect isn’t nearly as visible as I’d like, and I think that’s partly due to the pastels of my frosting being too light, especially when scraped into the white frosting and each other. I should have gone a touch darker there.
How to make a watercolor cake
This is actually very simple to do. I used a regular white buttercream for the base of my cake and fully frosted it (not just a crumb coat). Then I split the leftover frosting into 4 bowls and colored 3 of them pink, blue, and purple respectively. You want to leave some white buttercream in case you need to do some touch ups here and there. I didn’t need it too much for that, but I did use it to do the pearl border on the top and bottom of the cake.
Once you have your frosting colored, work with one color at a time and spackle each one randomly around the cake. Repeat with remaining colors until most of the surface is covered and then use your icing scraper to smooth out the sides. Here’s a good tutorial and overview.
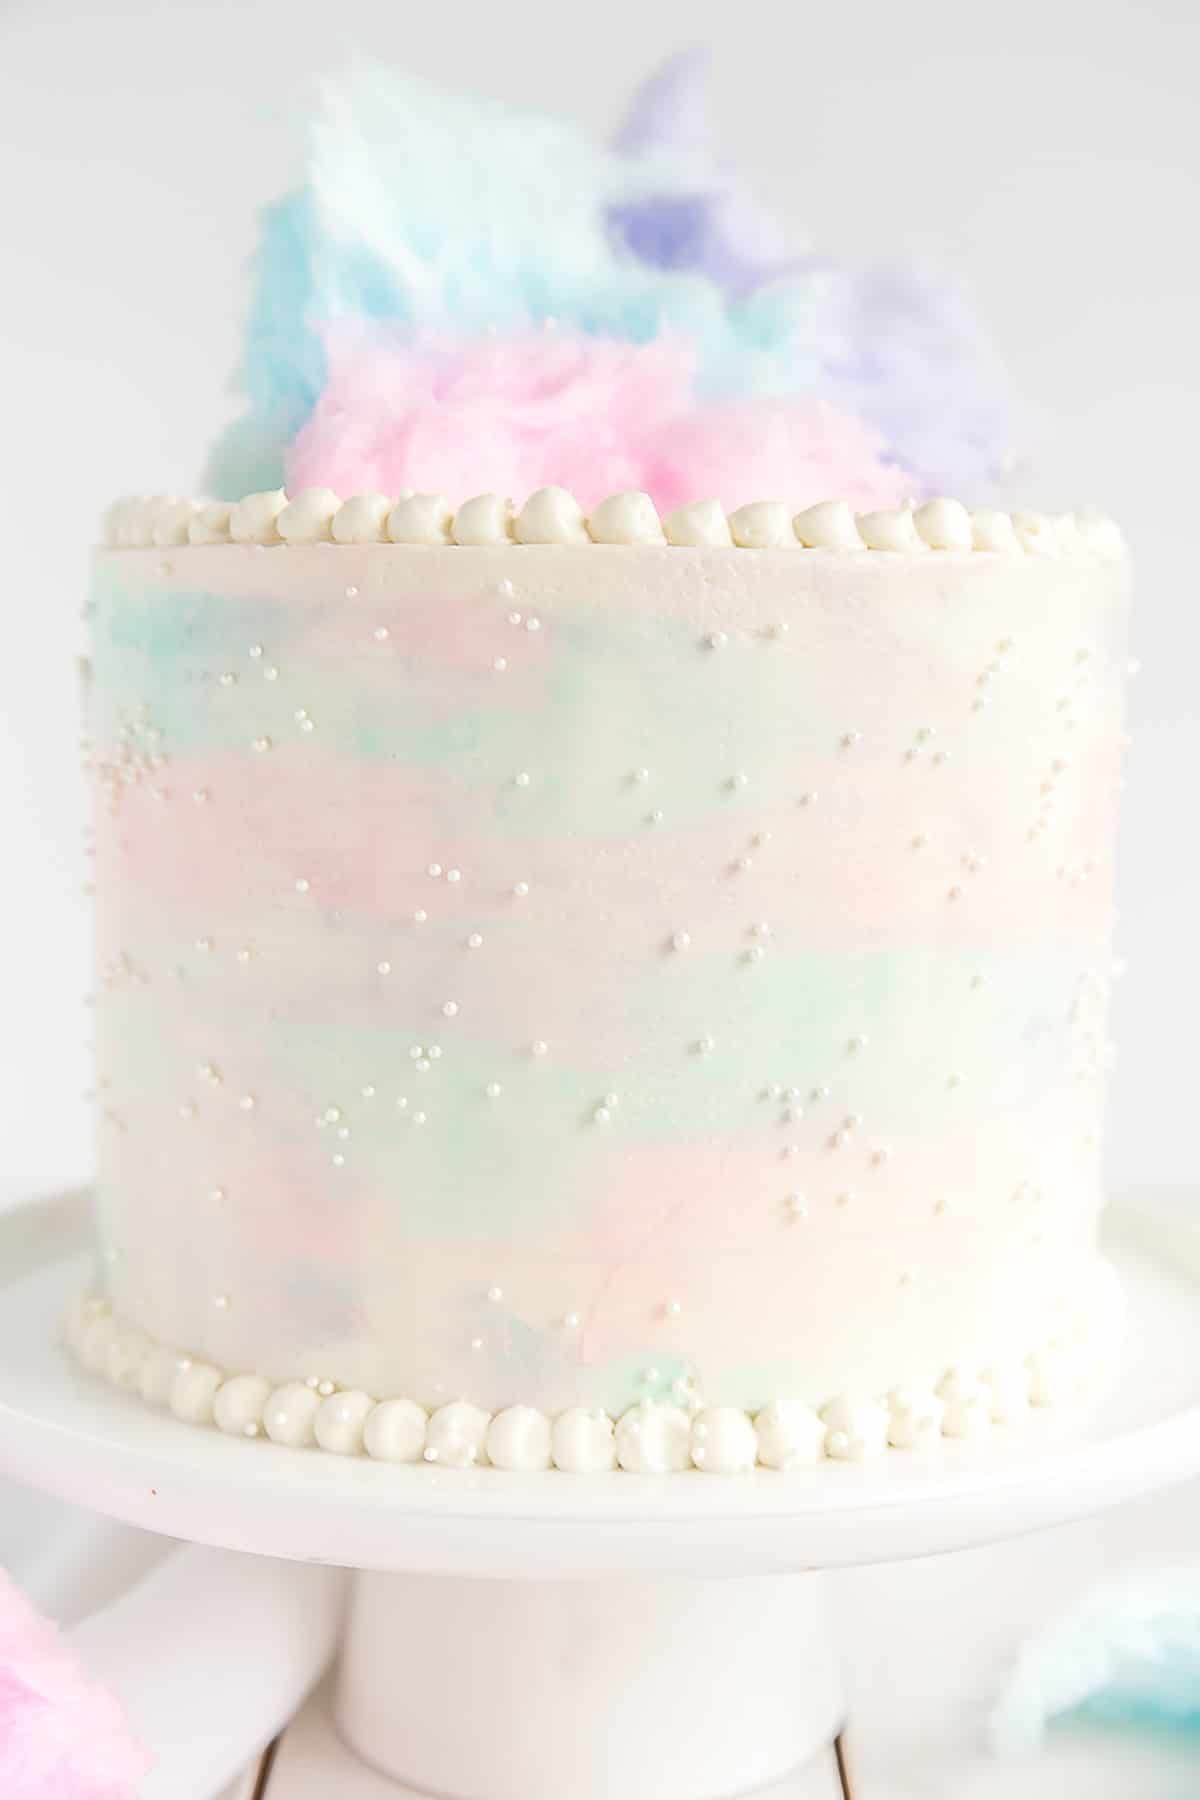
One issue I had with the watercolor effect was that my base frosting was too firm/chilled. I had put it back in the fridge for a bit while I colored the frosting, and in hindsight I think this was a bad idea, as it didn’t blend as nicely as I hoped it would. Next time, I would make sure the frosting on the cake is the same temperature and texture as the stuff I’m spackling on.
Coloring and frosting issues aside, I think this Cotton Candy Cake turned out pretty well!! The watercolors, although on the lighter side, do match the actual cotton candy quite well.
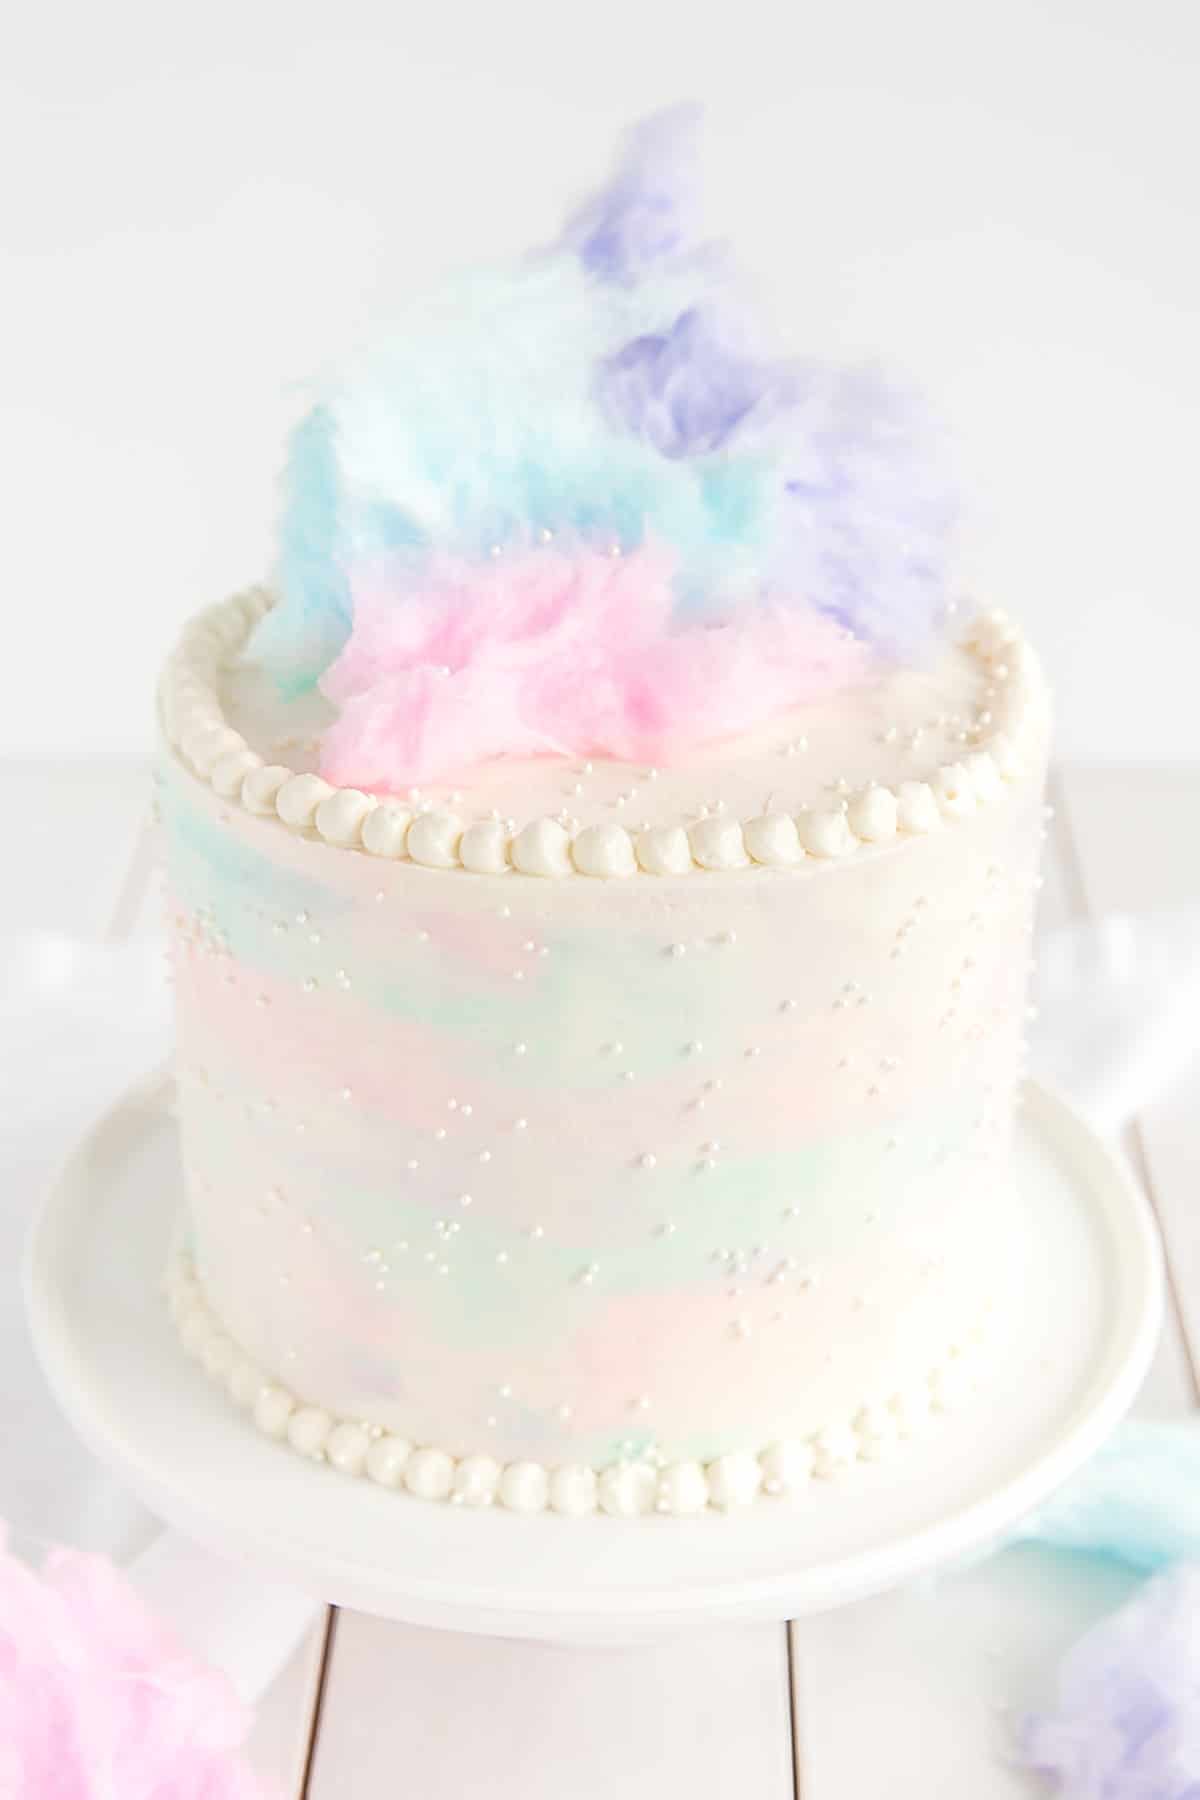
So I bet you’re wondering how this Cotton Candy Cake tastes, right?? Does it actually taste like Cotton Candy?? To be fair, I’m not sure that it totally does. The cotton candy flavoring almost had more of a bubblegum + coconut kinda flavor (to me anyhow). That being said, it is perfectly delicious. Like, SO good. It is on the sweeter side overall (which should be no surprise given the name), but it was a hit all around over here.
Looking for more Cotton Candy recipes?
Tips for making this Cotton Candy Cake:
- As much as possible, try not to overmix your cake batter as it will affect the texture of your cake.
- When coloring the batter and frosting, I recommend using a toothpick to control the amount of color that is added.
- Do not chill your cake before doing the watercolor technique so that the colors blend more easily.
- Cotton candy does not hold up well for long periods of time, and will not hold up at all in the refrigerator. I recommend adding it just before serving.
- Be sure to check my Swiss Meringue Buttercream post for tips on how to make your buttercream white.
- To help ensure your cake layers bake up nice and flat, see my Flat Top Cakes post.
Cotton Candy Cake
Ingredients
Cotton Candy Cake:
- 2 1/4 cups all-purpose flour
- 2 1/4 tsp baking powder
- 3/4 tsp salt
- 3/4 cup unsalted butter room temperature
- 1 1/2 cup granulated sugar
- 3 large eggs room temperature
- 1 1/2 tsp cotton candy flavoring
- 1 cup whole milk room temperature
- fuchsia color gel
- sky blue color gel
- violet color gel
Cotton Candy Buttercream:
- 6 large egg whites
- 1 1/2 cups granulated sugar
- 2 cups unsalted butter room temperature
- 1 tsp cotton candy flavoring
Assembly:
- fuchsia color gel
- sky blue color gel
- violet color gel
- cotton candy
Instructions
Cotton Candy Cake:
- Preheat oven to 350F. Grease and flour three 6″ cake rounds and line with parchment.
- In a medium bowl, whisk flour, baking powder, and salt until well combined. Set aside.
- Using a stand mixer fitted with a paddle attachment, cream butter and sugar on med-high until pale and fluffy (approx 3mins). Reduce speed and add eggs one at a time fully incorporating after each addition. Add cotton candy flavoring and mix well.
- Alternate adding flour mixture and milk, beginning and ending with flour (3 additions of flour and 2 of milk). Fully incorporating after each addition.
- Separate batter equally into four bowls (I use a kitchen scale). Color 3 of the bowls of batter with fucshia, sky blue, and violet gels respectively. Spoon batter randomly into each of the 3 pans, swirl once or twice with a bamboo skewer to marble.
- Bake for approx. 35mins or until a toothpick inserted into the center comes out mostly clean.
- Place cakes on wire rack to cool for 10mins then turn out onto wire rack.
Cotton Candy Buttercream:
- Place egg whites and sugar into the bowl of a stand mixer, whisk until combined.*
- Place bowl over a double boiler on the stove and whisk constantly until the mixture is hot and no longer grainy to the touch (approx. 3mins). Or registers 160F on a candy thermometer.
- Place bowl on your stand mixer and whisk on med-high until the meringue is stiff and cooled (the bowl is no longer warm to the touch (approx. 5-10mins)).
- Switch to paddle attachment. Slowly add cubed butter and mix until smooth.**
- Add cotton candy flavoring and whip until smooth.
Assembly:
- Place one layer of cake on a cake stand or serving plate. Top with approximately 2/3 cup of buttercream. Repeat with remaining layers and crumb coat the cake. Chill for 20mins.
- Frost the top and sides of the cake and smooth with a bench scraper.
- Divide the remaining frosting into 4. Leave one batch white and color the remaining three fuschia, sky blue, and violet.
- Doing one color at a time — scrape a bit of colored frosting onto the back of a small offset spatula and spackle this onto the cake in a random pattern. Repeat with the other colors until they are evenly, but roughly, dispersed.
- Run your bench scraper along the sides of the cake again to smooth out the newly added colored frosting. Repeat as needed, adding more color or patching with white.
- Do a pearl border along the top and bottom using a small round piping tip with the remainder of the white buttercream.
- Add cotton candy to the top if desired.***
Notes
** The buttercream may look like it’s curdled at some point. Keep mixing until it is completely smooth.
*** Cotton candy does not hold up well for long periods of time and will not hold up at all in the refrigerator. I recommend adding this just before serving.



Carol Wong says
Can we replace all purpose flour with cake flour?
Thanks
Olivia says
Hi Carol! Yes, that should work fine.
A. says
I was wondering where you purchased the cotton candy for the top of the cake? I’m having a hard time fiding it in these pretty colors. Thanks!
Olivia says
Hi A! I actually got it at Homesense of all places. I rarely see it in stores, maybe specialty candy stores. I’m not sure where you’re located but have you checked Amazon?
Sarah says
I couldn’t decide what kind of cake to bake my niece for her 6th birthday. So, I decided to ask her! Immediately she said, “A cotton candy cake.” I told her that I may not be able to do that and to choose a backup just in case. Well, I came home and looked into cotton candy cakes and found this recipe! I decided to follow it exactly and had such amazing results. I have a couple of photos I’d like to share, just not sure where to post them. What a perfect recipe. I did double the recipe and use 2 8 inch round pans. I ordered the cotton candy flavoring and colors off Amazon. To be honest, my husband and I were skeptical. So we ended up making a back up vanilla cake with chocolate frosting (the famous King Arthur birthday cake recipe). Everyone was so surprised by the Cotton Candy Cake though. It wasn’t too sweet. It was light and brought back wonderful memories. My niece helped us make the cake and what a memory made. She even decorated the outside and was so proud of our work. Thank you so much for this recipe and the inspiration. Let me know if you want the photos 🙂
Olivia says
Hi Sarah! Thank you for the wonderful feedback. I’m so happy you all loved it! You can send photos to me at livforcakeblog@gmail.com. I would love to see them.
Agnes Guglielmi says
What size cake pan do I use if I want to make just one cake?
Also do you think using flavoured floss sugar can be used for some or all of the sugar? I have various candy floss flavoured sugars I am thinking of using
Thank you
Olivia says
Hi Agnes! Converting pan sizes is always tricky. Here are some sites I use as a guideline:
http://www.joyofbaking.com/PanSizes.html
https://www.cookipedia.co.uk/recipes_wiki/Cake_tin_conversion_charts
I would not replace the sugar with the sugar floss as it will be hard to know how much to use.
tj says
You know, as soon as I came to this site for the first time, I thought. . . The woman who writes this blog must be lazy. Im really glad we got that out of the way. Now days lazy is the new busy. Hell, everything is that way in 2022. So, I think your fine! Let’s get down to the real reason why I am posting this review. . . . You and I both know why that is. No one alive reads Cotton Candy Cake and can keep scrolling. SO needless to say, after I was done thinking how great this website looks for someone that clearly didn’t put any work into any of it at all. 😉 And reading through your post. . . Why did I find myself lost in a back aisle looking for dinner recipes on a cake site. . . LOL So thank you very much, it looks like I will be eating cake for dinner and possibly breakfast for the foreseeable future. . . Unless you got a Cotton Candy Chicken or a Cotton Candy Carrot recipe. I feel like the doctor would be confused if I tossed the vegetable in there and not feel like I had just flushed my life down the toilet for eating cotton candy so much. . . He likes to judge me for some reason. It’s okay though, the doctor has been lazy also. Hell, the only one that seems to be working is the homeless guy down the road. So anyhow end of rant. Great recipe work, journaling and site. You got an A+ for being such a lazy worker!! Now if I could just find myself something to be lazier about, I could make some money instead of spending it on cotton candy. *sighs*
Olivia says
Hi TJ! Thank you for the hilarious comment. You totally made my day! I’m so glad you liked it 😀
Kim Cochran says
Is it the icing that will not hold up in the fridge?
Olivia says
Hi Kim! I’m not sure I understand your question. The frosting does fine in the fridge.
Autumn says
Could I double this recipe and make 3 9inch cakes?
Olivia says
Hi Autumn! Yes, that should work fine.
Bonnie says
Hi Liv!
Any chance you think this cotton candy cake would work with a cream cheese icing? If so, would you add cotton candy to the cream cheese icing or do a plain one?
Thank you in advance!
Olivia says
Hi Bonnie! I think it would work great! I would add the flavouring a little at a time and see how you like it.
Bonnie says
Thank you so much Liv! Your recipes are my absolute most favorite and literally*every* single time I make one people swoon over the treat! I make my own gluten free flour blend (I have Celiac Disease and don’t like most gluten free flours due to the added gums) and every recipe of yours I’ve tried works so well with it. I am making this tomorrow for my daughter’s birthday and if I can remember I will send a pic over to you! Thanks again!
Olivia says
I am so happy to hear that!! Glad they work well GF 🙂 Definitely send me a pic! xo
Magen says
This is my go to cake recipe, I just swap out the flavoring. Very nice buttercream as well.
Olivia says
Thanks Magen! So glad you like it 🙂
Nicole says
Really amazing cake. It was easy to make as long as I followed the instructions completely. Turned out amazing and received lots of compliments. Thank you for this recipe!
Olivia says
Hi Nicole! Thanks so much, so happy you loved it 🙂
Jenna says
I made this for a child’s birthday and it turned out great! Everyone loved the nice, light flavor.
Olivia says
Thanks Jenna! Glad everyone loved it 🙂
Andrea says
Hi! Does the icing refrigerate ok? I am planning on icing my cake tomorrow and making icing ahead of time. Thanks!
Olivia says
Hi Andrea! Yes, if it’s just a day or two you can leave the frosting at room temperature, otherwise refrigerate/freeze it. Keep in mind you’ll need to bring it completely to room temperature and rewhip before using it again. If it’s still cold it might split (but you can save it) here are my tips: https://livforcake.com/swiss-meringue-buttercream-recipe/
Lisa says
Thank you so much for the recipe. I appreciate you taking the time to share it. I was able to easily find the cotton candy flavouring at Bulk Barn for $6 in Ontario.
Olivia says
Hi Lisa! That’s awesome! My local Bulk Barn does not carry many flavourings so that is a great find!
Bernice says
Hi! My daughter requested cotton candy cake for her birthday, but I think cupcakes are more Covid friendly (she can still blow out her candles if they are on just her cupcake). Do you know how long cupcakes will have to bake if I use this recipe for the batter? And will this frosting recipe work well for cupcakes too?
Olivia says
Hi Bernice! I would start checking them at 15mins or so, and yes, the frosting will work great!
Zuza says
Hello 😉
Will this watercolour battercream work with mascarpone battercream from your Strawberry Mascarpone cake ? 🙂
Olivia says
Hi Zuza! The mascarpone whipped cream? You should be able to color it but make sure not to overmix it too much.
Anna says
I am making this for my daughter’s birthday just curious does it actually taste like cotton candy?
Jazzy says
Instead of three 6” layers could i do two 8” layers?
Olivia says
Hi Jazzy! That will work just fine. The layers will be slightly thinner so the baking time may be shorter.
Jolita says
Should I keep the cake in a refrigerator after its all done.
Olivia says
Hi Jolita! Ideally yes, but take out 2-3 hours before serving so it can come to room temperature.
Lamis says
Hi olivia,
Im planning to make one of your cakes for my daughter’s birthday next month. Ive never done any properly frosted cakes before. So I am trying to gather as much tips and information about it.
Do you recommend that I chill my cake layers overnight before frosting them? If so whats the best way to wrap them properly?
Olivia says
Hi Lamis! Yes, I recommend frosting chilled layers. I usually freeze mine (double wrapped in plastic wrap) and take them out a couple hours before frosting. As long as they are cold though it will work fine, so even in the fridge if just overnight. Once cooled, wrap each one in plastic wrap.
Lamis says
Thank you so much. Keeping baking awesome cakes❤️
Lamis Abdellatif says
Sorry final question! Would you recommend this recipe if I omit the cotton candy flavoring?
Olivia says
Yes, as long as you replace it with some other flavouring. Or you can use my Vanilla Cake recipe instead 🙂
Dara says
Hi Olivia,
This cake is so beautiful! My daughter bakes cakes for girls living in a local foster home program. One of the girls requested a cotton candy cake….this will be perfect! We have a bit of a silly question: the pics of the cake on your blog make it seem much bigger than 6”. We just want to confirm the pan size. The pans should be 6” diameter and 2” deep for this recipe correct? If we needed a bigger cake how would we change the recipe to work with 9” x 2” cake pans?
Olivia says
Hi Dara! Not a silly question at all. My cake is 6″ rounds that are 2″ deep. The cake layers should be close to 1.5″ tall or so each. The recipe as is also works for two 8″ pans. Converting pan sizes is always tricky. Here’s a site I use as a guideline: http://www.joyofbaking.com/PanSizes.html I would at least 2x the recipe for three 9″ pans.
Steph says
Hello! For 2 x 9” pans, do you think 1 batch would be enough? Any idea on estimated bake time for this size?
Olivia says
Hi Steph! The layers would be thinner for sure, not sure if too thin. Baking time is hard to say as it depends on how much batter there is in the pans. Sorry, that wasn’t super helpful but I’ve never baked it in 9″ pans :\
Juliana says
Sorry, I could not answer your question, then new comment follows. I usually make 2 cakes, a cake of 6 “with 3 layers and another of 8” with 3 layers as well. It’s for my daughter’s 3 year birthday, so 1 cake is a little kkkkkk. Thanks for listening.
Olivia says
This recipe works for one three layer 6″ cake. If you also want a three layer 8″ cake I would 1.5x the recipe. So one full recipe and another at 1.5x. I hope that helps!