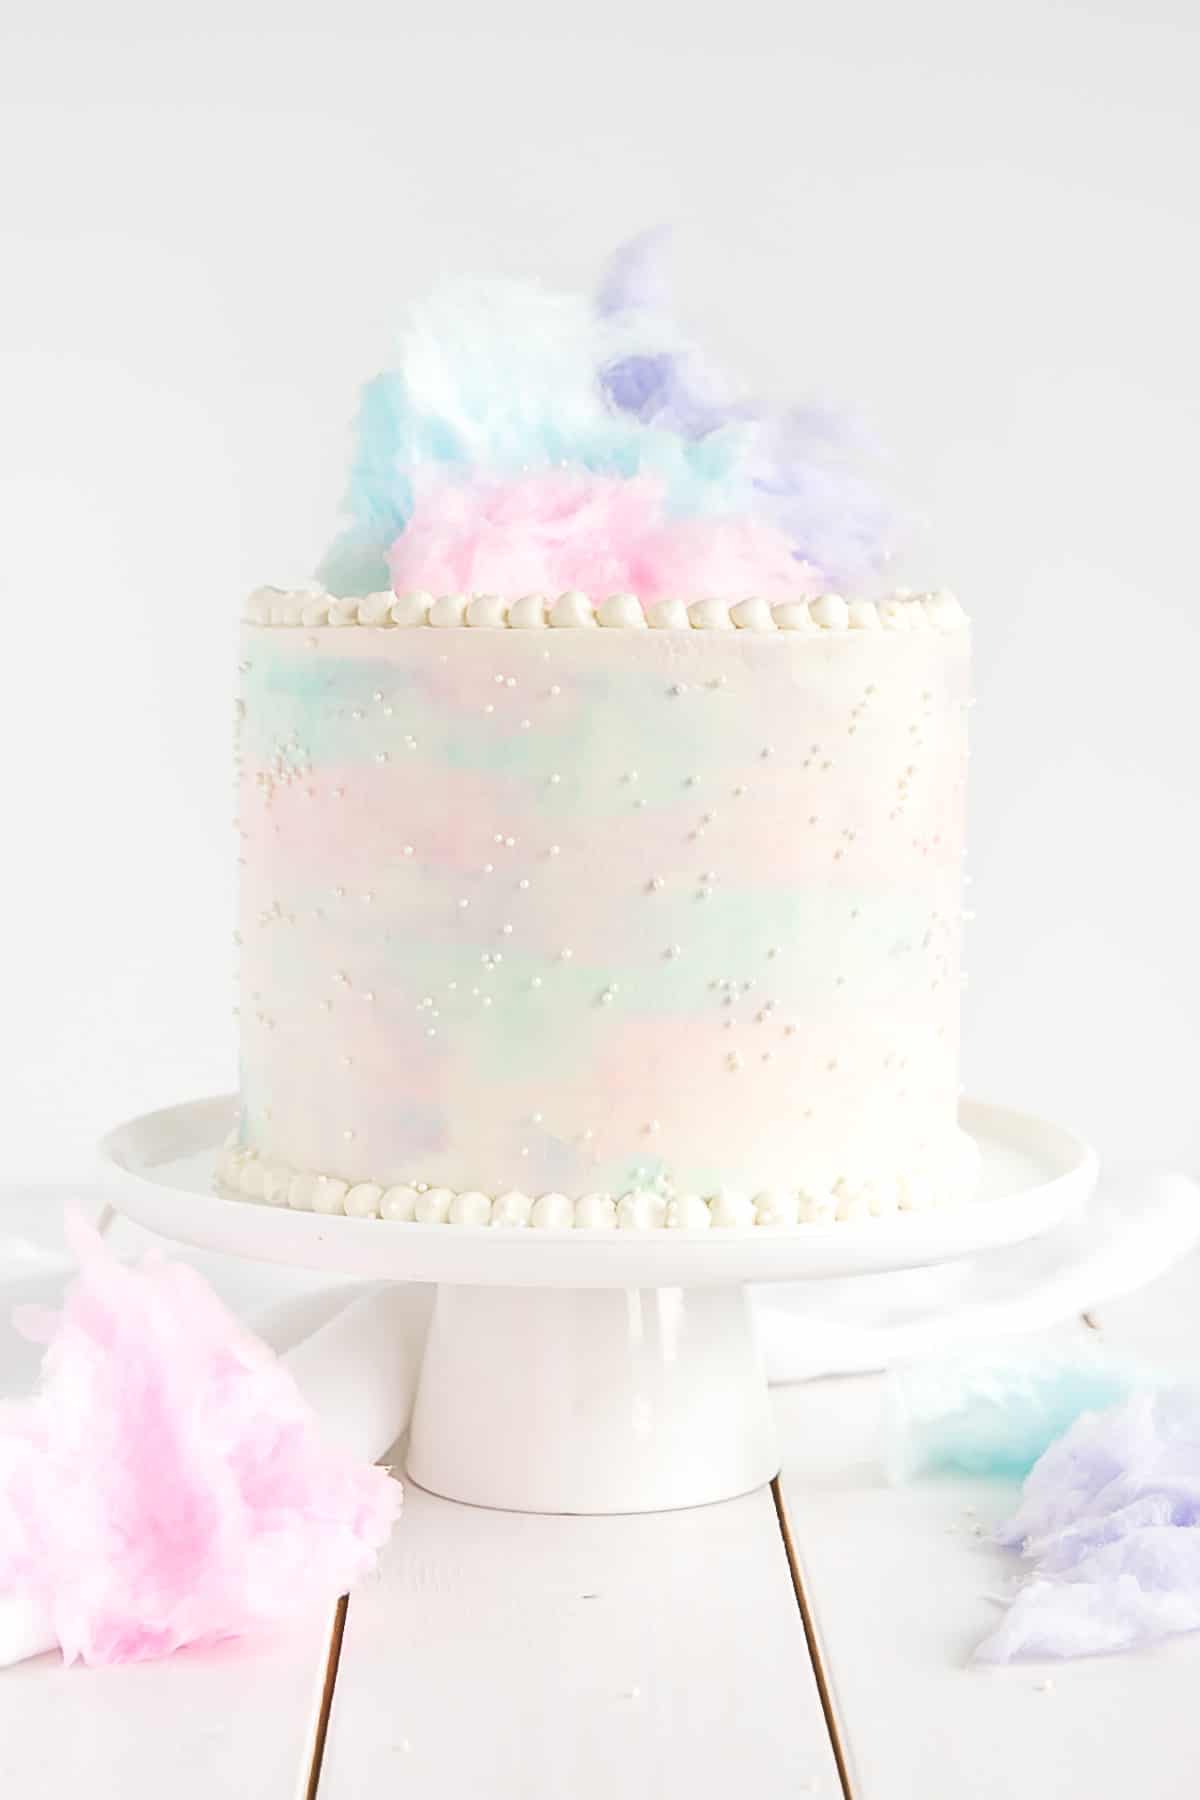
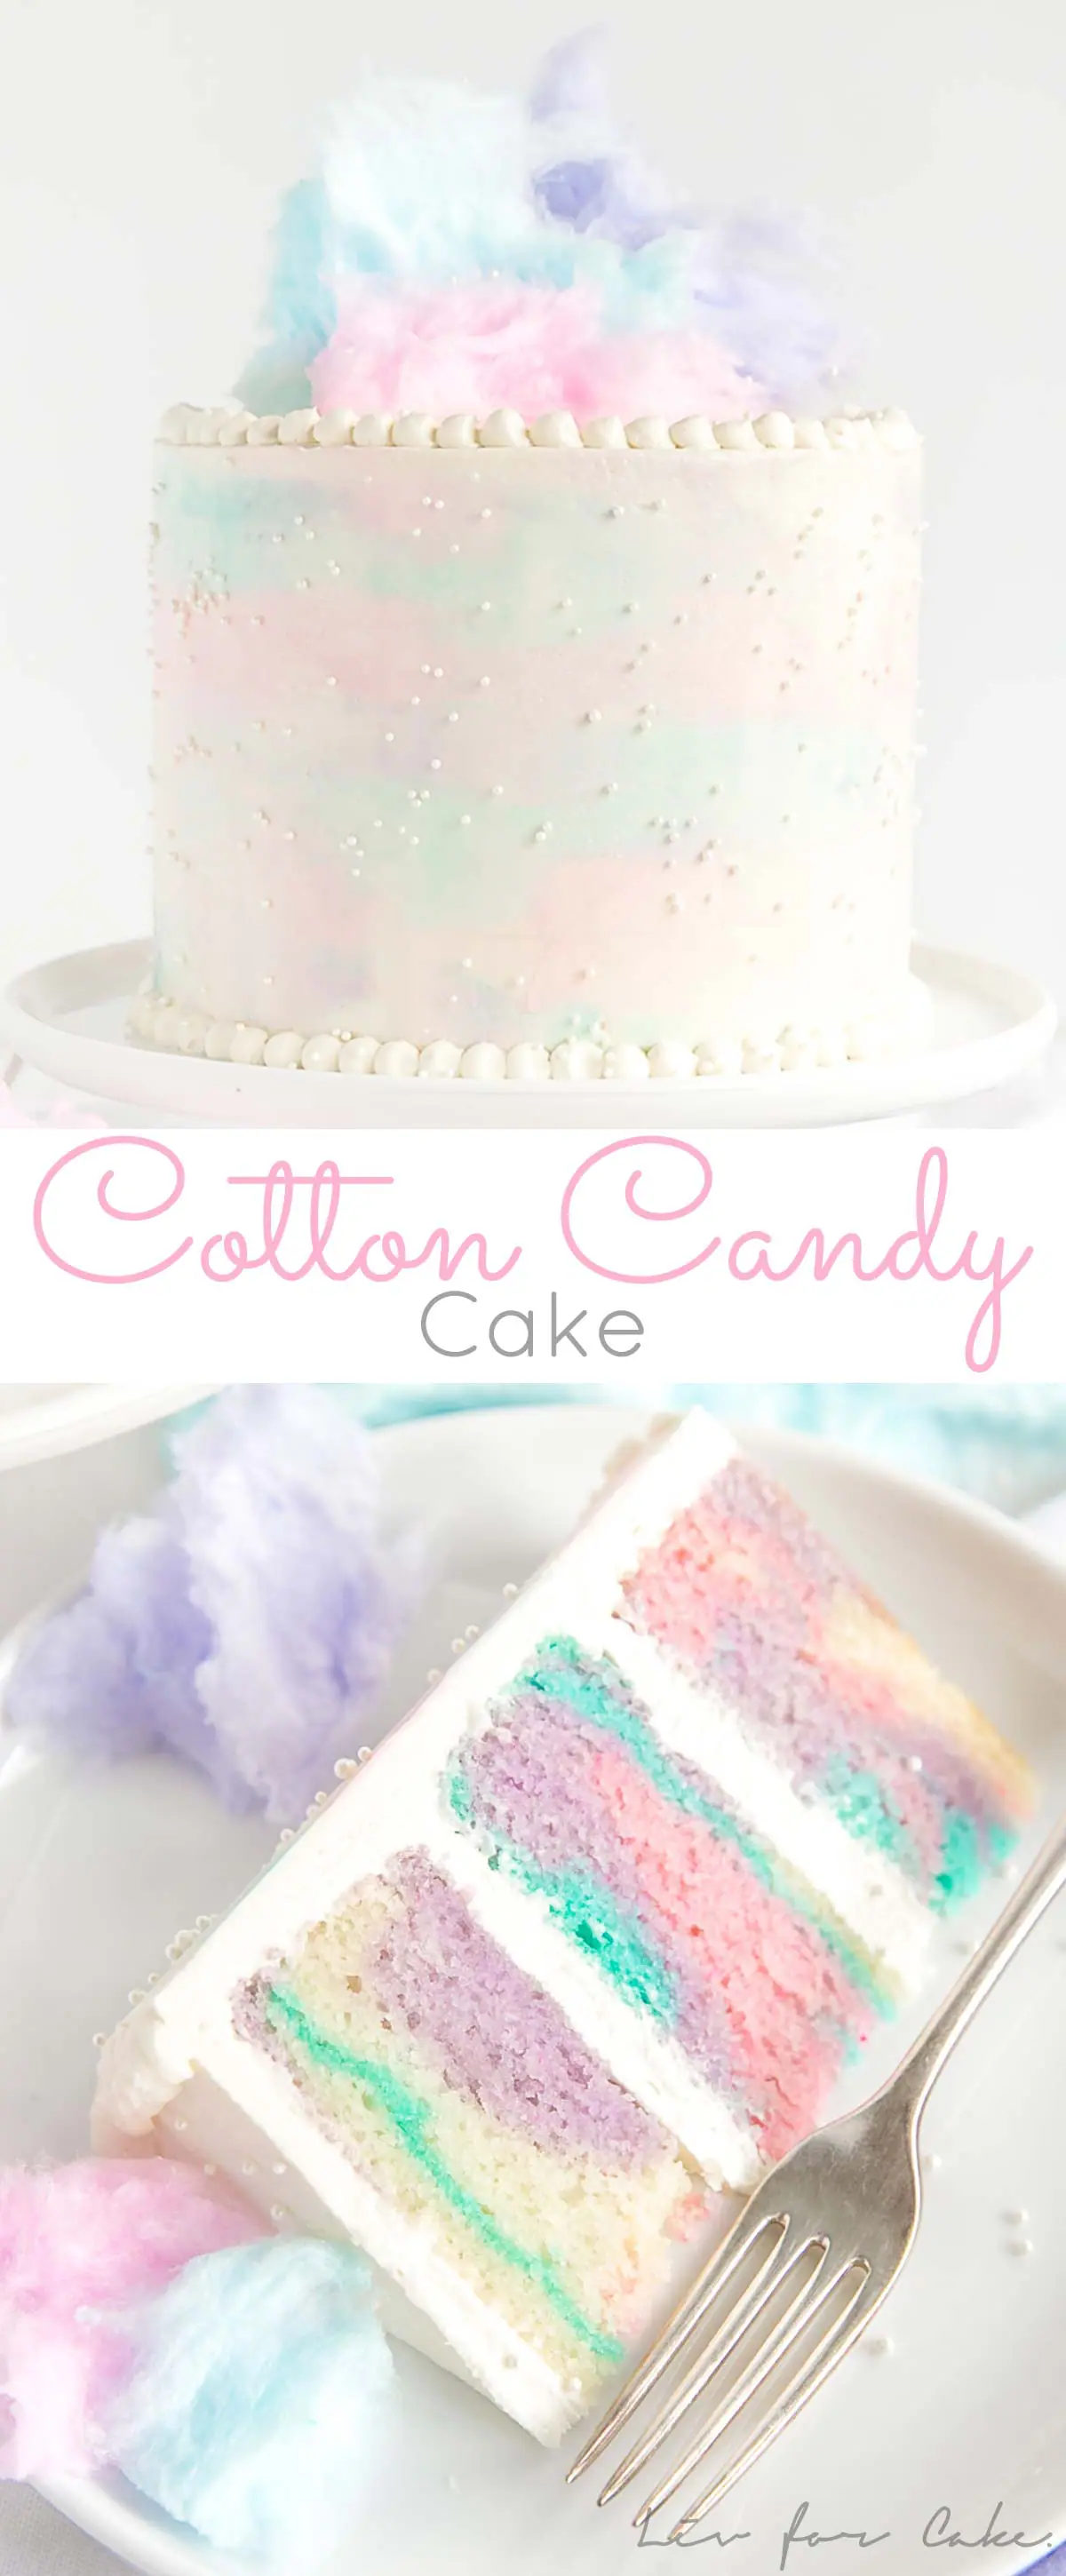
This Cotton Candy Cake has pretty marbled layers of light and fluffy cake paired with a cotton candy buttercream!
It all started with a container of pretty pastel cotton candy that I saw in the check out line at Homesense. I didn’t know exactly what I was going to do with it, or how I would turn it into a cake exactly, but the colors were so pretty I just had to have it. Impulse purchase was made.
Come to think of it, I’ve made a lot of impulse purchases in that lineup. The checkout aisle is always stocked and the lineup moves at a glacial pace (at best), so I’m not entirely surprised. Clearly Homesense knows what they’re doing. I wonder how many other people walked away with cotton candy they didn’t need that day?
When I decided to make this Cotton Candy Cake, I had no idea what a challenge (and pain in the butt) it would be to get actual cotton candy flavouing. I could have easily ordered it online, but the shipping cost was the same as the cost of the product and I was super offended by that, so I was determined to find it in store. I’m not even joking when I tell you I checked probably 10 stores in Canada AND the US and came up empty handed.
My favorite local gourmet shop had a spot for it, but it was all sold out because apparently people use these flavorings for vaping?? WHAT? Annoyed and frustrated, I left yet another store. I persevered though, and finally, FINALLY found one last bottle in a local cake shop. A cake shop that I hadn’t been to in years. Lesson learned, next time I’ll go there first!
Cotton candy flavoring (finally) in hand, it was time to come up with a plan for this cake.
The cotton candy I bought came in 4 different colors – pink, blue, purple, and yellow – so I decided to marble the cake with all of these colors. This would easy enough to do — I would split the batter into four bowls, color 3 of them and leave one plain. Except that just as I was about to split the batter up I realized I had forgotten to use the cotton candy extract! Seriously!! There was NO way I could leave that out given the hassle I went through to get it, and I was not about to remake the batter (laziness). So I added it right at the end, instead of with the eggs, and gave the batter another good mixing.
That mistake, coupled with coloring the batter, meant that the cake batter was crazy overmixed. I knew it would be, but I went with it anyhow.
What happens when you overmix cake batter?
There are a few tell-tale signs of an overmixed cake. The severity varies depending on just how much the batter was overmixed. Ideally, you want to mix just until the flour is incorporated.
Overmixing often leads to denser cakes because you’ve built up too much of the gluten. You’ll often also notice holes or tunnels when you cut into it. Severely overmixing cake batter will affect the entire structure of the cake so much that sometimes the layers will be so fragile that they will break coming out of the pans. That is what actually happened to me with this Cotton Candy Cake.
Once the cakes had cooled for 10mins in their pans, I could see there was a problem. They were still sort of clinging to the sides and very crumbly around the edges. I ran a knife along the sides to loosen them as much as possible and turned them out. The sides were very crumbly. Honestly, the sides mostly just fell off or stayed behind on the pan.
I was worried about whether you’d be able to tell once the cake was assembled and if it would look terrible, but I went with it anyhow. Did I mention I’m lazy?? You’d never really be able to tell though by the pic, right?
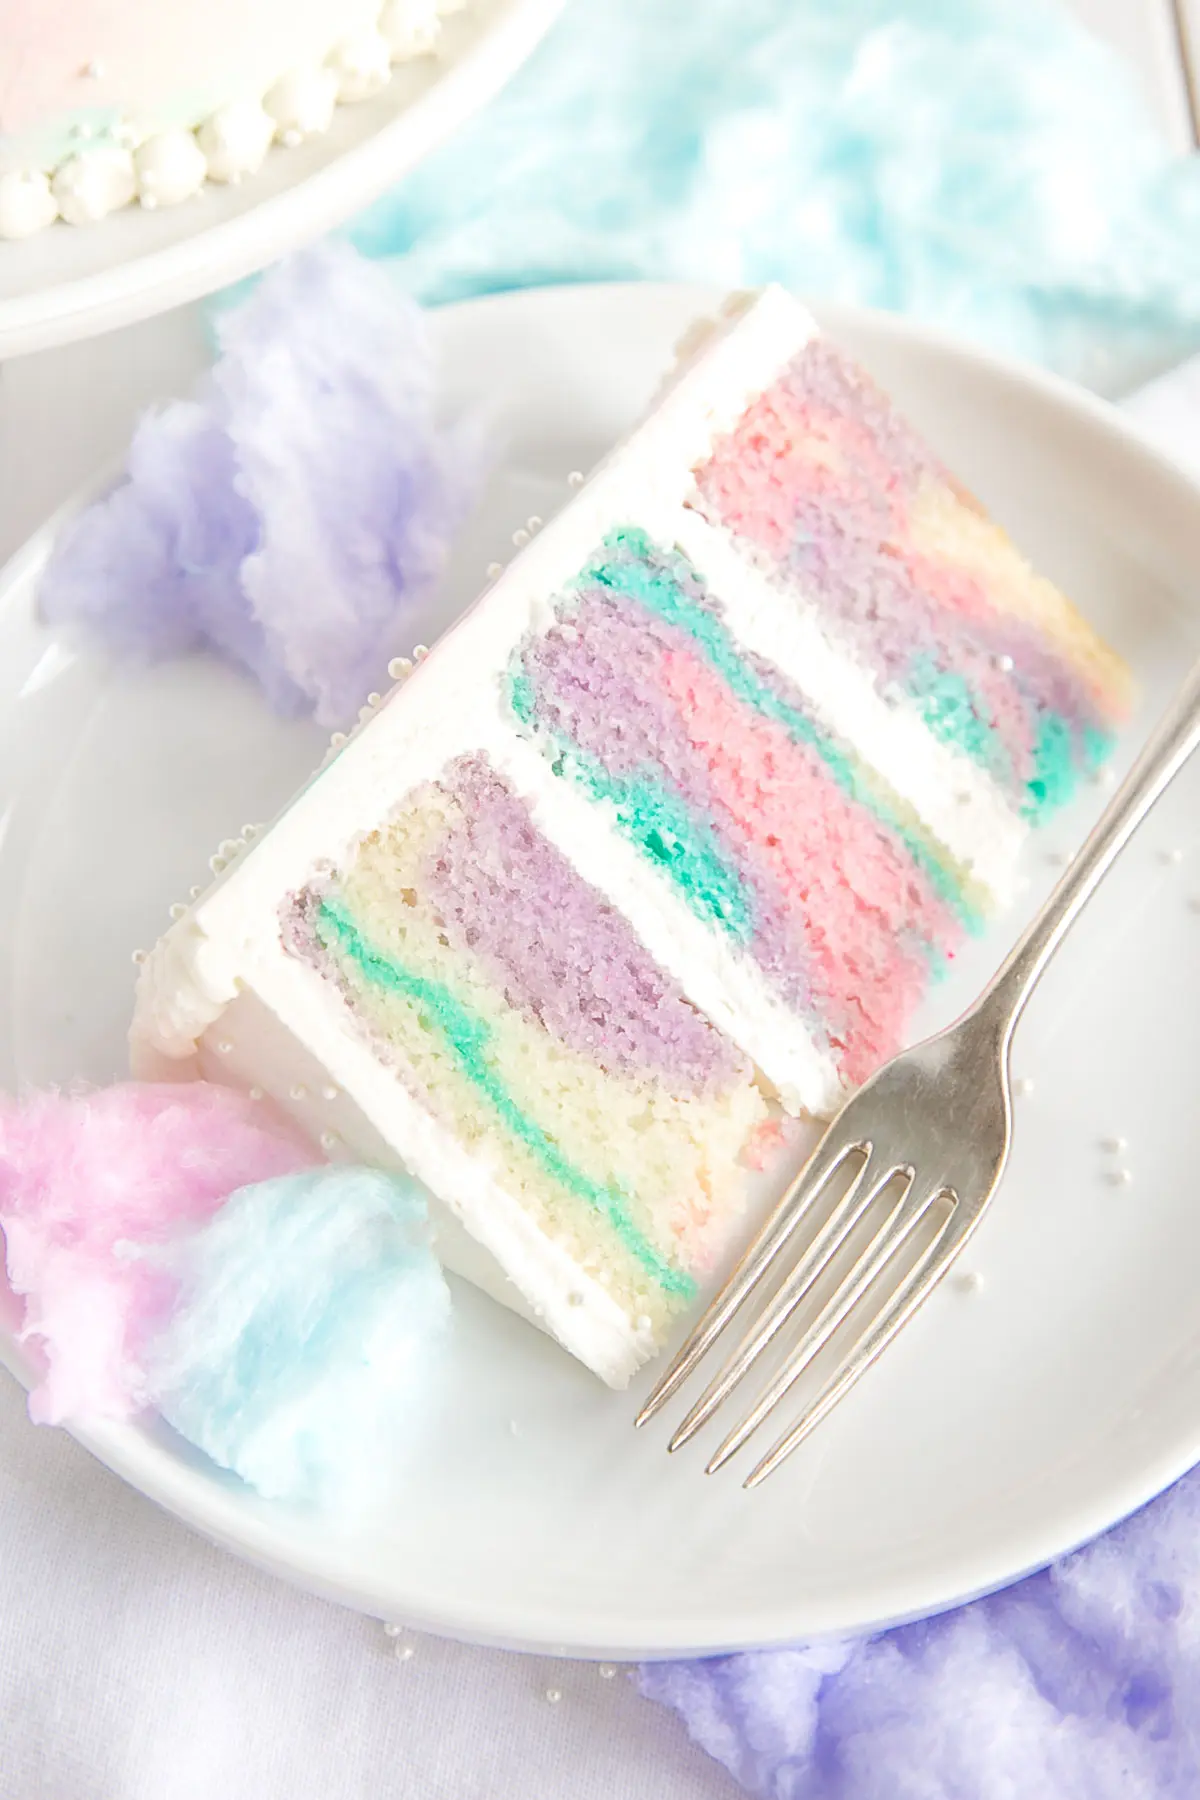
Let me tell you though, those little scraps that stuck to the pans were SO good. Another reason I decided just to go with it. I knew the cake tasted good and that the problems with the structure were simply due to overmixing (aka forgetting the damn extract). It likely would have been fine if I didn’t also color the batter. The two coupled together were just a recipe for disaster.
Any time you’re coloring batter there is a risk of overmixing. Really, it’s impossible to avoid overmixing to some extent. If you’re doing just one solid color, I actually recommend adding a bit of color gel into your butter & sugar mixture. That way you get the color at least some of the way there already. That’s how I did it for my Pink Velvet Cake, and just added a bit more color at the end if I needed it.
While we’re on the topic of coloring cake batter, don’t do as I did and just squirt the color into your cake batter because you are too lazy to use a toothpick like I was. This led to some MUCH darker blue batter than I was going for. I tried to add more of the uncolored batter to lighten it, but it was too far gone. You’ll need a couple drops of color gel in there, but less than comes out with a squirt!
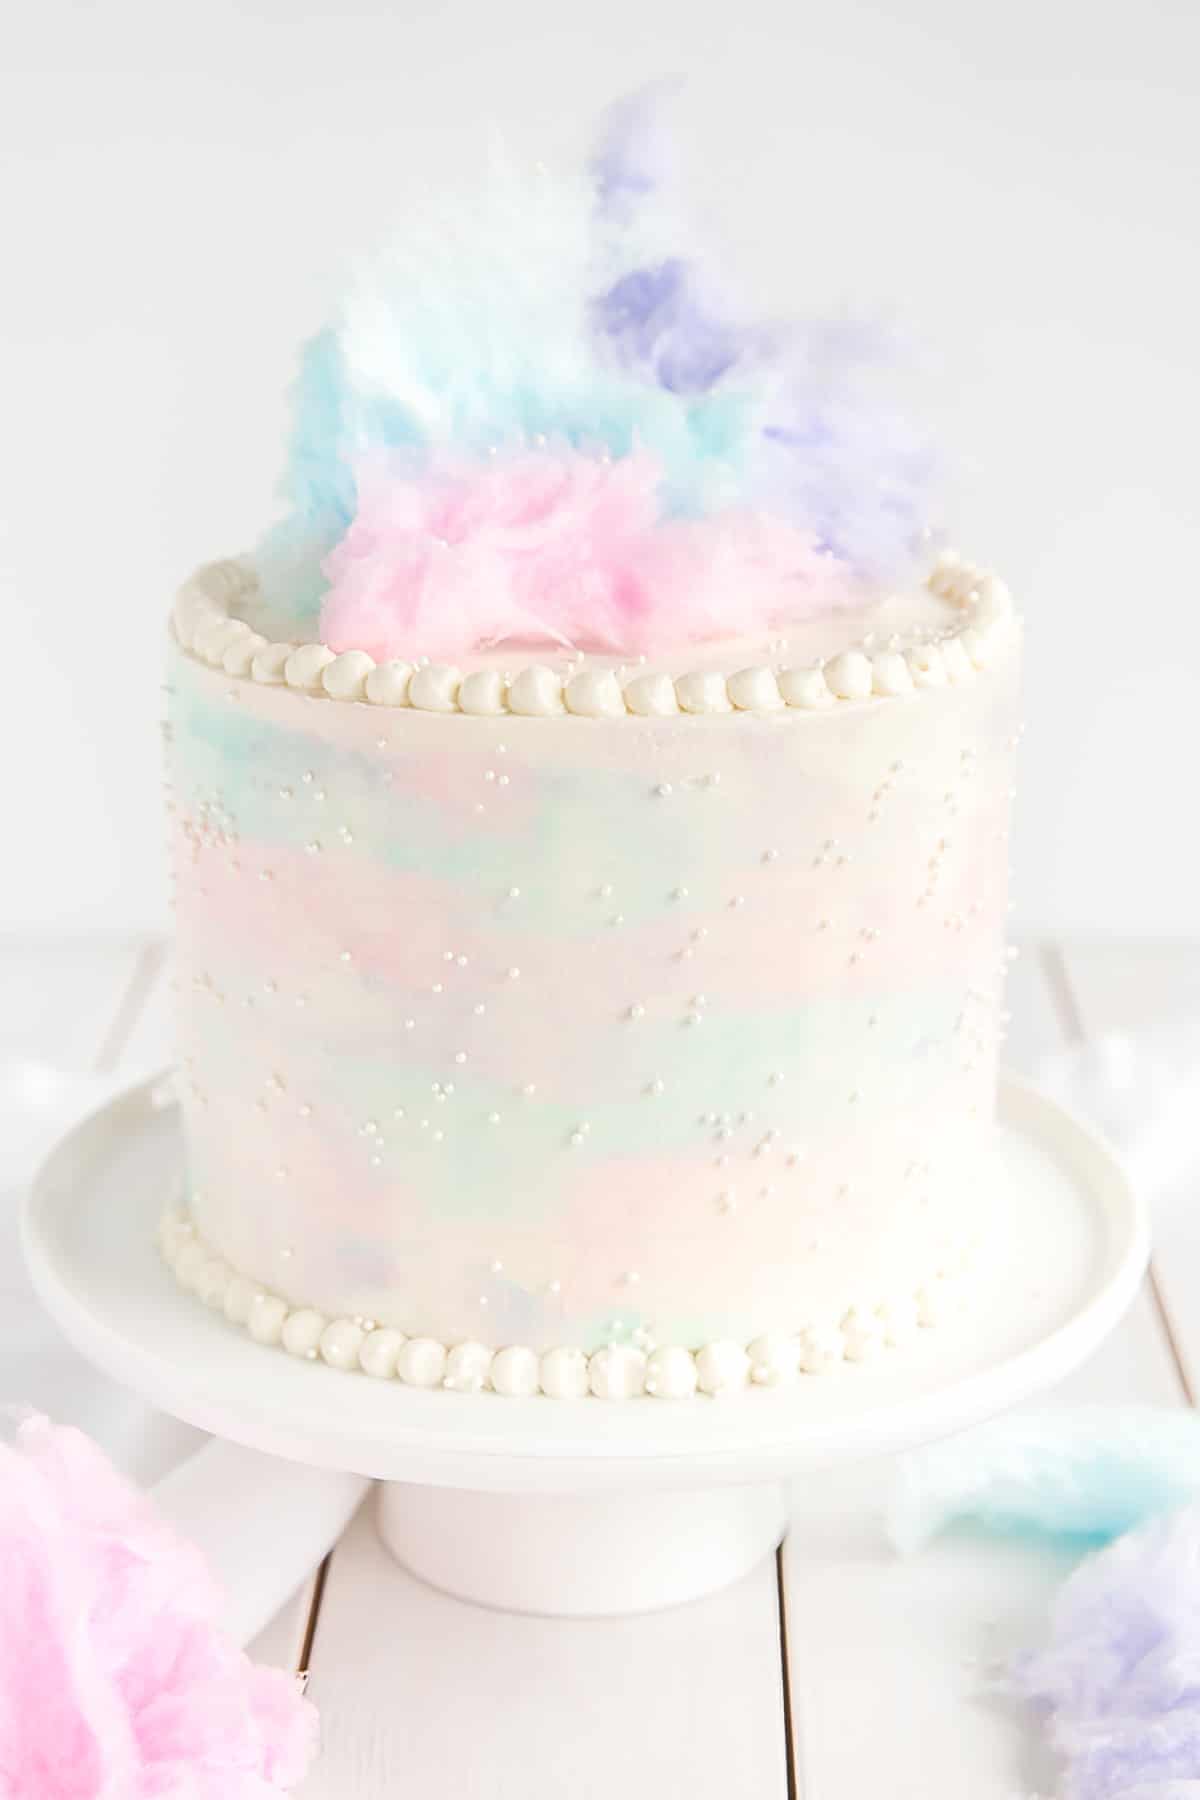
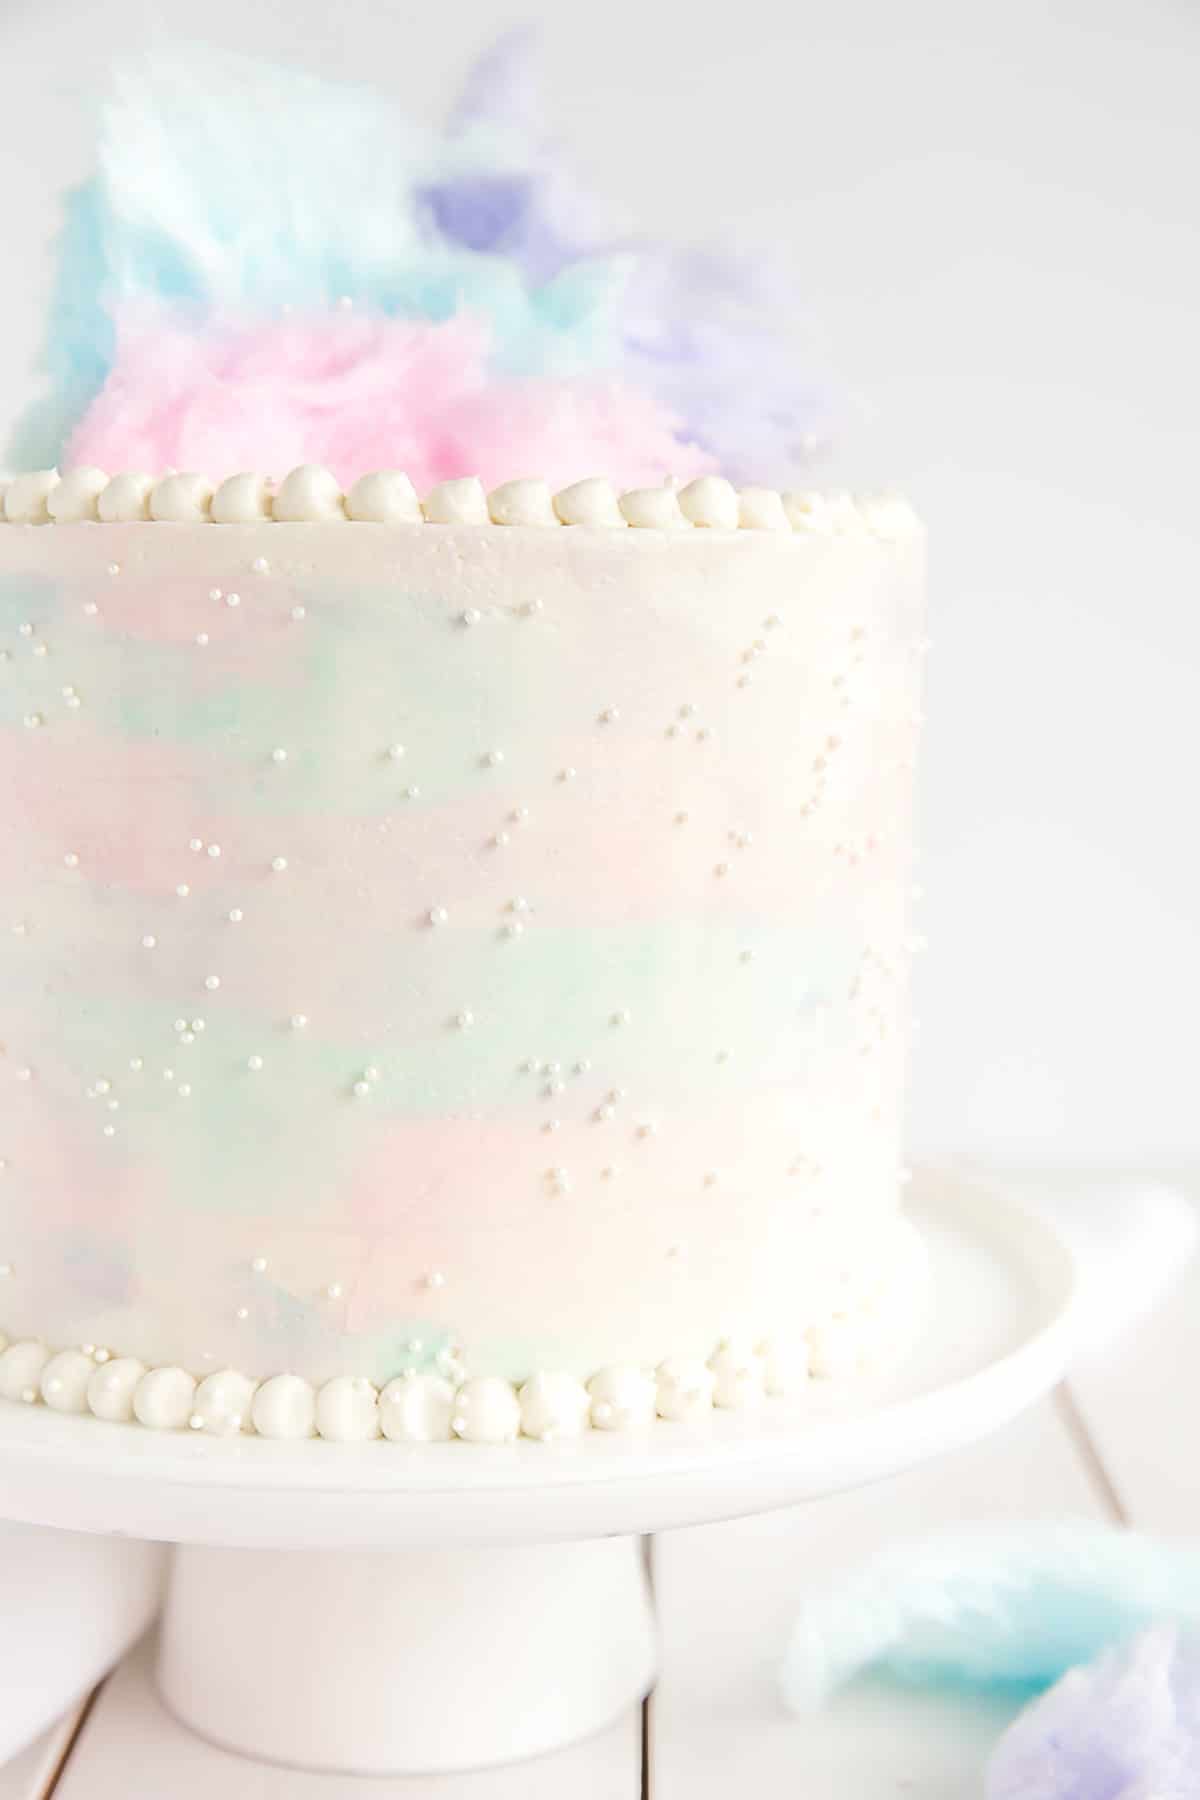
My frosting, on the other hand, could have used way more color. The watercolor effect isn’t nearly as visible as I’d like, and I think that’s partly due to the pastels of my frosting being too light, especially when scraped into the white frosting and each other. I should have gone a touch darker there.
How to make a watercolor cake
This is actually very simple to do. I used a regular white buttercream for the base of my cake and fully frosted it (not just a crumb coat). Then I split the leftover frosting into 4 bowls and colored 3 of them pink, blue, and purple respectively. You want to leave some white buttercream in case you need to do some touch ups here and there. I didn’t need it too much for that, but I did use it to do the pearl border on the top and bottom of the cake.
Once you have your frosting colored, work with one color at a time and spackle each one randomly around the cake. Repeat with remaining colors until most of the surface is covered and then use your icing scraper to smooth out the sides. Here’s a good tutorial and overview.
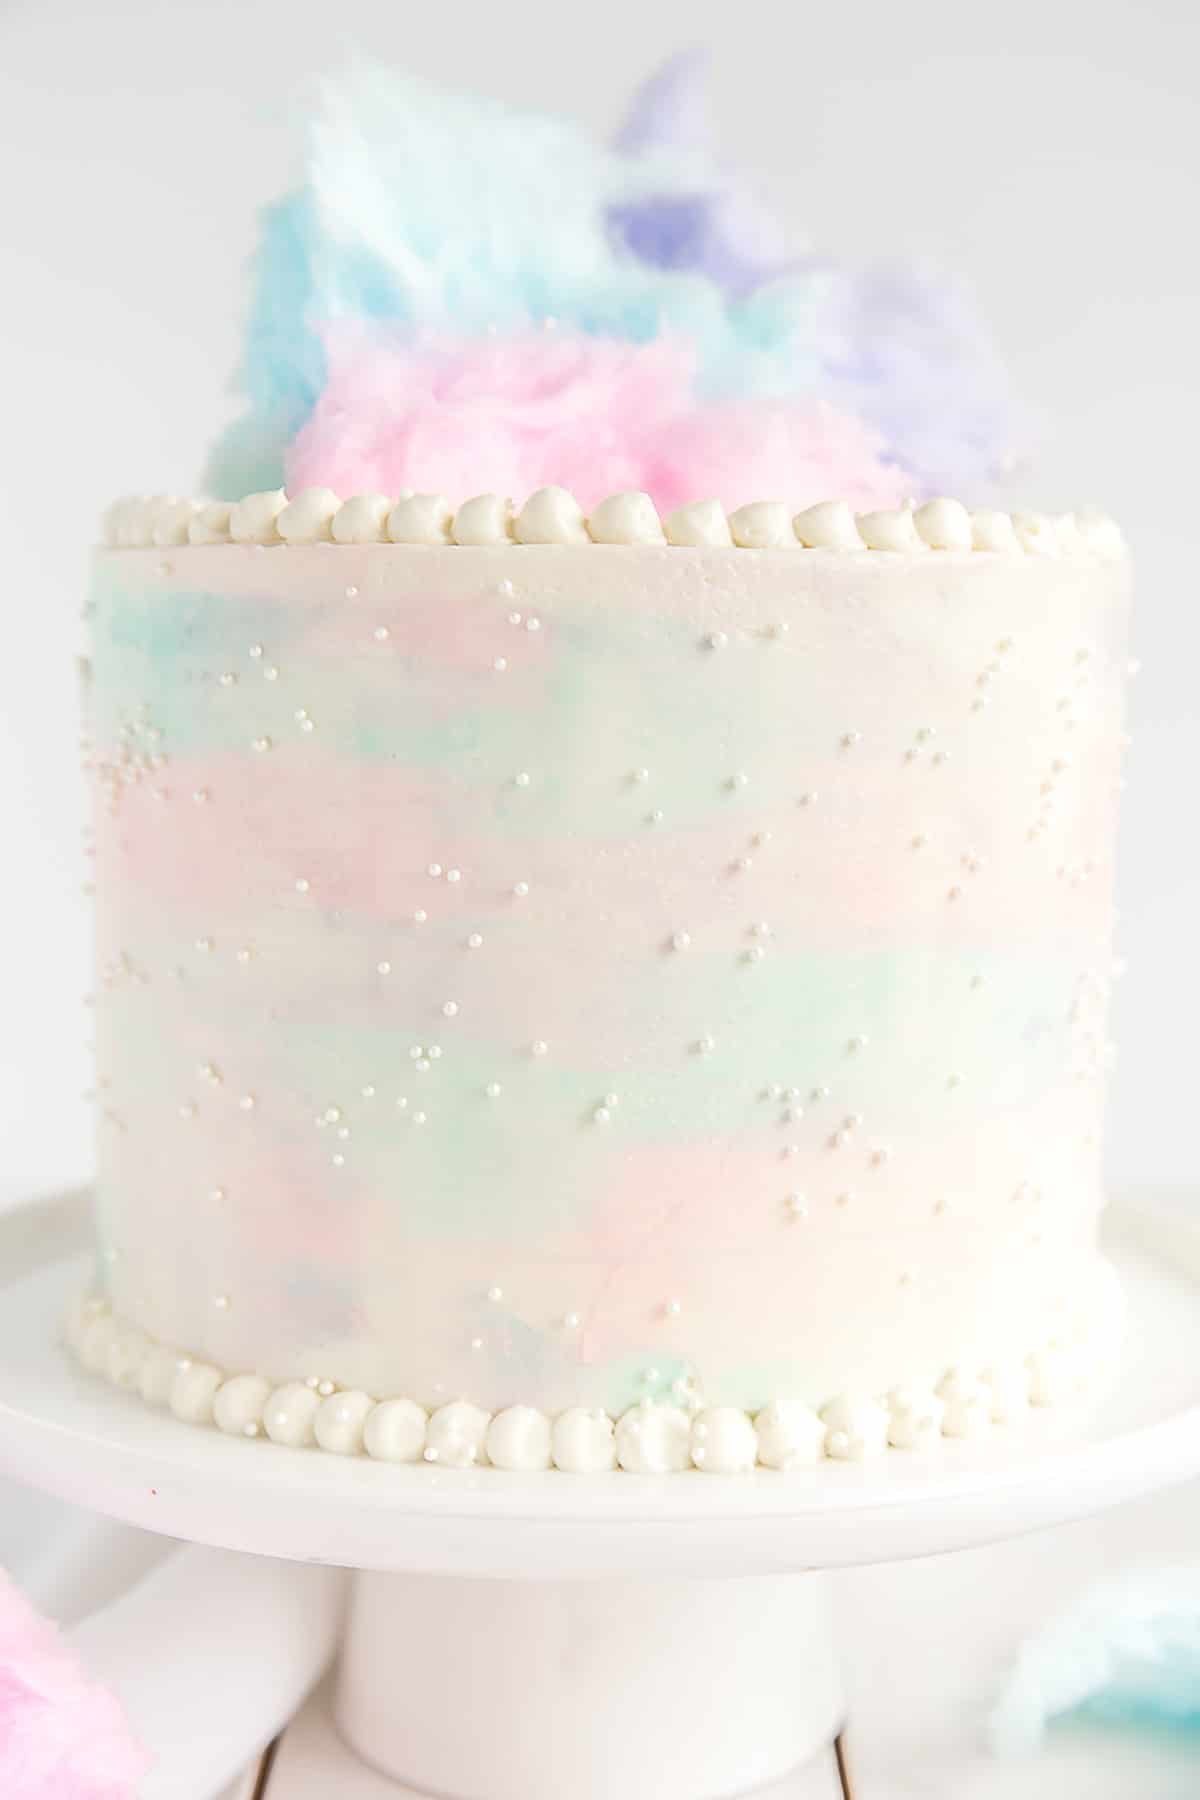
One issue I had with the watercolor effect was that my base frosting was too firm/chilled. I had put it back in the fridge for a bit while I colored the frosting, and in hindsight I think this was a bad idea, as it didn’t blend as nicely as I hoped it would. Next time, I would make sure the frosting on the cake is the same temperature and texture as the stuff I’m spackling on.
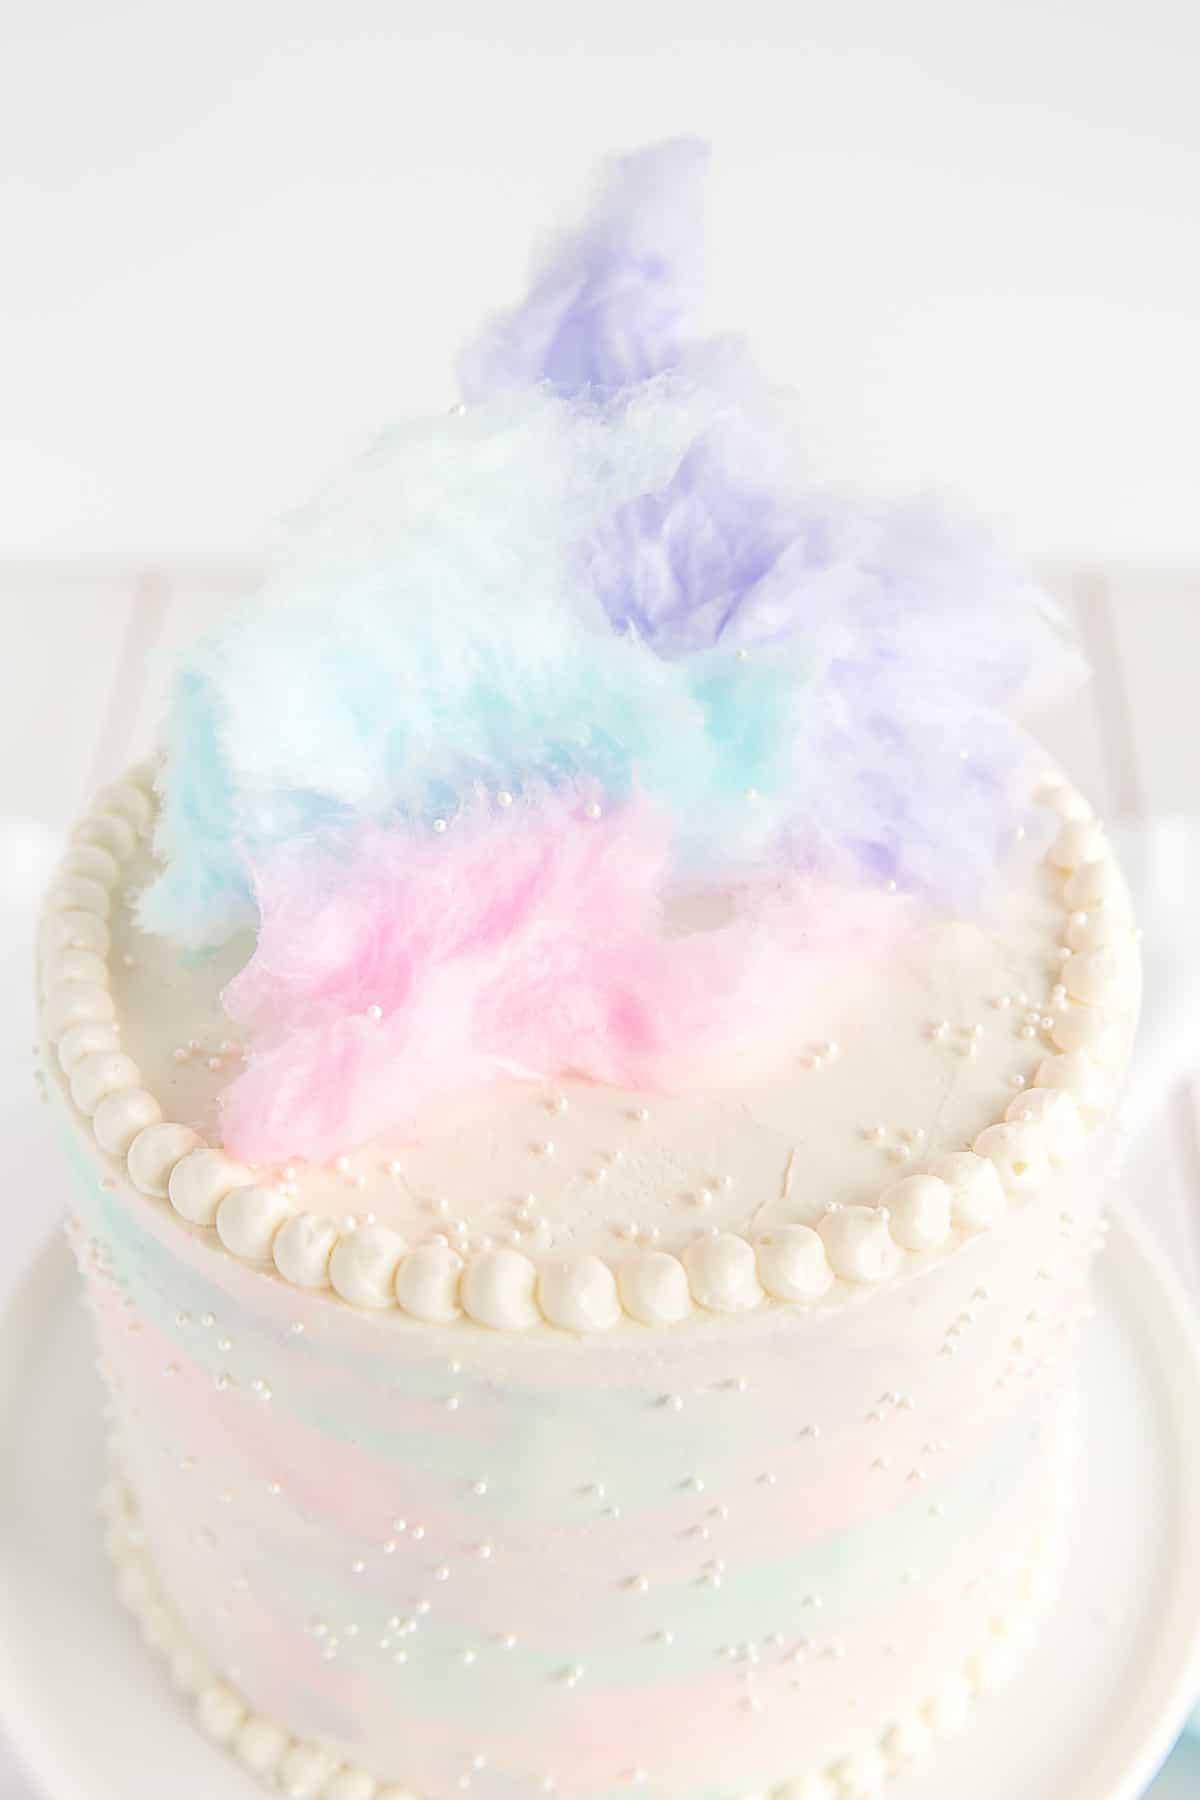
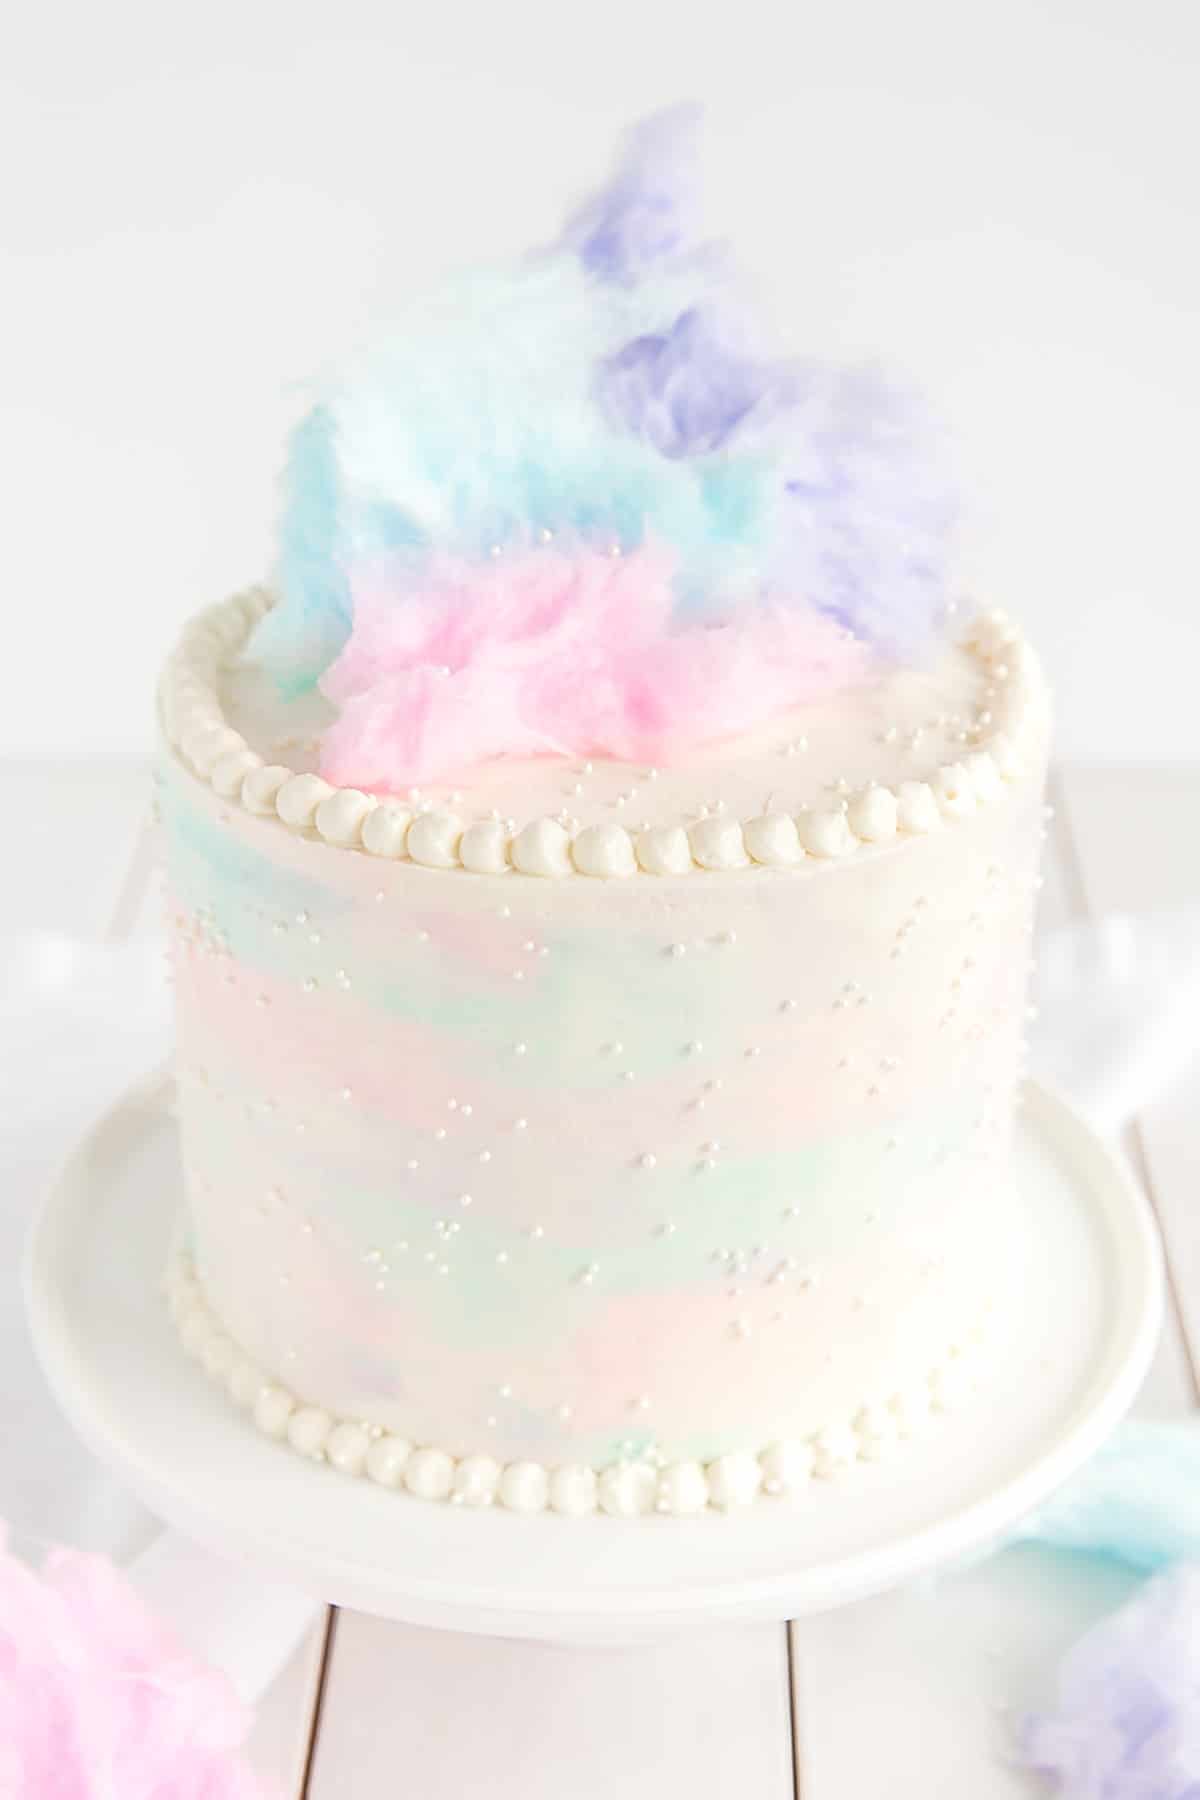
Coloring and frosting issues aside, I think this Cotton Candy Cake turned out pretty well!! The watercolors, although on the lighter side, do match the actual cotton candy quite well.
So I bet you’re wondering how this Cotton Candy Cake tastes, right?? Does it actually taste like Cotton Candy?? To be fair, I’m not sure that it totally does. The cotton candy flavoring almost had more of a bubblegum + coconut kinda flavor (to me anyhow). That being said, it is perfectly delicious. Like, SO good. It is on the sweeter side overall (which should be no surprise given the name), but it was a hit all around over here.
Looking for more Cotton Candy recipes?
Tips for making this Cotton Candy Cake:
- As much as possible, try not to overmix your cake batter as it will affect the texture of your cake.
- When coloring the batter and frosting, I recommend using a toothpick to control the amount of color that is added.
- Do not chill your cake before doing the watercolor technique so that the colors blend more easily.
- Cotton candy does not hold up well for long periods of time, and will not hold up at all in the refrigerator. I recommend adding it just before serving.
- Be sure to check my Swiss Meringue Buttercream post for tips on how to make your buttercream white.
- To help ensure your cake layers bake up nice and flat, see my Flat Top Cakes post.
Cotton Candy Cake
Ingredients
Cotton Candy Cake:
- 2 1/4 cups all-purpose flour
- 2 1/4 tsp baking powder
- 3/4 tsp salt
- 3/4 cup unsalted butter room temperature
- 1 1/2 cup granulated sugar
- 3 large eggs room temperature
- 1 1/2 tsp cotton candy flavoring
- 1 cup whole milk room temperature
- fuchsia color gel
- sky blue color gel
- violet color gel
Cotton Candy Buttercream:
- 6 large egg whites
- 1 1/2 cups granulated sugar
- 2 cups unsalted butter room temperature
- 1 tsp cotton candy flavoring
Assembly:
- fuchsia color gel
- sky blue color gel
- violet color gel
- cotton candy
Instructions
Cotton Candy Cake:
- Preheat oven to 350F. Grease and flour three 6″ cake rounds and line with parchment.
- In a medium bowl, whisk flour, baking powder, and salt until well combined. Set aside.
- Using a stand mixer fitted with a paddle attachment, cream butter and sugar on med-high until pale and fluffy (approx 3mins). Reduce speed and add eggs one at a time fully incorporating after each addition. Add cotton candy flavoring and mix well.
- Alternate adding flour mixture and milk, beginning and ending with flour (3 additions of flour and 2 of milk). Fully incorporating after each addition.
- Separate batter equally into four bowls (I use a kitchen scale). Color 3 of the bowls of batter with fucshia, sky blue, and violet gels respectively. Spoon batter randomly into each of the 3 pans, swirl once or twice with a bamboo skewer to marble.
- Bake for approx. 35mins or until a toothpick inserted into the center comes out mostly clean.
- Place cakes on wire rack to cool for 10mins then turn out onto wire rack.
Cotton Candy Buttercream:
- Place egg whites and sugar into the bowl of a stand mixer, whisk until combined.*
- Place bowl over a double boiler on the stove and whisk constantly until the mixture is hot and no longer grainy to the touch (approx. 3mins). Or registers 160F on a candy thermometer.
- Place bowl on your stand mixer and whisk on med-high until the meringue is stiff and cooled (the bowl is no longer warm to the touch (approx. 5-10mins)).
- Switch to paddle attachment. Slowly add cubed butter and mix until smooth.**
- Add cotton candy flavoring and whip until smooth.
Assembly:
- Place one layer of cake on a cake stand or serving plate. Top with approximately 2/3 cup of buttercream. Repeat with remaining layers and crumb coat the cake. Chill for 20mins.
- Frost the top and sides of the cake and smooth with a bench scraper.
- Divide the remaining frosting into 4. Leave one batch white and color the remaining three fuschia, sky blue, and violet.
- Doing one color at a time — scrape a bit of colored frosting onto the back of a small offset spatula and spackle this onto the cake in a random pattern. Repeat with the other colors until they are evenly, but roughly, dispersed.
- Run your bench scraper along the sides of the cake again to smooth out the newly added colored frosting. Repeat as needed, adding more color or patching with white.
- Do a pearl border along the top and bottom using a small round piping tip with the remainder of the white buttercream.
- Add cotton candy to the top if desired.***
Notes
** The buttercream may look like it’s curdled at some point. Keep mixing until it is completely smooth.
*** Cotton candy does not hold up well for long periods of time and will not hold up at all in the refrigerator. I recommend adding this just before serving.




Juliana says
I’ve made this recipe a few times and I love it !!! but I always have doubts: this recipe is for cakes of 8 or 6 “and how many layers? I always stay in doubt how to calculate the recipe that I need, that way always lack or mass left. sorry my english I used the translator
Olivia says
Hi Juliana! No problem at all. This cake recipe is for three 6″ cake layers. What size cake are you trying to make?
Colleen says
If you use a little bit of raspberry flavoring it’ll taste more like cotton candy.
Olivia says
Hi Colleen! Thanks so much for the tip, I’ll have to give that a try!
jess says
Just and FYI. Starbucks cotton candy frap flavor is made with raspberry and vanilla. not sure on ratio.
Olivia says
Good to know, thanks for the tip!
Maureen says
Hello…your cake is beautiful. You suggested not putting on the cotton candy until ready to serve. How does it stay “attached” to top of cake? Do you add a bit of buttercream, and if so, it doesn’t melt the cotton candy? I need to transport cake and woukd have to put the cotton candy on before transporting.
Thank you very much
Olivia says
Hi Maureen! I just placed my cotton candy on top. You can try to adhere it or prop it up with some toothpicks if needed. The cotton candy will melt over time. I would place it on right before serving if possible.
Christine says
How could I alter this to make enough batter for a 12 x 18” pan? Looks fantastic!!
Olivia says
Hi Christine! Converting pan sizes is always tricky. Here’s a site I use as a guideline: http://www.joyofbaking.com/PanSizes.html
Lynn says
What brand flavoring did you use? I have Lorann flavoring,which recommends using 1/3 less than regular extracts. Please let me know if I should do that or use the amount you have listed in your recipe for the cotton candy cake and frosting.
Olivia says
Hi Lynn! I used LorAnn as well, this one: https://amzn.to/2CfvoW1
Lynn says
I could only find LorAnn cotton candy flavoring oil which says it can be used in baking. They recommend using a third less than regular extracts. Are you familiar with this and how much do you recommend I use for the cake and also for the frosting?
Olivia says
Hi Lynn! I haven’t used the oil myself but I would go by their guidelines.
Kristina says
Hi there! I followed your frosting recipe, but it came out very liquid-y! 🙁 Any thoughts as to what’s going on?
Thank you!!
Olivia says
Hi Kristina! Was your meringue completely stiff before adding the butter? If so I suspect it was still a bit too warm or the butter too soft. Pop it in the fridge for 20mins and rewhip and it will come together!
paige says
Are you in canada? What was the cake shop you purchased the cotton candy extract at?paig
Olivia says
Hi Paige! Yes, I bought it at Scoop n’ Save in Langley.
Whittney says
I just saw the cotton candy at homesense in Langley yesterday and thought “that would work for the unicorn cake” and stumbled upon you pin, I can’t wait to try this!
Olivia says
Hi Whittney! That is a total score — it took me forever to find that!! I hope you like it 🙂
Kate says
I stumbled on a two-pack at Bulk Barn, so if you have one of those in your area, have a look.
akashocd says
wow this cake is so delicious thank you for sharing this blog
Jerry says
Hi! My daughter’s birthday is coming up and I can’t wait to make this lovely cake for her. It’s looks beyond perfect! I know your recipe says 3, 6” pans but can I just make it into 1, 8×3” cake/pan?
Thanks
Olivia says
Hi Jerry! The recipe as is works for two 8×2″ pans. You can try, but I worry that there will be too much batter for one 8×3″ pan, but you can always make cupcakes with the excess? Don’t fill the cake pan more than 2/3rds full or so, and you’ll need to increase the baking time since the layer will be thicker. Let me know how it turns out!
Shay says
The picture of the slice of cake is gorgeous! I don’t think the colors are to dark, it’s so pretty. I want to try this cake recipe soon. I made your peach vanilla cake for my dad’s birthday and it was really good.
Olivia says
Thanks so much Shay! I hope you like this one too 🙂
JULIA K AUGENSTEIN says
I am going to attempt this cake this weekend. It’s Mother’s day and I wanted a day to myself to try and bake. One question though. In the beginning, you say to grease 3 6″ pans but pour out the batter into 4 bowls. What do you do with the 4th bowl of batter?
Olivia says
Hi Julia! The bowls are to color and divide the batter. I left one of them uncolored. You could just do 3 bowls and 3 colors though. I hope you like it!
Julia Augenstein says
I just made it today. It’s not as pretty as yours but it’s great for someone who has never baked a cake from scratch. And I’ve never used a piping bag and icing from scratch. Had to research what a crumb layer was as well. Your recipie was so dang easy to follow. Love it!
Olivia says
Thanks so much Julia, I’m so glad you liked it!
Cindy Rodriguez says
I think we have all been there – the moment when you realize you’ve forgotten a key ingredient. But, wow, Liv, this cake is stunning! I would never think you were “lazy” based on the gorgeous cakes you create. (I totally feel you there, though!) Yum!
Olivia says
Thanks so much Cindy! The laziness is there, but perfectionism inevitably wins out most of the time 😉 xo
keishia says
Hi Liv,
This is beautiful. I’ll make it in July for my daughter’s birthday. I made the lovely looking lemon blueberry one for my older daughter last month.
I do wonder though, how is the cotton candy not melting/hardening/crystallizing when exposed to the air? I thought for sure that would have been one of the frustrating parts about this cake…at least when you attempted the pictures. BTW, while I was expecting that to be the woe of this post, I couldn’t help but laugh out loud when I read that you forgot the extract. I enjoy the posts as much as I do the pics and recreating your cakes.
p.s. I think I’m an over mixer of cakes.
Olivia says
Hi Keisha! So glad you liked the lemon blueberry 🙂 And thank you so much for your sweet comments!! I’m glad people are actually reading my posts, lol ;). For the cotton candy — the part that was touching the cake started to melt a bit for sure. So you definitely want to add it on there at the last minute. The longer it sat, the more gummy it got, especially the ones I used as props on the table, surprisingly. It’s not so much air that affects it, but humidity. It doesn’t last at all in the fridge and won’t last for long periods. But if its just there on top of the cake for a bit before you cut it it should be fine 🙂
Lisa says
Hi Liv,
How are you?
I’ve made many of your cakes and always turn to your site first when looking for recipes but for the life of me, they have NEVER EVER risen as high as yours do or even make that much batter to start with. Never. I’ve always had to double the recipes etc. it suddenly dawned on me ….. you are in the US or Canada, aren’t you? I am in Australia. Are the measurements or conversions different? Or that different? Could that possibly be where I’m going wrong?
Kind Regards
Lisa
😊
Olivia says
Hi Lisa! I’m in Canada. My sister lives in Sydney and I tried to bake one of my recipes there — it was a huge fail. I used plain flour instead of all-purpose, and I think that’s maybe where the issue was, but I don’t know what I’d use otherwise. What kind of flour are you using? And are you using the same exact size of cake pans?
Lisa says
Interesting! I use plain flour too which I assume would be the same as all purpose. I wonder if cake flour would make a difference. But also, when you tried to make one of your cakes here, did you use all Australian measuring cups, spoons etc? How did you convert it? Obviously the same as me if yours failed too. Curious and curiouser. I’m really disappointed and at a loss as to what I should do as I love ALL of your recipes. Any suggestions would be greatly appreciated.
Thanks for your reply
Lisa
😊
Olivia says
Definitely try it with cake flour, I’m curious to know how it turns out!! And I did use AU cups and spoons — are they different measurements?? 😮
Pat says
I would have thought that yours should be bigger as it seems our cup (250ml) is slightly bigger than a US cup.
dana says
hey
doodevining 🌷
I was asking if there is a detailed video of this wonderful cake working professional artist 👏👏 because there are a lot of details I can not understand without pictures like the rest of the blog or .. Video Assistant .. Thank you 💕
Marsha | Marsha's Baking Addiction says
This cake is absolutely gorgeous! Them colours! <3
Olivia says
Thanks so much Marsha! 🙂
Shelley says
How do you get the sprinkles looking so perfectly on the side of the cake? I struggle to sprinkle on vertical surfaces.
Olivia says
Hi Shelley! I literally just threw them on there. I grabbed a pinch and tossed them on at a 90 degree angle to the cake.
Vicki Husted says
Despite all the trials and tribulations, from the looks of it and your description of the taste, it was worth it all! Simply gorgeous! Starting my search for Cotton Candy flavoring now! Thanks for the recipe and all the great tips.
Olivia says
Thanks so much Vicki! I hope you have faster luck finding it than I did 🙂
Kate says
Looks SO beautiful! I hear you on overmixing. I made the vanilla birthday cake last Thanksgiving and I misread the directions, so I mixed it on high. The batter was totally overmixed and came out like glue and as heavy as cement, lol. Lesson learned. I absolutely love the watercolor effect, I’m going to figure out a way to use that technique somehow…
Olivia says
Cakes can be so temperamental! I’ve overmixed my fair share, though most of the time they are still not too bad once baked, even if overmixed a bit 🙂 Thanks so much Kate!!