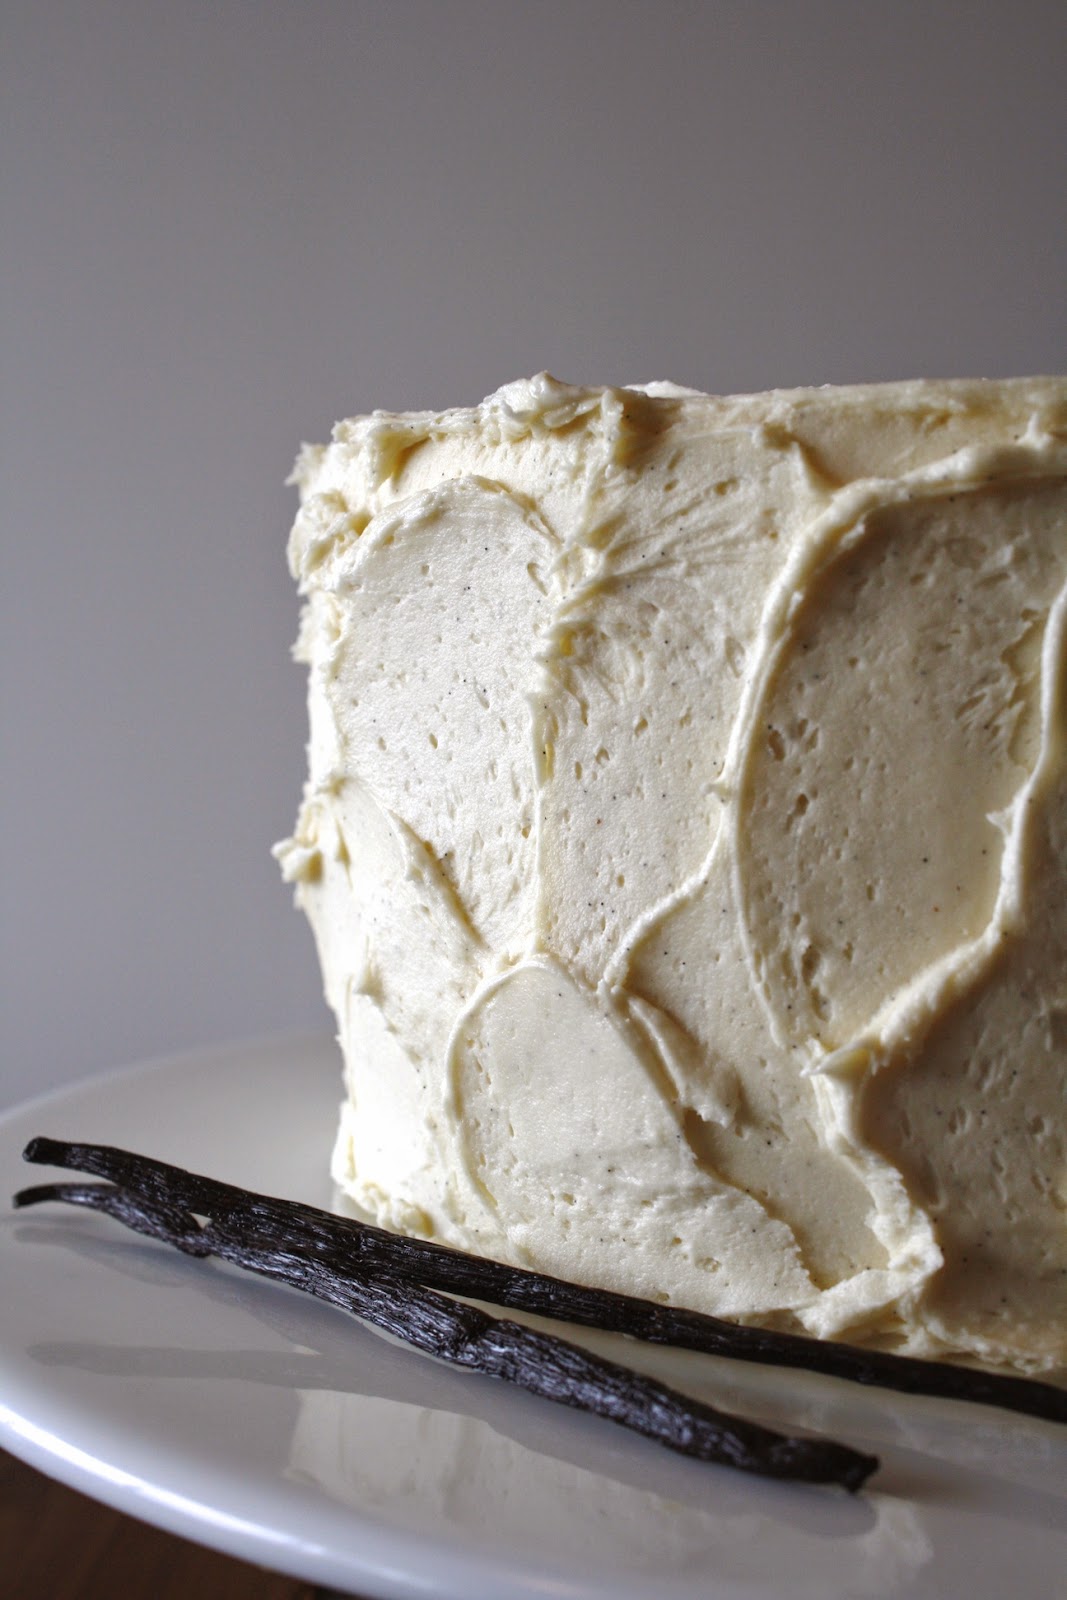
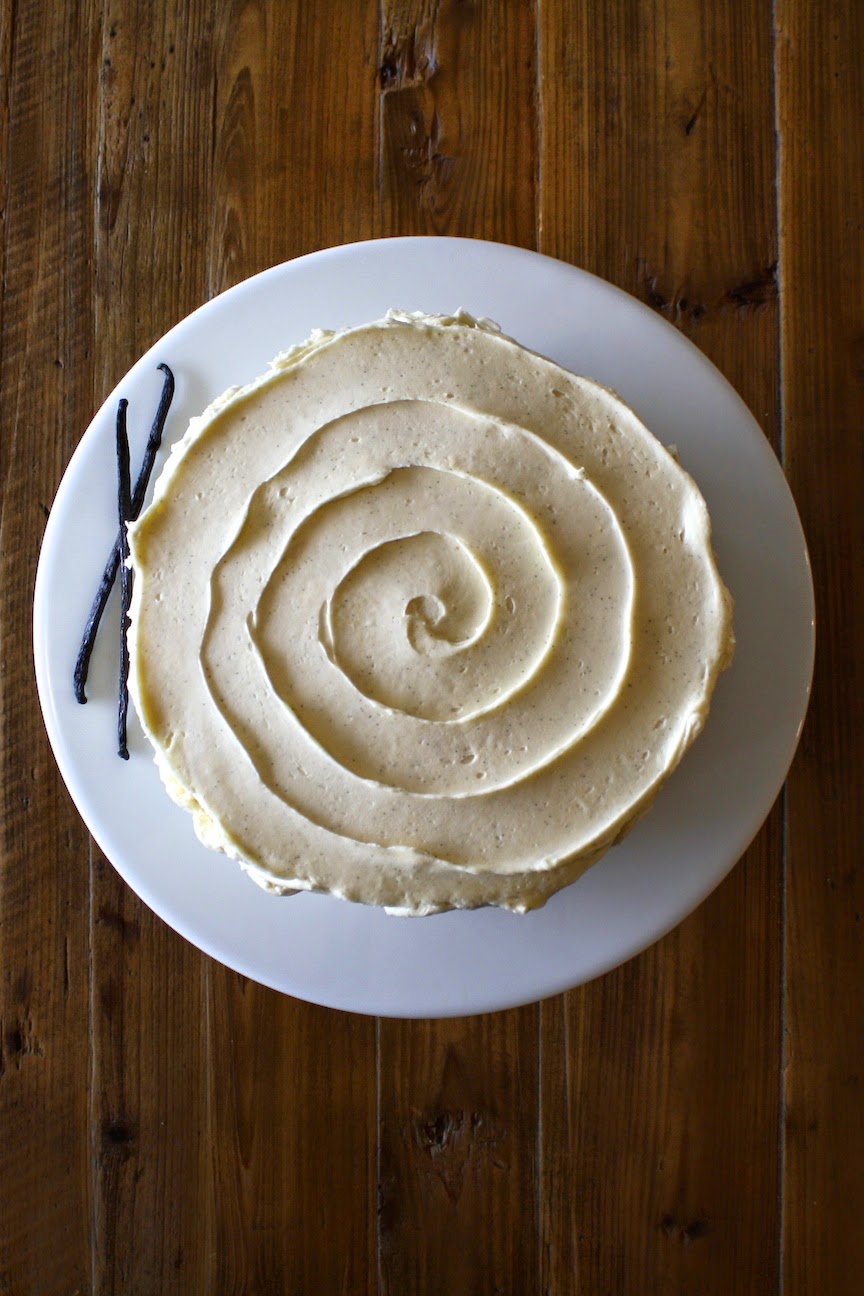
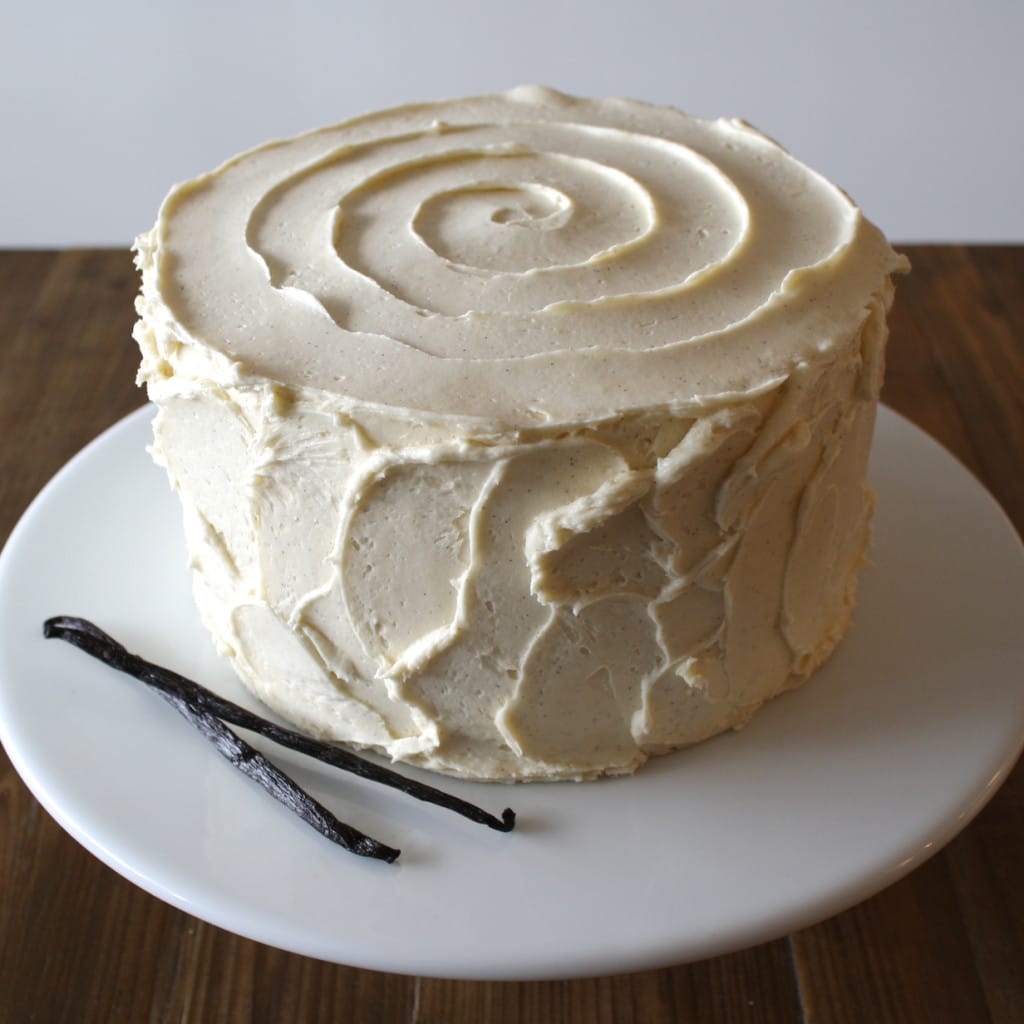
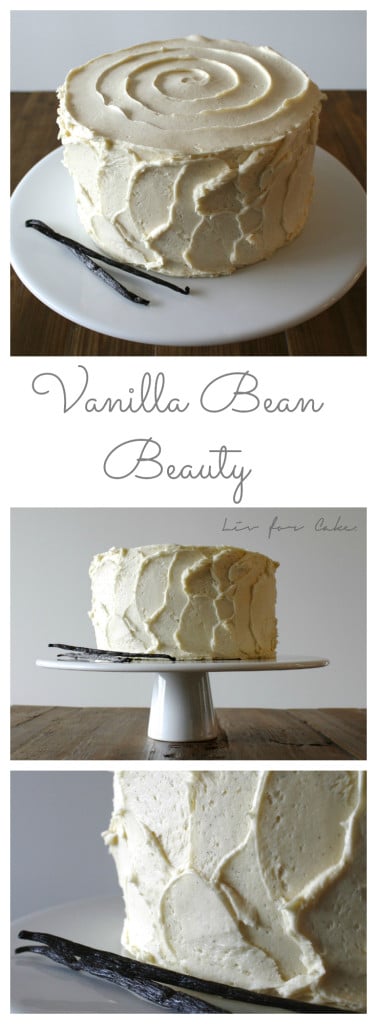
A vanilla flavoured cake with rustic vanilla bean buttercream.
I had initially planned to experiment a bit this weekend — to try some new and unique flavor combinations. Much searching and pinning later, I decided to go with a classic vanilla on vanilla cake instead. I have a great chocolate cake recipe that I use, but I don’t have a good vanilla one, so I set out on the hunt. This proved more challenging than I expected, as I was looking for a recipe that would fill 3 cake pans. I could have scaled some recipes up, but honestly… too lazy, so I found this recipe for the cake and this one for the frosting.
The cake recipe had a lot of reviews, mostly good. I should have heeded the warnings from some users though… this cake didn’t quite turn out as perfectly as I’d like.
I should note that I went with the original recipe of 1 cup buttermilk and 1/2 tsp of baking soda. I should have gone with the new modified recipe that called for more baking soda.
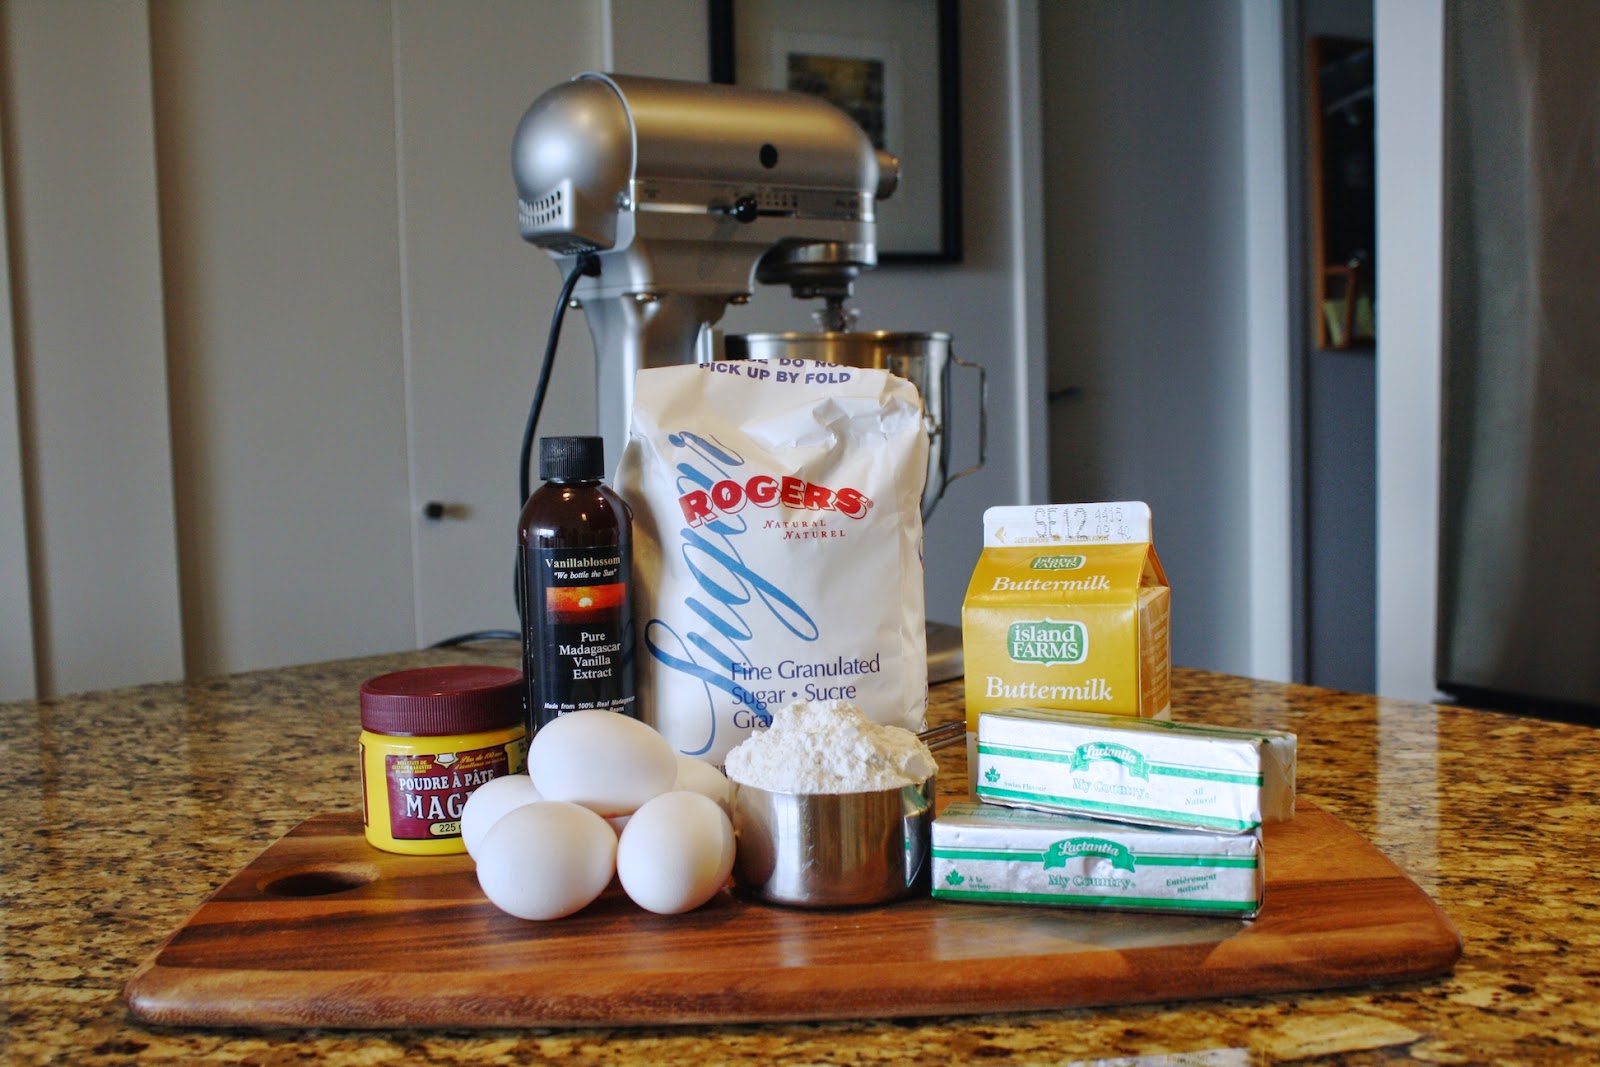
I followed the directions precisely, even alternating between adding wet and dry ingredients. The batter was very light and fluffy. The first warning sign that something was not quite right was the amount of cake batter. The recipe was supposed to make three 9″ pans, but I only had 8″ ones, and they were barely half full. I thought for sure I’d have extra batter.
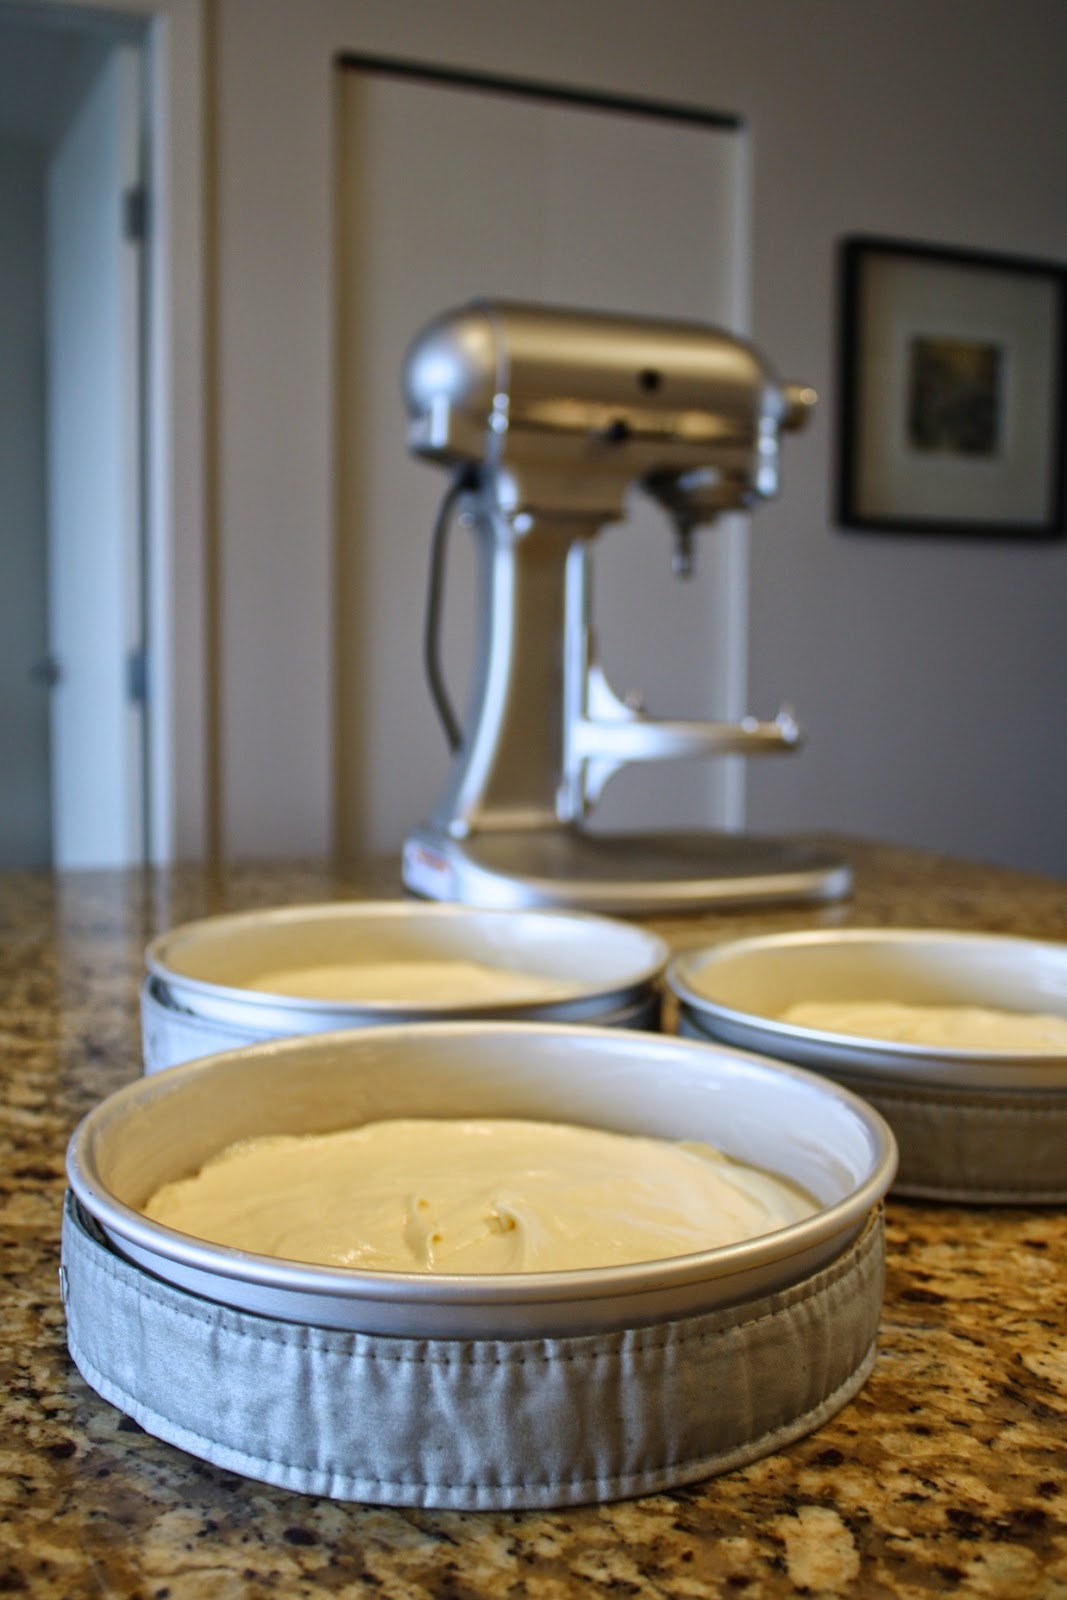
I put them in the oven, this time spreading them out over two racks, and waited. I was SO worried that they wouldn’t rise and I’d have rather large hockey pucks to decorate.
Five minutes in, peek in the oven window, nothing. Not rising. Well this is going to be a disaster. I mean, it’s been 5 minutes right? WHY aren’t they rising? Seriously, patience is not in my vocabulary. At this point Ryan’s like, “Step away from the oven. It’s only been 5 minutes!” I wonder if he realizes he’s married a crazy person… (he does).
After 20 painstaking minutes, I checked on them. They HAD risen (whew) but they were looking very pale. At 25 minutes I used my fancy new cake tester to see if they were done. Cake tester came out completely clean. Not a single crumb. Obviously this cake tester sucks. The cakes were still super pale, so they couldn’t possibly be done. I broke out the toothpicks and did another test. Clean. Ugh. Okay, they’re done, but they’re pale. I put them back into the oven for 5 more minutes to get some color.
These were not the prettiest cakes I’ve baked.
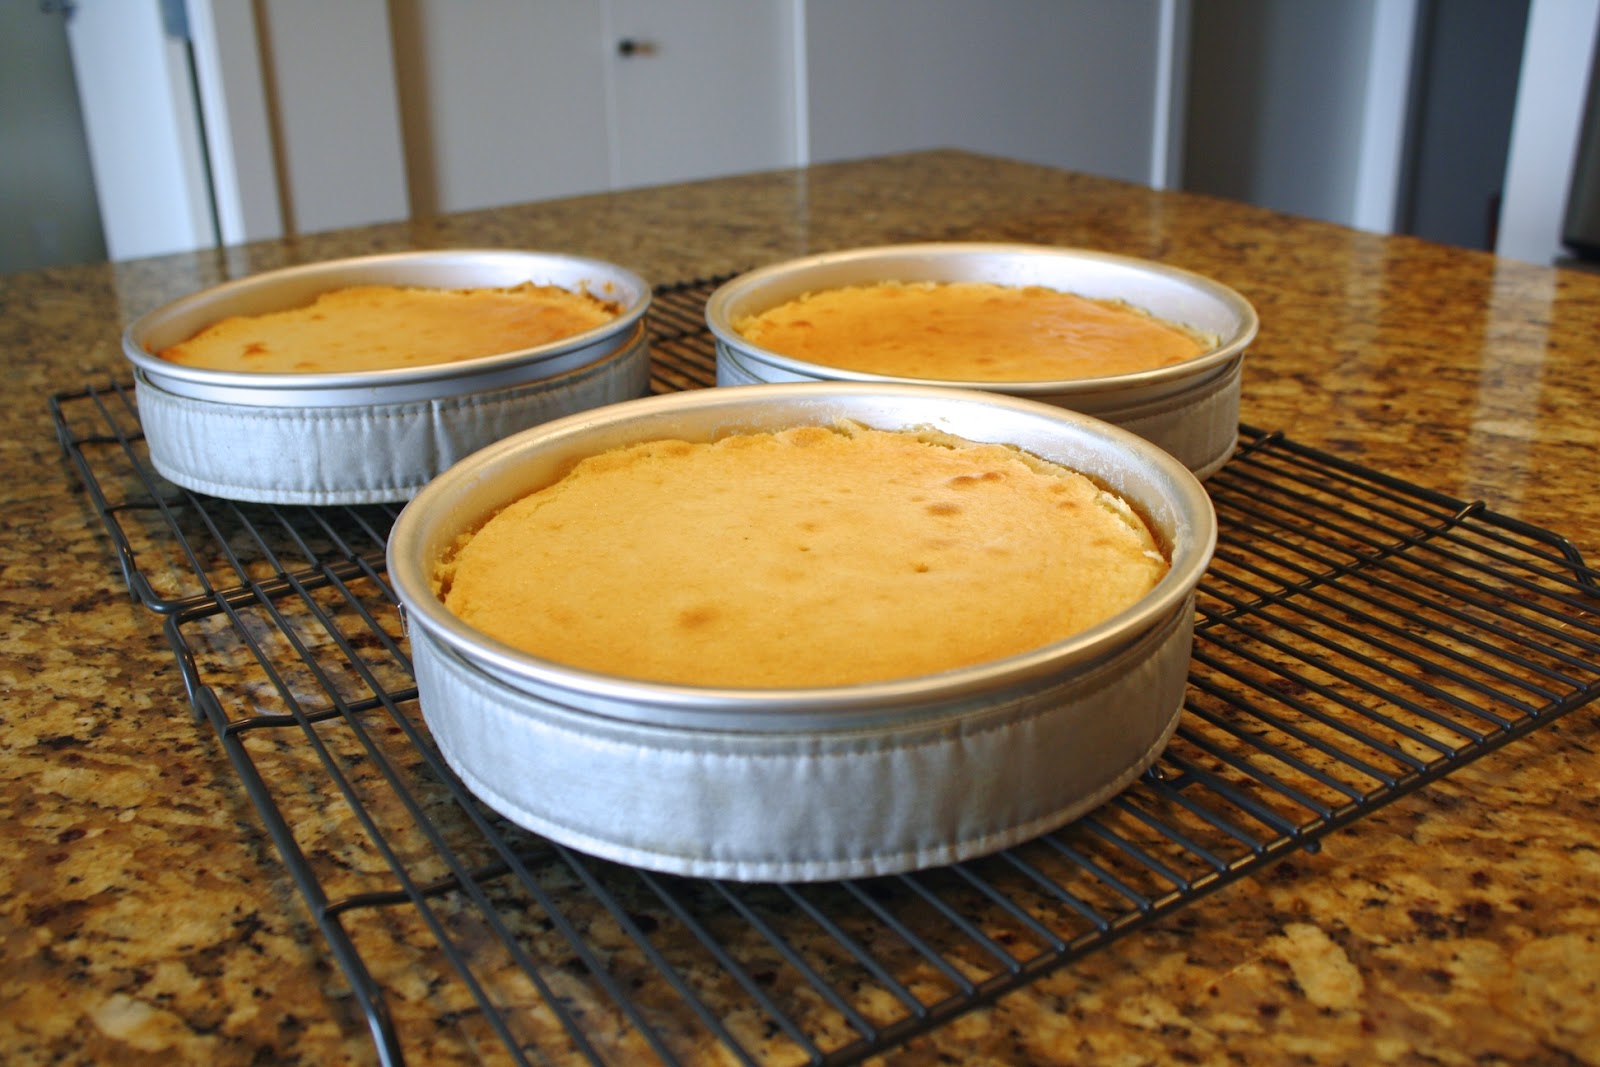
Even less so after coming out of the pans, at which point they also promptly started to deflate.
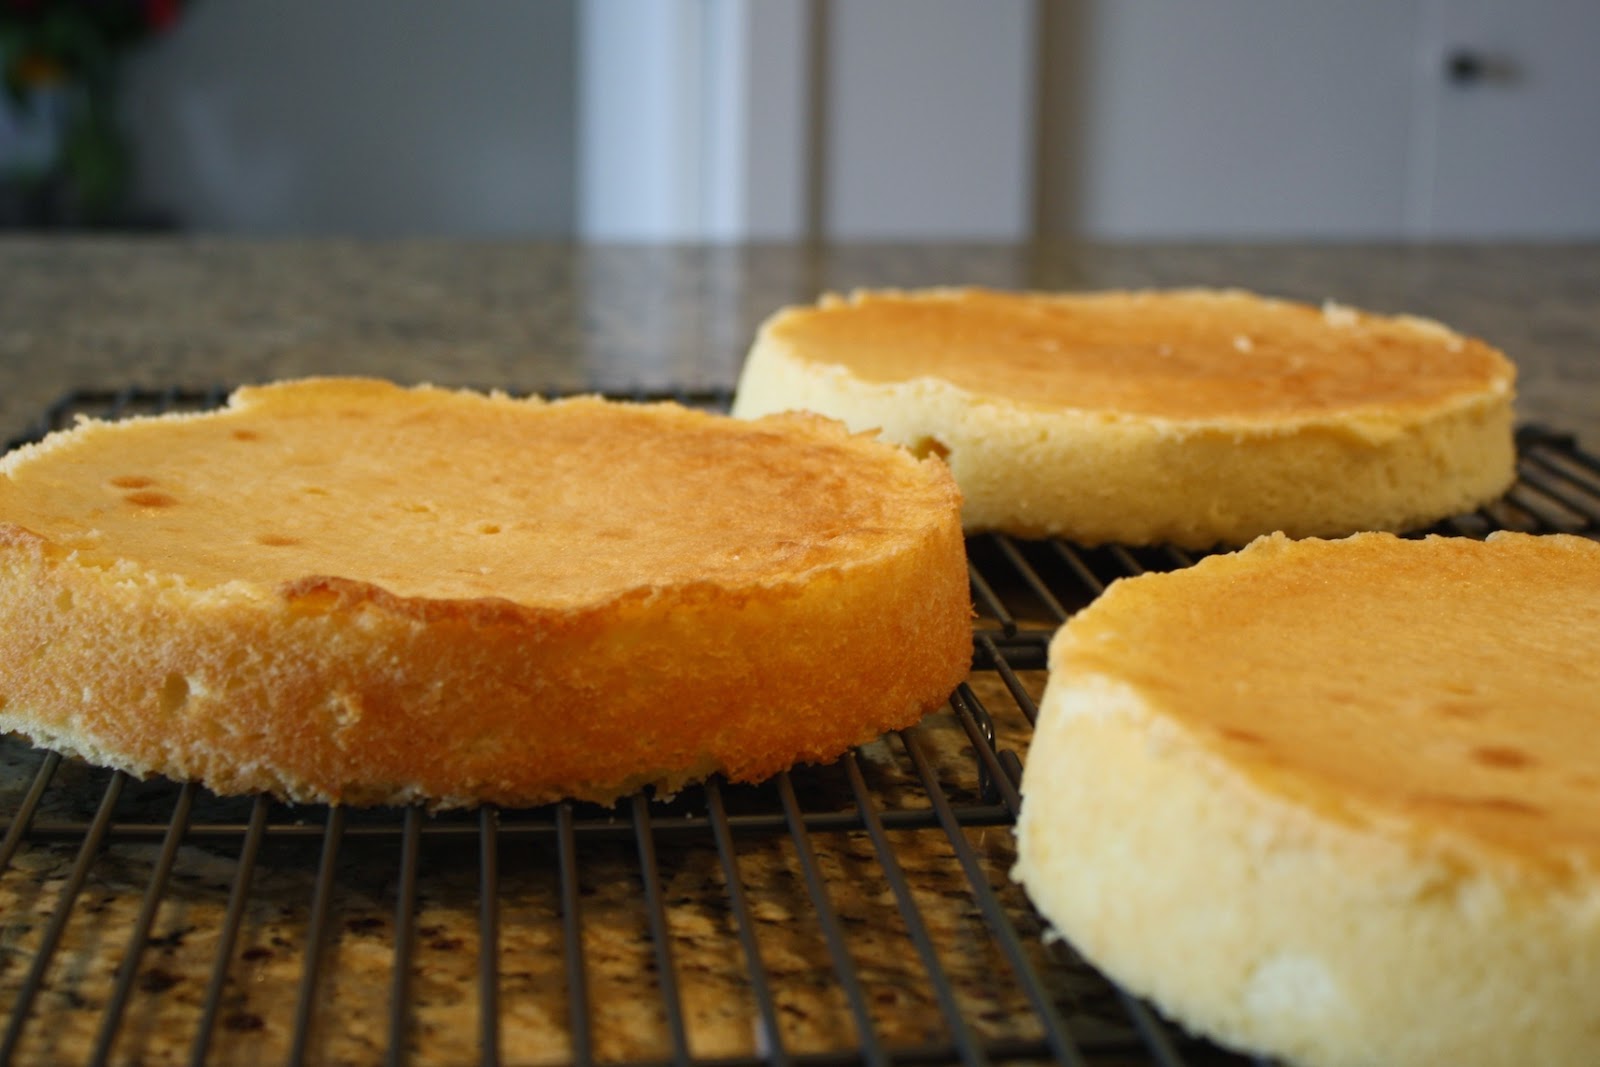
By the time I wrapped them and stuck them in the freezer, they were nicely caved-in hockey pucks. Not impressed. I had hopes that they still might taste good, so I soldiered on.
The frosting, at least, was pretty straightforward, so I knew not much could go wrong here. I doubled the recipe per the instructions in the cake post to ensure I had enough. I had bought some vanilla bean paste and was eager to use it. I had purchased actual vanilla beans first, but when I discovered the paste, that was the obvious best (read: easiest) option. It’s not actually a paste, but a thicker form of extract with vanilla beans in it. You use it one for one:
1 tsp of vanilla extract = 1 tsp vanilla bean paste = 1 vanilla bean pod
Once the butter was nicely creamed I added in 7 (!!) cups of confectioners sugar (per the instructions), then the vanilla paste and some cream.
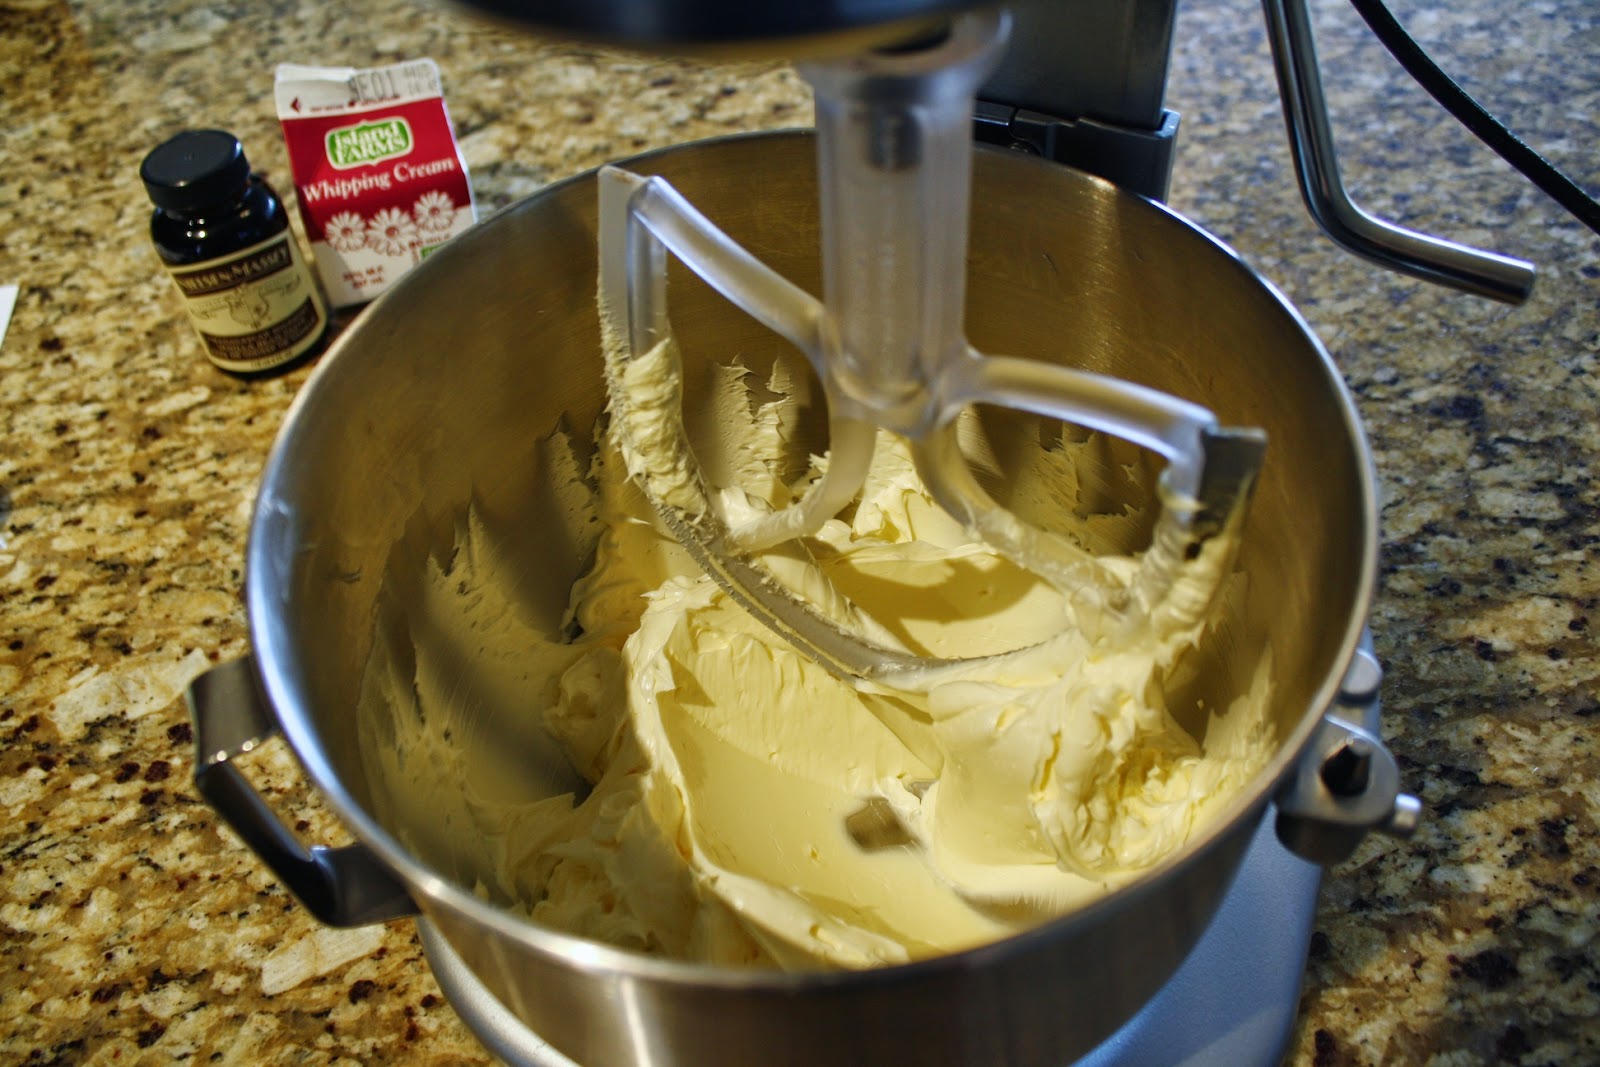
In hindsight this was WAY too much sugar. The frosting is delicious but soooo sweet, even for me. I can finish off a whole piece, but I need to take a break halfway through.
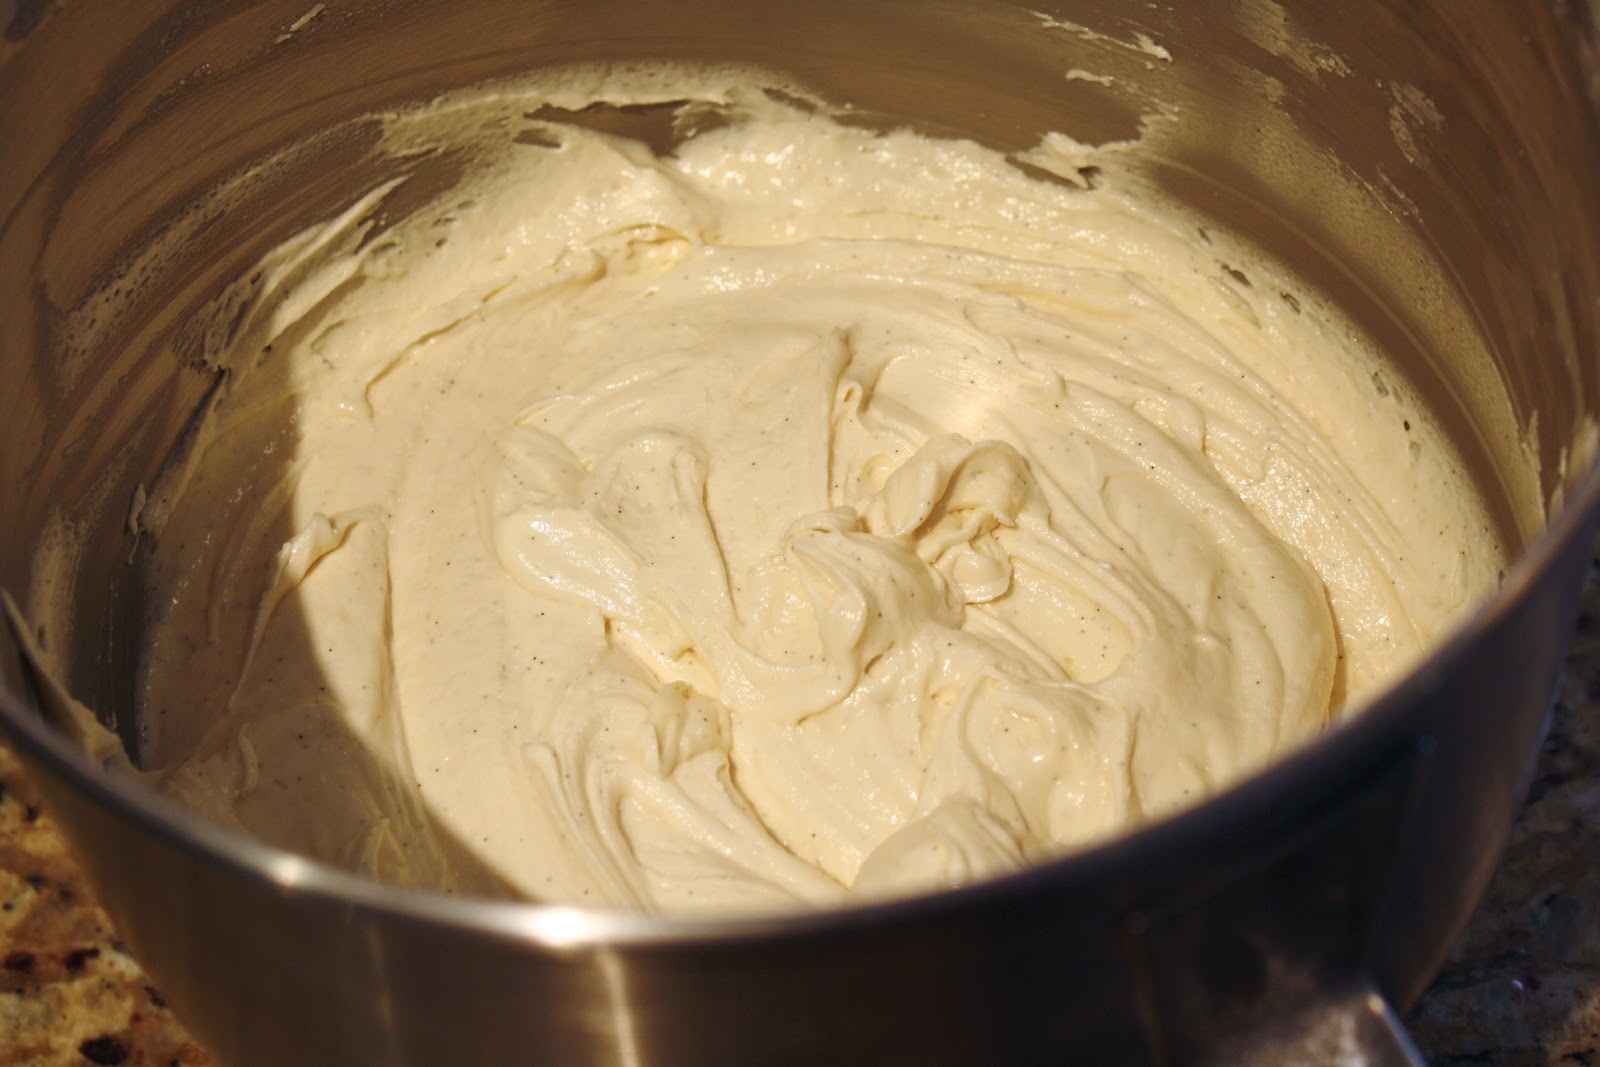
There were a few issues with decorating the cake…
Since the cake layers were soft, I decided to ice them while they were still frozen. Normally this wouldn’t be a problem, and it wasn’t really, but it did make it harder to get the effect on the cake that I wanted.
I wanted a rustic looking design, which works great with a soft frosting. Problem was, as soon as I put the frosting on the ice cold cake, it hardened up. Which made it significantly more difficult to get the desired effect…
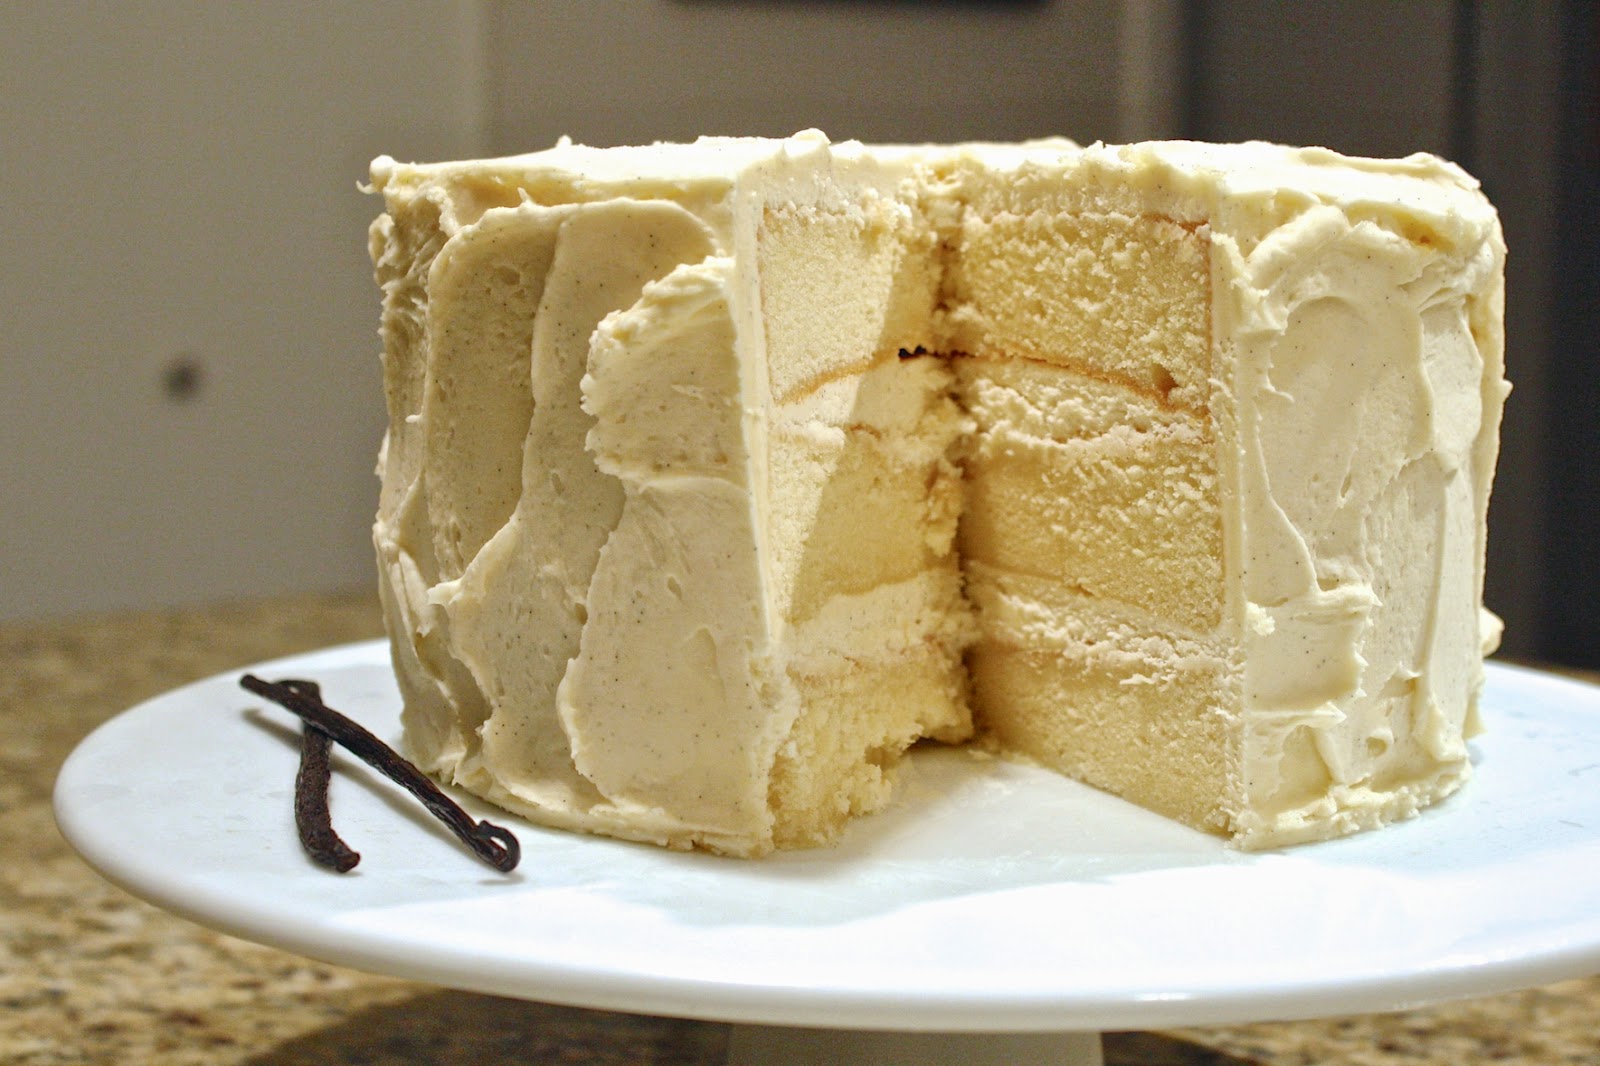
The other issue was that the layers had caved in a bit so I had to compensate and add extra icing to even them out. You’ll see what I mean in the last pic.
And now for some fancy cake pics.
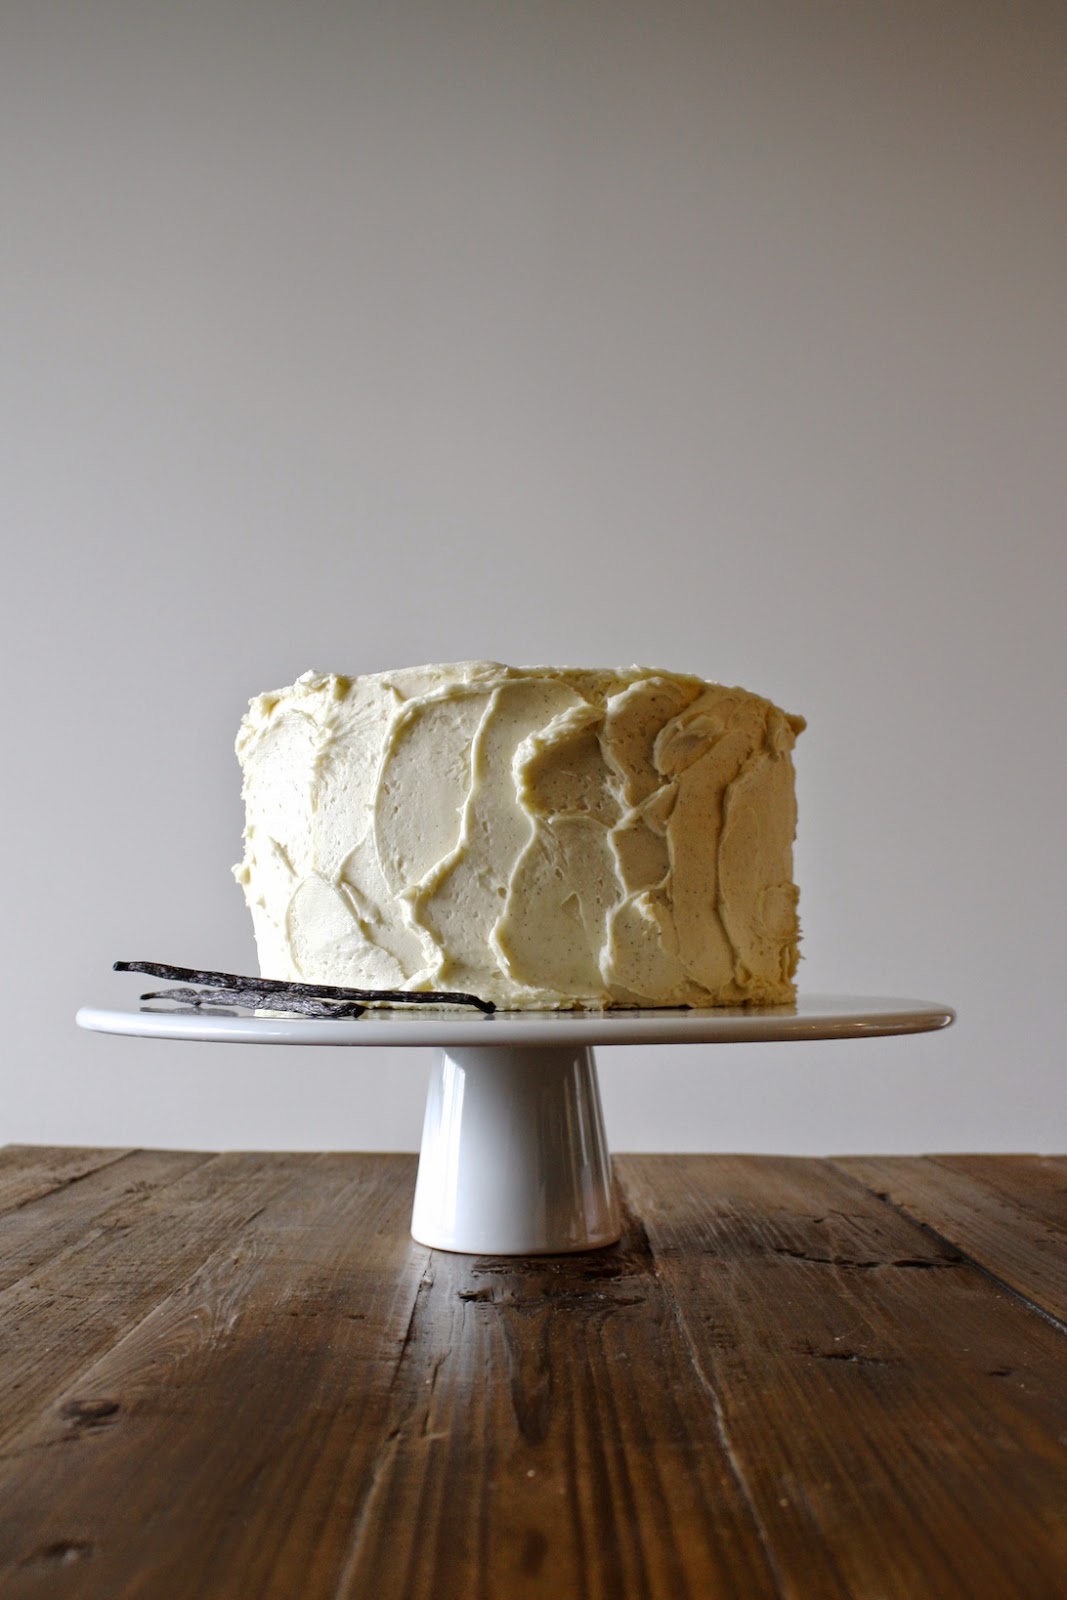
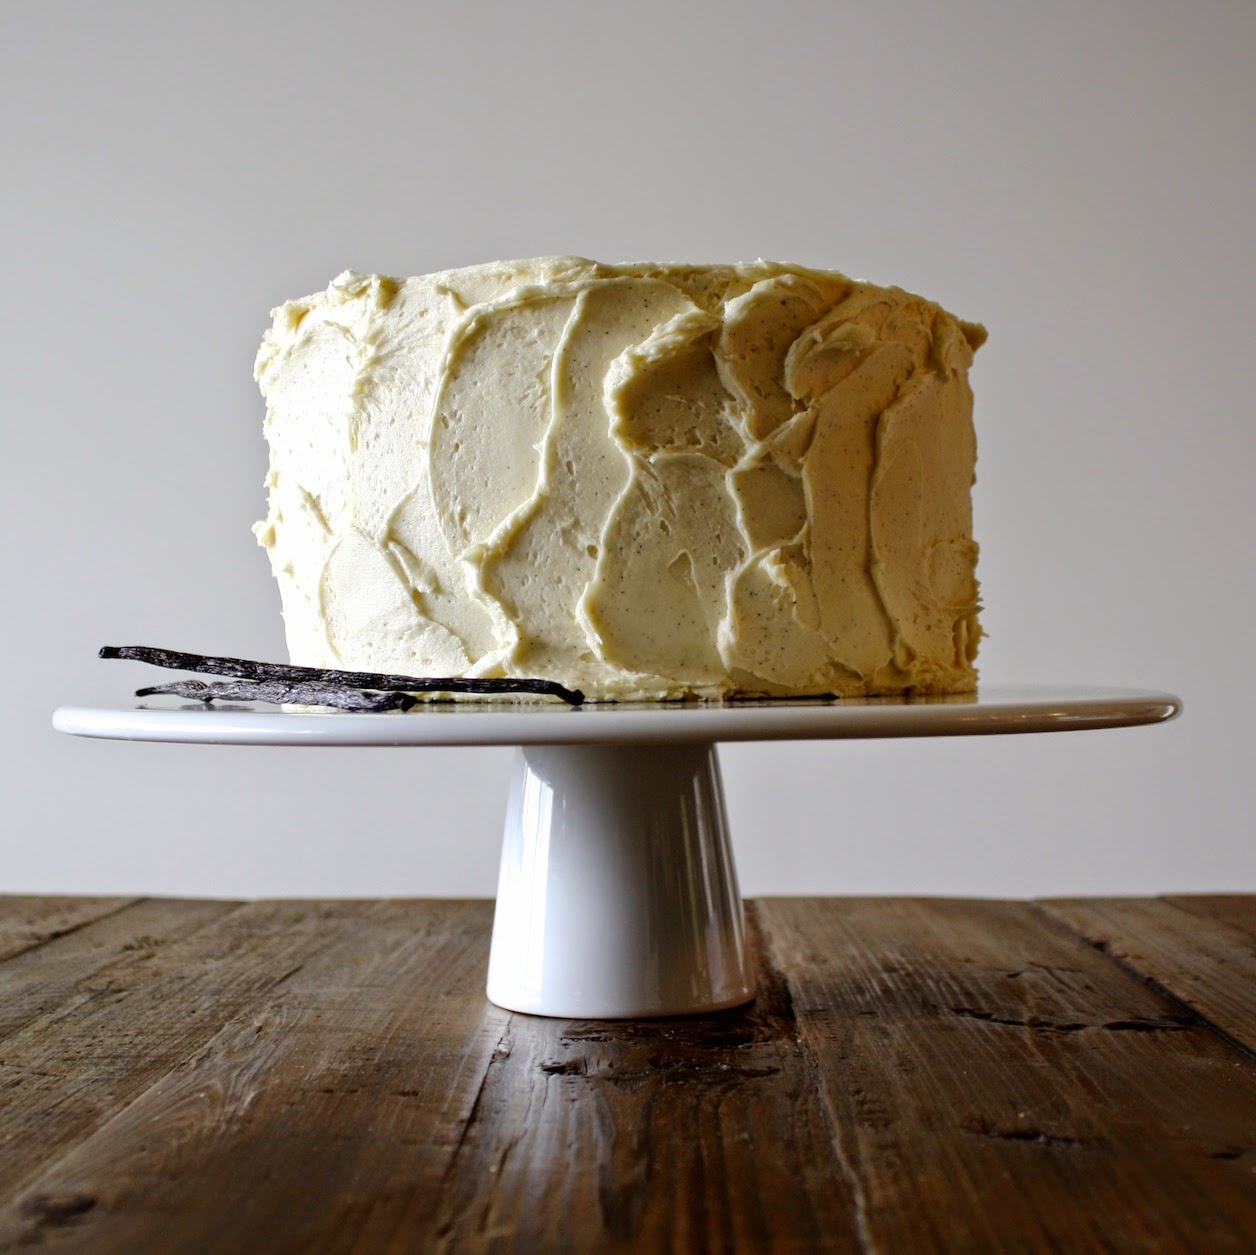
Here’s a picture of the inside of the cake. It doesn’t look too pretty and you can see what I mean about the uneven, dense layers and gobs of icing. I’m sure this contributed to the sweetness.
A lot of learnings on this cake overall – you’d think it was my first time baking.
I’m happy with the final result, and it did taste good. Or at least, that’s what my taste-testers said! It’s definitely more on the dense side, and I initially didn’t like the taste of the cake itself, but it grew on me. It just wasn’t what I was expecting. Not as sweet as the vanilla cakes I’m used to, and just a different flavor… maybe due to the number of eggs? Not sure. Again, everyone seemed to like it, but I don’t think I’ll be making this recipe again. I’d like a more stable cake, and one that’s not quite as dense.



Hungry for more? I've got you!
Join our Baking community on Facebook!
Follow Liv for Cake on Facebook, Instagram, Pinterest, and Twitter. Or sign up to get free recipes by email!