Everything you ever wanted to know about making Ganache! A simple, two-ingredient recipe for a delicious frosting, filling, drip, or glaze.
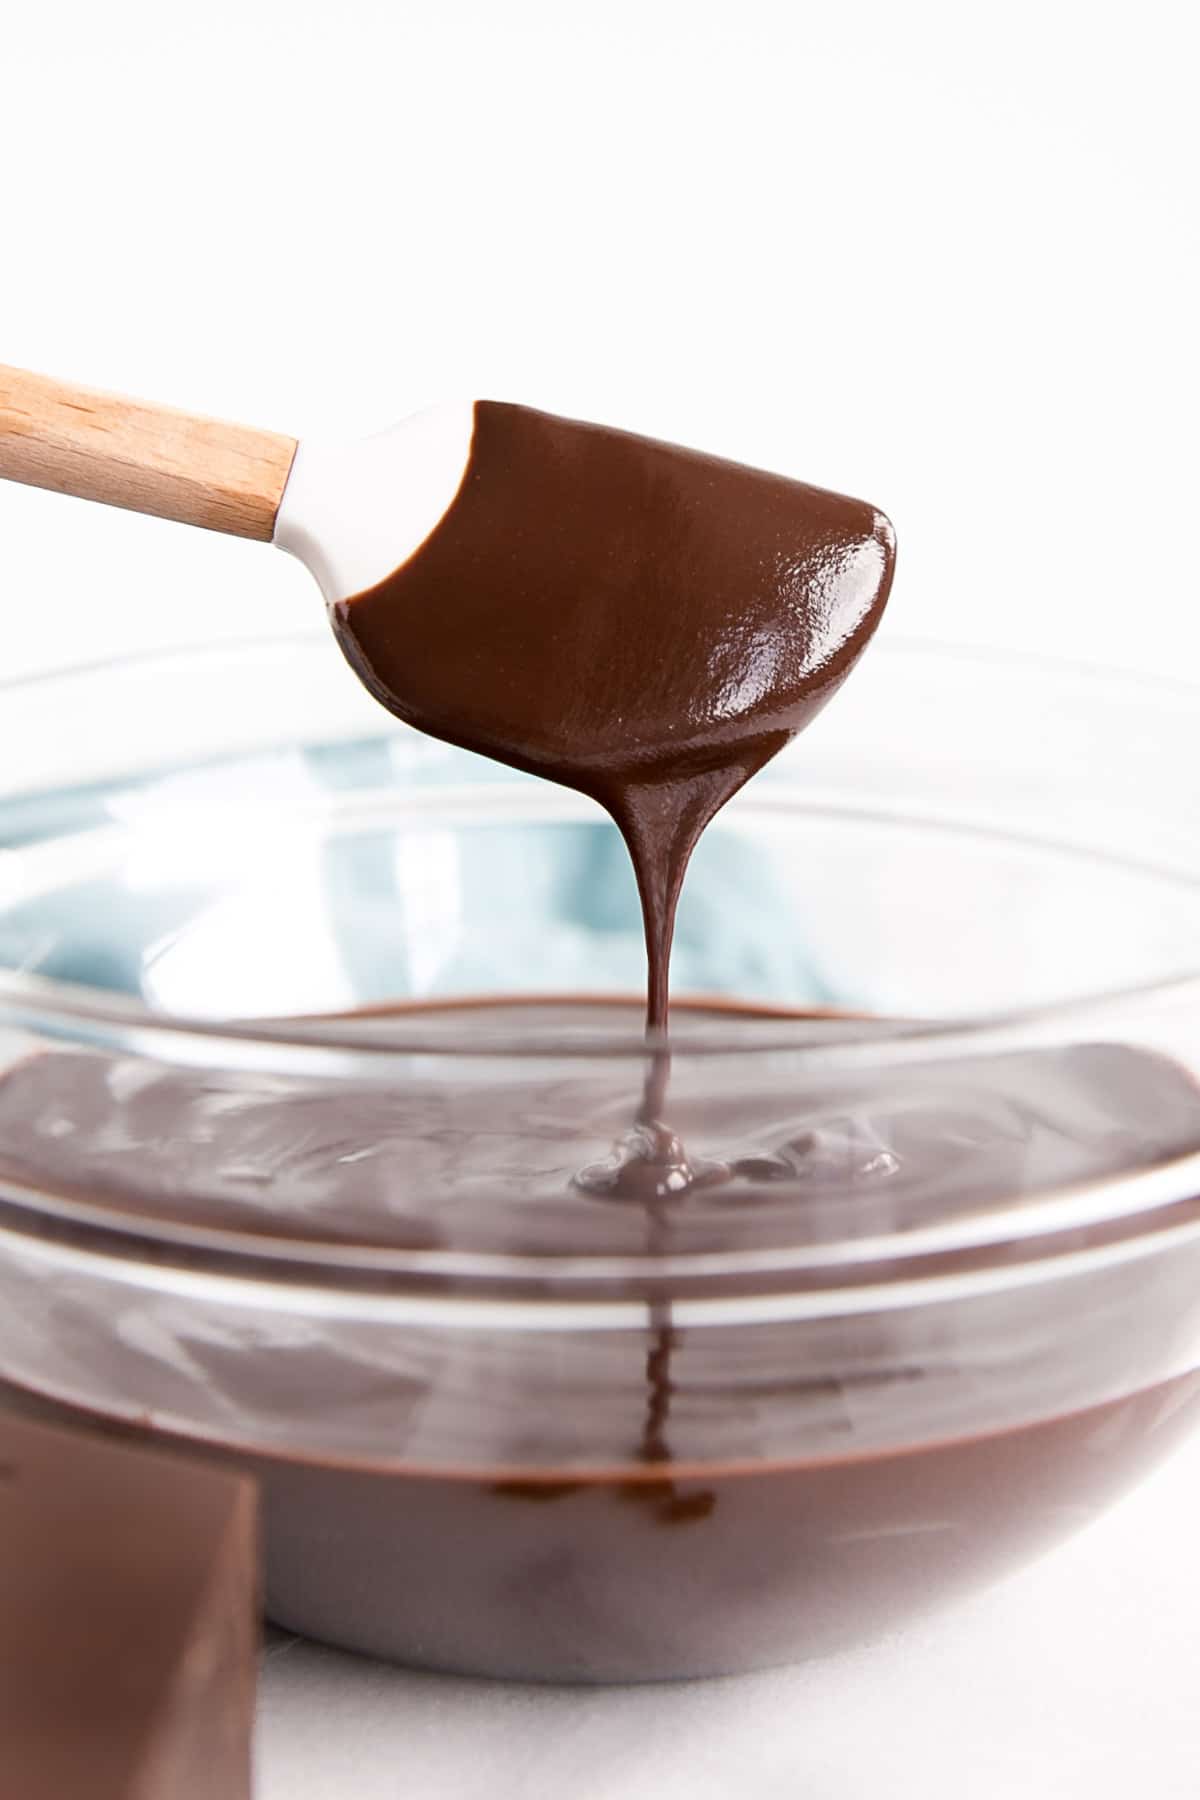
Ganache and I have a love/hate relationship.
As simple as it is to make, I have had my fair share of split and grainy ganache incidents. It’s usually due to me rushing or being impatient, but still. Making a ganache is an emulsion — similar to making mayonnaise — it’s precise, and it can split easily.
In my post today I’m going to talk about:
- What you need to make ganache
- Ratios for dark, milk, and white chocolate
- How to make it
- How to not screw it up
- How to save it if things go south
Chocolate Ganache Ingredients
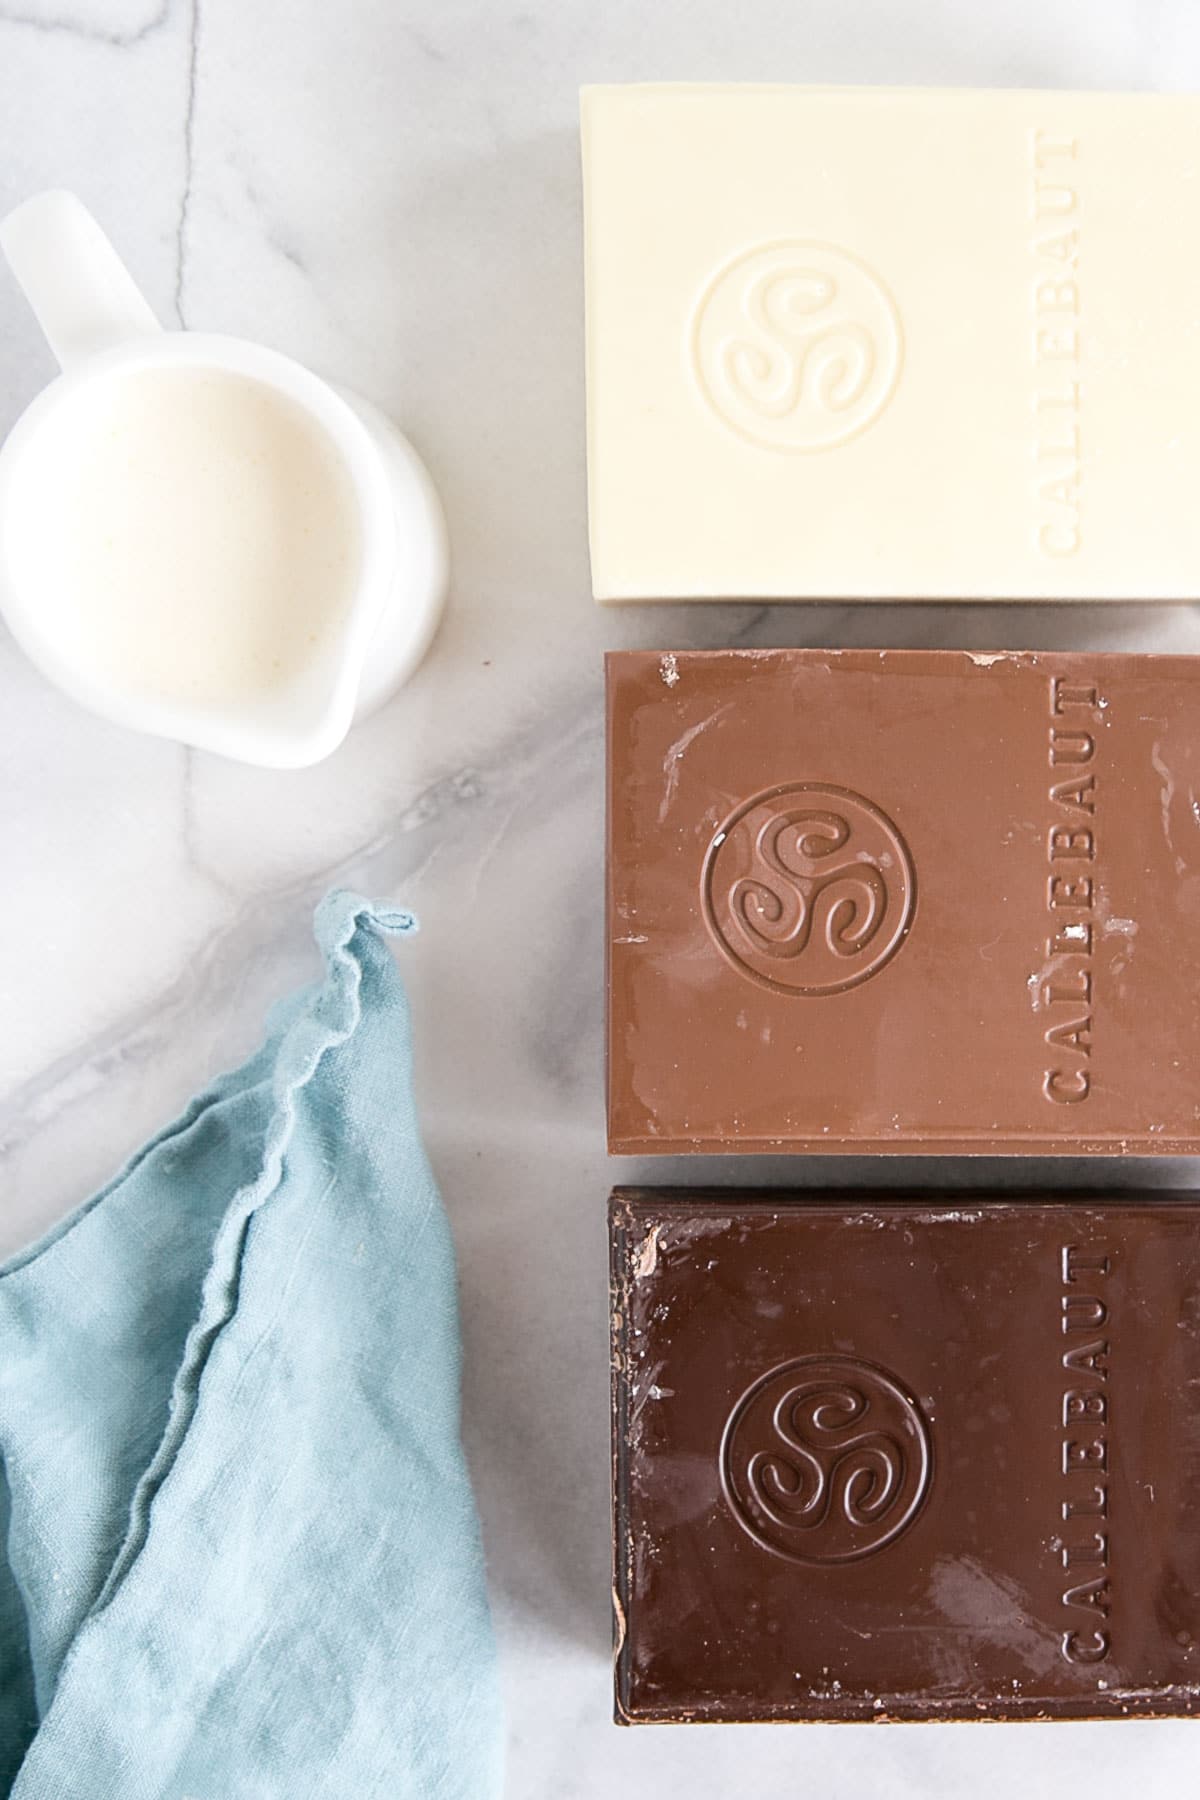
Ganache consists of two simple ingredients — chocolate and cream.
It’s important to use the best quality chocolate you can find (couverture chocolate). These have a higher cocoa butter content and will help ensure your ganache is silky smooth. Using low-quality chocolate is not recommended (though I have done it successfully). It may not give you as nice a texture/consistency and could be more prone to splitting.
My favorite brand of chocolate to use is Callebaut, but it’s also the brand that’s easiest for me to get. Other examples of great high-quality chocolate brands are:
If these are hard to find (most are), you can also use Lindt or Ghiradelli, which should be readily available in your grocery store.
For the cream, use a heavy whipping cream (or double cream) with a high-fat percentage. This will help ensure your ganache is rich and delicious, but also stable.
Apparently, you can make ganache with just chocolate and water, but I haven’t tried it myself. This seems counter-intuitive to everything I know about how chocolate and water react together — water is notorious for causing chocolate to seize.
I highly recommend using cream instead, but if you’re in a bind you can try it with water. You will need to use less water than cream though, due to consistency.
Ganache Tip
Use the best quality chocolate you can get your hands on and a cream with a high fat percentage.
Chocolate to Cream Ratios
Ganache ratios are a bit of a personal preference kinda thing. I polled the members of my Baking Group on Facebook to see if there was a consensus (thanks for your input, everyone!), but the feedback was varied and everyone seems to do things a little differently.
There is no right or wrong.
I’m including the ratios that I like to use, and that work best for me. These should be a good starting point if you’ve never made it before.
We use ratios when making ganache so that you can customize it to whatever amount you need. When I say 2:1 chocolate to cream, that means two parts chocolate to one part cream — twice as much chocolate as cream. For example:
- 200 g chocolate to 100 g cream
- 2 oz chocolate to 1 oz cream
- 500 g chocolate to 250 g cream
- 11 oz chocolate to 5.5 oz cream
A 3:1 ratio (three parts chocolate to one part cream, or three times as much chocolate as cream) would look something like this:
- 200 g chocolate to 67 g cream
- 6 oz chocolate to 2 oz cream
- 500 g chocolate to 167 g cream
- 12oz chocolate to 4 oz cream
These are all just examples — you can customize the amounts to whatever volume of ganache you need.
You’ll notice I’ve listed all of the examples by weight rather than volume — 1 cup of chocolate chips and 1 cup of finely chopped chocolate will not be the same amount of chocolate, and will affect the consistency of your ganache.
As such, I highly recommend using weight instead of volume to measure your ingredients when making ganache.
Dark vs Milk vs White Chocolate
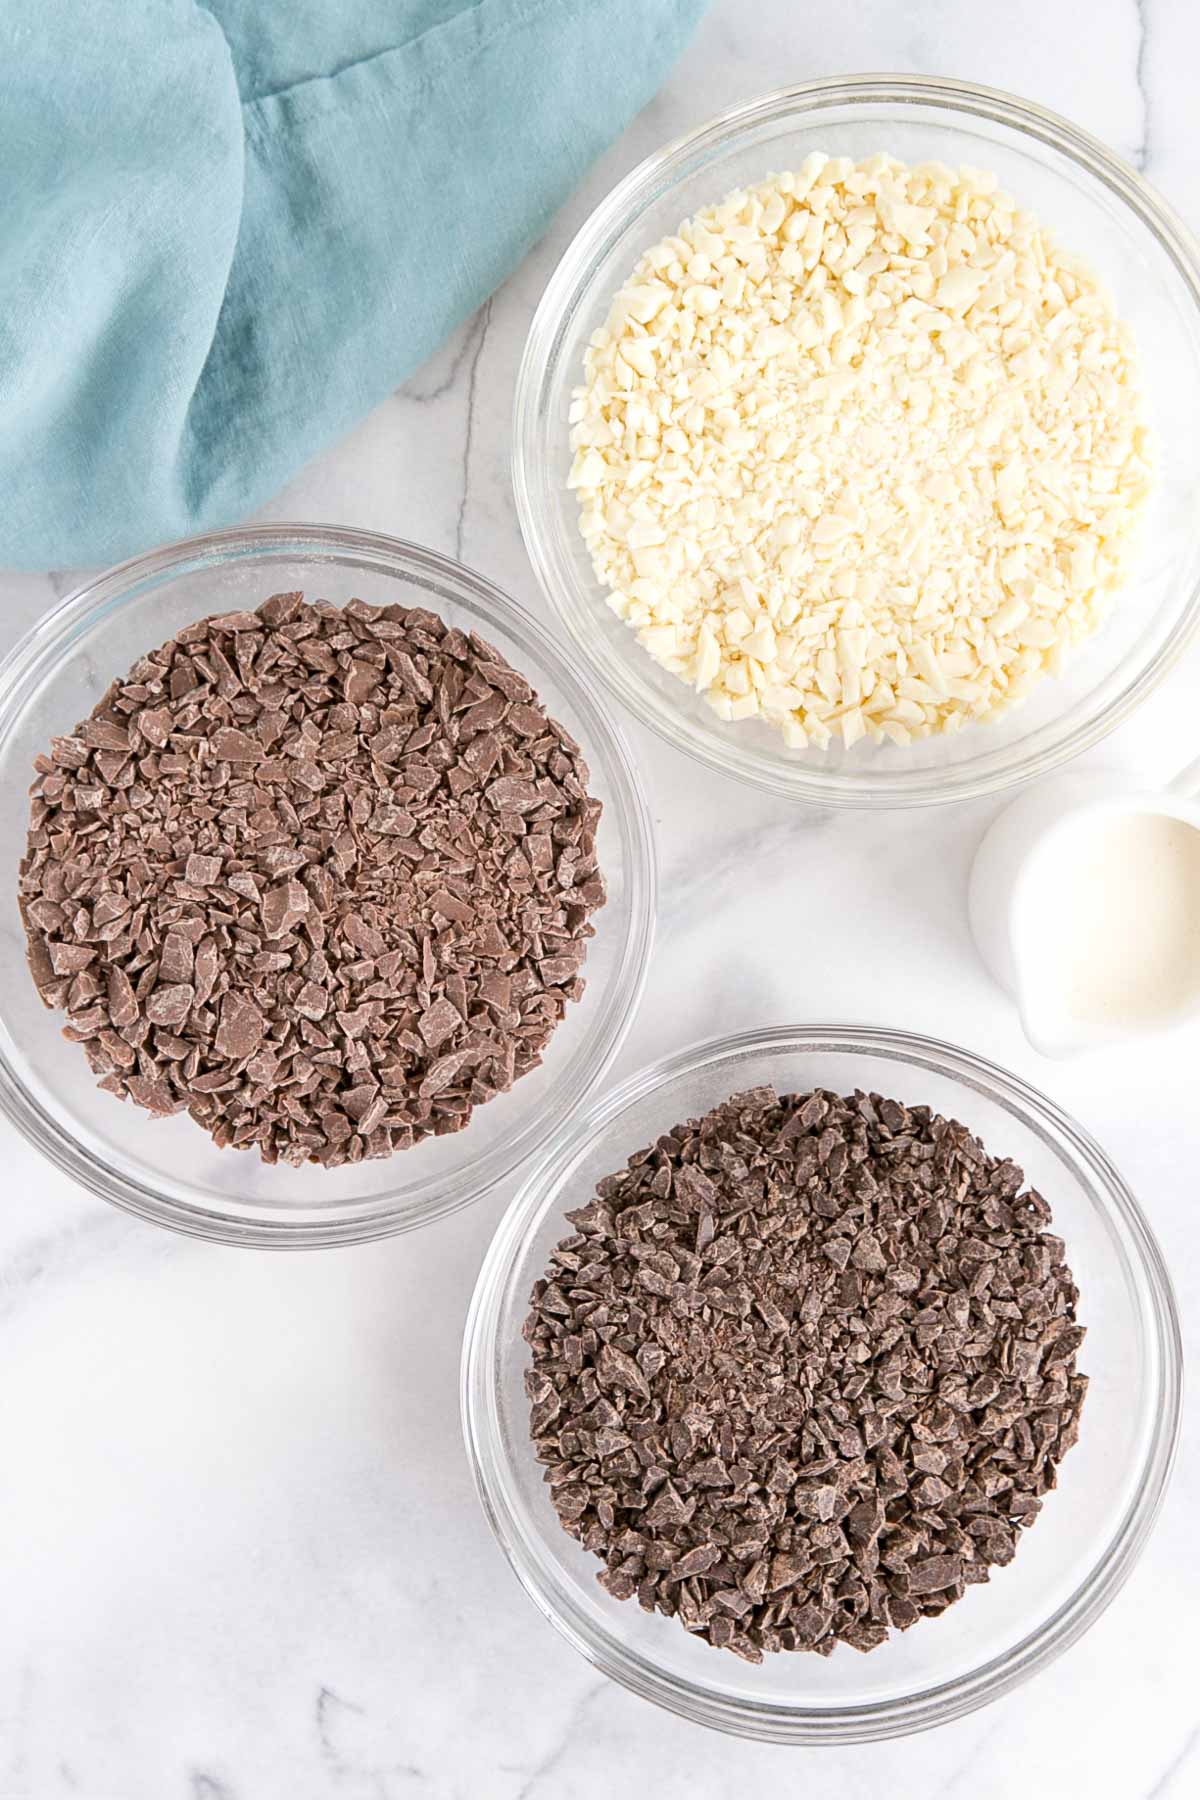
The ratios will be different depending on the type of chocolate you are using – dark, milk, or white.
- Dark chocolate contains cocoa solids, cocoa butter, and sugar, but little or no milk solids.
- Milk chocolate contains cocoa solids, cocoa butter, and sugar, and has more milk solids than dark chocolate.
- White chocolate does not contain any cocoa solids and is made up of cocoa butter, sugar, and milk solids.
Since milk and white chocolate have more milk solids than dark chocolate does, they require less cream to get to the same consistency as dark chocolate ganache.
Here are the ratios I use for frostings, fillings, and drips.
Frosting/Firm Filling (chocolate : cream)
- Dark Chocolate – 2 : 1
- Milk Chocolate – 2.5 : 1
- White Chocolate – 3.5 : 1
Drip/Soft Filling/Whipped Ganache/Glaze (chocolate : cream)
- Dark Chocolate – 1 : 1
- Milk Chocolate – 2 : 1
- White Chocolate – 3 : 1
You may notice that some of my past recipes used different proportions and/or butter. It’s taken me a while to figure out the amounts that work well for me, and I’ve stopped using butter due to splitting issues. Read on for that.
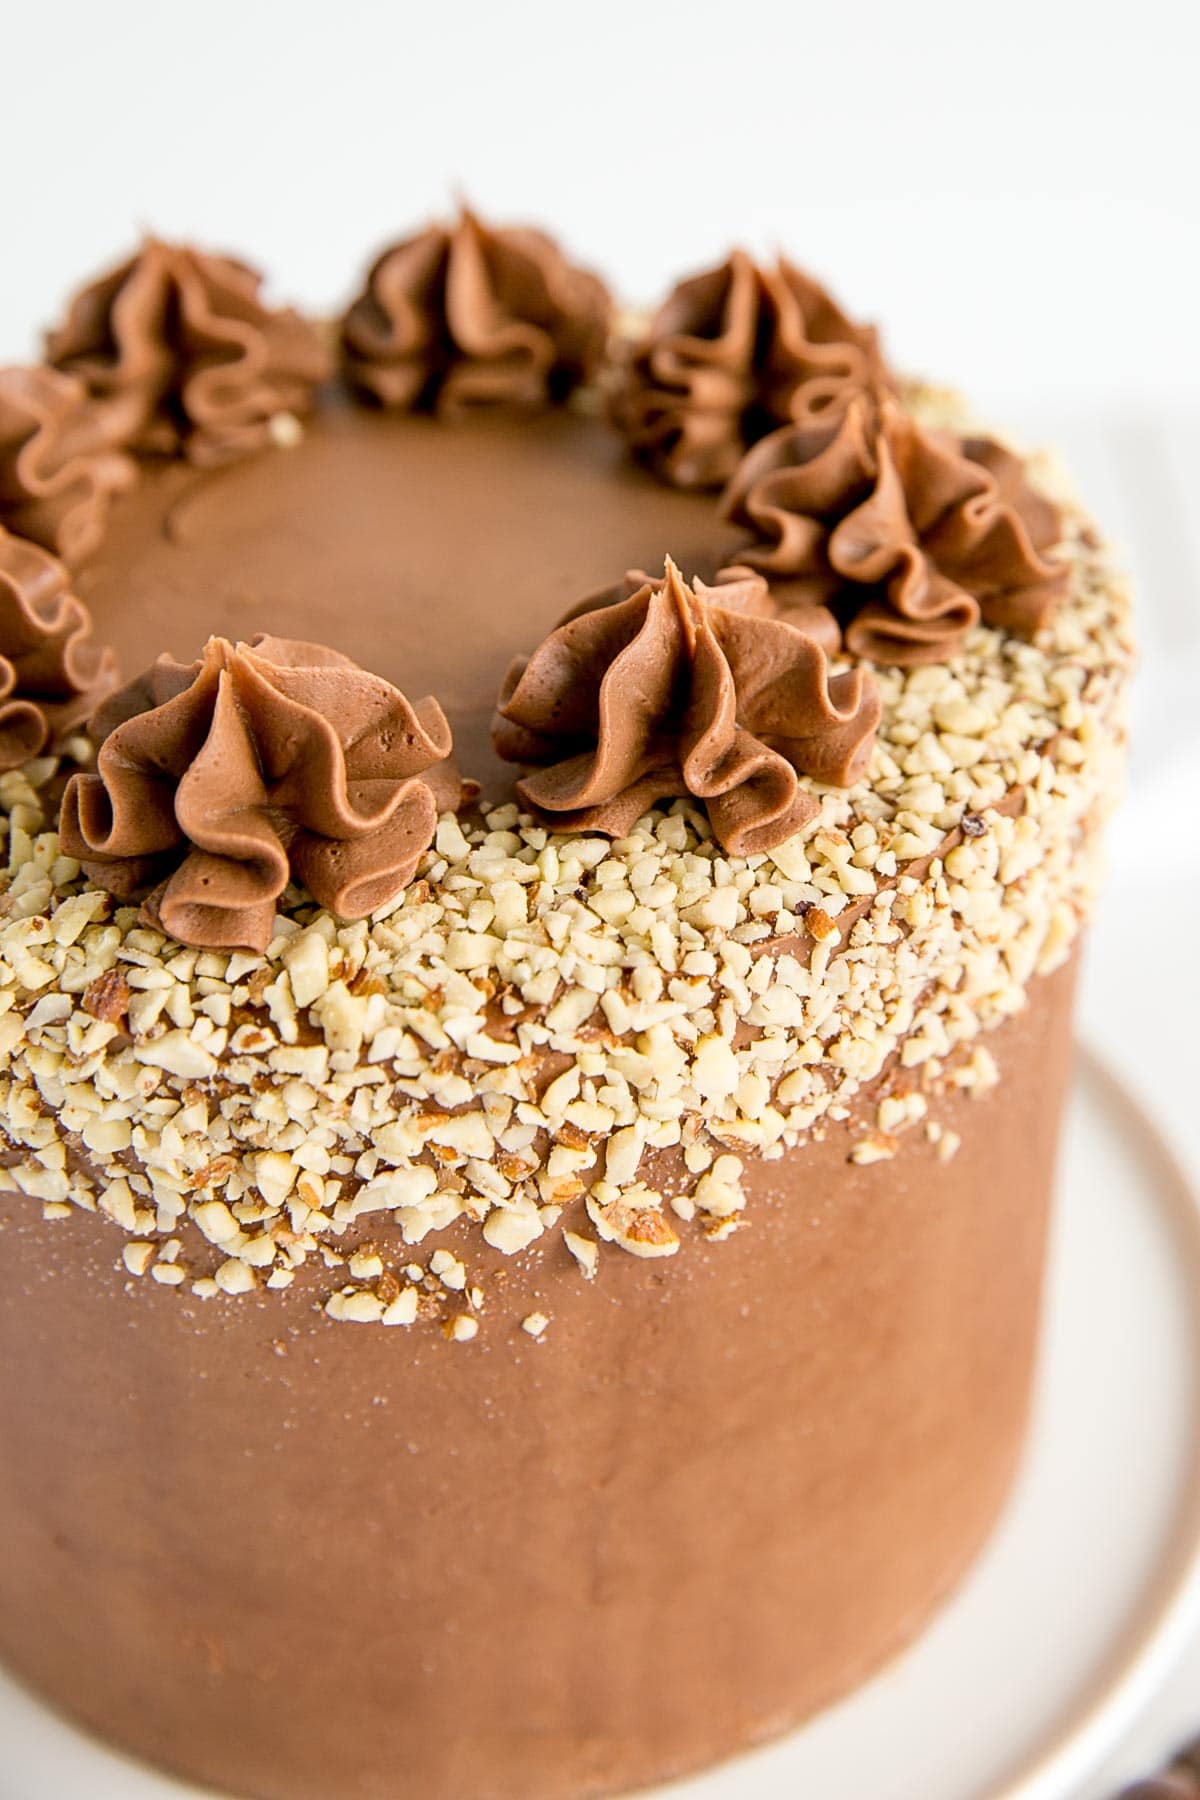
Whipped Chocolate Ganache
Whipping the ganache once it’s set it will lighten the color significantly, and it will make it almost a peanut butter consistency. In the Milk Chocolate Almond Cake above, I used whipped ganache for the outside and used unwhipped as a filling.
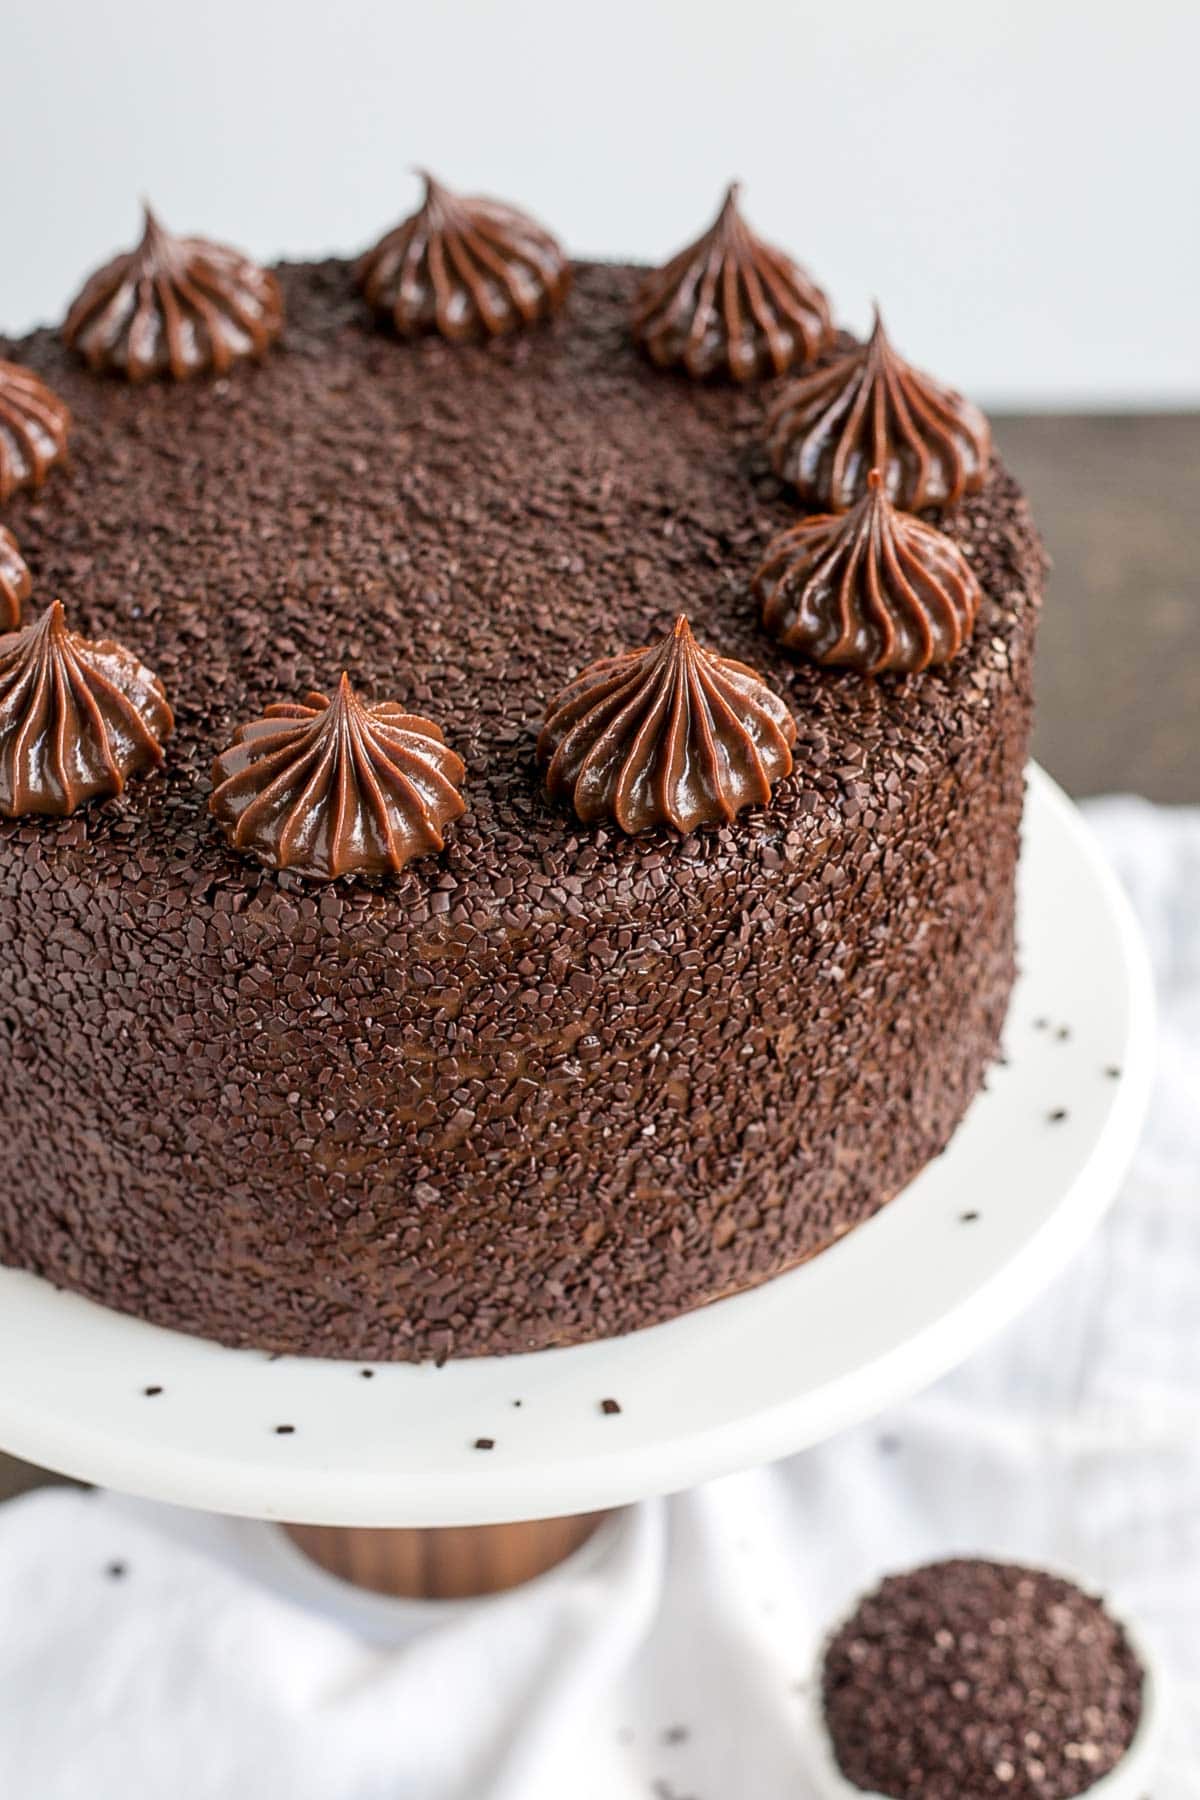
Ganache is most often used in its whipped form as a filling or frosting, but I prefer the darker color and smooth texture of unwhipped ganache. You can see that here in this Baileys & Guinness Cake and the Chocolate Truffle Cake below. It can be trickier to work with though, as it is a bit softer.
You can whip any kind of ganache — white, milk, or dark.
How to Make Chocolate Ganache
Now that you have a good overview of what ganache is and how it works, let’s get into the process.
There are a couple of ways you can make ganache — the hot cream method and the microwave method. I’m going to walk you through the hot cream process step-by-step and talk about the microwave method below.
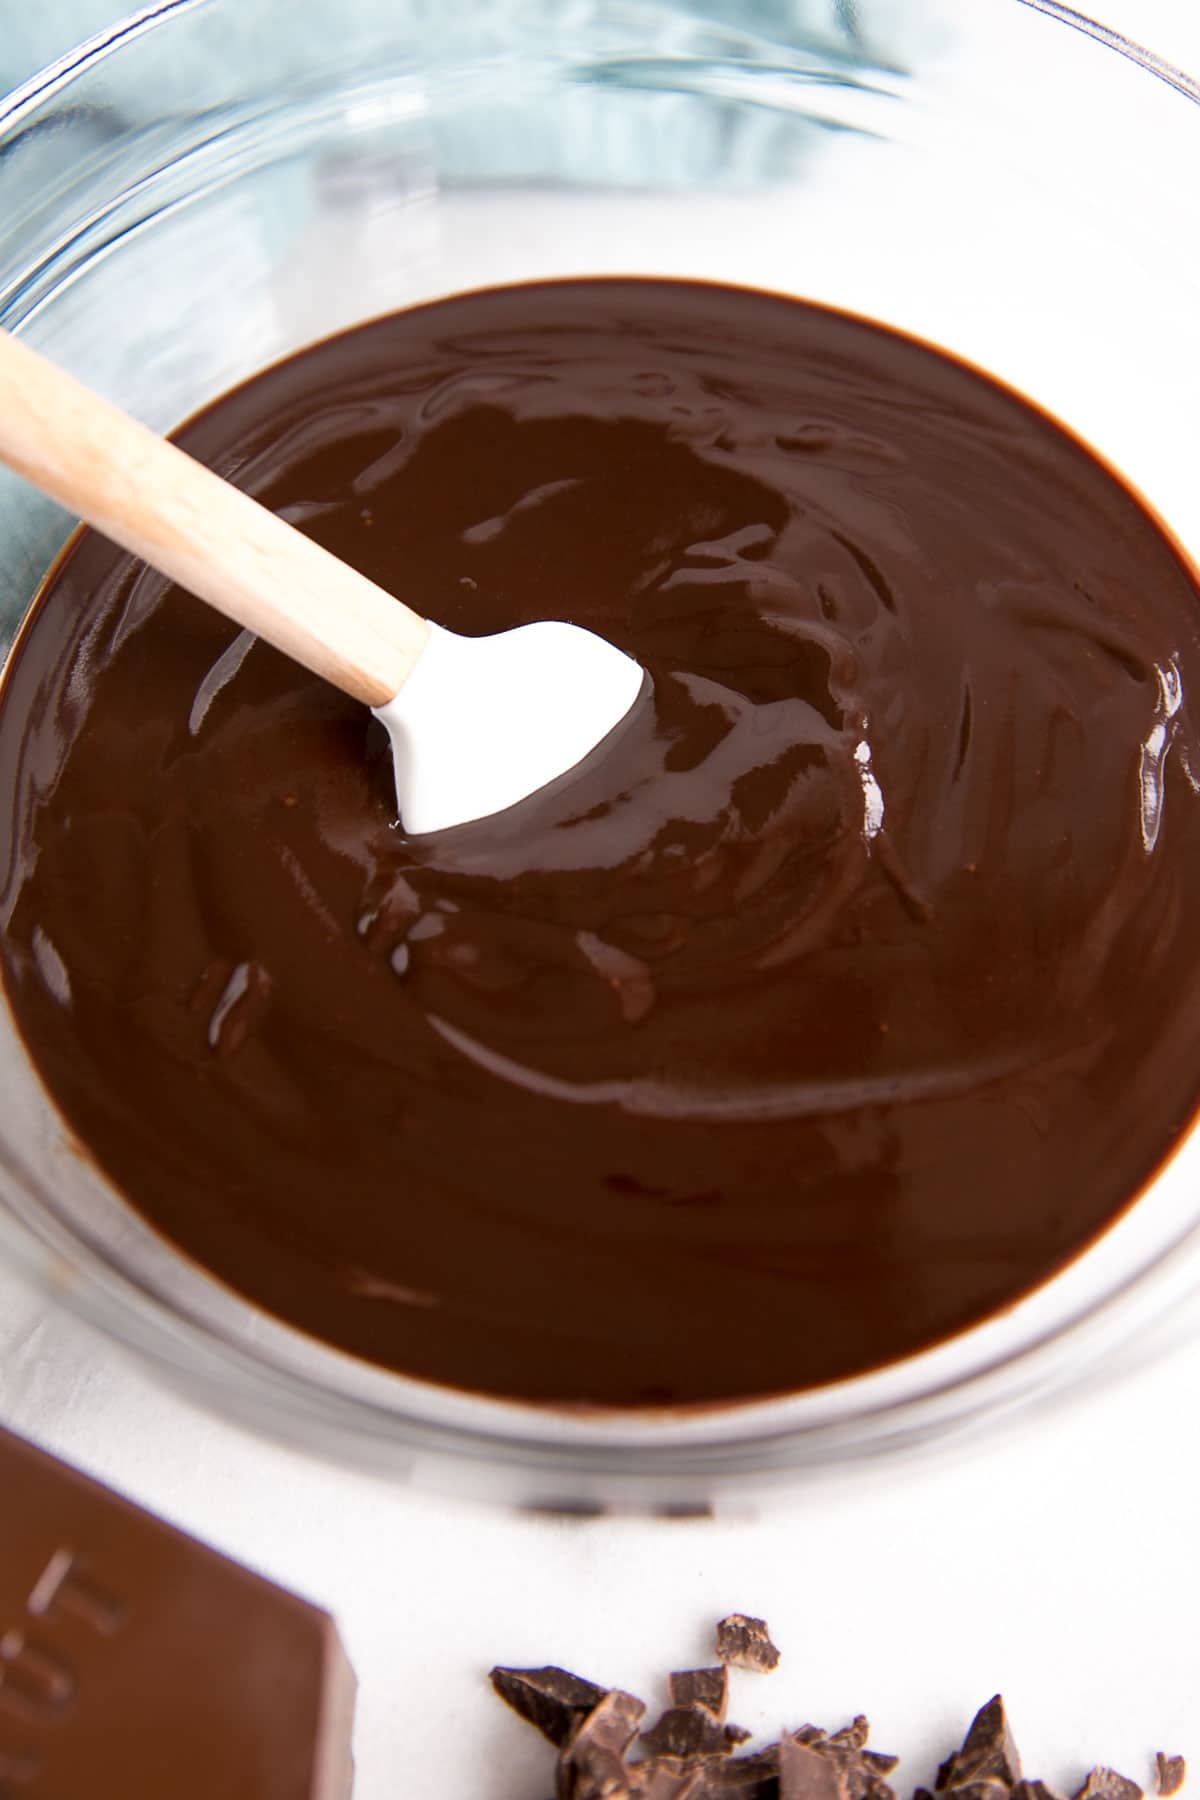
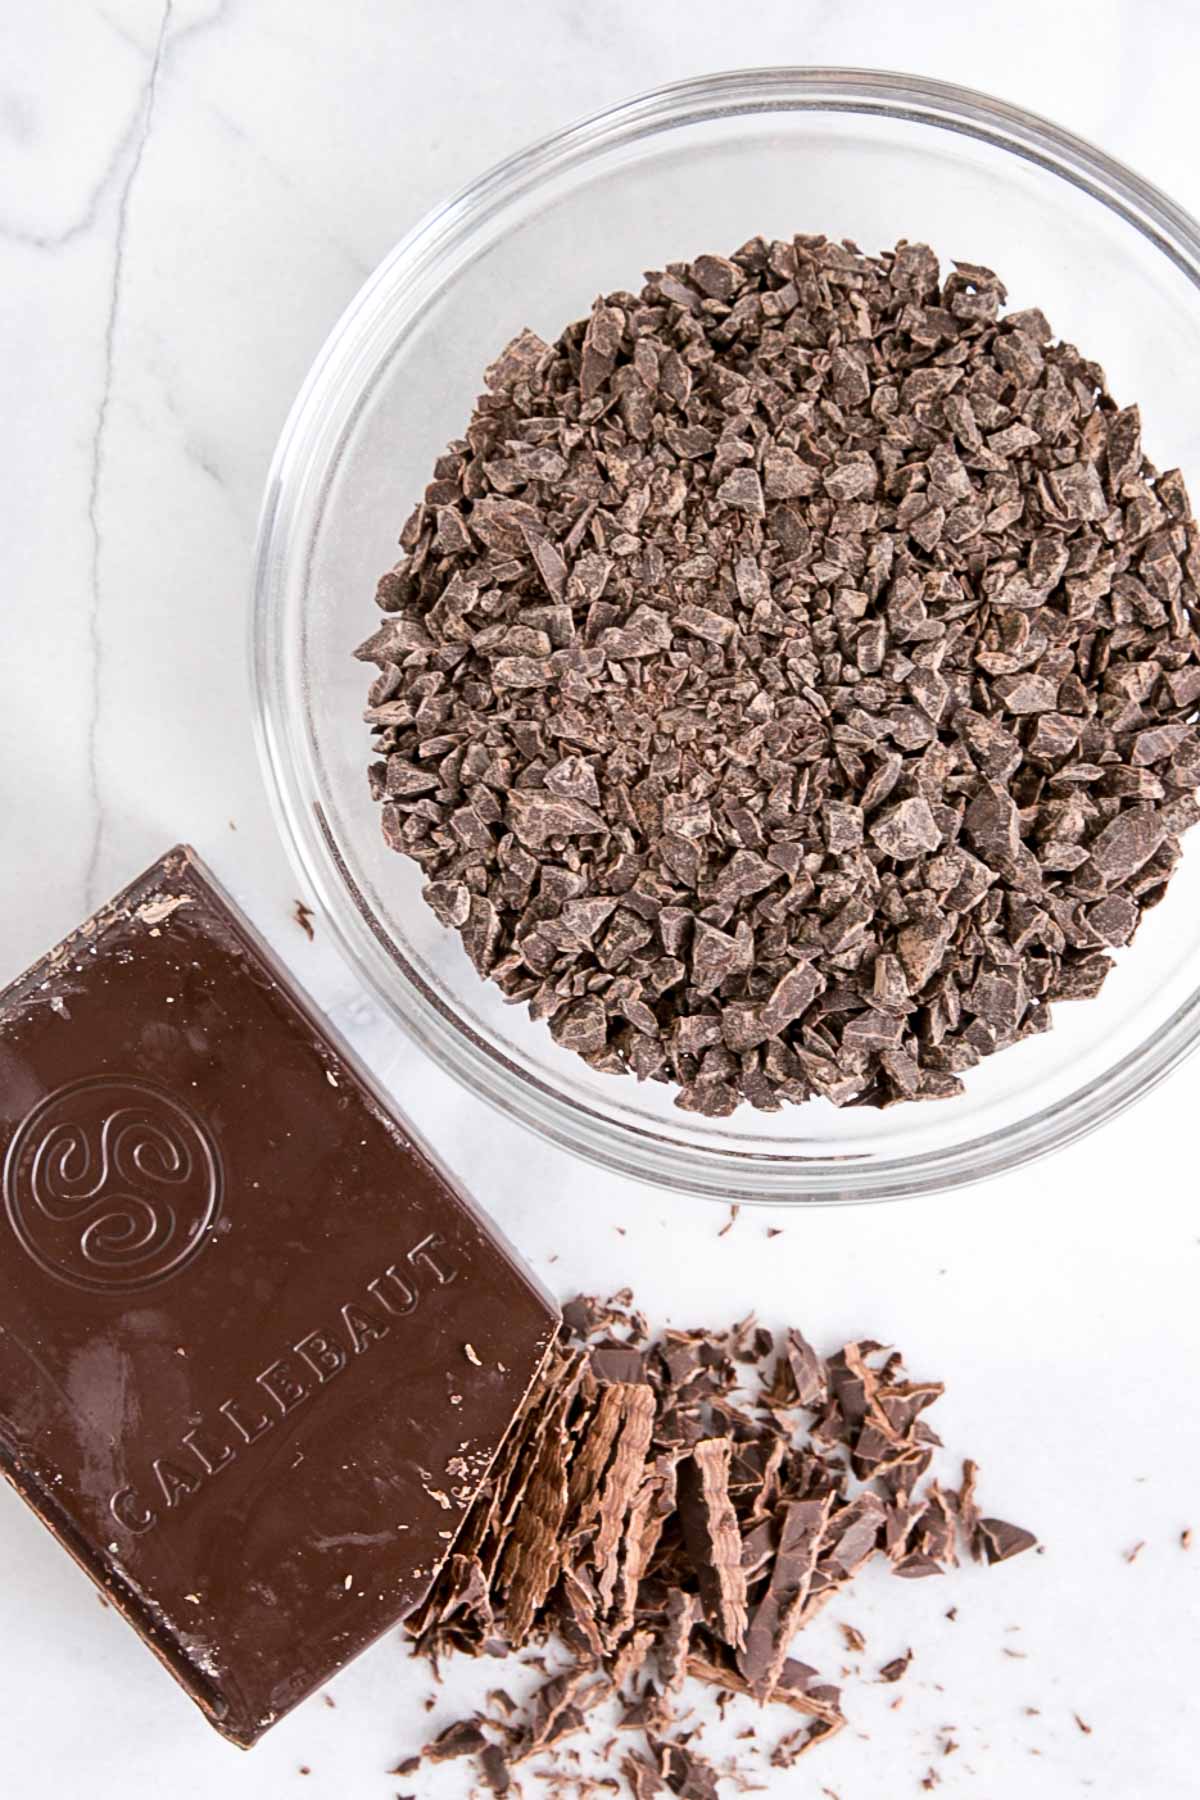
Step #1 – Chop your chocolate – Finely chop your chocolate and place it in a metal or glass bowl. You should actually chop it finer than in the picture below. Mine still had some larger chunks in it.
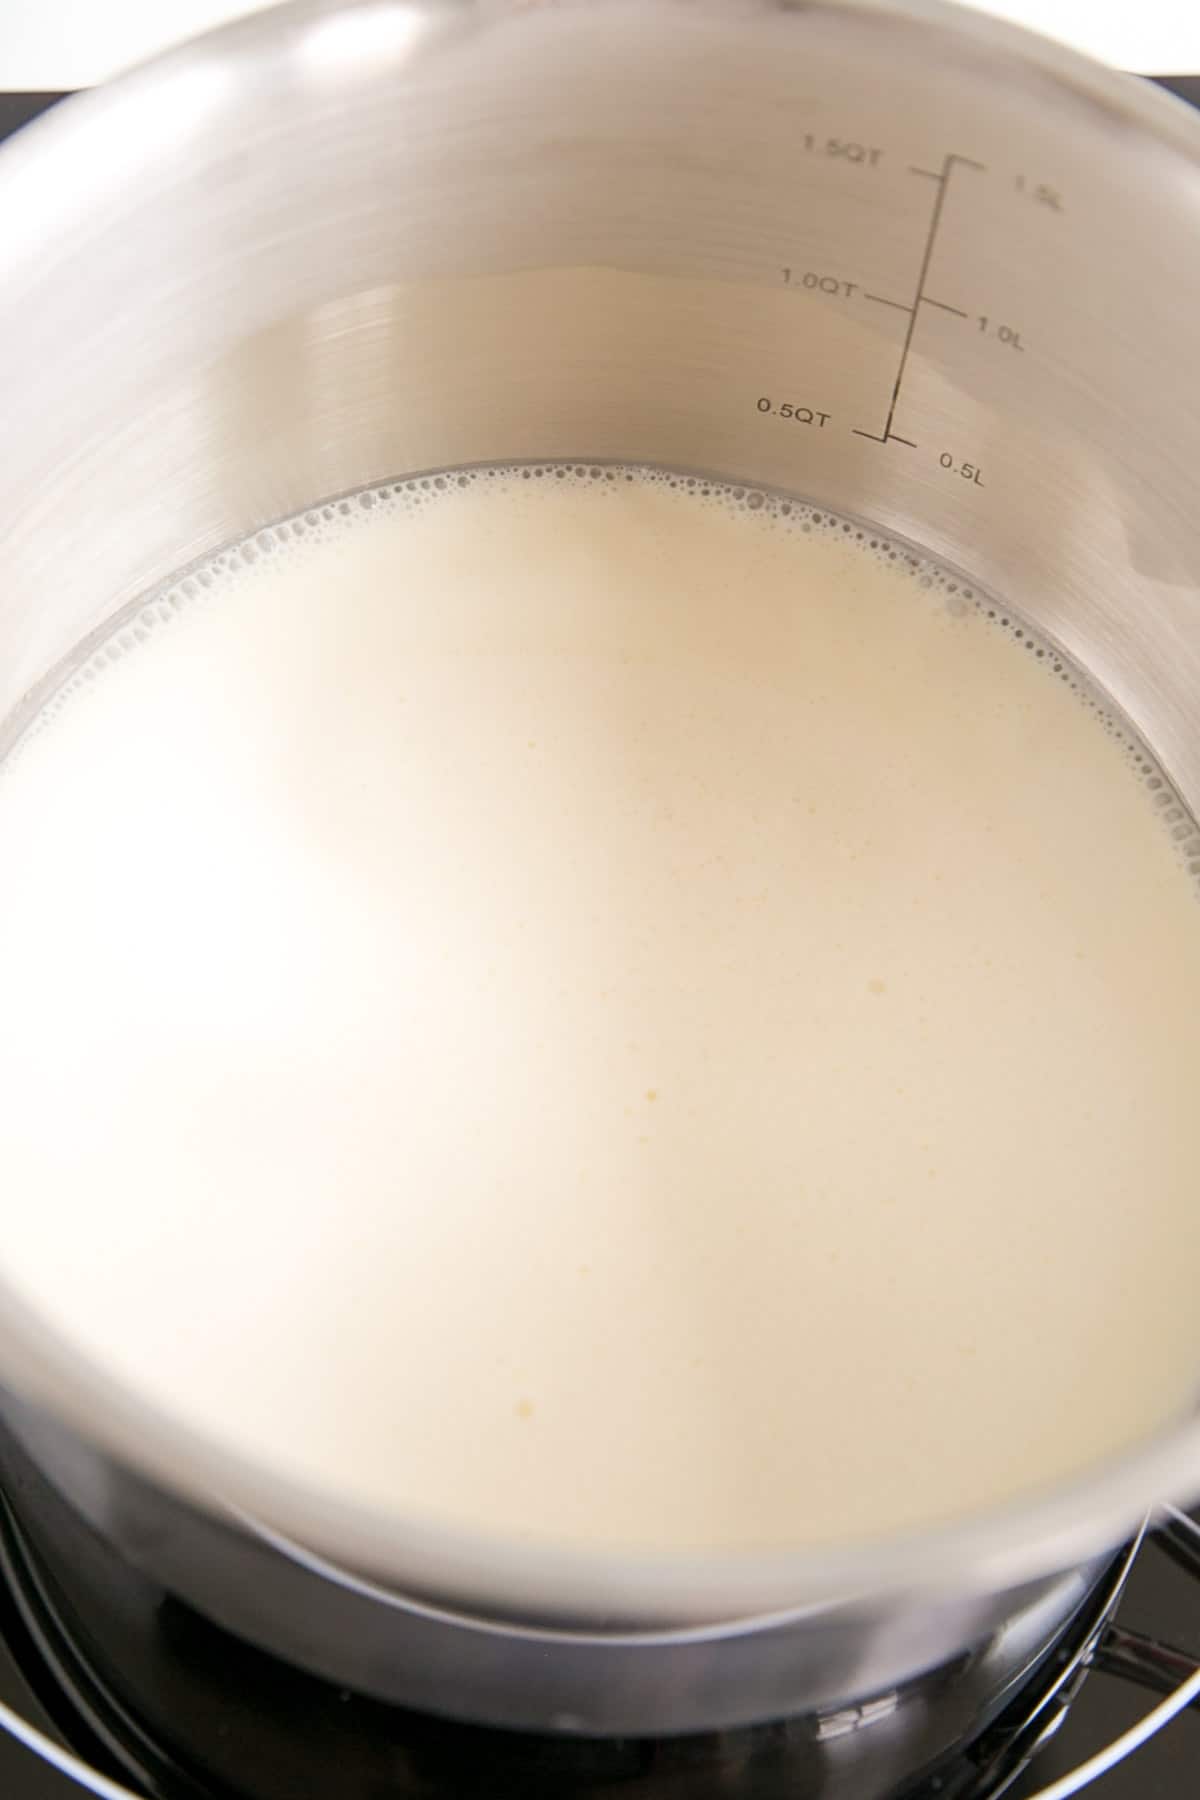
Step #2 – Heat your cream – Bring your cream just barely to a simmer. You don’t want it too hot and you do NOT want it to boil. You should just start to see bubbles or ripples around the edges of the pot. This process is called scalding.
Step #3 – Pour cream over chocolate – Pour your hot cream directly and evenly over your chopped chocolate.
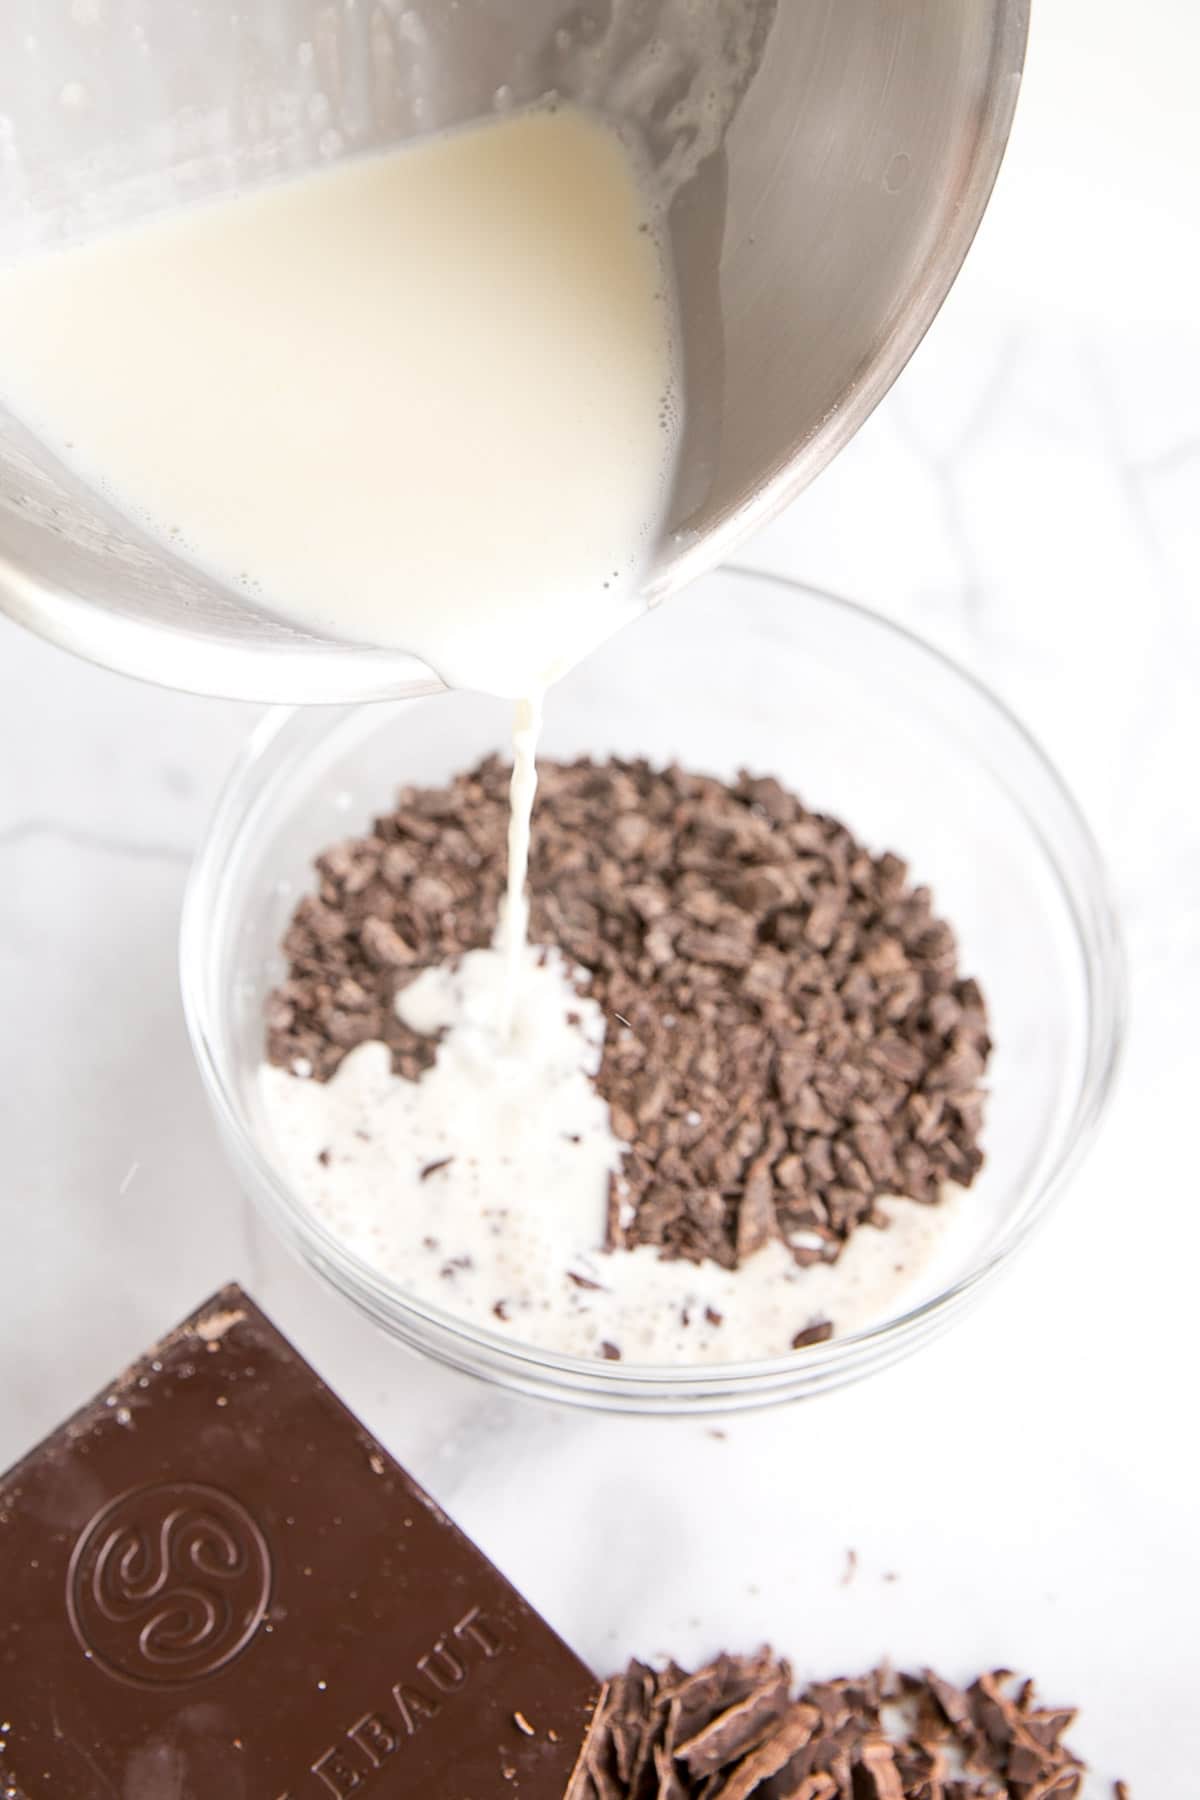
Step #4 – Cover & Rest – Cover the whole bowl with plastic wrap and let sit for 2 minutes. The plastic wrap helps trap the heat.
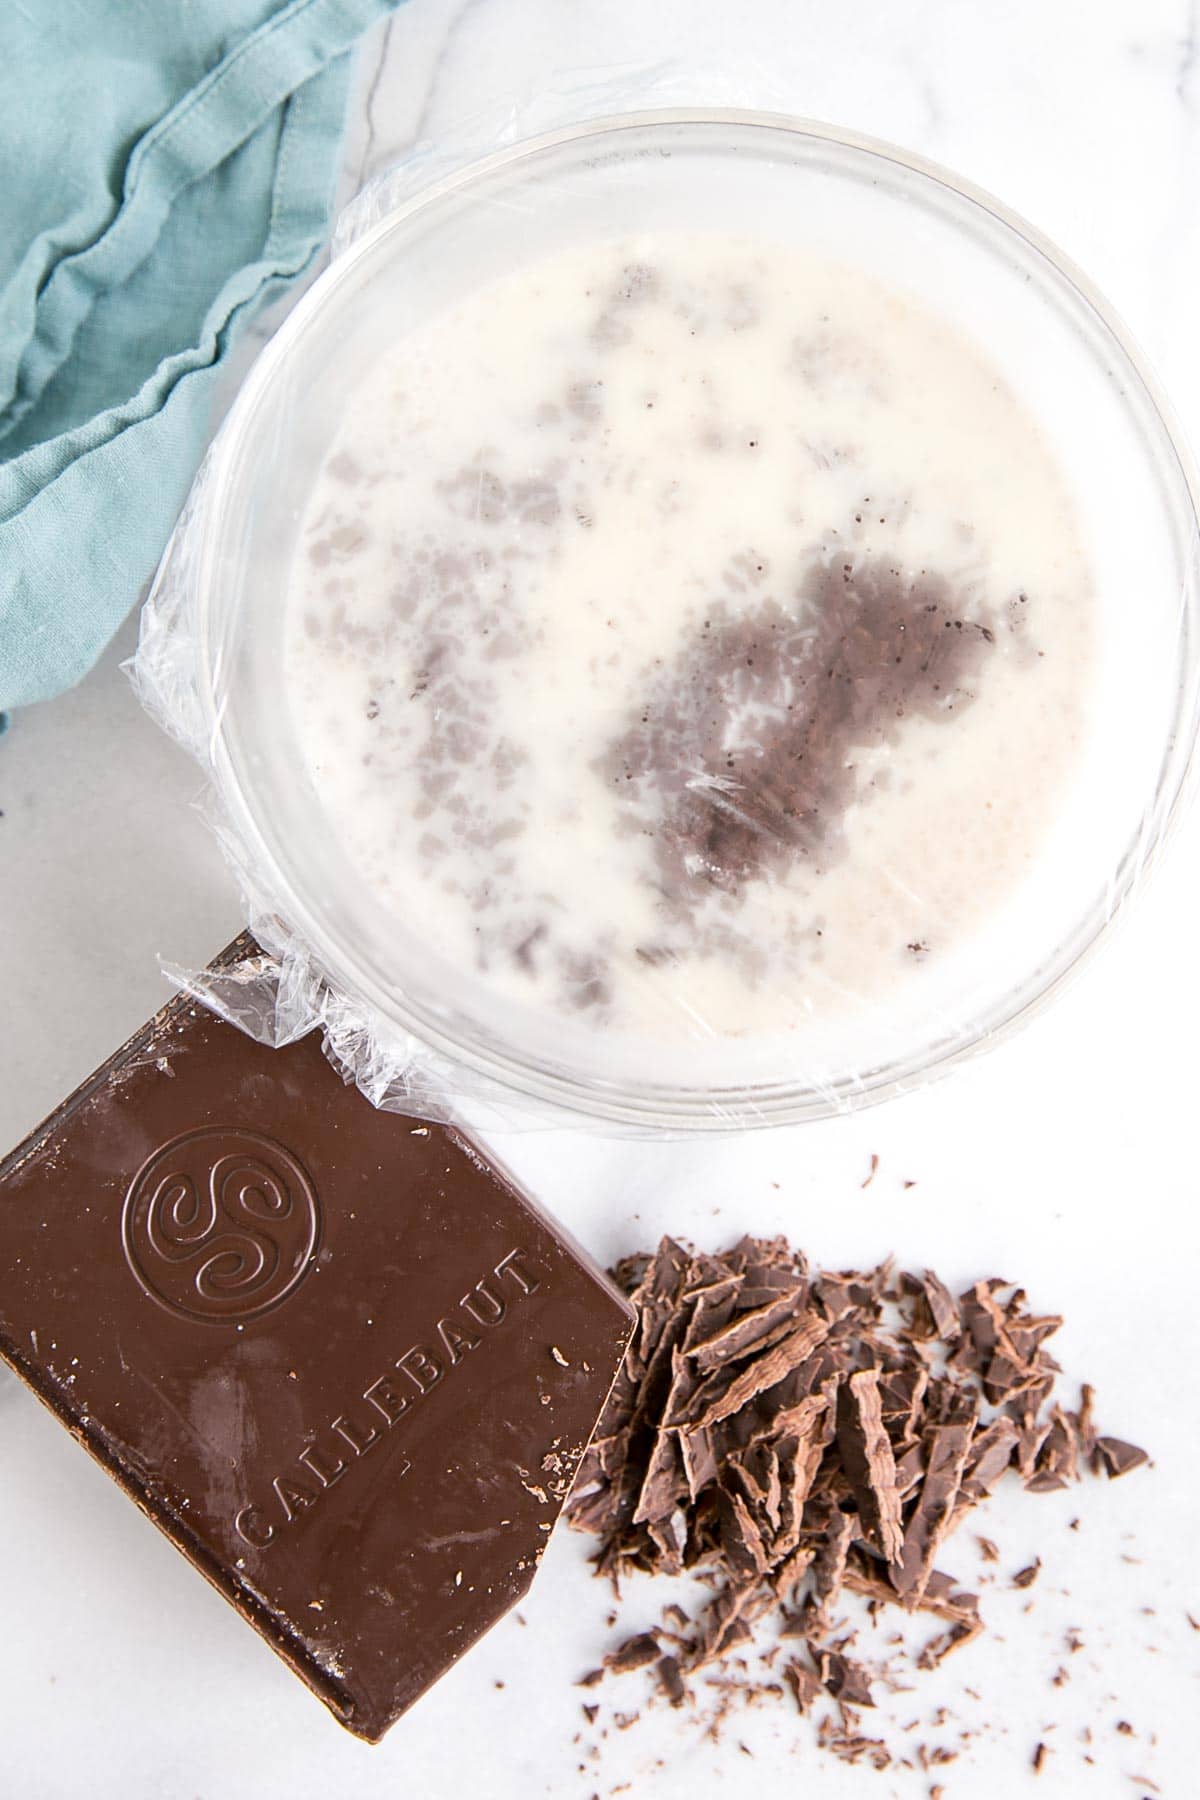
Step #5 – Stir to combine – Using a spatula, begin to stir the ganache from the center, slowly working your way outwards. Do not stir too quickly or vigorously.
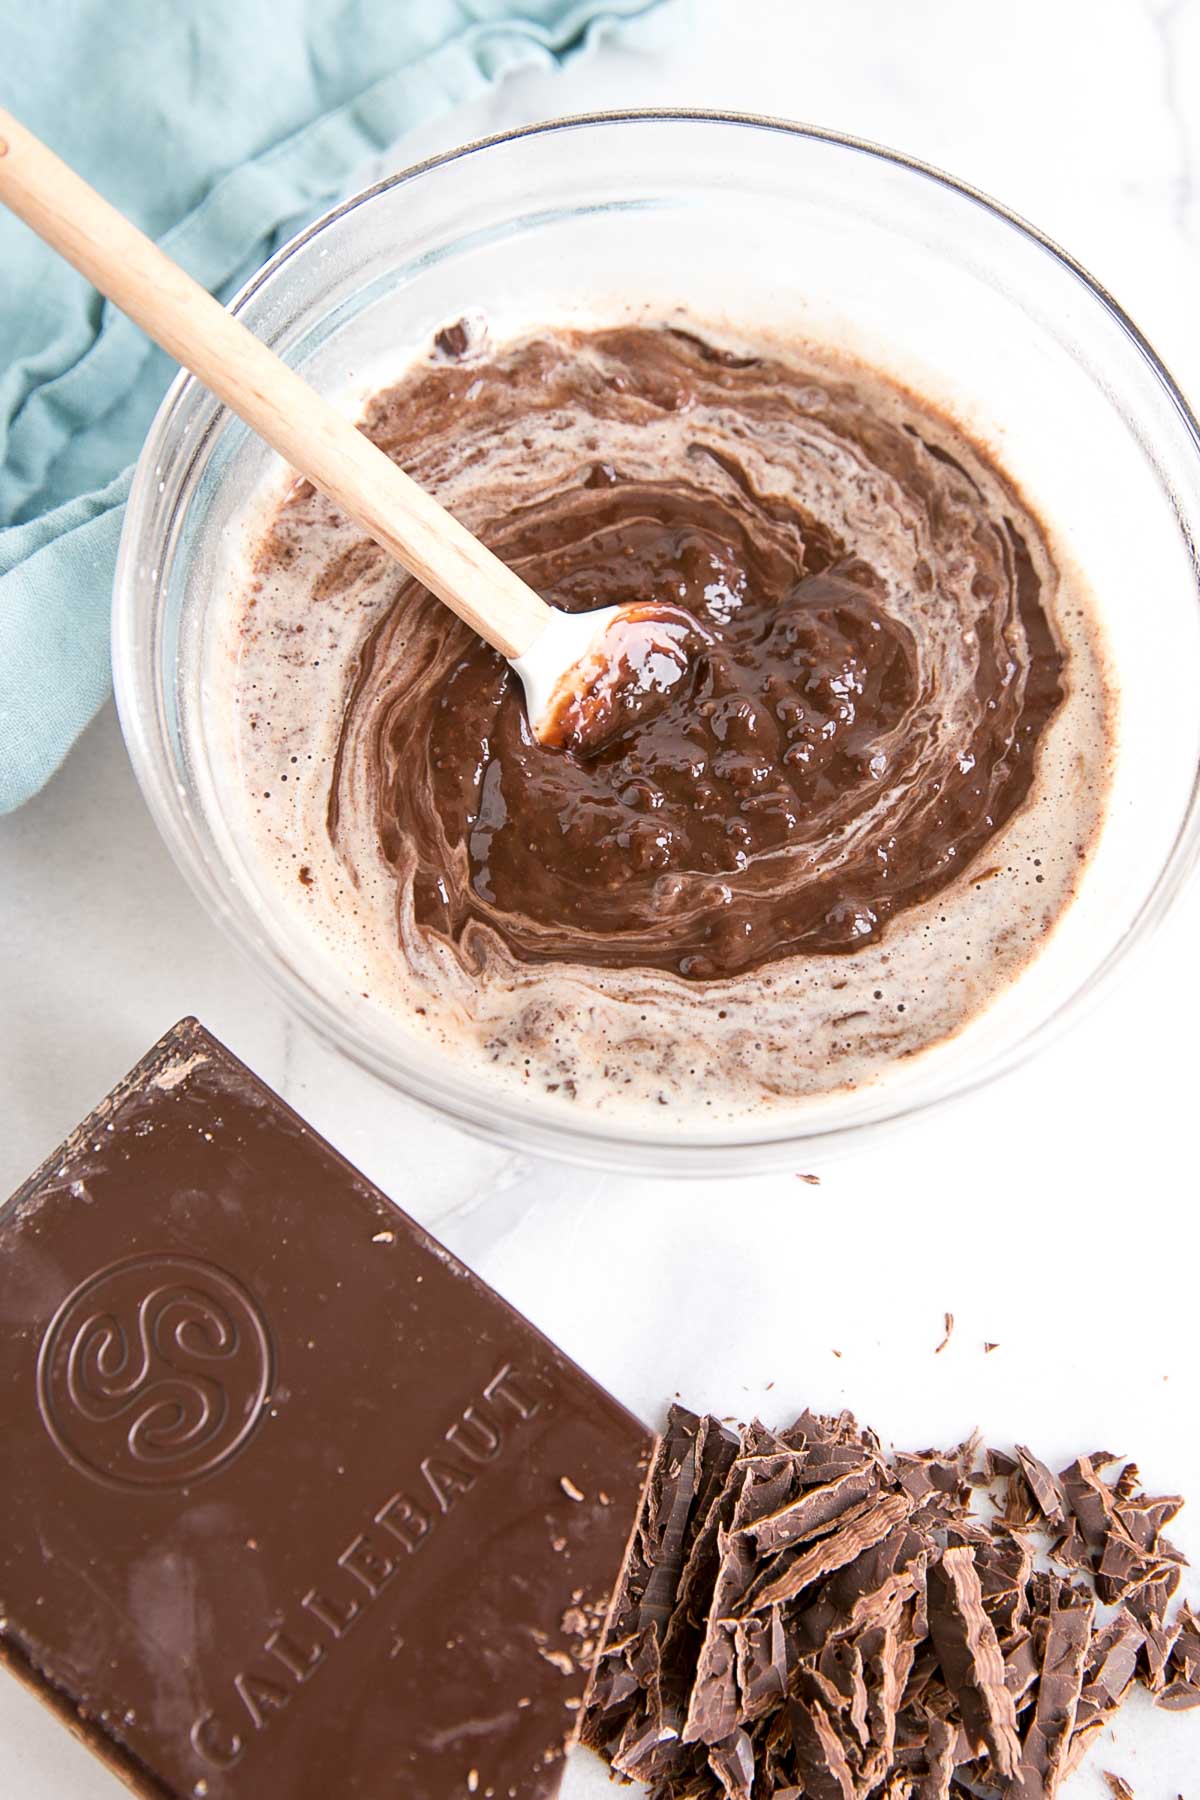
Take your time until everything is combined and completely smooth.
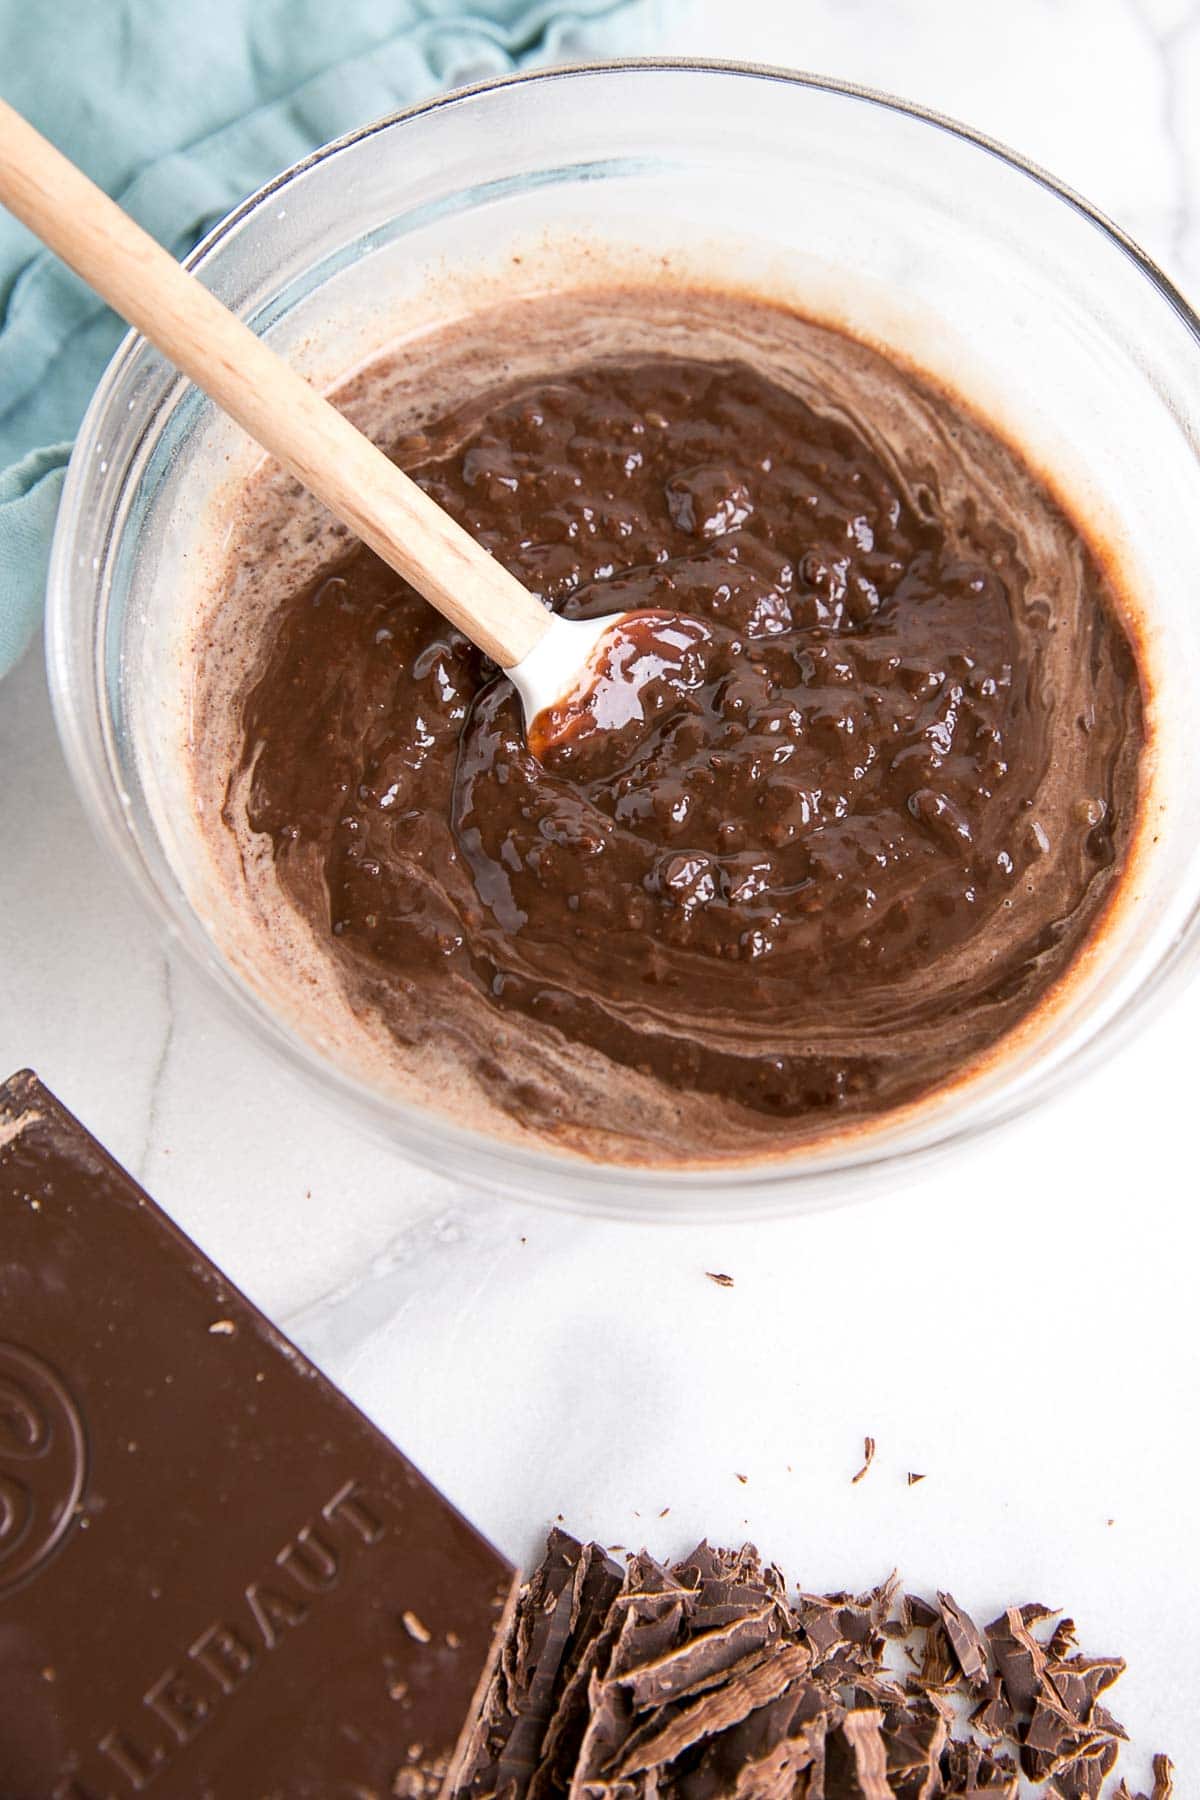
Keep stirring until it’s silky smooth.
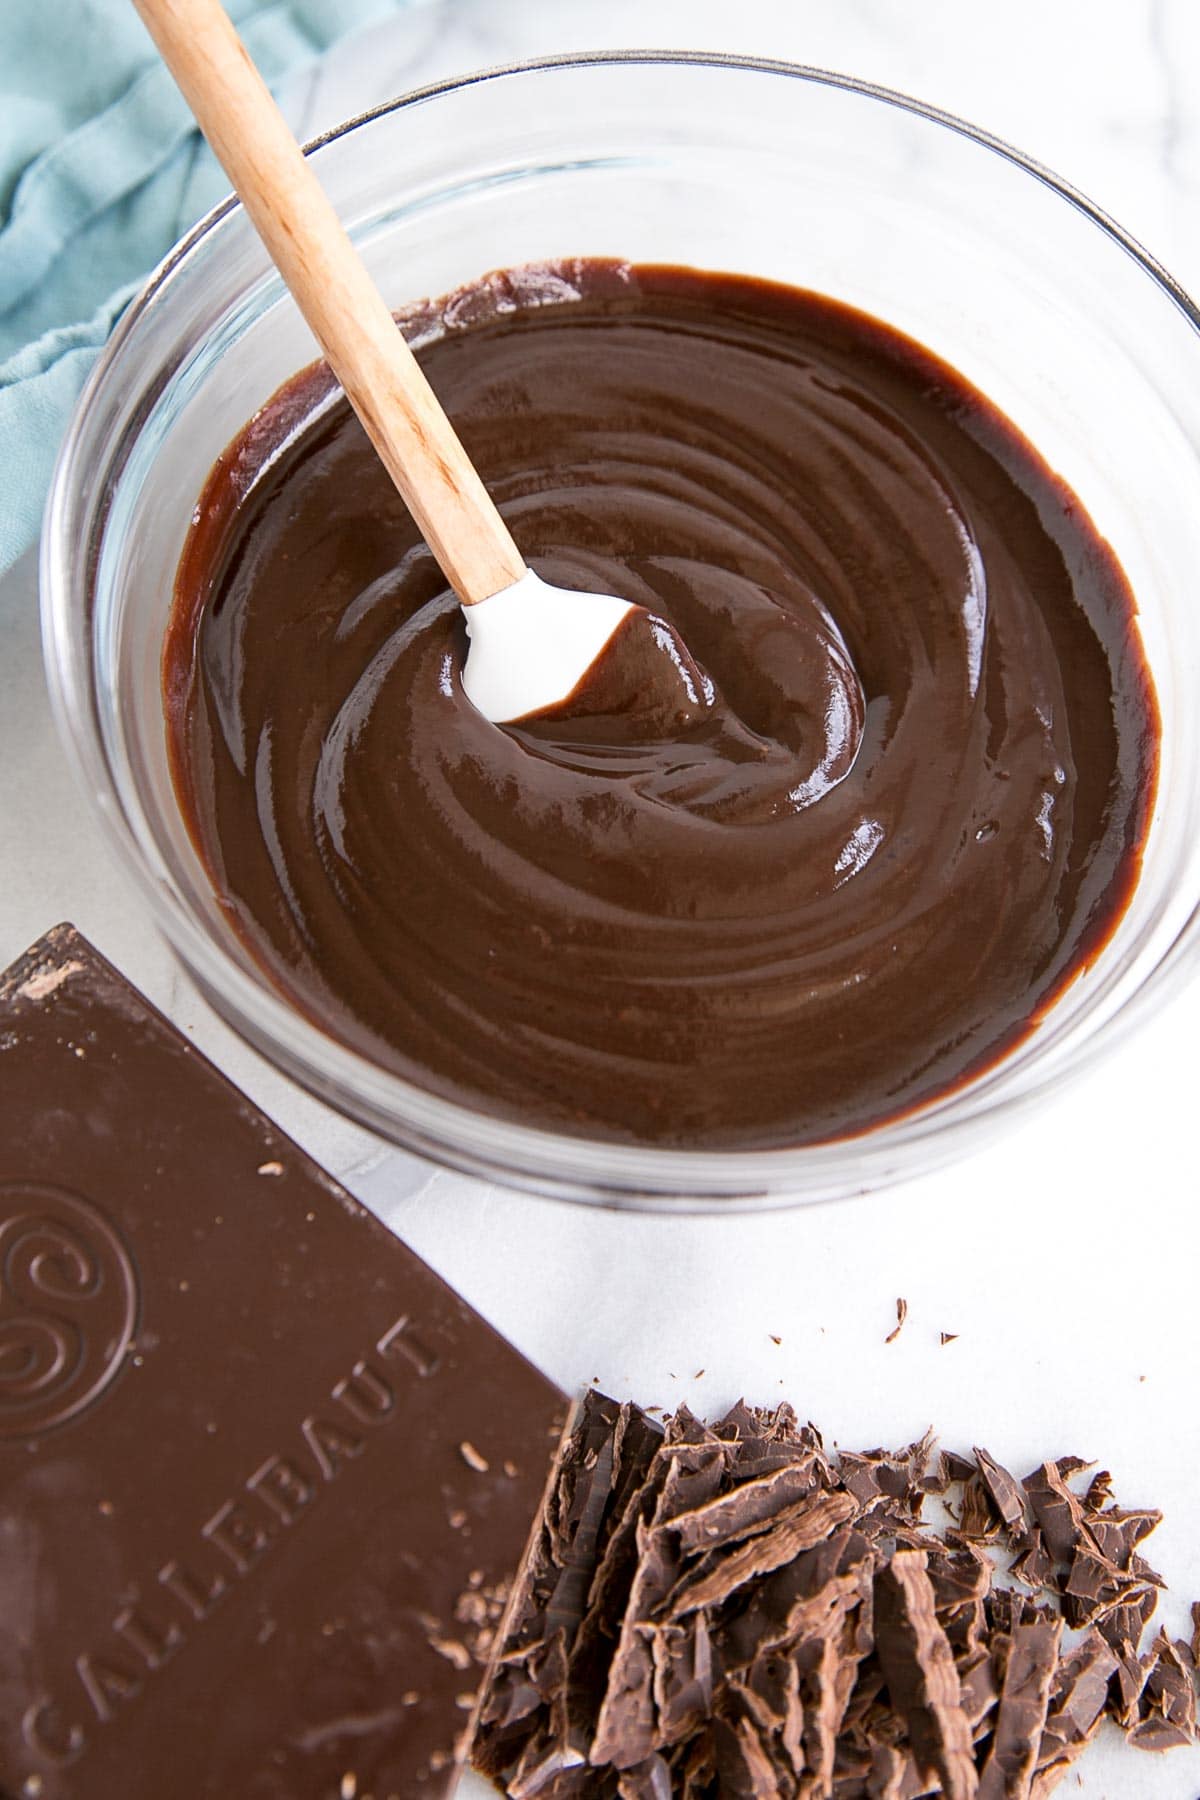
If at this point you find that you still have some larger chunks that haven’t dissolved, you can place the whole bowl over a pot with 1-2″ of simmering water and stir until completely smooth.
Step #6 – Cover and set – Place plastic wrap directly on the surface to prevent a skin from forming and let sit until cooled, thickened, and set.
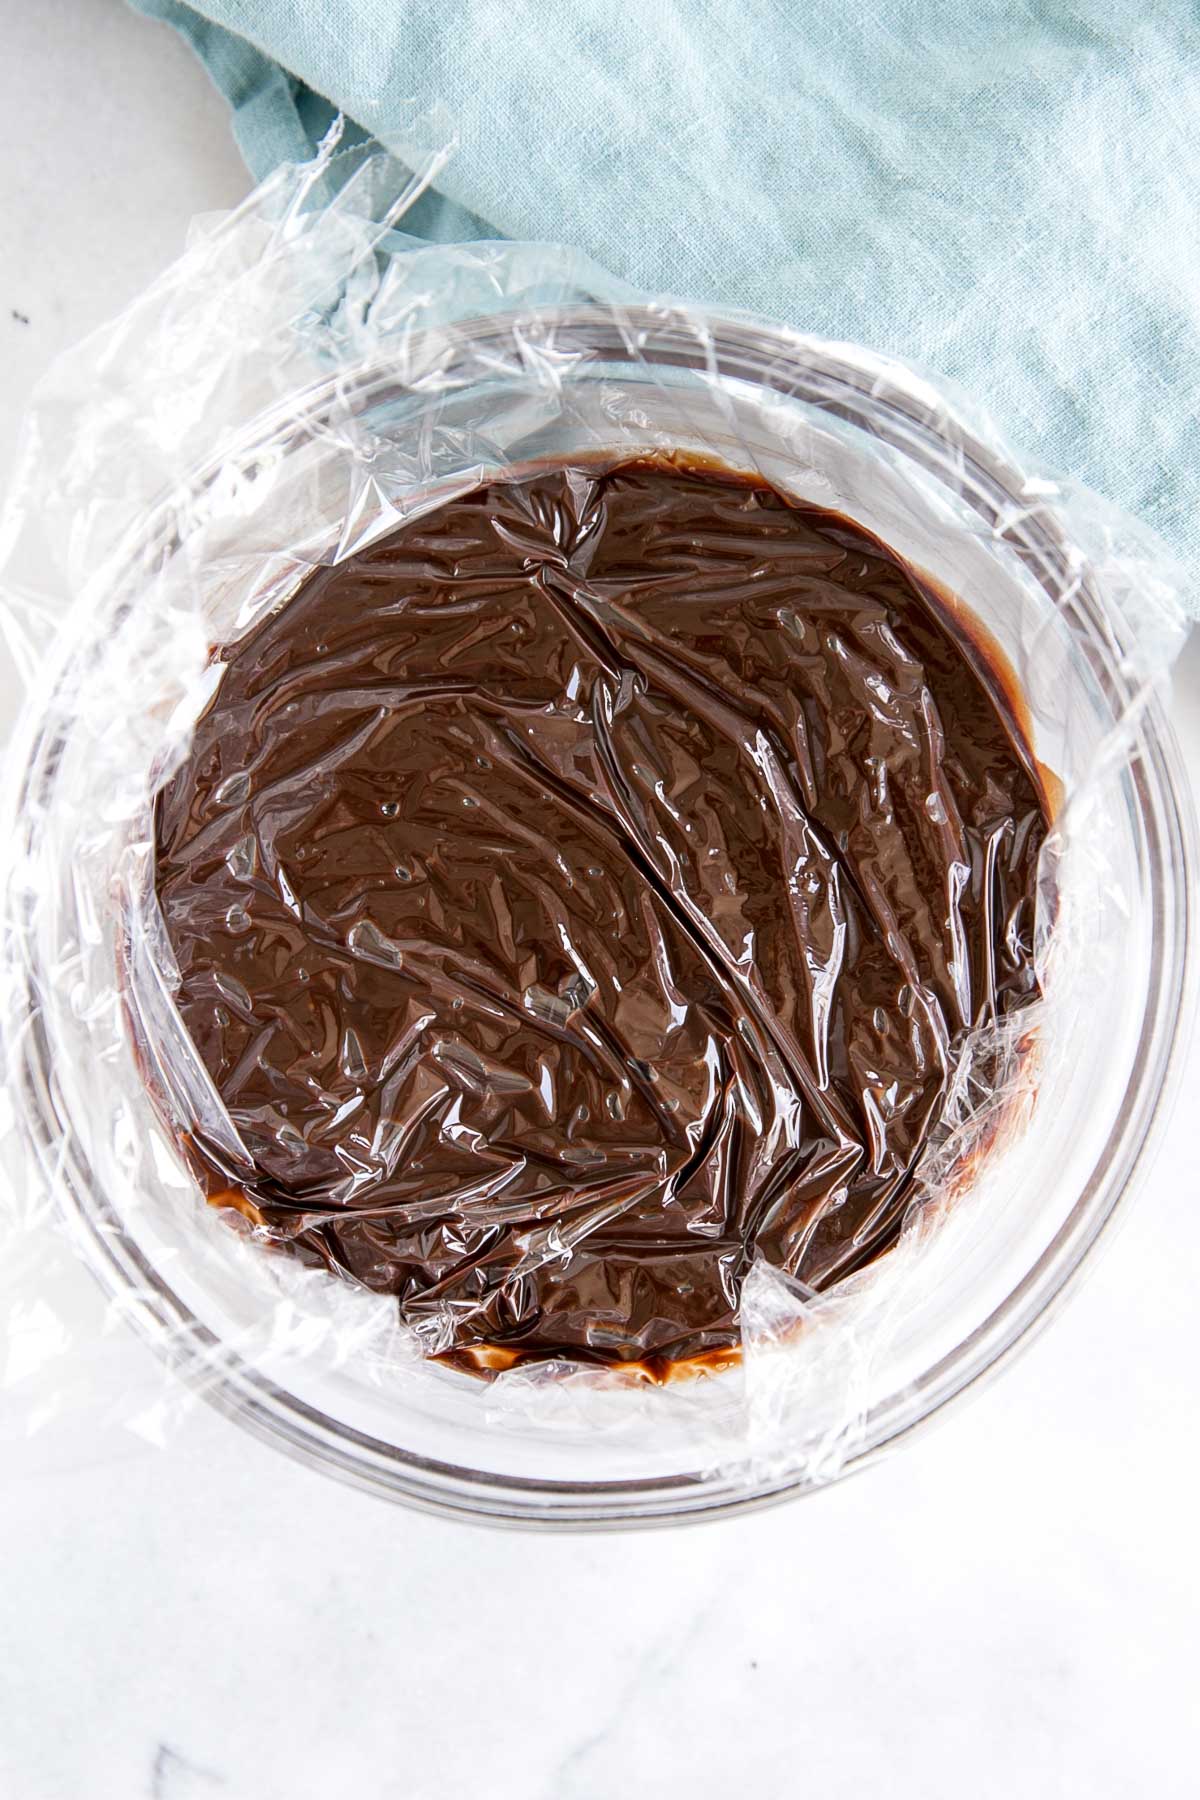
My ganache actually ended up splitting. Read on to find out why and how to fix it.
Microwave Ganache
The microwave method seems simple, but it can cause your chocolate to heat too much too quickly. For this method you heat your chopped chocolate and cream at the same time in a microwave-safe bowl.
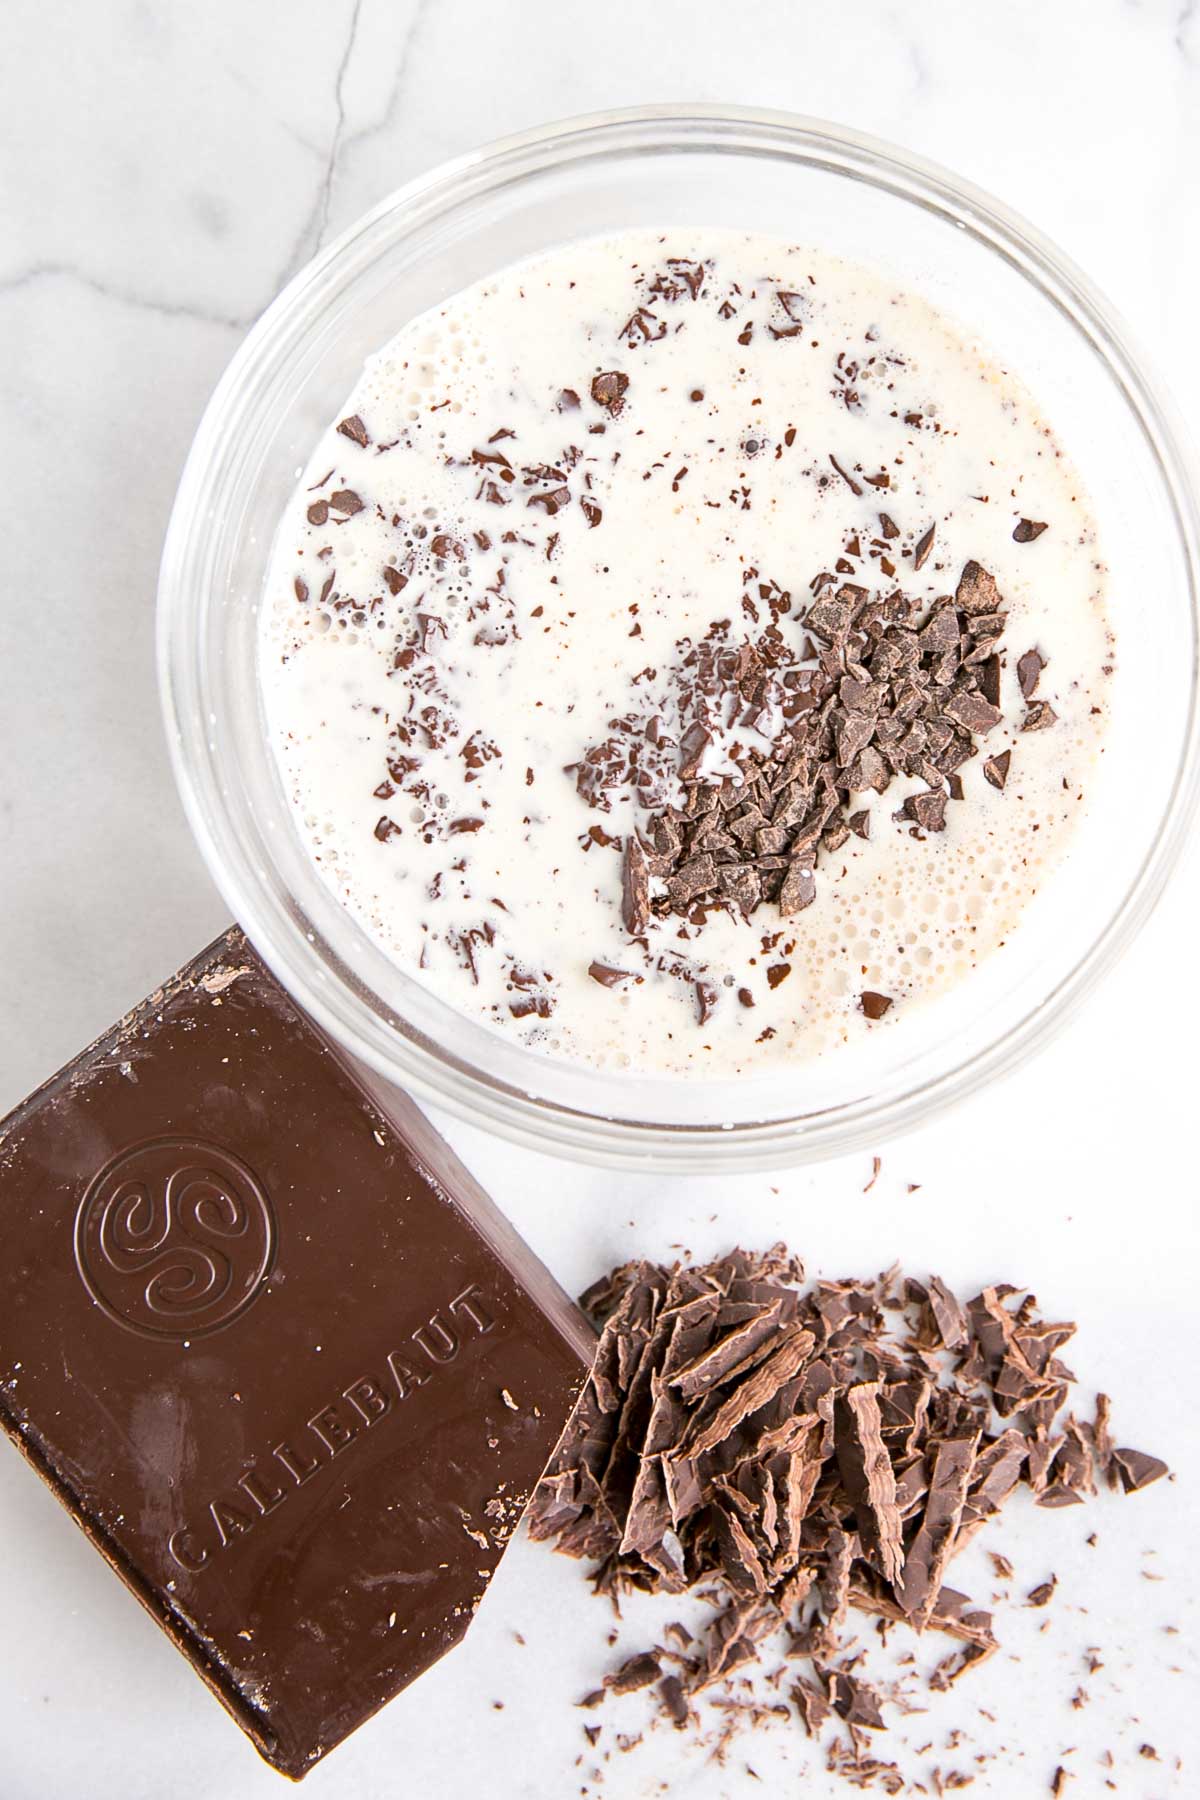
Steps for making ganache in the microwave:
- Place chopped chocolate and cream into a glass (not plastic) bowl
- Heat for 20 seconds, then stir
- Heat in 10 second increments, stirring in between, until the ganache is completely smooth
I don’t use this method often, because I find that it requires more “hands-on” time than the hot cream method. It’s also easy to accidentally overdo it and overheat your chocolate and cream, which can cause it to seize or split.
How to Fix Split Ganache
Ganache is an emulsion and it’s very easy to cause that emulsion to break, resulting in a grainy and/or oily ganache.
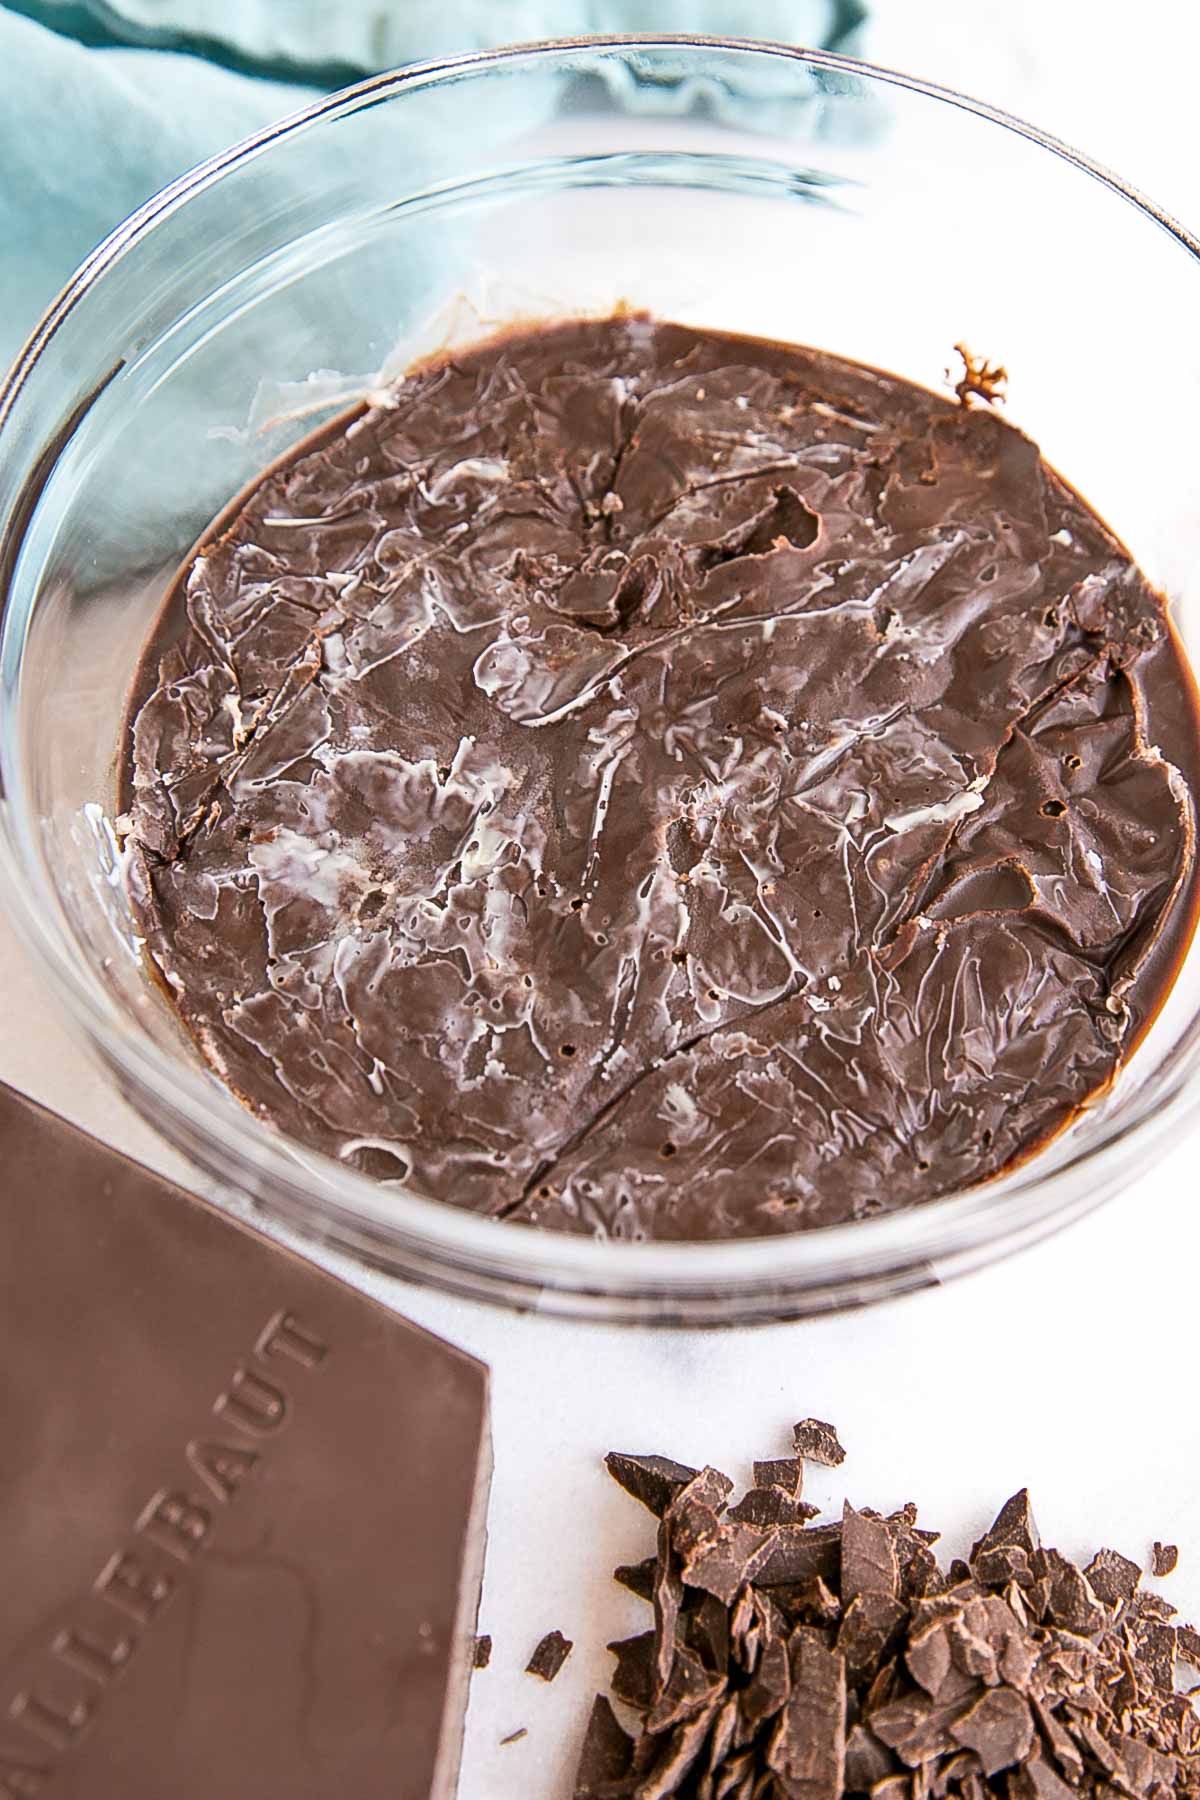
Why Ganache Splits:
- Your cream was too hot
- You started stirring before the chocolate had enough time to melt
- You stirred too vigorously
- You kept stirring it once it was smooth and emulsified
- There was too much fat in it (butter usually causes this)
How to fix Split Ganache:
- Warm the ganache over a pot with 1-2″ of simmering water and whisk vigorously until smooth.
- If your ganache hasn’t set yet and is still warm, add a couple of teaspoons of warm milk to it while whisking quickly. Note that this will thin your ganache out though, depending on how much milk you end up using.
- Use an immersion blender with either of the two methods above to help ensure emulsification.
I’ll be honest here, I’m an expert at breaking ganache, but not an expert at fixing it. I’ve only had partial success.
Mine actually split so bad there were actually chunks (of what I assume is cocoa butter) in it this time. This is not unmelted chocolate, the ganache was completely smooth before it set.
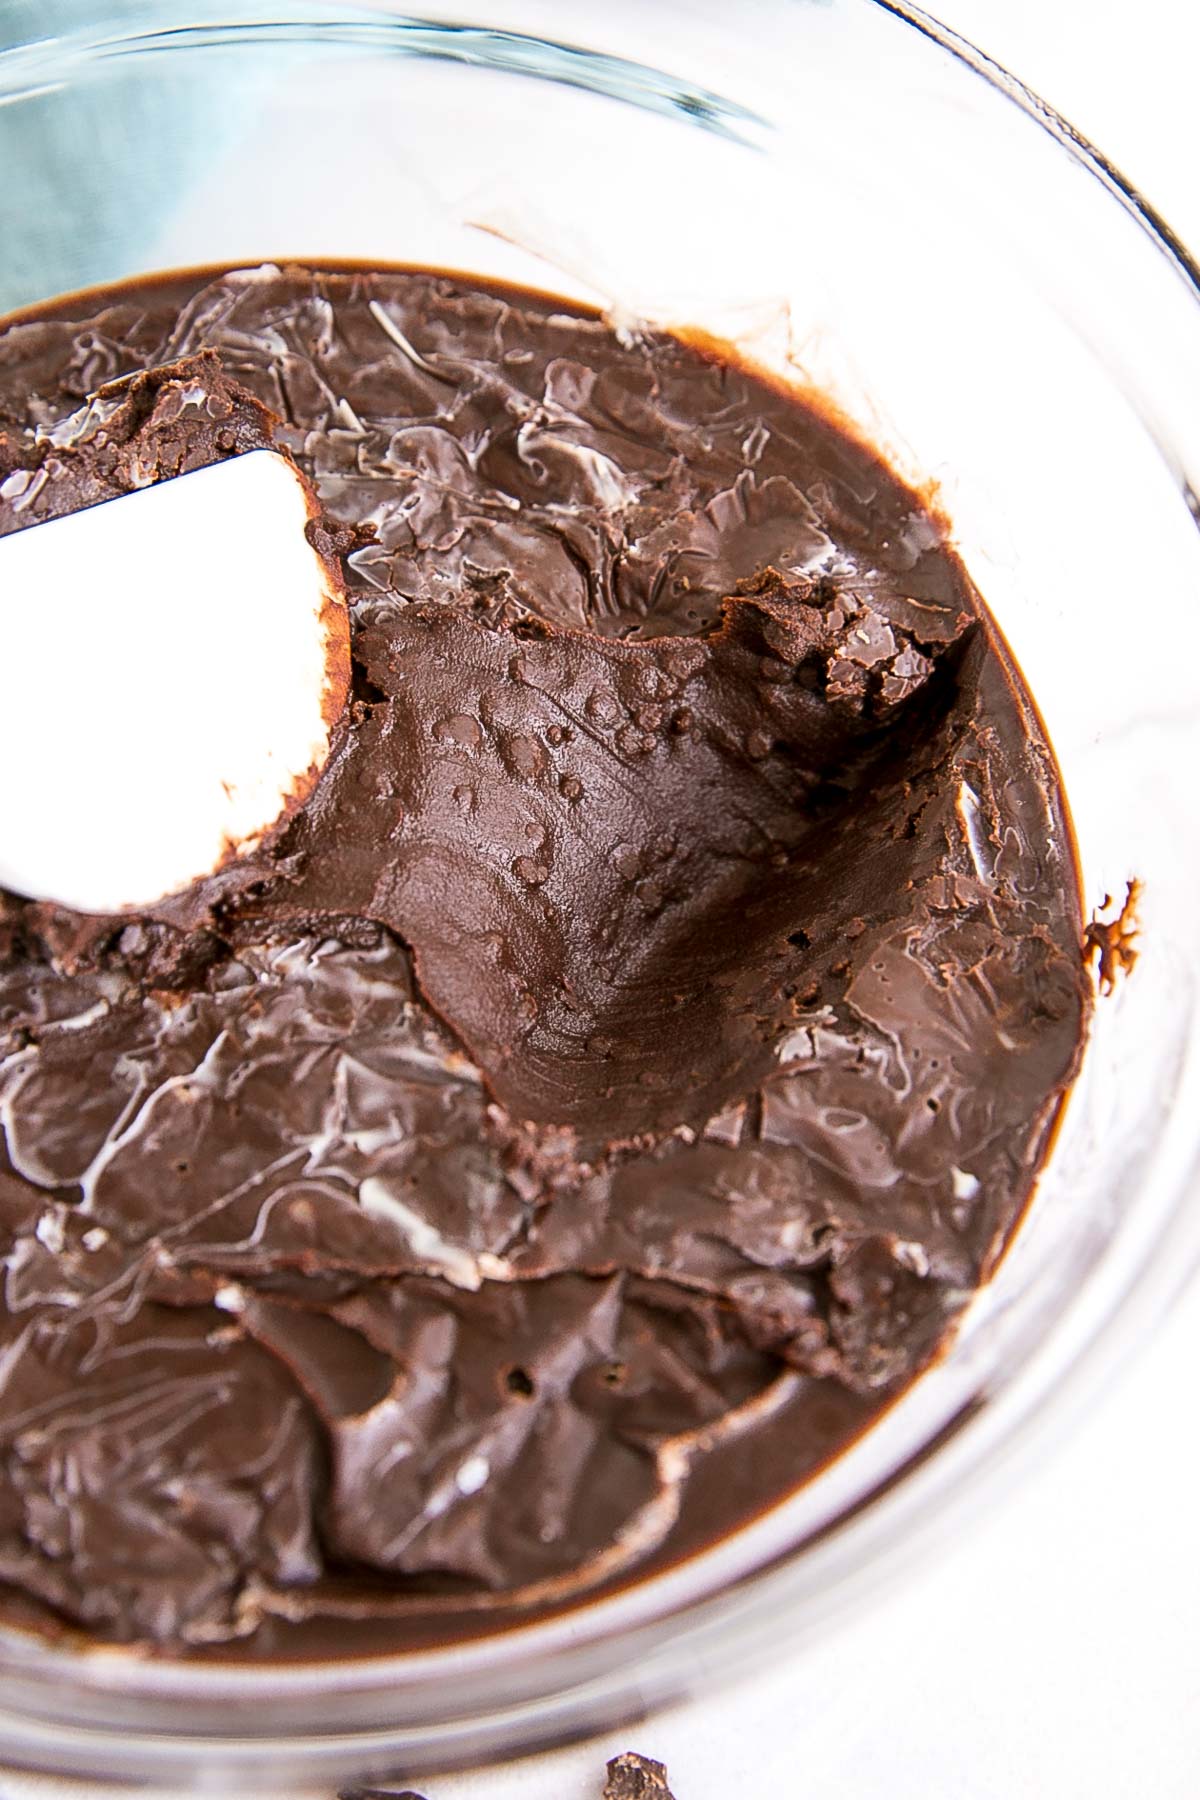
I warmed the whole thing over a pot of simmering water to smooth it out again.
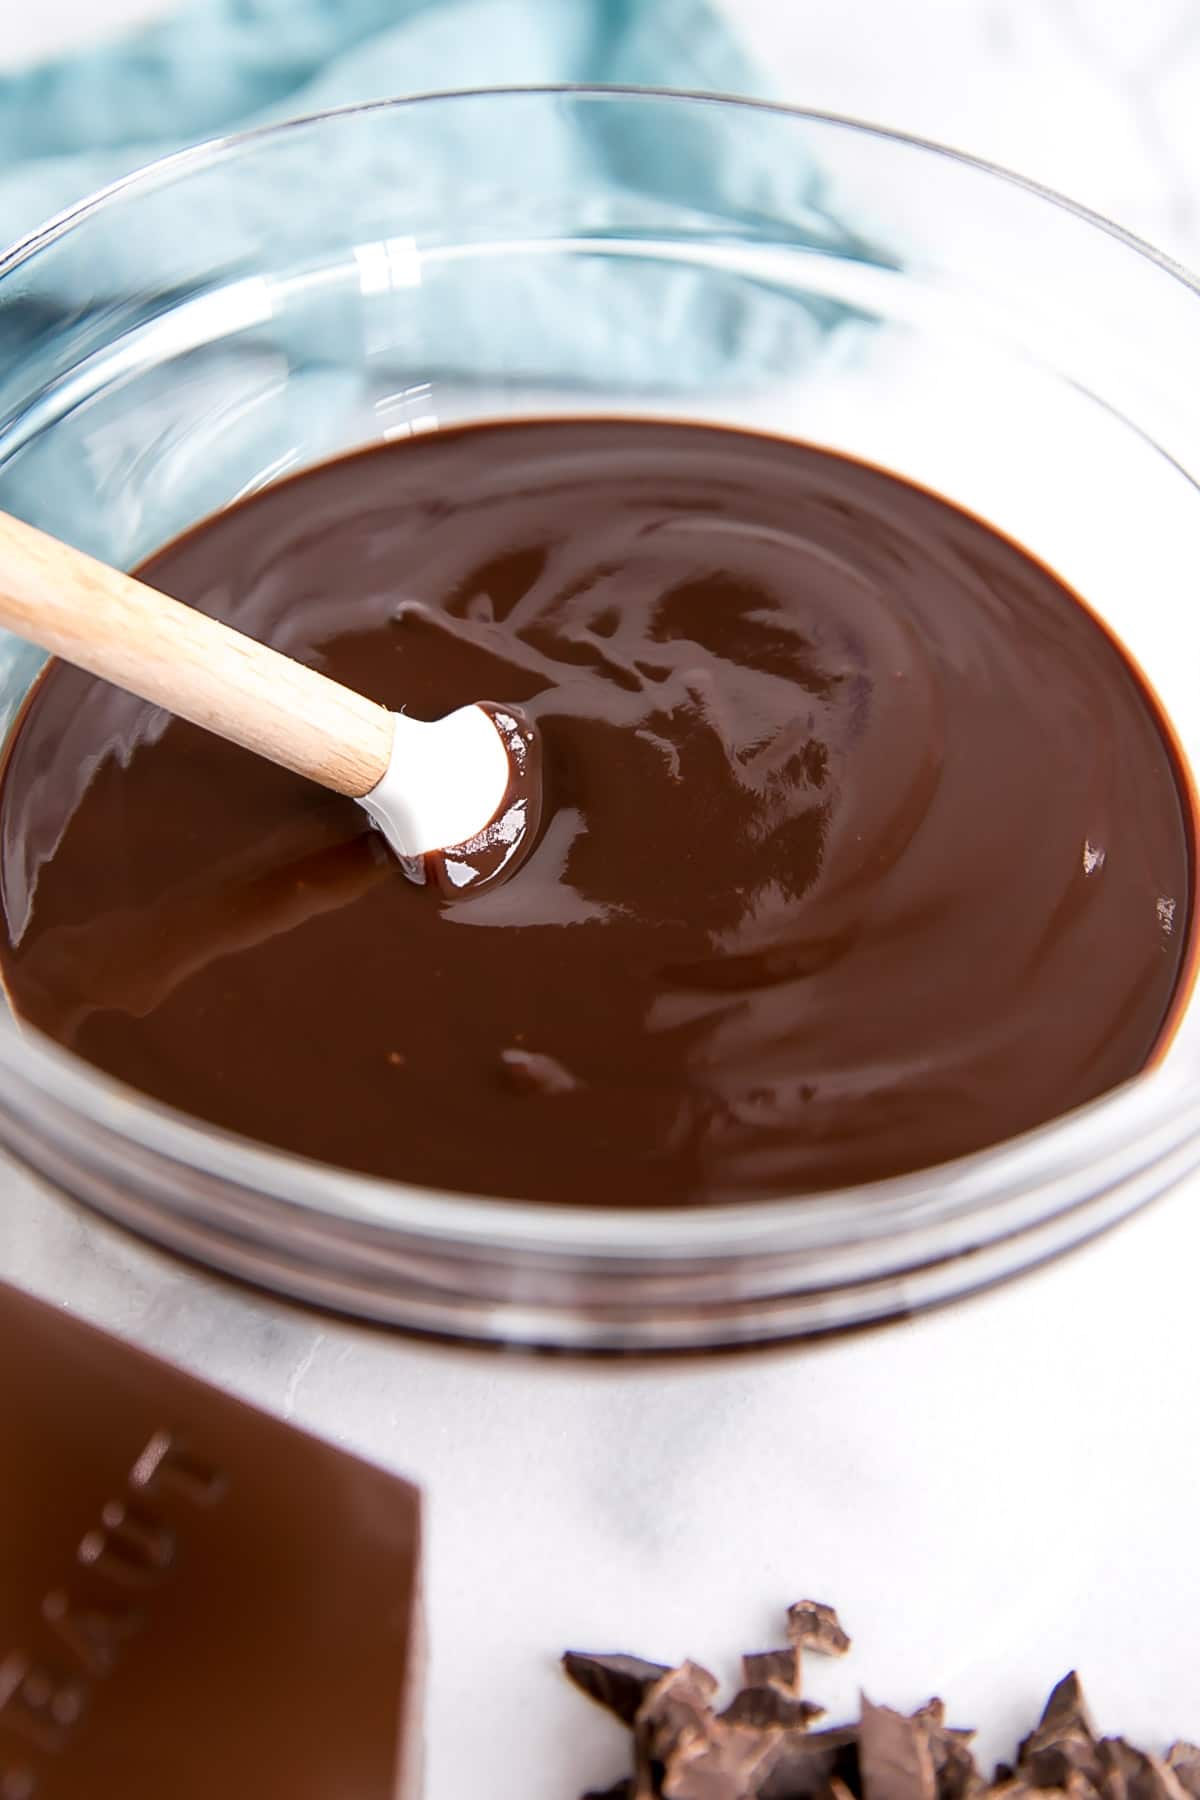
There are a number of reasons mine could have split this time…
It’s likely the cream was too hot, since it did boil as I was taking pics. I let it sit and cool for a bit before pouring it over the chopped chocolate, but maybe it didn’t cool enough.
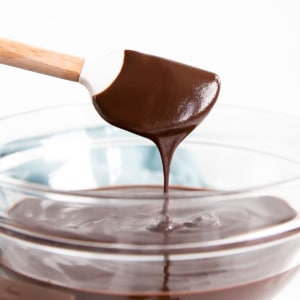
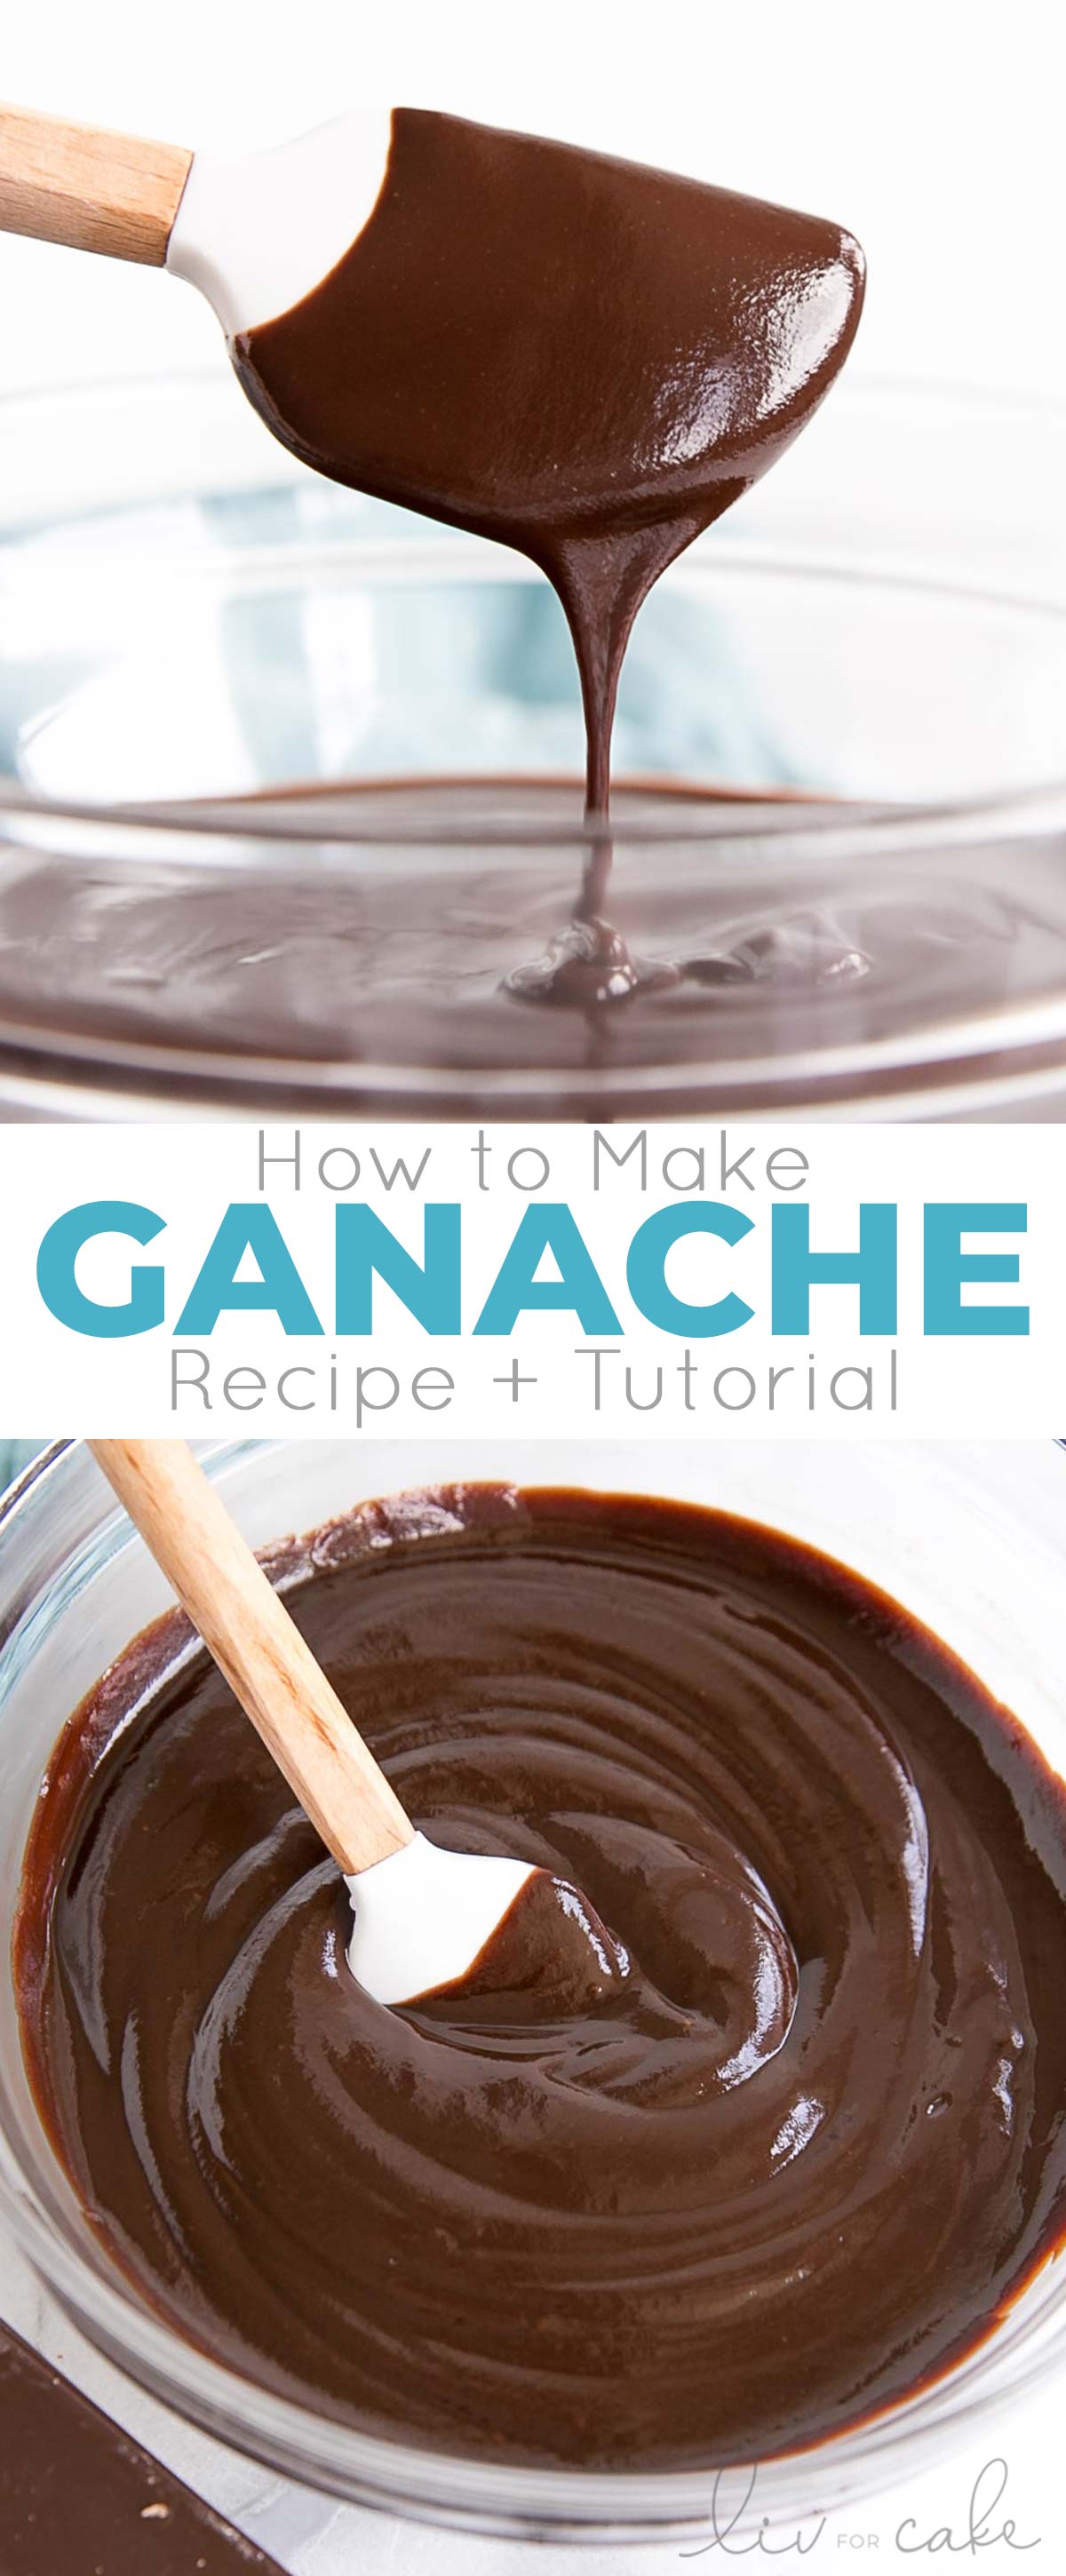
I kept stirring it once it was smooth and set because I was trying to take pics of it drizzling off the spatula. The extra agitation while it was cooling could have caused it to split.
I also should have chopped the chocolate more so it was smaller chunks.
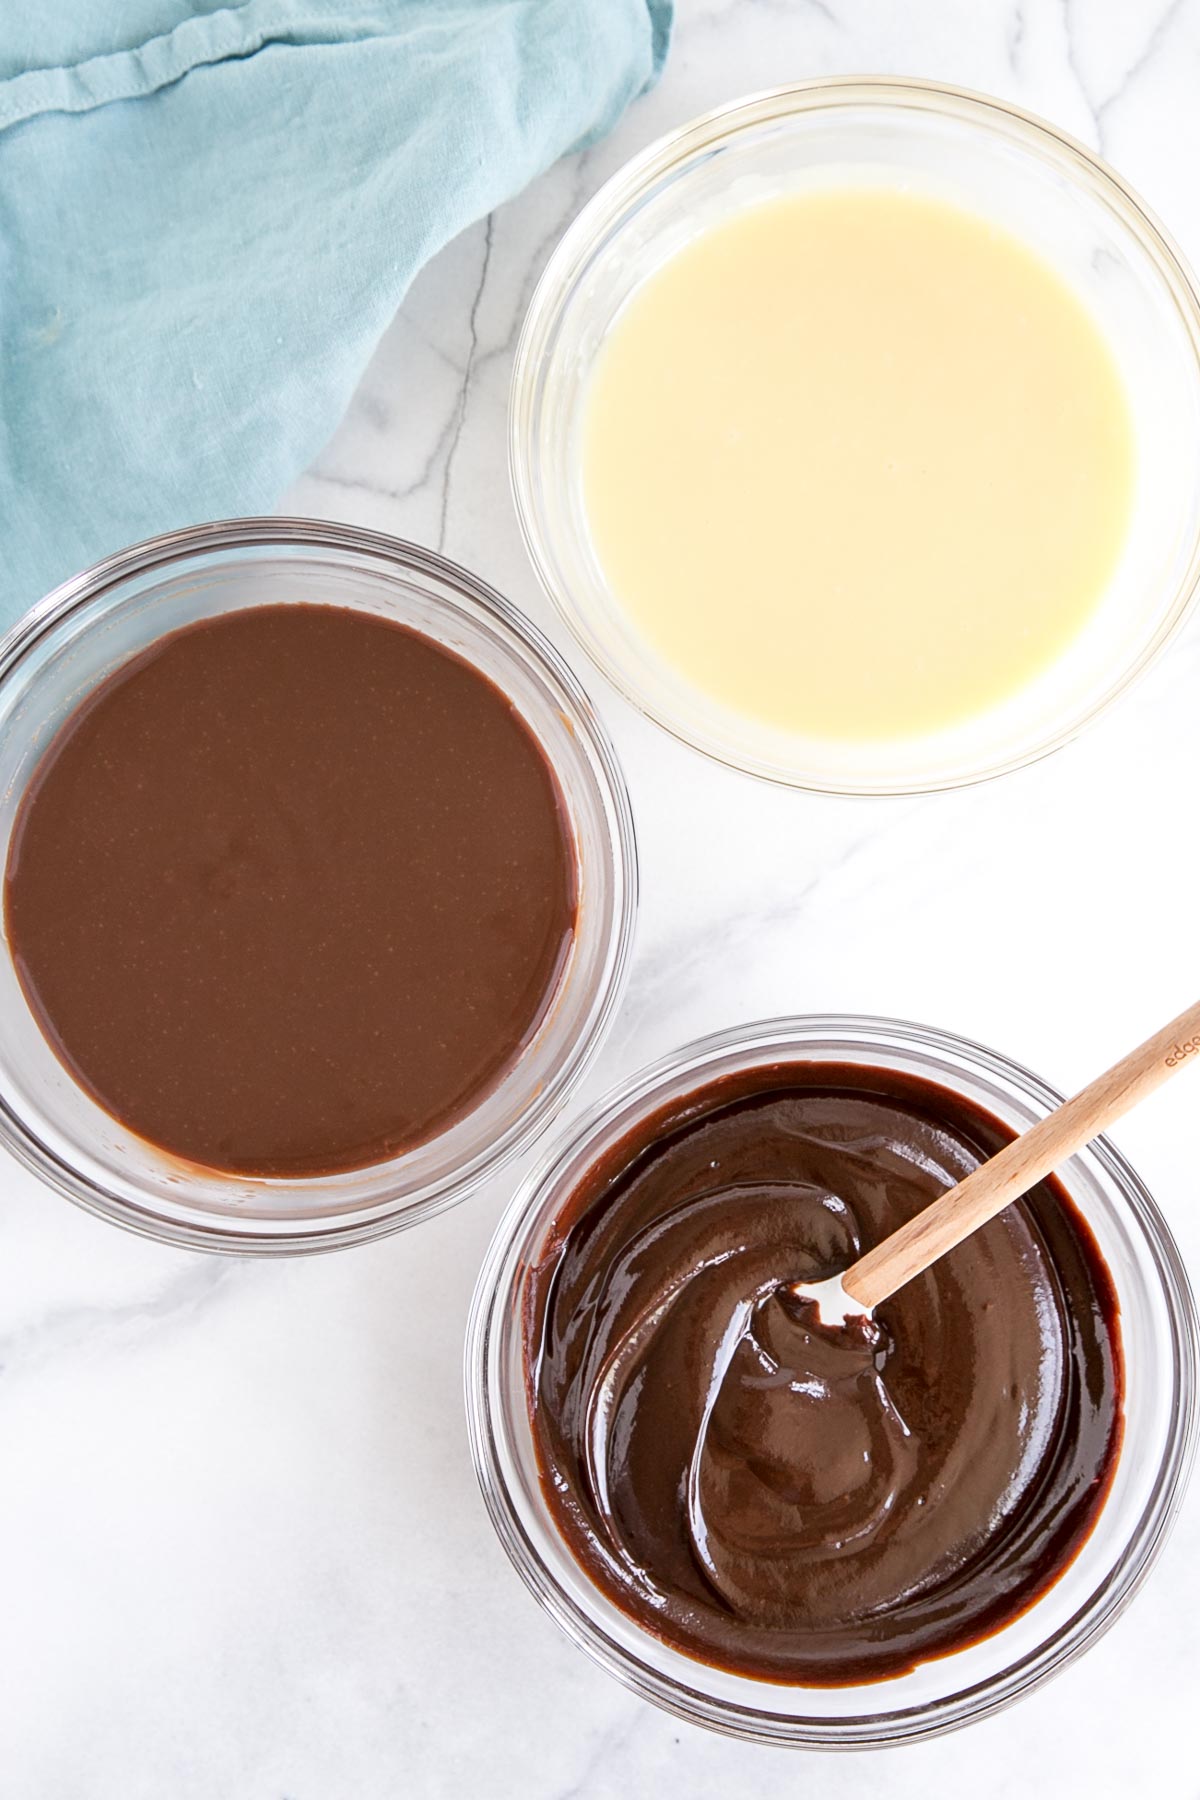
The milk and white chocolate turned out completely fine, but I made those at a separate time (when I was not distracted by photos), covered them, and left them alone.
Do’s and Don’ts to Making Ganache
- Do use high quality (couverture) chocolate. This will make a huge difference in the taste and texture, and help ensure your ganache cooperates and doesn’t split.
- Do chop the chocolate as fine as possible. Larger chunks will take longer to melt into the cream and might not melt and emulsify fully, causing the ganache to split.
- Do use a glass or metal bowl. Plastic bowls can affect the texture and appearance.
- Use a glass bowl if making it in the microwave.
- Use a metal bowl if you’re doing the hot cream method — if you have some undissolved chunks you can place the bowl over a pot with 1-2″ of simmering water to help heat the ganache and melt the chocolate. You can do this with a glass bowl too, but it doesn’t conduct heat as well as metal.
- Do use cream with a high fat content. Heavy whipping cream (or double cream) for best results.
- Do use an immersion blender. To help the mixture emulsify.
- Don’t boil the cream. If it boils, let it stand for a few minutes to cool down a bit. If the cream is too hot it will cause the cocoa butter to separate from the chocolate and result in a split ganache.
- Don’t let your chocolate get too hot. Especially when using the microwave method.
- Don’t use a whisk to stir. A whisk can incorporate too much air, resulting in bubbles.
- Don’t stir too vigorously. Stir gently from the center working your way out until the ganache is shiny and smooth.
- Don’t stir or agitate the ganache when it’s cooling/setting. This can also cause it to split.
- Don’t refrigerate the ganache before you need to use it. This will cause it to set too firm and you’ll need to heat it up again.
Frequently Asked Questions
You can add color to your white chocolate ganache at the end once it’s smooth. I recommend using gel or powdered colors rather than liquid for best results.
You can add flavor to the ganache in a couple of ways. You can infuse the cream with herbs, tea leaves, or other flavors. Add these before you heat the cream, then strain before pouring over the chocolate. Or you can add flavoring, extract, liqueur, or emulsions at the end once it’s smooth.
If your ganache is too soft when it is set too much cream was used or not enough chocolate.
If your ganache is too firm when it is set too much chocolate was used or not enough cream.
Ganache is fine at room temperature for two days, in the fridge for two weeks, or frozen for 3+ months. When storing it, be sure to cover and seal it so it’s air-tight. Ganache gets very firm in the fridge. If you intend to use it to frost a cake you must bring it to room temperature again.
Most of my older ganache recipes included butter. I used to add this for shine, but I think this was actually a big culprit in causing my ganache to split (too much fat). I do not recommend it and have since stopped using it. All you need is chocolate and cream!
I hope you found this post thorough and helpful. If you have any tips of your own on how you make (or save) ganache, I’d love to hear them in the comments!
Chocolate Ganache
Ingredients
Firm Filling/Frosting – Dark Chocolate Ganache
- 600 g dark chocolate finely chopped
- 300 g heavy whipping cream or double cream
Firm Filling/Frosting – Milk Chocolate Ganache
- 650 g milk chocolate
- 260 g heavy whipping cream
Firm Filling/Frosting – White Chocolate Ganache
- 700 g white chocolate
- 200 g heavy whipping cream
Drip/Soft Filling/Whipped Ganache/Glaze – Dark Chocolate Ganache*
- 2 oz dark chocolate finely chopped
- 2 oz heavy whipping cream or double cream
Drip/Soft Filling/Whipped Ganache/Glaze – Milk Chocolate Ganache*
- 3 oz milk chocolate
- 1.5 oz heavy whipping cream
Drip/Soft Filling/Whipped Ganache/Glaze – White Chocolate Ganache*
- 3 oz white chocolate
- 1 oz heavy whipping cream
Instructions
Chocolate Ganache:
- Place finely chopped chocolate into a glass or metal bowl.
- Scald the cream by bringing it just barely to a simmer. Pour over chopped chocolate.
- Cover bowl with plastic wrap and let stand 2 mins. Stir gently with a spatula until combined and smooth.
- Place plastic wrap directly on the surface of the ganache. Allow to cool and thicken before using. Do not refrigerate.
Firm Filling/Frosting:
- Let ganache firm up overnight at room temperature. Use as is as as a filling and/or frosting.
Drip/Soft Filling/Whipped Ganache/Glaze:
- Allow ganache to cool completely and thicken slightly before using as a drip. I let mine cool and thicken overnight, then warm it in the microwave for 3-5 seconds before using.* Note that the amounts shown are enough to make a drip. You will need to increase the amounts to make a filling, whipped ganache, or glaze.



Sheri N says
Hello Liv,
I recently started exploring cookie recipes which call for ganache as the filling. But, until I read your post here, I couldn’t get my head around the measurements and why in some cases the recipe called for whipping cream and in other cases heavy cream. Your explanation is a wonderful tutorial that will allow me not only to understand the recipes I see but also to adapt recipes to my preferences. Thanks so very much for taking care to help us understand rather than simply do.
Olivia says
Thank you so much for the wonderful feedback, Sheri! I’m so glad you found this helpful.
Laura says
The best article I have read on ganache,Thank you for sharing your recipe!
Olivia says
Thanks so much, Laura!
Rachel says
This is the best article I have read on ganache, and I have read several. Thank you so much! This has answered a lot of my questions about ratios. Is it possible to pipe with ganache using a petal tip to make roses?
Olivia says
Thanks so much Rachel! I’m so glad you found it helpful 🙂 And yes, you should be able to make roses with the pipeable versions.
Ashley says
Hi, just wondering what the measurements would be for whipped ganache? I see it there in ounces however I am in Australia and don’t use ounces. I don’t have scales that measure in ounces. Thank you!
Olivia says
Hi Ashely! There are tools online that will convert oz to grams. 2 oz is roughly 60g. Be sure to scale the recipe up if you’re using it as a frosting as 2oz wont make very much. The proportions I have listed are just the ratios to use.
Jessie says
Hi Liv! I have a question about the oz too. I’m making a dark choc. drip. 2oz choc 2oz cream, is the choc 2oz weighed and the cream measured by fl. oz? Or are both weighed?
Olivia says
Hi Jessie! I weighed them both.
Amna says
HI! I have accidently used 70% dark chocolate in my ganache. Is it possible to add icing sugar to it while making whipped ganache?
Olivia says
Hi Amna! The 70% will work fine. I haven’t tried adding icing sugar myself but it might be ok since you’re whipping it. Let me know how it turns out!
Rowan says
Such a thorough and in depth tutorial. You have my utmost thanks! I work in a kitchen and recently been making dark chocolate tarts with little baking experience/training and just couldn’t seem to get them right. You have laid out every problem that I had and how to avoid/fix it. Fingers crossed my ganaches will turn out better in the future with your help!
Olivia says
Hi Rowan! Thank you so much for the wonderful feedback, I am so happy you found this tutorial helpful! Please let me know how they turn out 🙂
Anna says
Dark chocolate firm ganache turned out great. Looked silky smooth like the photo. To store before using as a cake filling I covered in plastic wrap touching the chocolate and stored on the counter with a lid. Once it set it was very firm (a little too firm to spread). I left it out on the counter for 2-3 days. To make it spreadable when I was ready to use it I nuked it briefly – wasn’t quite as smooth as initially but once it re-set you would have had no idea it was made ahead. Worked like a charm
Olivia says
Hi Anna! Thanks again for all your tips and feedback. I’m so glad you loved it 🙂
Sherilyn says
FINALLY, I’ve found thee perfect recipe/ratio for filling my macarons and as a frosting! Thank you for sharing your recipe! Quick question, how long does the ganache keep for and how should it be stored? I made a bit more than I needed and I really don’t want to toss it. Please help!
Olivia says
Hi Sherilyn! I am so happy this recipe works well for you 🙂 I cover the storage part in the FAQ section of my post:
How do you store ganache?
Ganache is fine at room temperature for two days, in the fridge for two weeks, or frozen for 3+ months. When storing it, be sure to cover and seal it so it’s air-tight. Ganache gets very firm in the fridge. If you intend to use it to frost a cake you must bring it to room temperature again.
Sherilyn says
Oops, I completely overlooked the storage note. Thank you so much again! I can’t wait to try it as a drip next. I’ve always had a love/hate relationship with drip, but I’m certain this will be perfect now. ☺️
Olivia says
The drip can be tricky to perfect — figuring out the right consistency. You can test it first on an upside-down drinking glass to see if it’s too thick/thin 🙂
Nick says
Hi. There is a very simple cure to save a split ganache. Simply stir in boiling water a teaspoon at a time. One or two teaspoons is usually all that’s required. It will dissolve the cocoa butter allowing it to be reincorporated into the mix.
Olivia says
Hi Nick! Thank you for this! I will be sure to try it next time it inevitably happens.