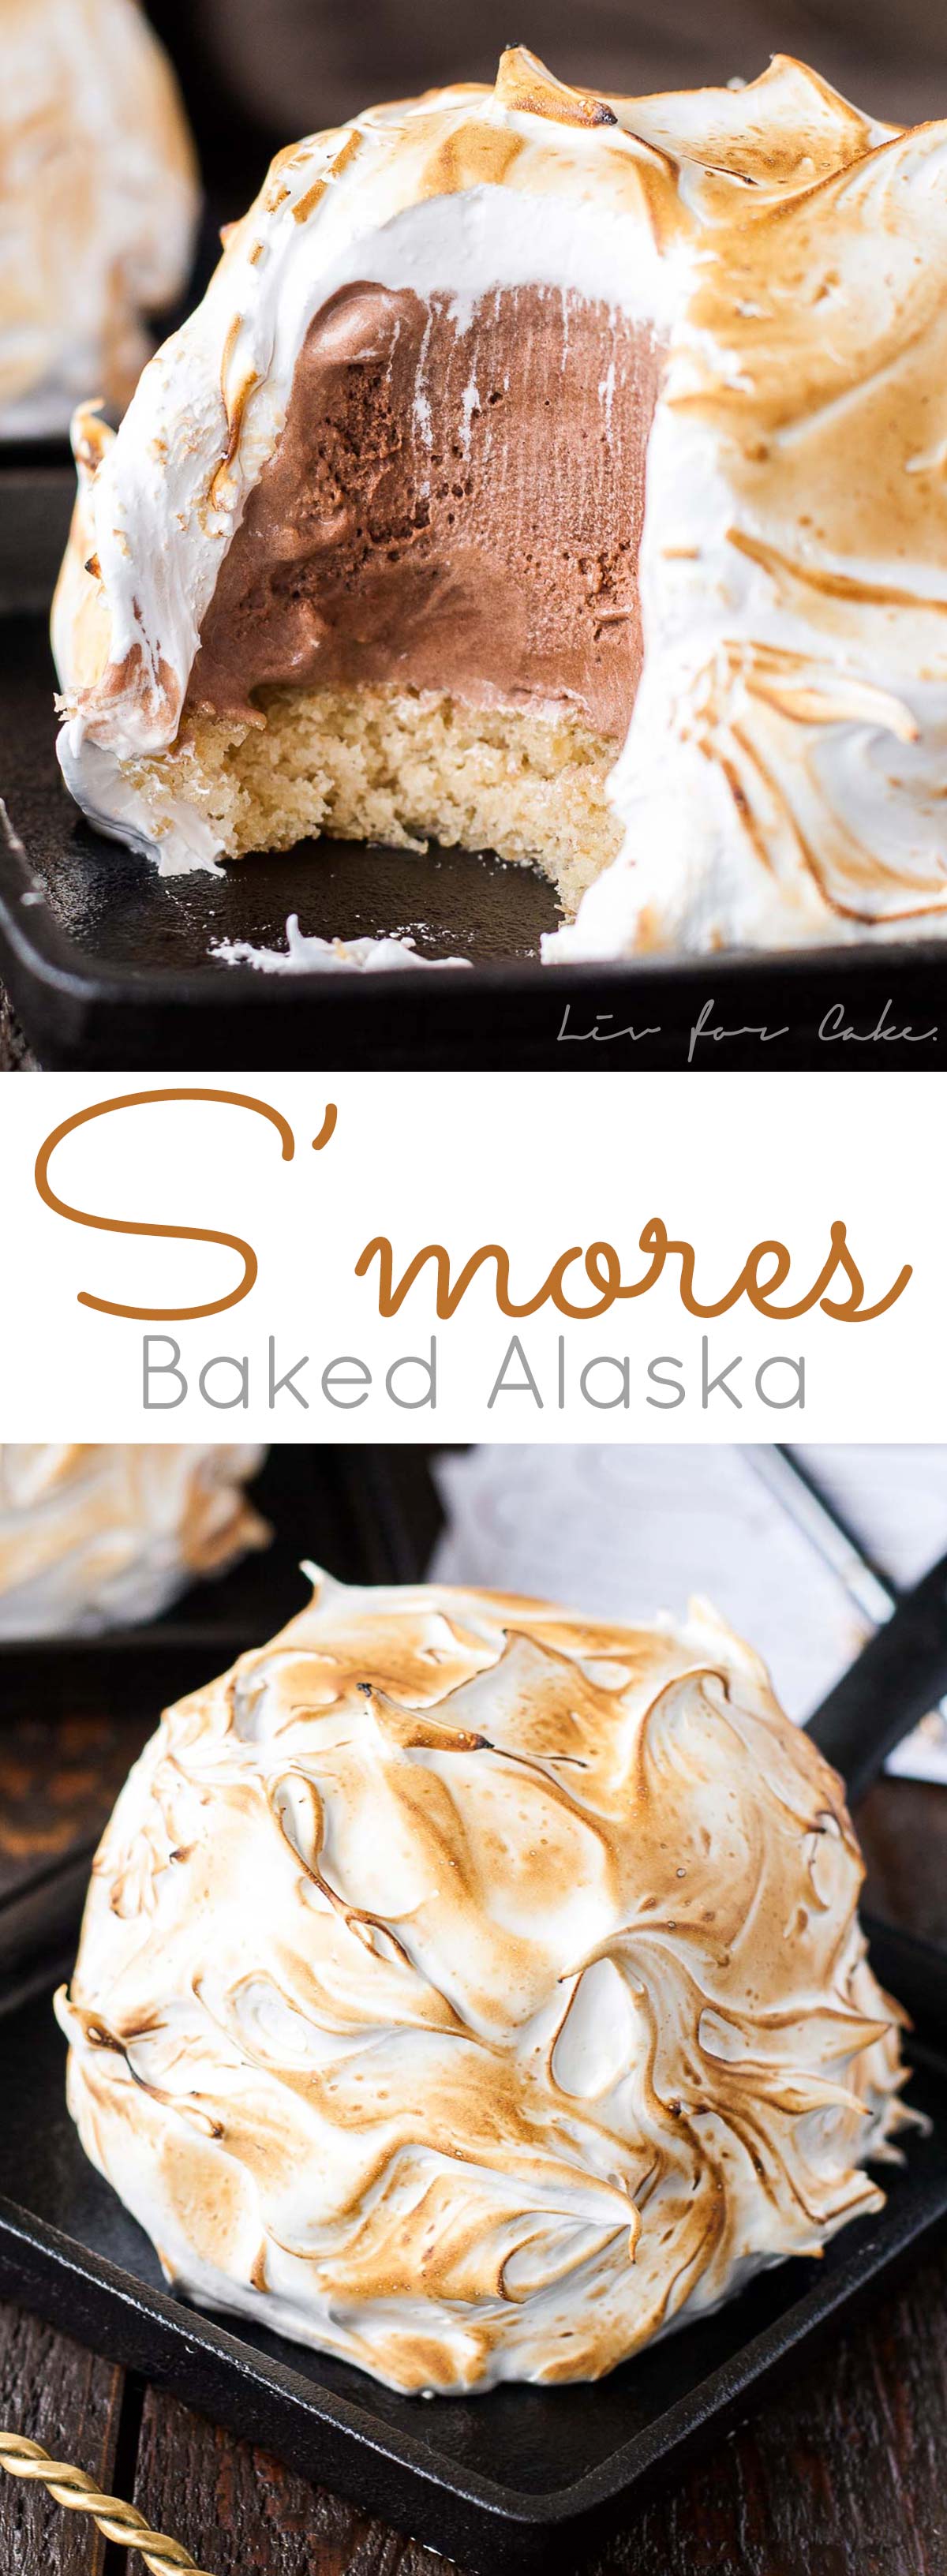
A modern day version of an old classic. This S’mores Baked Alaska combines a fun retro dessert with your favorite campfire treat.
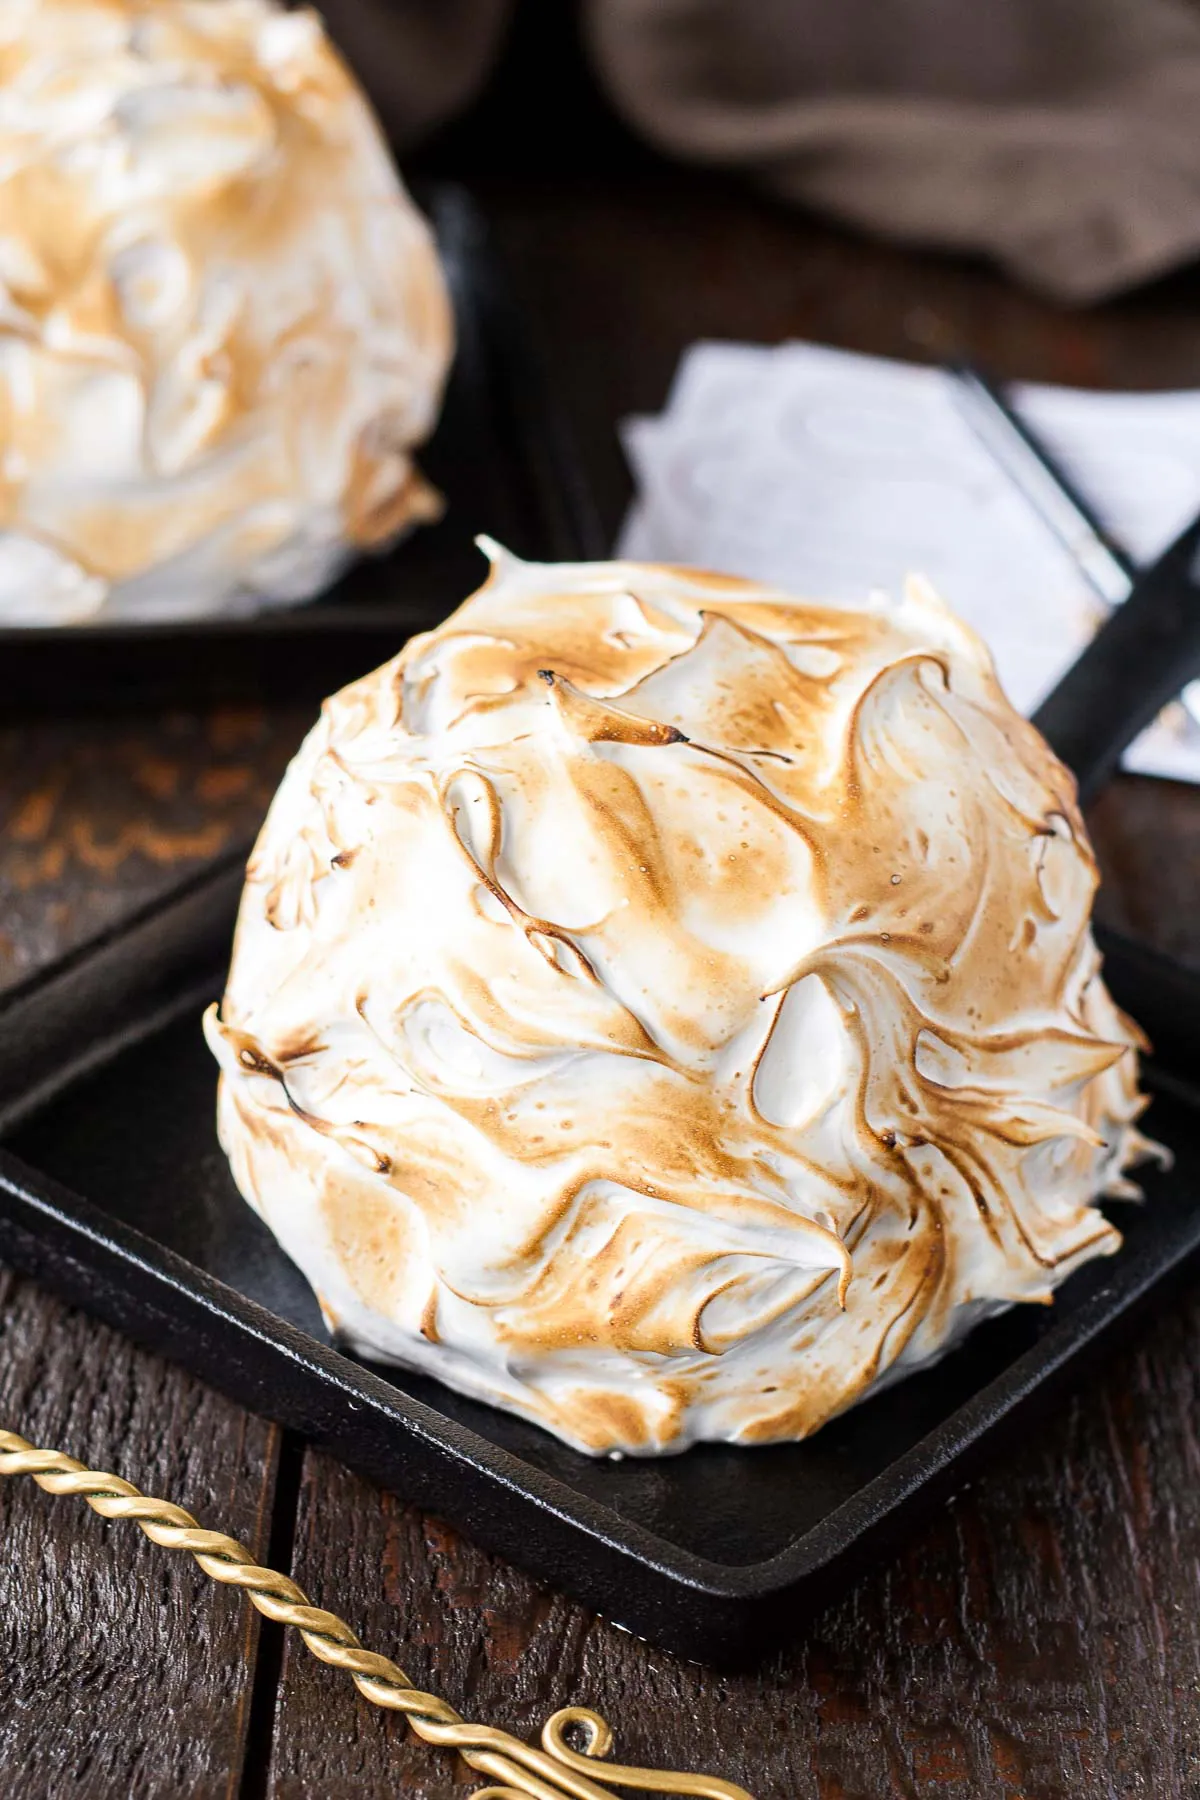
I still remember the first (and only) time I had a baked Alaska. It was in my high school Home Ec class some 20+ years ago, and it was one of the strangest and most interesting desserts I’d ever had. We’re going to BAKE ice cream? What?! Craziness.
I wish I could remember the details more vividly, but I do remember eating it and thinking it was one of the best things ever. Funny enough, I haven’t had one since — you don’t see many baked Alaskas these days, which is kind of a shame. Cake, ice cream, AND toasted meringue? The world is missing out. As such, I bring you my version of traditional baked Alaska.
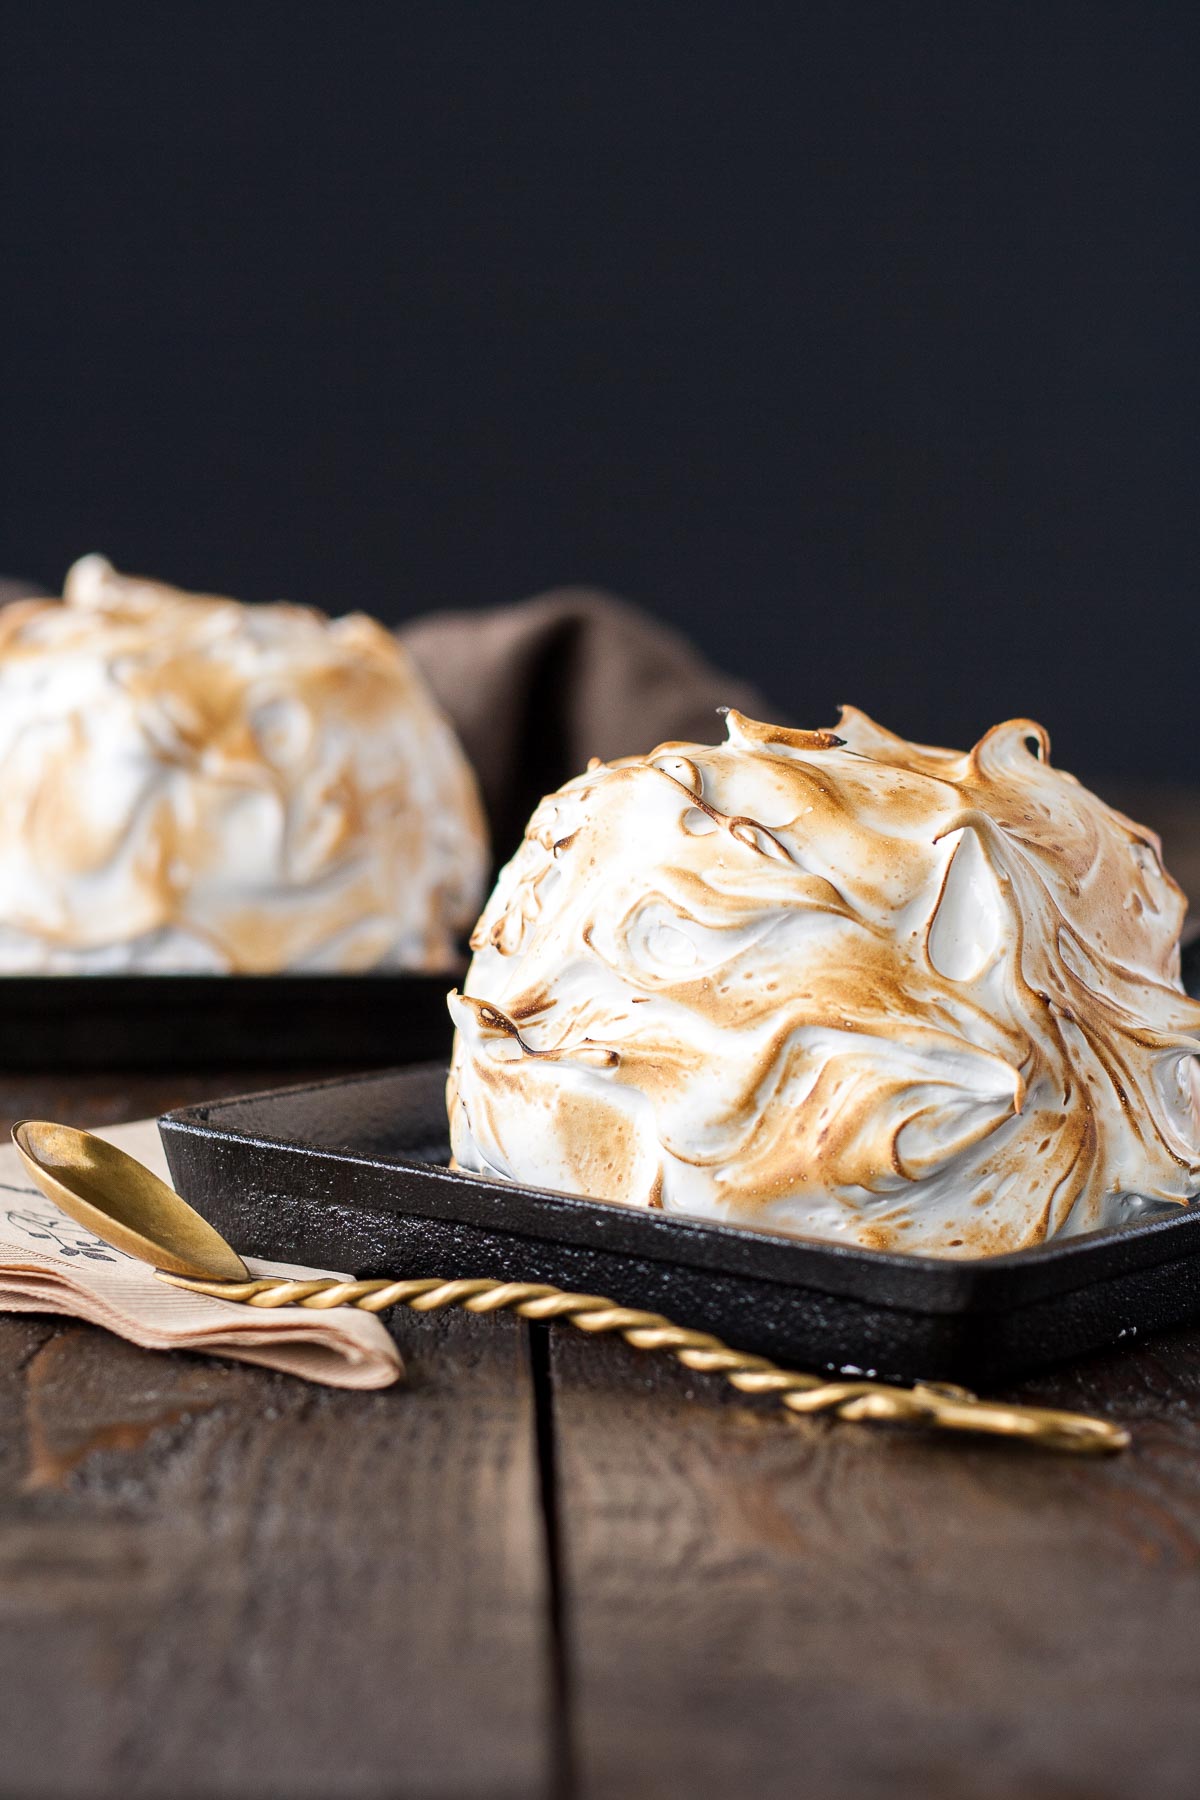
A baked Alaska consists of ice cream and cake covered in meringue and baked until it’s browned. The dessert has been around since the early 1800’s, but the name actually originated at a New York restaurant in 1876. It was created in honor of the newly acquired territory of Alaska.
I’ve been psyching myself up to make one of these for months. Not so much because of the difficulty (it’s actually one of the easiest desserts ever), but because I was going to have to take pictures of a dessert that has ice cream in it. Pictures usually take me a LONG time, and ice cream melts so… not the ideal situation for me — aka stress life. I was somewhat comforted by the fact that the meringue insulates the ice cream, so it shouldn’t melt as quickly, but I was really going to have to be on top of my game for these pics.
You know, for someone who doesn’t like s’mores, I sure have a lot of s’mores recipes. I like the flavor combination, but don’t like the traditional hard graham cracker/not-melty-enough chocolate/messy marshmallow. My friend Amanda insists that if I had a truly good s’more, I would love it. She gave me some tips to try out at my next campfire or over my gas stove. ANYhow, naturally, I thought a s’mores version of a baked Alaska would be perfect and, of course, that a mini version would be a cute alternative to the original.
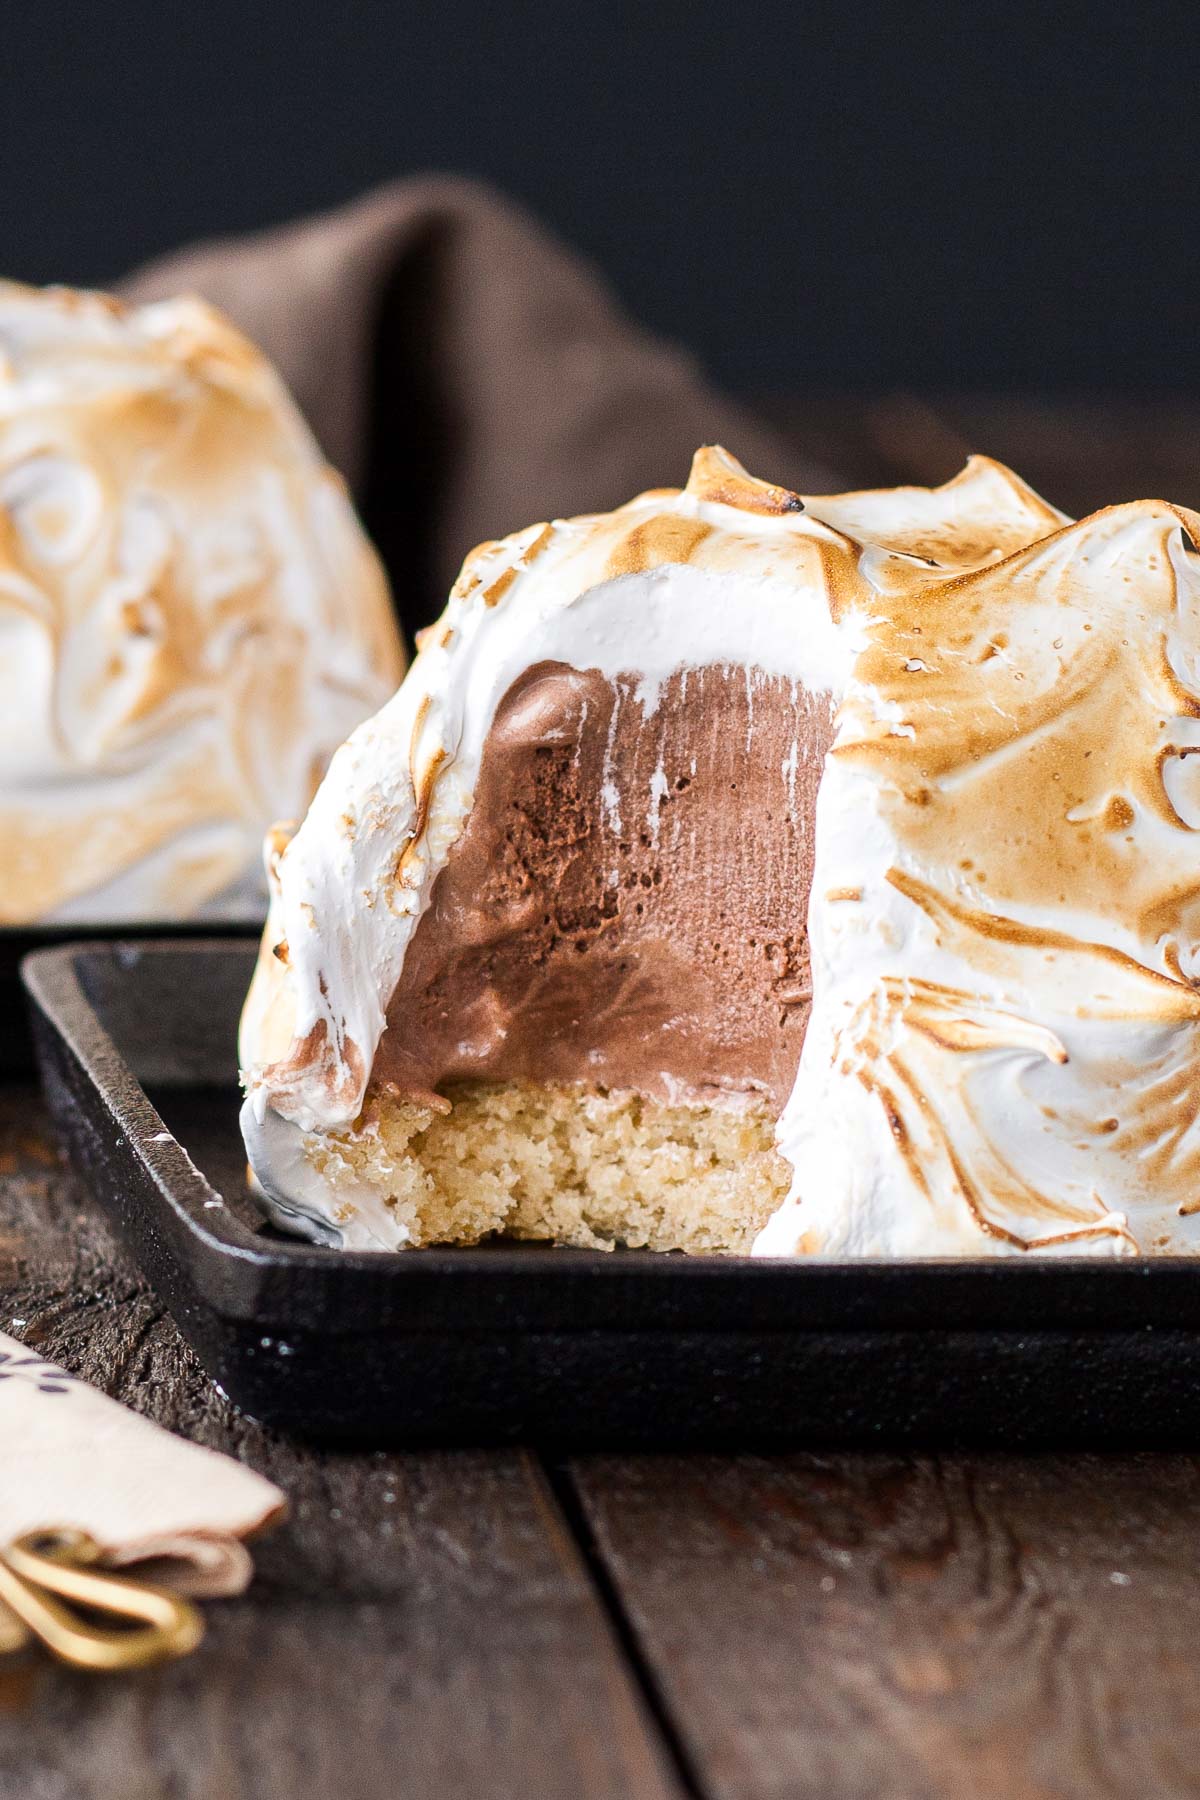
I made a graham cracker cake in a 10×15″ sheet pan and used a 3.5″ round cutter to cut out small cake rounds once the cake was cooled. I popped them into the freezer overnight, alongside some chocolate ice cream I had portioned into 1 cup pyrex glass containers that I lined with plastic wrap. The next day, I whipped up the meringue, stacked the cakes and ice cream together, and covered them with meringue. The meringue was actually the trickiest part.
The ice cream starts melting pretty quickly once in contact with the meringue, so I recommend putting a very large dollop of meringue on top of the ice cream and then spreading it over the ice cream quickly. I tried to mess around with it to make perfect swirls, but that was pretty much a fail. The meringue hardens against the cold ice cream, making it more difficult to spread. PLUS the ice cream melts, so if you try to go over any areas already covered with meringue, it will detach from the ice cream. Needless to say, I’m glad I made an extra S’mores Baked Alaska as a tester. That poor dud did not get his time in the photo spotlight (he did get devoured though). So work quickly and don’t go for perfection, ’cause it’s not gonna happen.
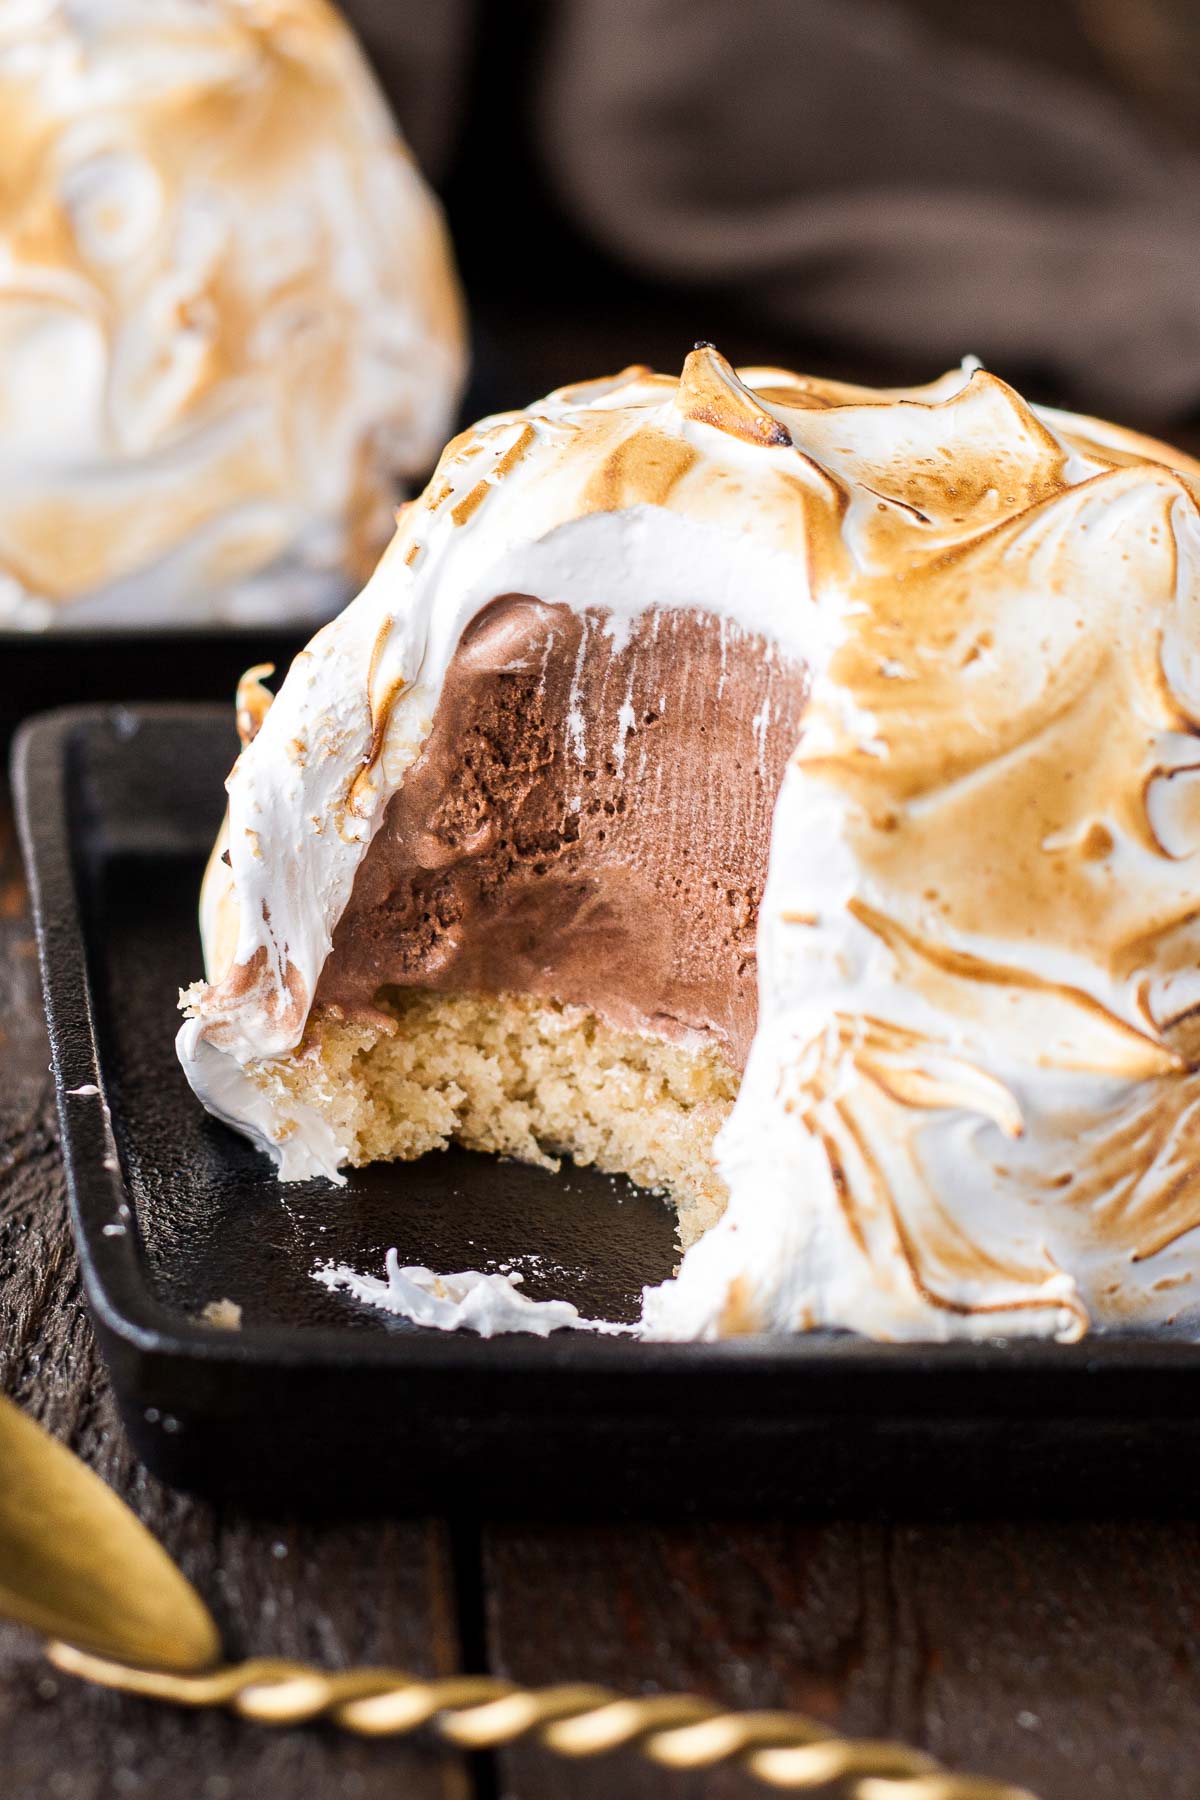
This actually isn’t the look I was going for with the S’mores Baked Alaska. I wanted them to be more rectangular and less mounded, kinda like my S’mores Cake. The whole sticky meringue/melty ice cream issue made that impossible to achieve. I had considered placing another cake round on top of the ice cream to sandwich it and then add the meringue on top — maybe that would have helped.
Once the meringue was on, I used a kitchen torch to toast it. Traditionally, you’d actually bake them in the oven at a very high temperature (500F) for 1-2 minutes until the meringue starts to brown. You could still do it this way, but I find the torch gives a prettier toasted effect than the oven does. Either way, it yields the same result, so if you don’t have a torch, pop them into the oven!
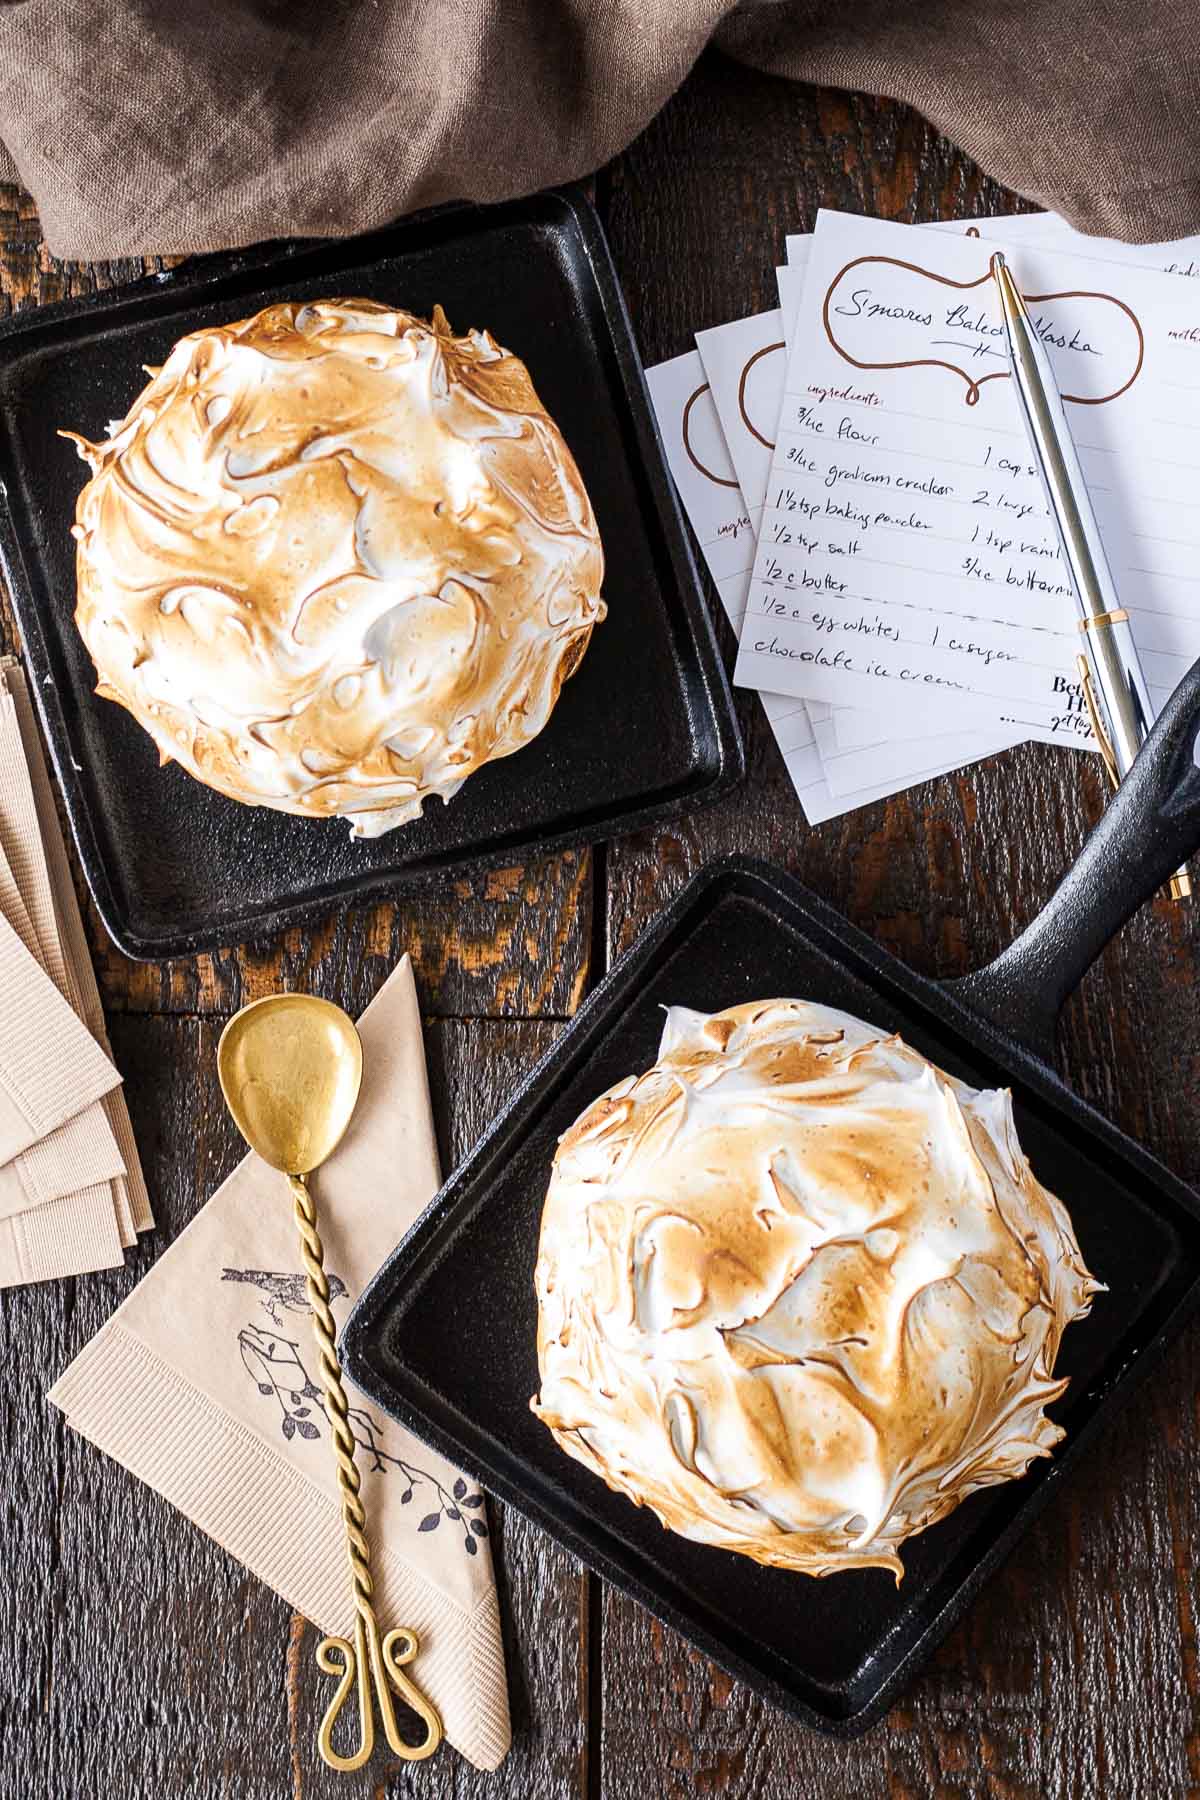
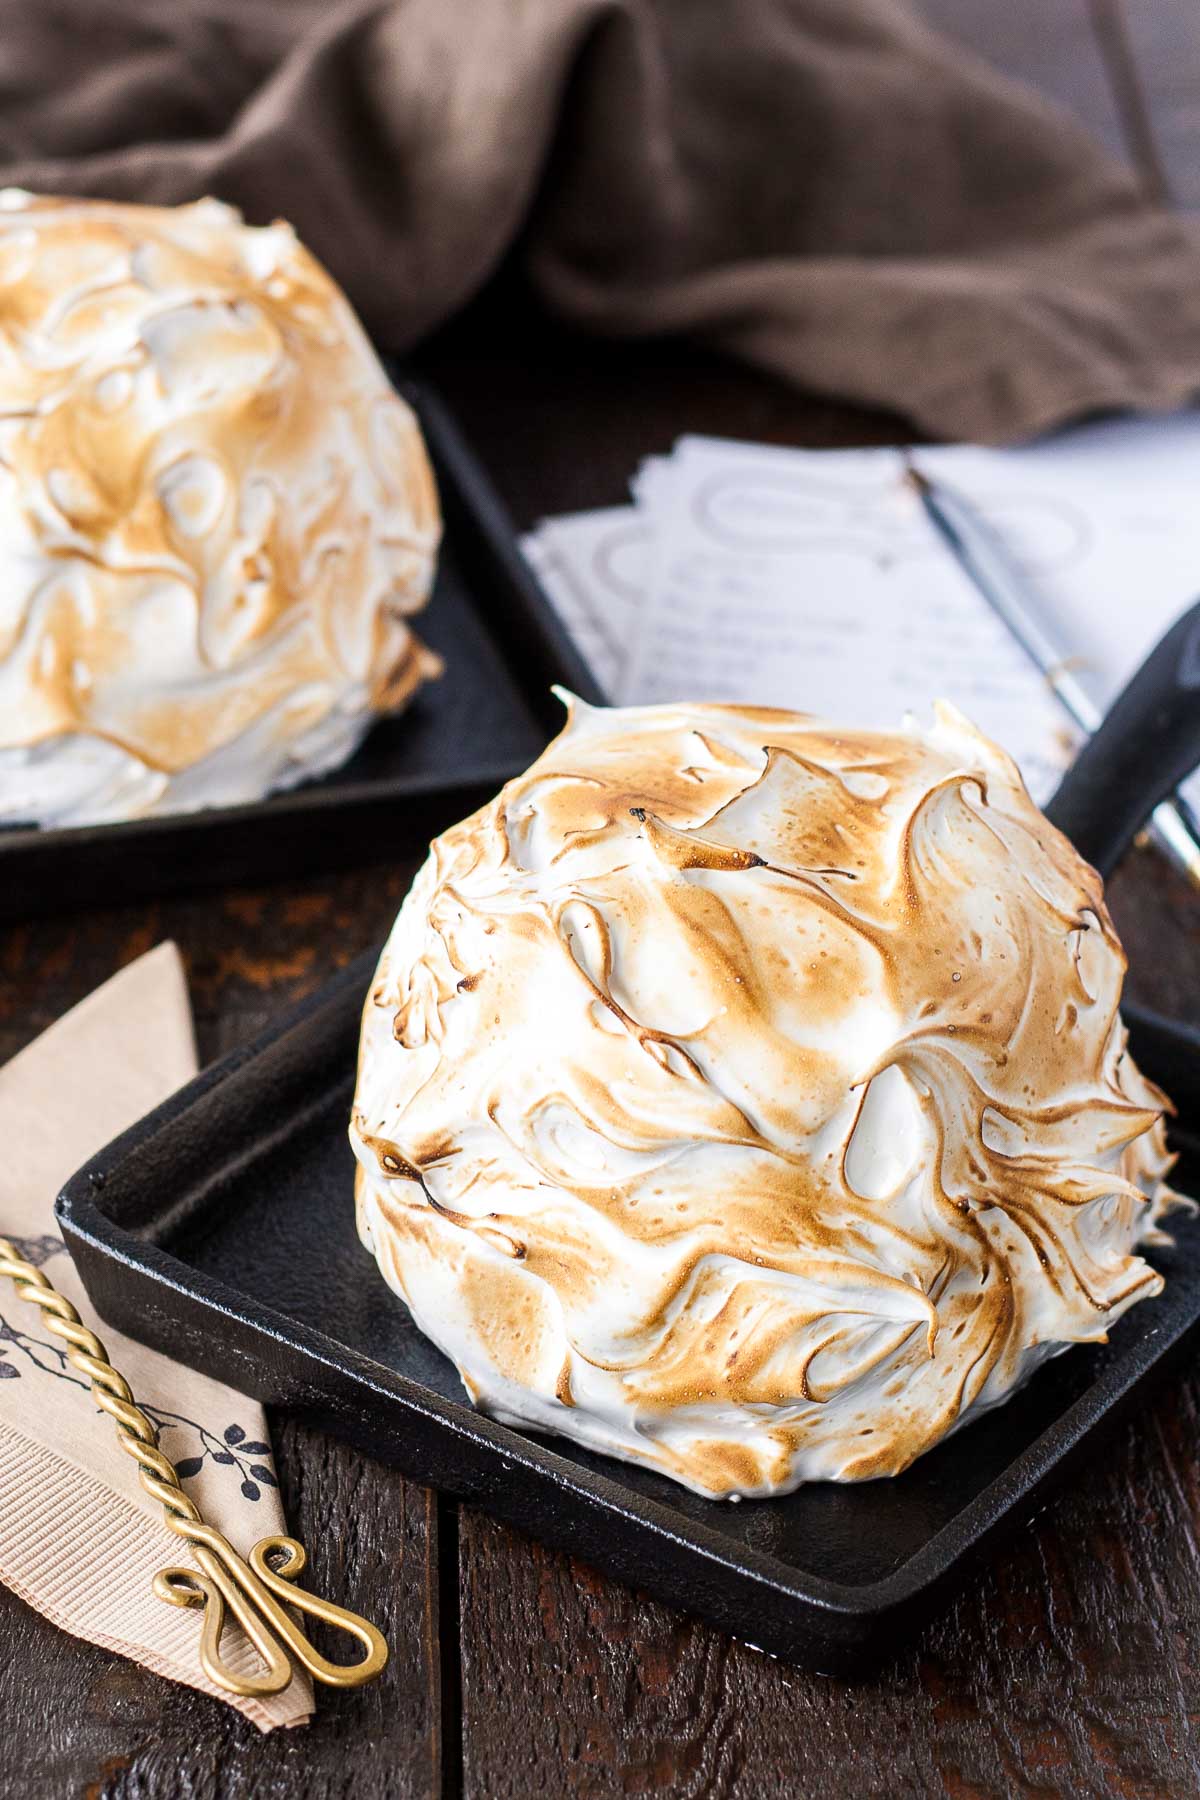
My friends over at Better Homes and Gardens sent me some super cute vintage recipe cards, which you can see in the pictures. If you’d like to download and print your own, you can do so here! They’ve recently launched a new Get Together!™ magazine that has everything you’ll need to plan the perfect party or intimate gathering. Perhaps a retro party theme where you can make a S’mores Baked Alaska to wow your guests?!
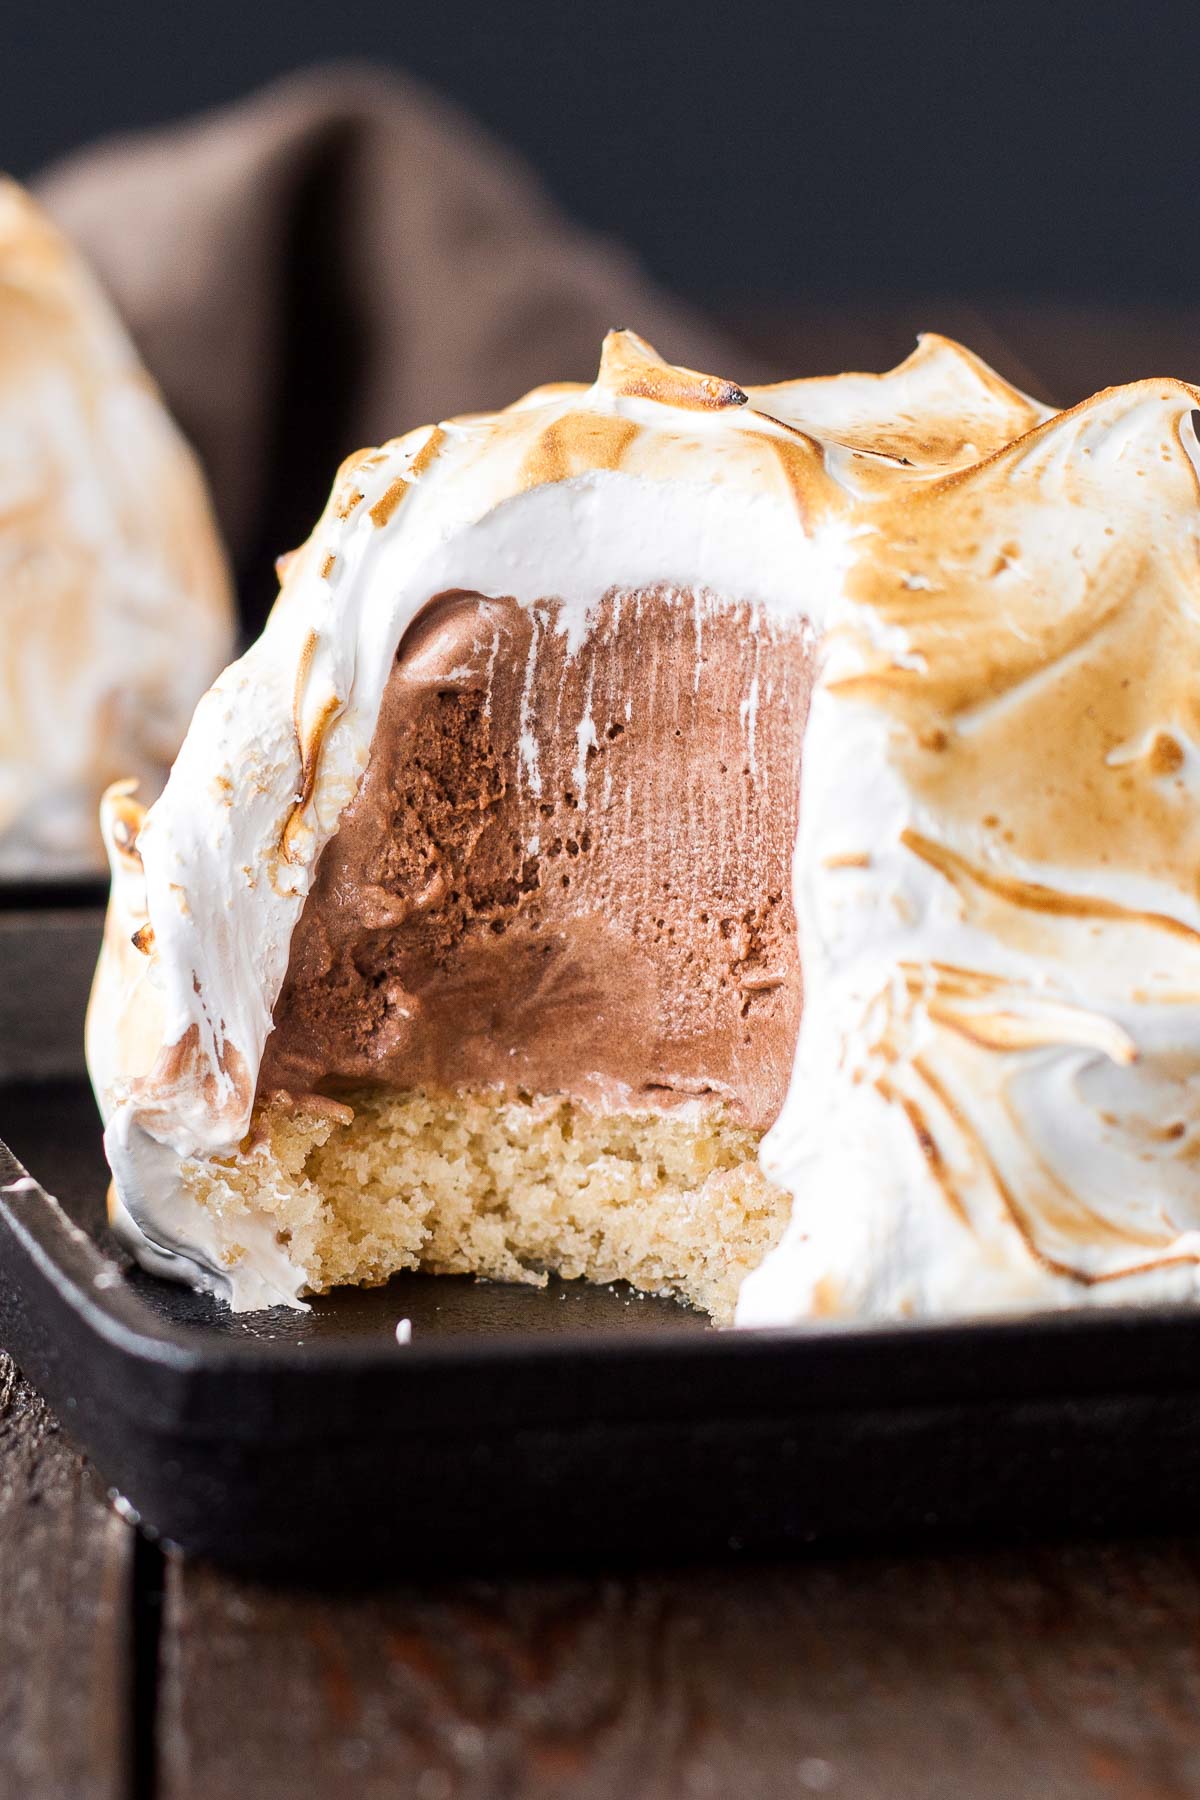
This dessert is every bit as good as I remember it. To make it even more simple, you can buy a pound cake and cut the circles out. The only thing you’d need to make is the meringue, but that’s really easy, I promise! I’m already thinking of new flavor combinations to make in the future.
Notes & tips for this S’mores Baked Alaska:
- You will have some cake scraps left over. I store these in an airtight container and snack on them, or you could use them to make cake pops.
- The ice cream will start to melt as soon as the meringue hits it, so be sure to do this quickly! Also make sure your meringue is completely cool.
- If baking in the oven, ensure meringue completely covers all of the ice cream and cake. It needs to insulate the ice cream so make sure there are no gaps.
S’mores Baked Alaska
Ingredients
Cake:
- 3/4 cup all-purpose flour
- 3/4 cup graham cracker crumbs
- 1 1/2 tsp baking powder
- 1/2 tsp salt
- 1/2 cup unsalted butter room temperature
- 1 cup granulated sugar
- 2 large eggs room temperature
- 1 tsp vanilla extract
- 3/4 cup buttermilk room temperature
Meringue:
- 1 cup egg whites approx. 6
- 2 cup granulated sugar
Ice Cream:
- 10 cups chocolate ice cream softened
Instructions
Cake:
- Preheat oven to 350F and grease and flour a 10″x15″ sheet pan, line with parchment.
- In a medium bowl, whisk flour, graham cracker crumbs, baking powder, and salt. Set aside
- Using a stand mixer fitted with the paddle attachment, beat butter until smooth.
- Add sugar and beat on med-high until pale and fluffy (2-3mins).
- Reduce speed and add eggs one at a time, fully incorporating after each addition. Add vanilla.
- Alternate adding flour mixture and buttermilk, beginning and ending with flour (3 additions of flour and 2 of milk). Fully incorporating after each addition. Do not overmix.
- Spread batter evenly into sheet pan pans. Smooth the top with a spatula.
- Bake for approx. 15-18mins or until the cake is golden and springs back to the touch.
- Cool in pan for 10mins then turn out onto wire rack to cool completely.
- Cut out six 3.5″ circles using a round cutter. Wrap individually in plastic and place in freezer.*
Ice Cream:
- Grease six 1-cup ramekins and line with plastic wrap. Spread softened ice cream into each ramekin, fold over plastic wrap and freeze for at least 3 hours.
Meringue:
- Place egg whites and sugar into the bowl of a stand mixer*, whisk until combined.
- Place bowl over a hot water bath on the stove and whisk constantly until the mixture is no longer grainy to the touch (approx. 3mins).
- Place bowl on your stand mixer and whisk on med-high until the meringue is stiff and cooled (the bowl is no longer warm to the touch (approx. 5-10mins)). Set aside.
Assembly:
- Remove one cake circle from freezer, unwrap, and place on a small serving dish.
- Remove one of the ice cream ramekins from the freezer and use your hands to warm up the bottom and sides. Pull out using the excess plastic wrap. Place on top of cake circle and press down. Return to freezer. Repeat with other 5 cakes and ice creams.
- Remove one of the cakes from the freezer, dollop a generous cup of meringue on top and spread quickly over the top and sides.**
- At this point you can either return them to the freezer until ready to serve or torch the meringue with a kitchen torch and serve immediately.
- Alternatively, you can place them in a 500F oven for 1-2 minutes until meringue starts to brown.***
Notes
** The ice cream will start to melt as soon as the meringue hits it, so be sure to do this quickly! Also make sure your meringue is completely cool.
*** If baking in the oven, ensure meringue completely covers all of the ice cream and cake. It needs to insulate the ice cream so make sure there are no gaps.



Caroline says
Made these for a dinner party last night and they were SUCH a hit! First time attempting baked alaska and this recipe made it so easy, thank you!
Olivia says
Hi Caroline! I’m so happy to hear these were a hit!
Gloria Bradley says
Just too delicious! I haven’t had baked alaska in years but it’s one of my favorites! I never realized how easy it was to make! I am anxious to make it, for sure but it will be worth it in the end! Thanks for sharing 🙂
Olivia says
Hi Gloria! I hope you give it a try! It was easier than I expected, just a bit finicky :).
Amy-Lyn says
I’ve never had baked Alaska in my life! There’s a line in the 1982 movie “Annie” where the cook announces that baked Alaska will be part of the meal, and I always wondered what it was and wanted to try it. Now, I’m no stranger to s’mores, so when I saw this s’more baked Alaska I was like, “whaaaa?”. It’s basically the perfect kind of baked Alaska for me to have my first taste of, I think! Something totally new to me combined with something I love so much?! It’s perfect! I will be trying this very soon!
Olivia says
Hi Amy-Lyn! I’m so excited that you’re going to try this :D. If you’re a s’mores lover, I’m convinced you’ll love it!
jacquee | i sugar coat it! says
These look amazing! I want to stick my face into that last shot. I’ve always wanted to make them, but ice cream and the oven sounded like a bit of a nightmare – lol.
Olivia says
I KNOW. Ice cream in the oven is a bit nerve wracking. I still haven’t tried it so technically this is a “toasted” Alaska I guess, lol.
Kim says
Girl, this baked alaska looks heavenly! I freaking love alaskas and this one makes me drool! S’mores + baked alaska is definitely a great combination!
The meringue looks so fluffy, airy, tasty, and this filling looks incredibly rich and chocolatey <3
Thank you very much for sharing this wonderful recipe.
xoxo
Kim
Olivia says
Thanks so much Kim!
olga says
I really love this one!!!!!!!!! I will do it… Sure!!!!!!!!!!!!!!
Thanks a lot for this great idea
Olga
Olivia says
Thanks Olga! I hope you like it 🙂
Megan @ Meg is Well says
That picture with the bite in it is mesmerizing and I love how they’re miniature! And I agree with your friend. There is definitely a way to do S’mores right on the campfire, otherwise they aren’t that great. But I say you should keep inventing new S’mores variations.
Olivia says
Thanks so much Megan! 🙂
Mary Ann | The Beach House Kitchen says
Wow Olivia, this is one gorgeous dessert! Love that you gave it a s’mores spin! I have never tried baked Alaska! Need to change that!
Olivia says
You do!! It was honestly such a delicious dessert. And not too hard to make either! I can’t wait to see your take on it 😄. Thanks Mary Ann! 😊
Suchi @elegantmeraki says
This looks so good Olivia! I have to make baked alaska soon. Waiting to buy ice cream maker!
Olivia says
Thanks Suchi!! I’m going to try it with homemade ice cream next time 😄.
Shinee says
I’ve tried making baked Alaska one time many years ago, and failed miserably. I don’t remember what went wrong, but I remember it didn’t turn out right. It might be time to revisit again. 🙂 Your is absolutely stunning and I love s’mores flavors!
Olivia says
Ohh I hope you try it again! It’s well worth the effort :). Thanks so much Shinee!
Susie says
Your photographs are stunning!!!! I still remember my first baked Alaska too, but I’ve never tried to recreate it on my own. Definitely going to give t a try. Soon!
Olivia says
Thanks so much Susie! I was a lot easier than I remembered :).
mia says
Absolutely love that its not a ton of ingredients! Definitely saving this recipe to make soon! Thank you for sharing 🙂
Olivia says
Hi Mia! I love that it’s an easy recipe too. Let me know how you like it!