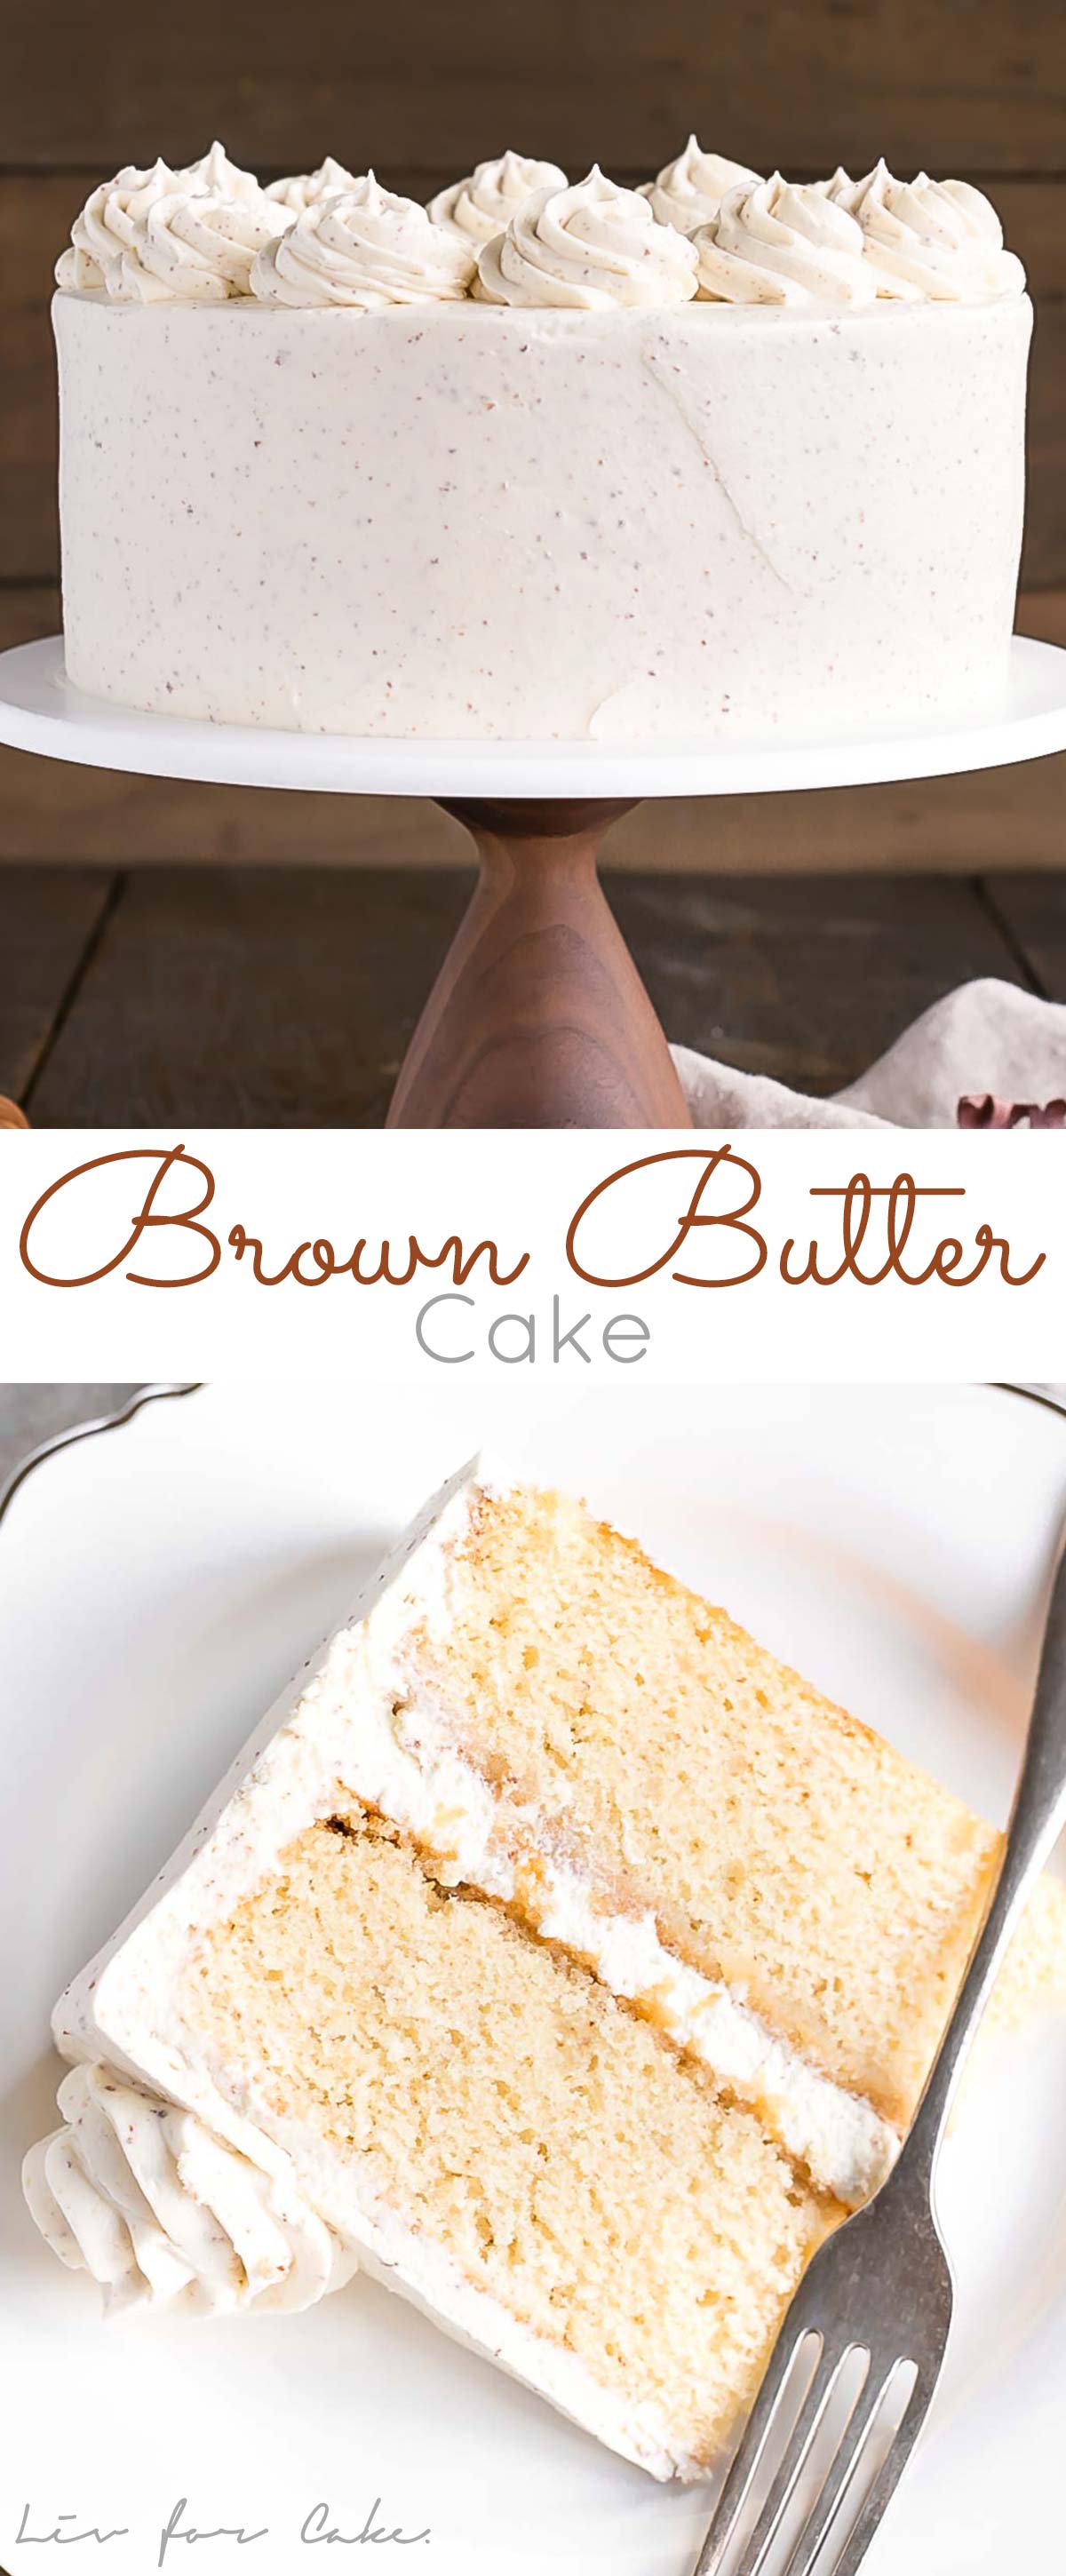
Take classic vanilla cake to the next level with this Brown Butter Cake! A simple change for an intense nutty flavor.
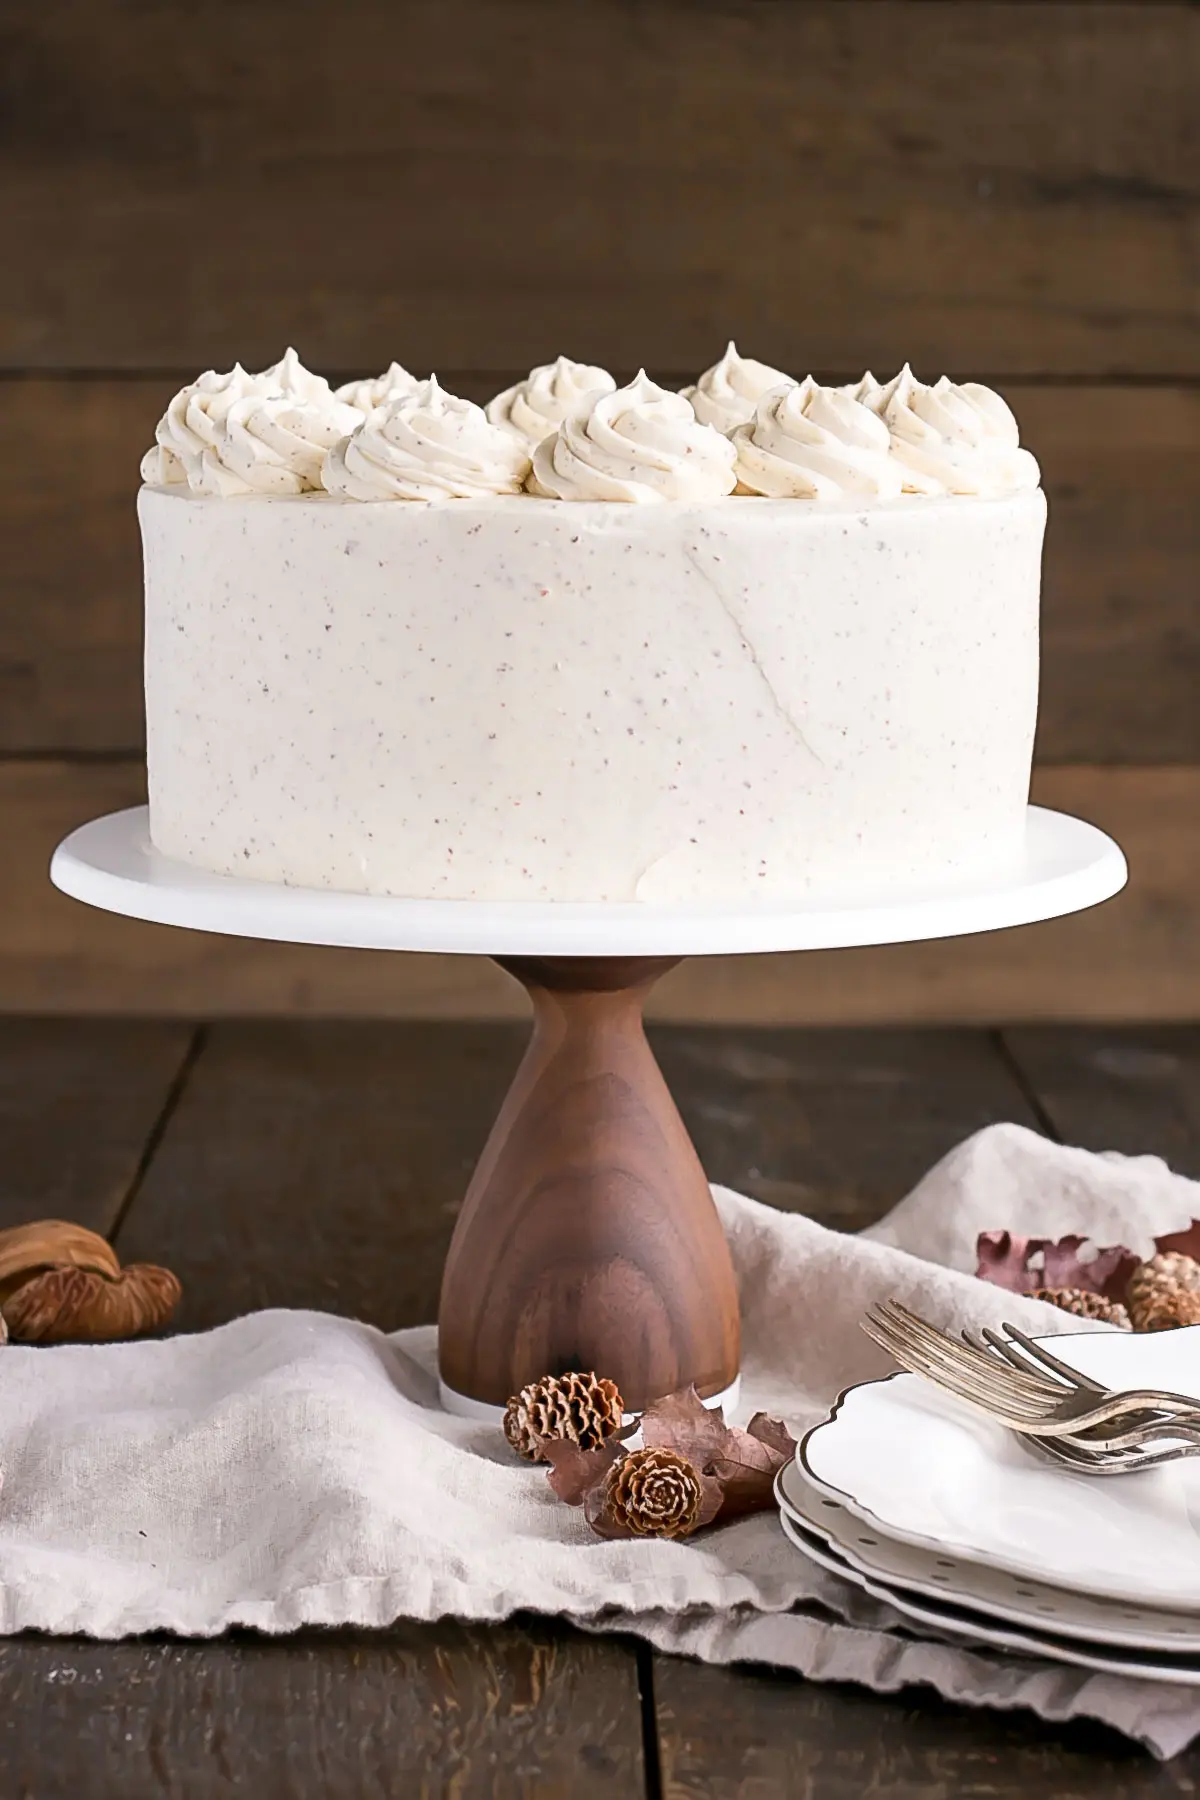
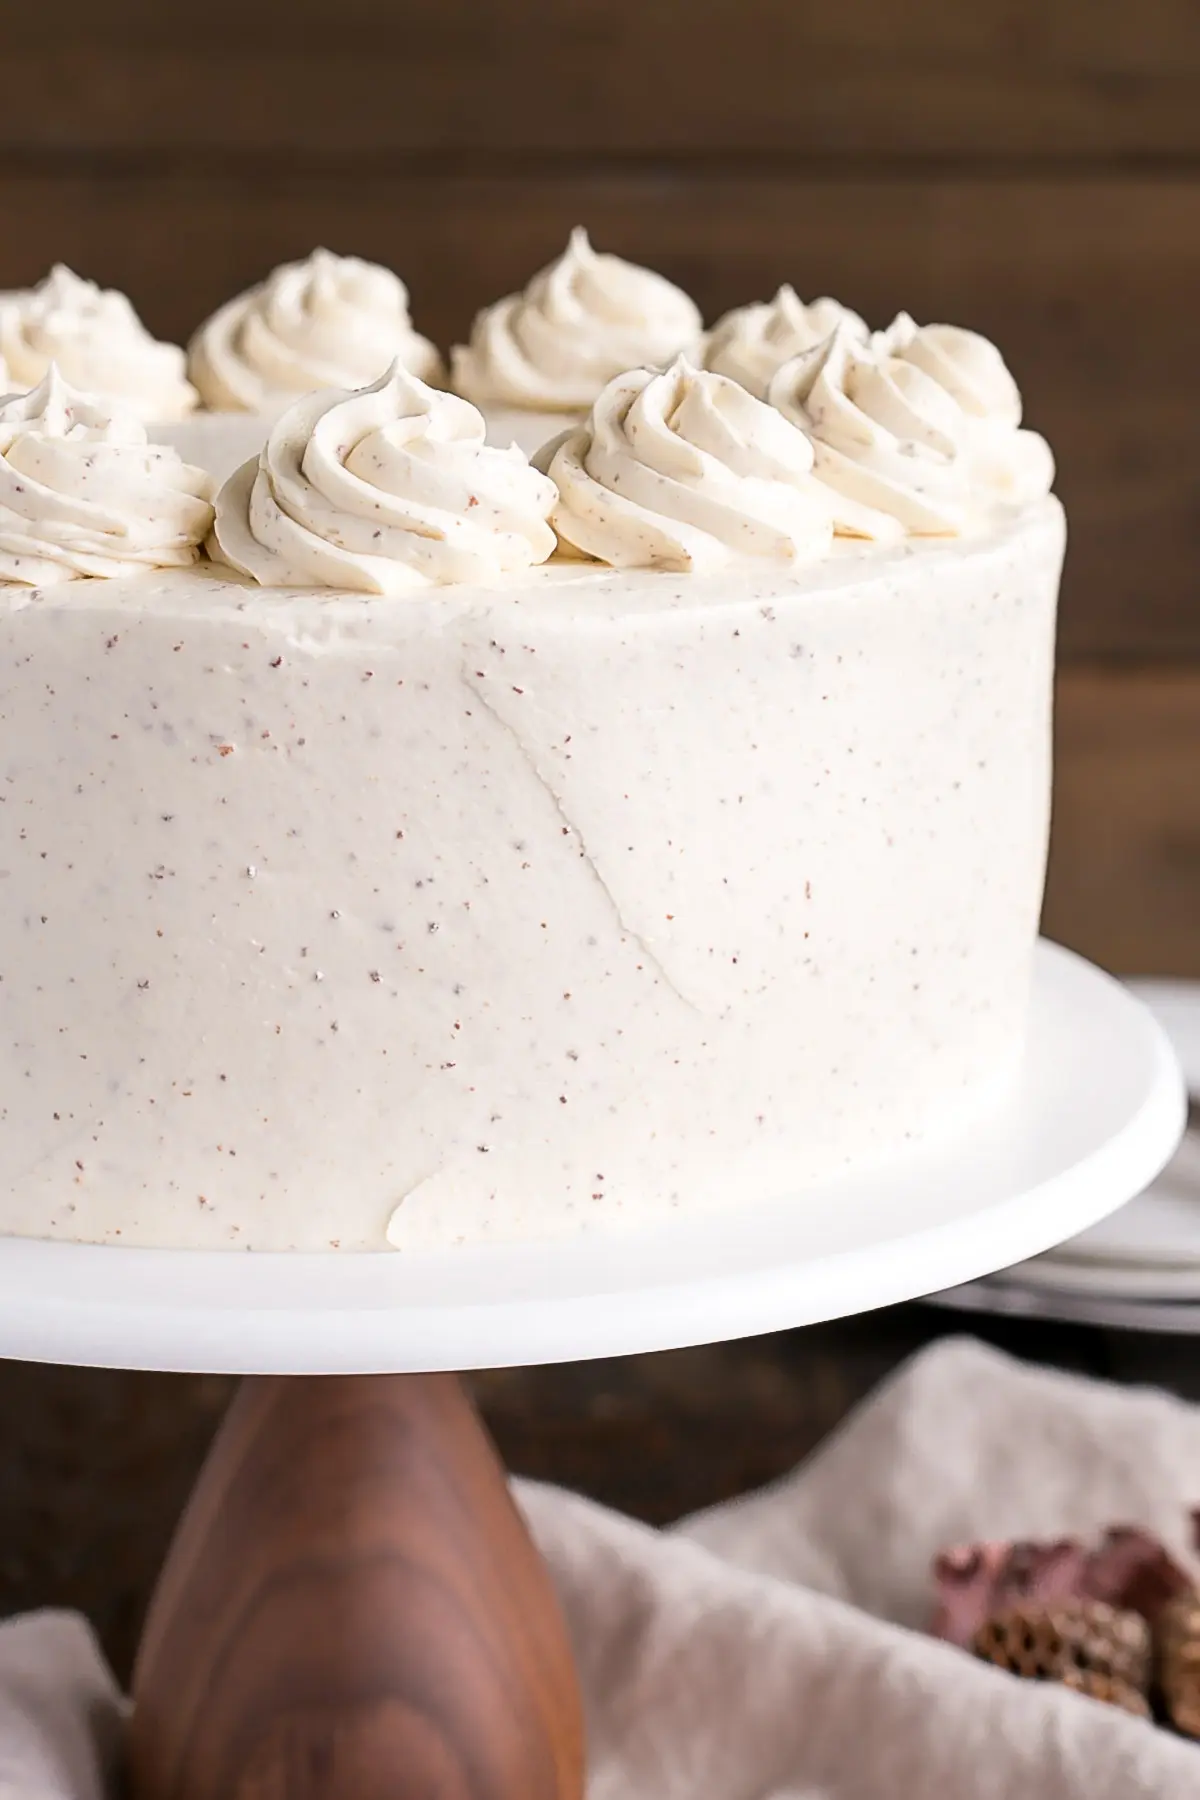
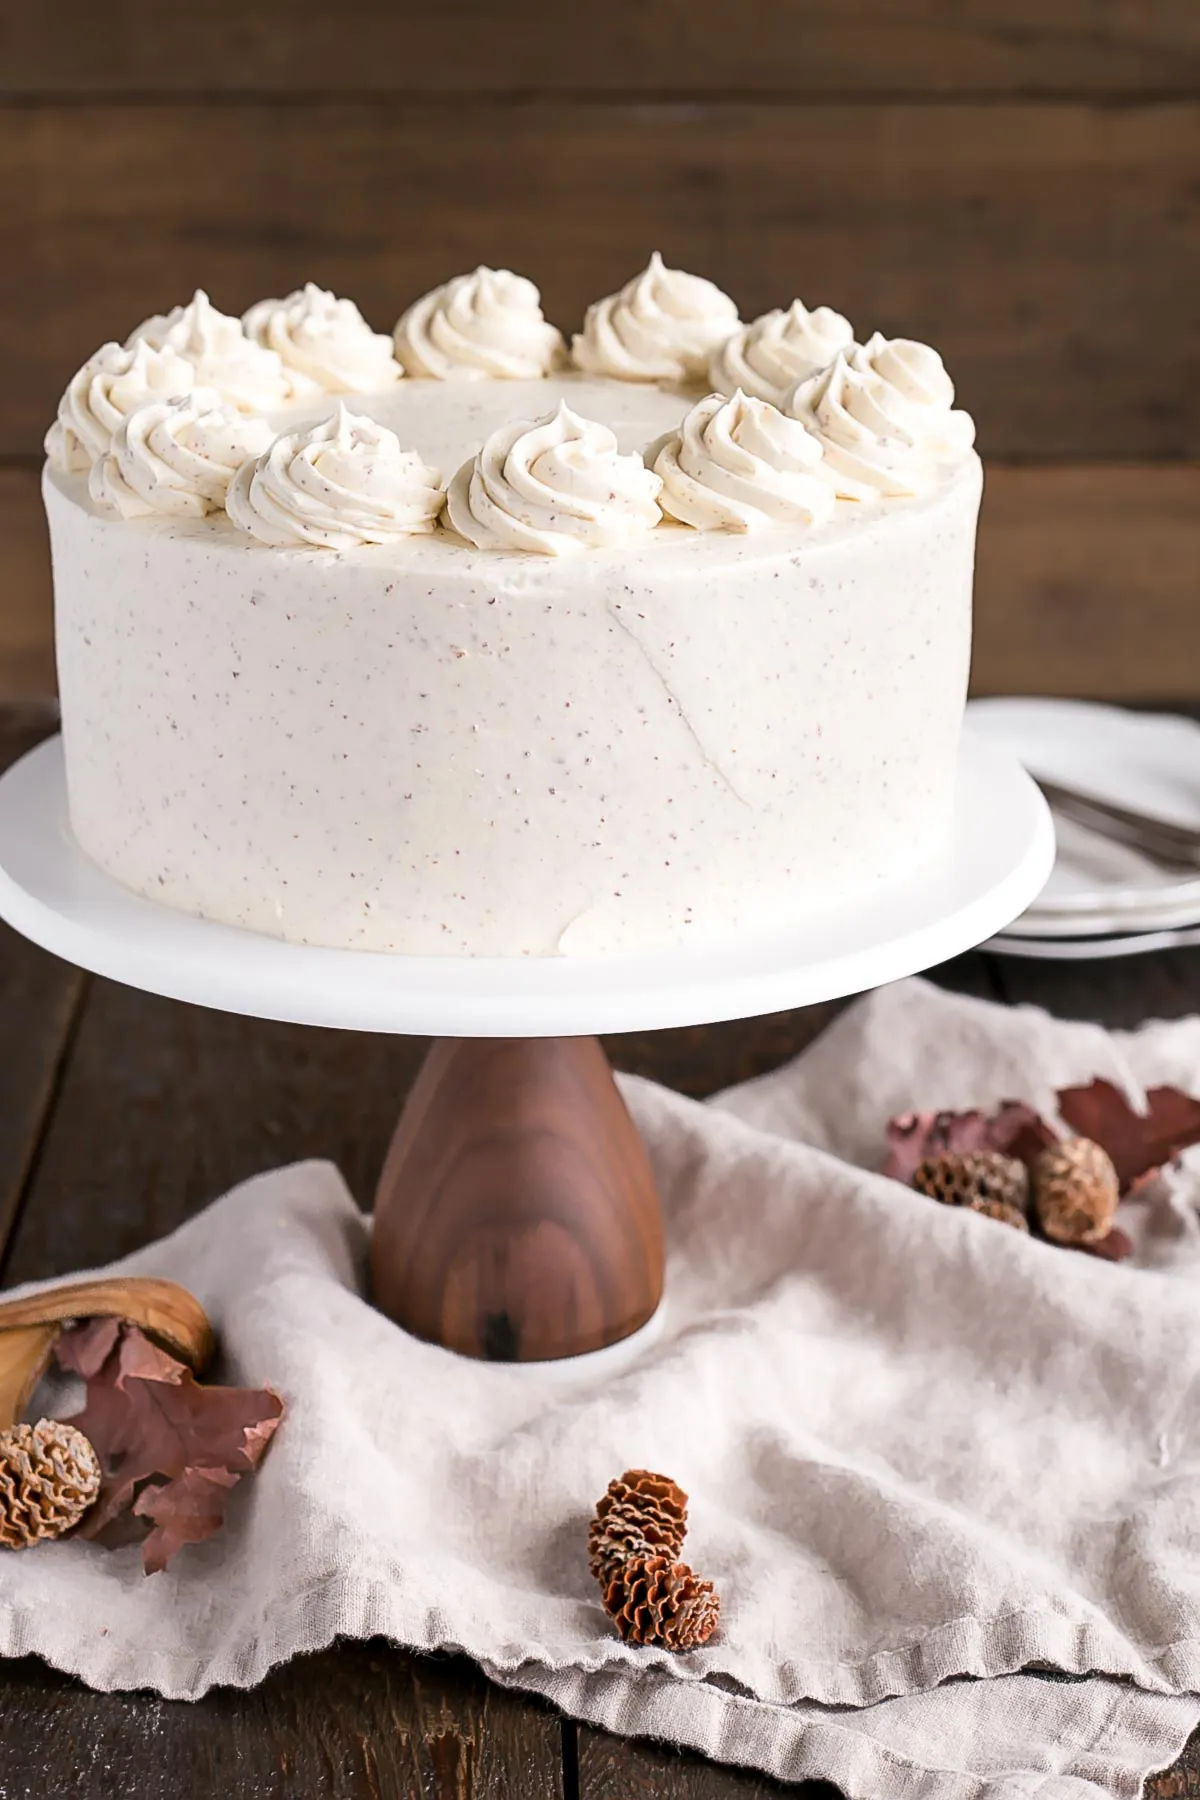
This was my first time baking with brown butter and, quite frankly, I don’t know what took me so long!! Who knew that such a simple (and easy) change could have such an amazing impact on flavor. I specifically went brown butter all out (in the cake and frosting) because I really wanted the flavor to stand on its own. That being said, it would work wonderfully paired with almost any other flavor combination.
If you’ve never made brown butter, or even heard of it, let me give you a little overview.
What is Brown Butter?
Brown butter (or beurre noisette) is butter that is cooked until the milk solids turn brown. When you’re cooking the butter, it will separate into fat and milk solids.
The longer you cook it, the darker the milk solids will become. Note that it doesn’t take a lot of time for the solids to go from brown to black (aka burnt) so you really need to watch it when you’re cooking.
How to Make It
To make brown butter, you place the butter in a light colored pan and cook it over med-low heat. The light pan is important (white or stainless steel) so that you can see the color of the butter. You won’t be able to tell if it’s in a dark teflon or casto iron pan, so make sure to use something light.
The butter will foam up a lot when it’s cooking, which can make it difficult to see the color of the solids, so I would stir it often or scrape some of the foam to the side to see how the solids were doing.
When the butter is reaching the right point or browning, it will also start to smell differently (amazingly!!). Most people say that it smells nutty (hence the beurre “noisette”) , but to me it smelled almost caramel-like. It smelled delicious, at any rate.
Once the butter is properly browned, remove it from heat immediately and transfer it to a heatproof bowl (I used a large measuring cup for ease for the next step). Make sure to scrape in all of those delicious brown bits as that’s where the flavor is!
Since we’re using it in the cake and frosting, you need to divide the brown butter. Once the butter is slightly cooled, give it a good stir to jostle the brown bits and separate it into two 3/4 cup portions. You may have a bit left over which you can save to use as a sauce on steamed veggies or a variety of meat dishes.
You need the butter to be solid and at room temperature before using it in the cake and frosting. I popped mine in the fridge overnight and then placed it on the counter for a few hours in the morning to come to room temperature.
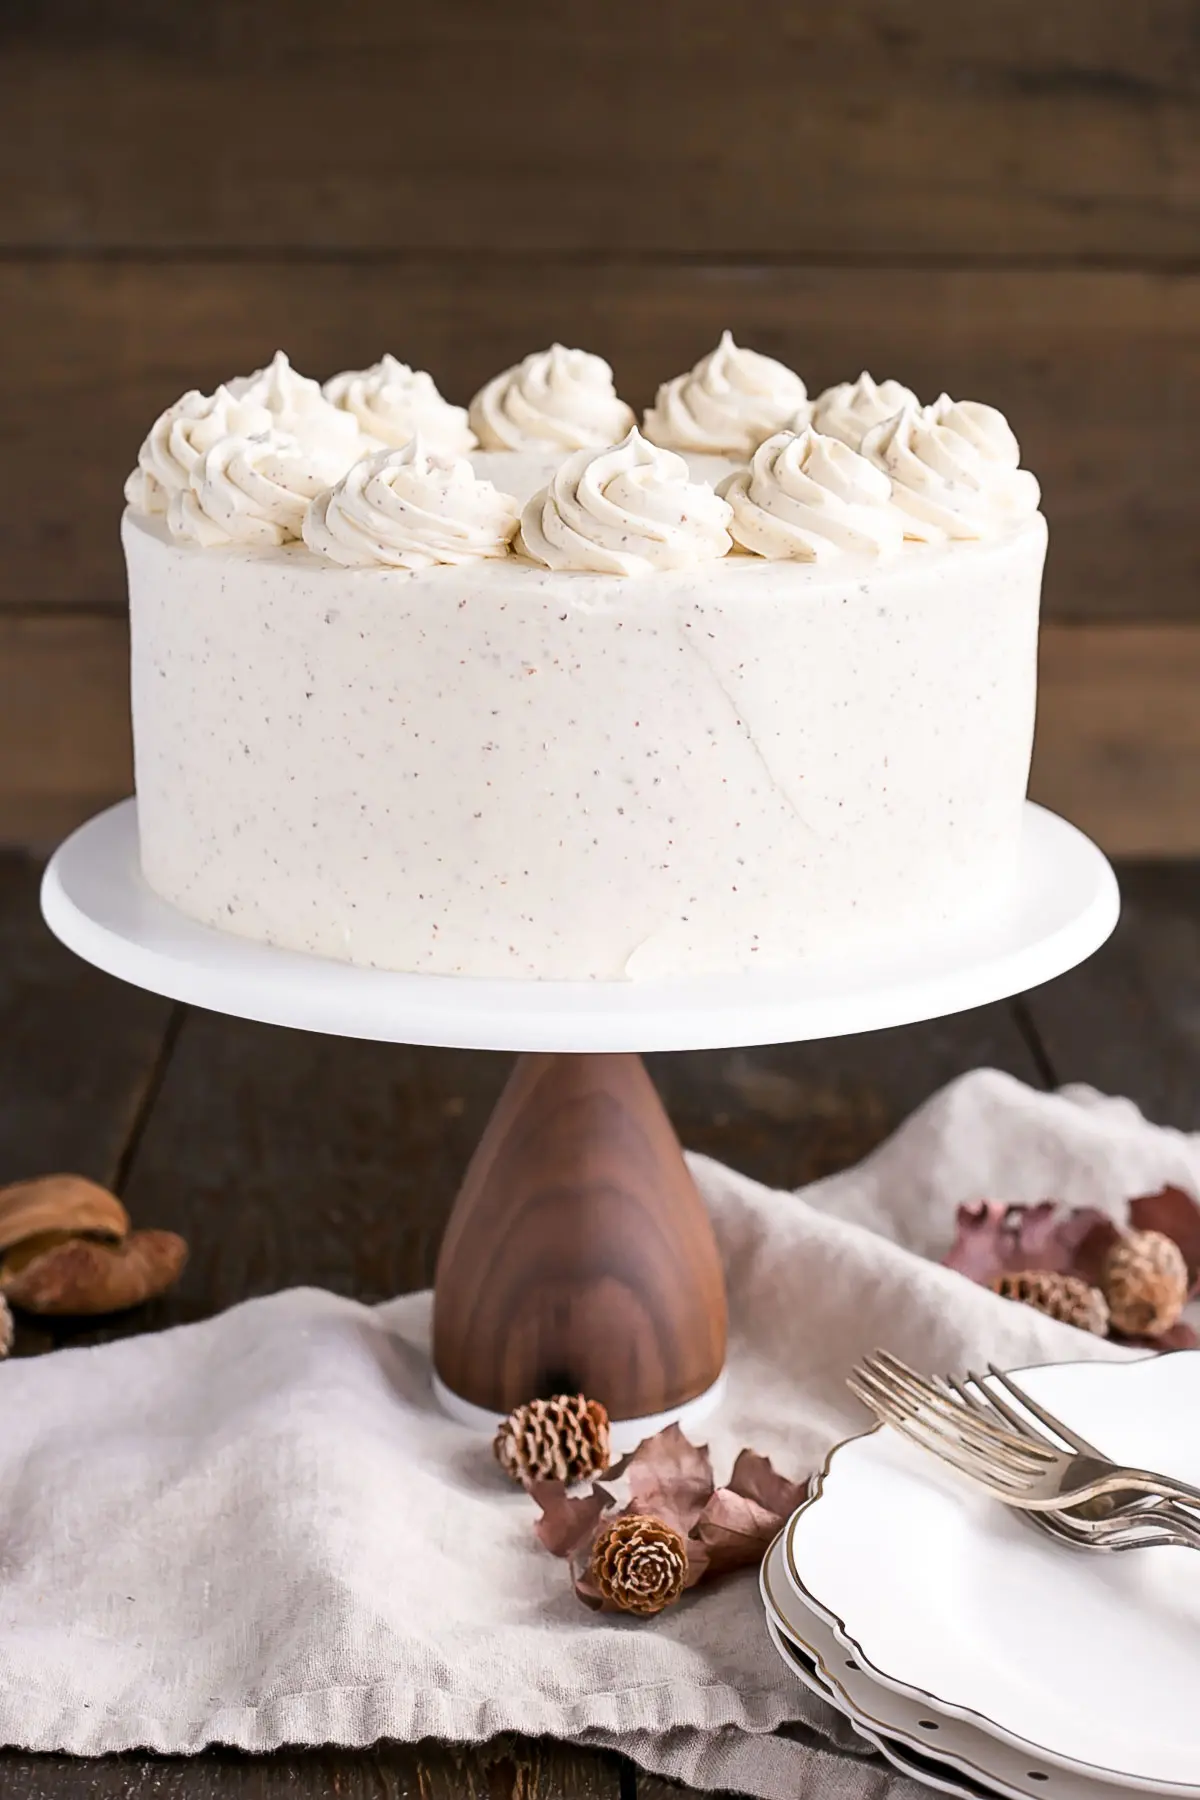
The flavor of this Brown Butter Cake is truly amazing. To be honest, doing the brown butter in both cake and frosting was a bit of a test. I wanted to see if it would really make a difference in the flavor, and wow, did it ever! This is such a simple change but it really does make for a unique nutty, buttery, caramelly, delicious cake!
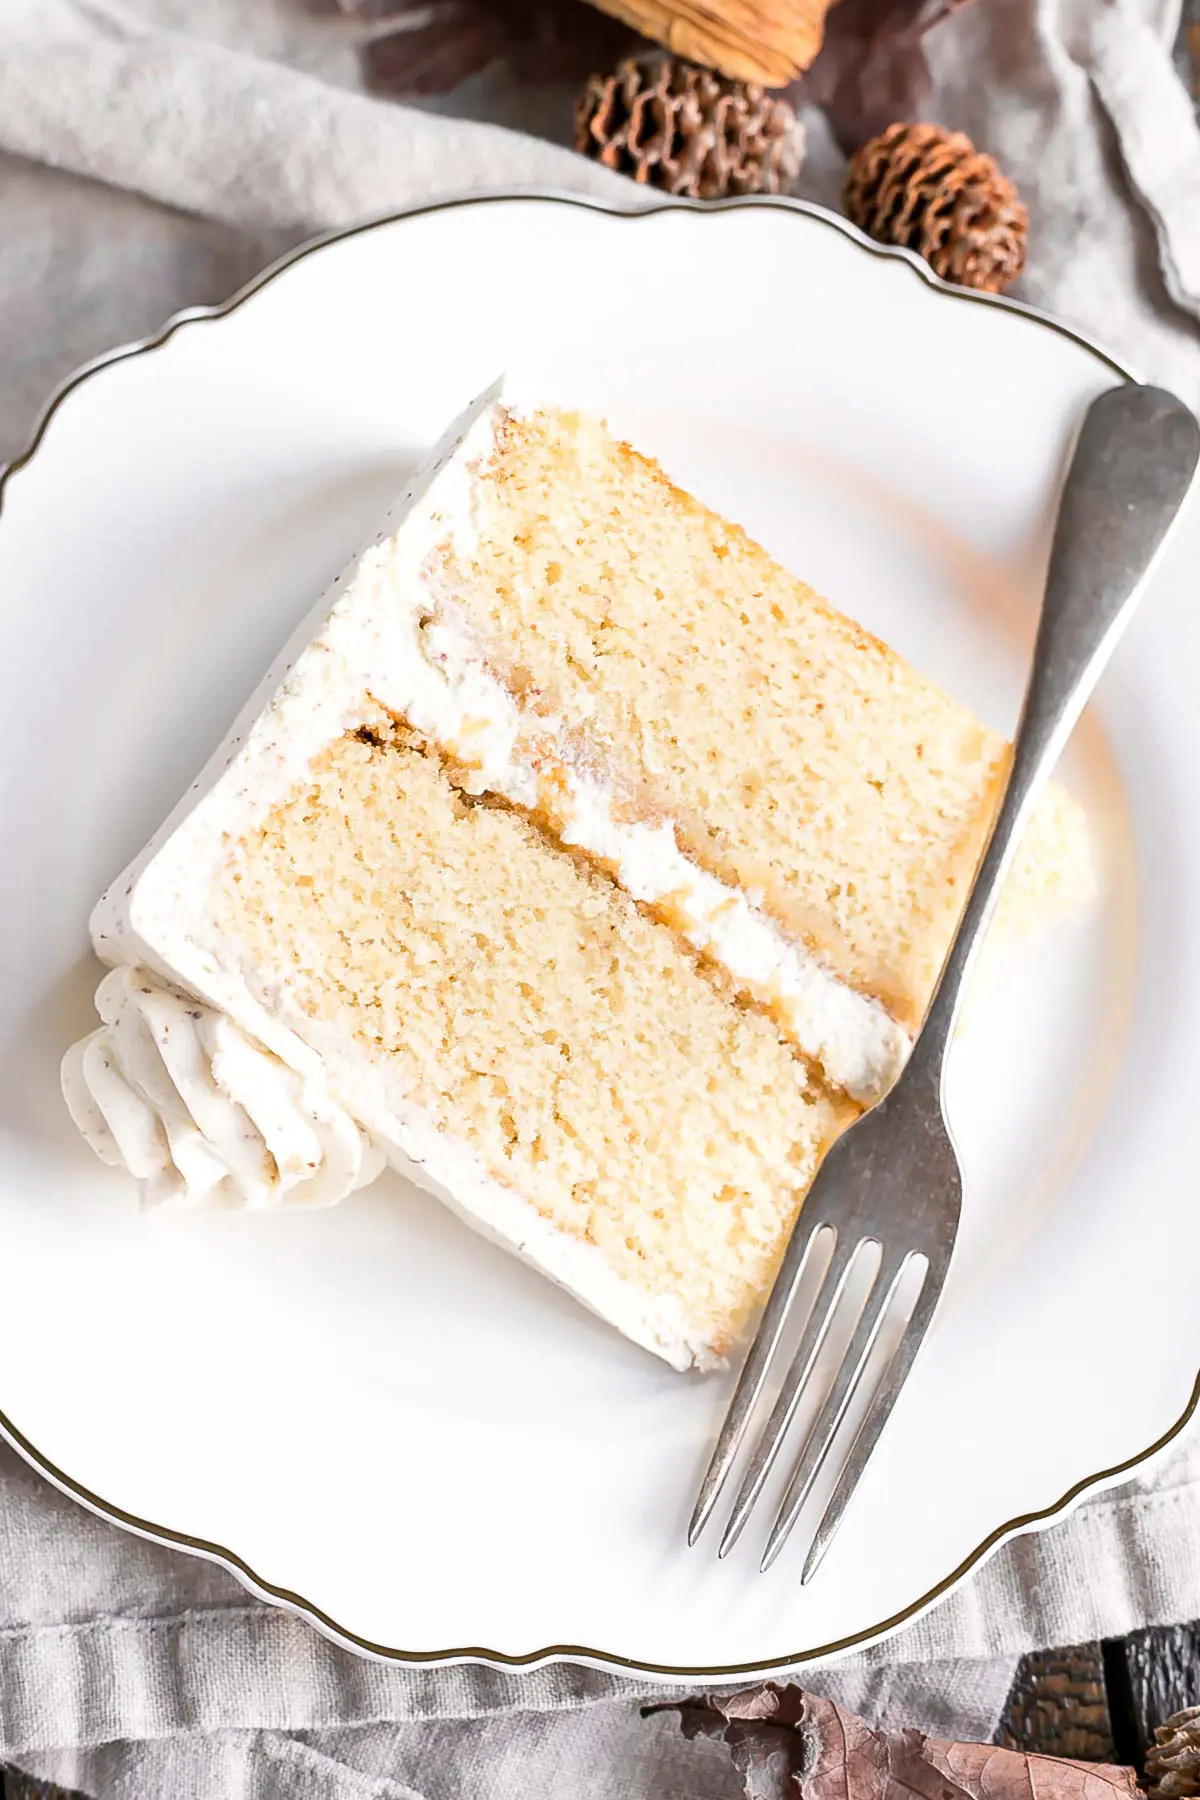
Tips for this Brown Butter Cake:
- Use a light colored pan to brown the butter so that you can actually see it getting brown. I used stainless steel.
- The butter will go from brown to burnt very fast, so work quickly to get it off the heat and transferred to a heatproof bowl or measuring cup.
- Allow the butter to cool and completely solidify before using in the recipes.
- Be sure to check my Swiss Meringue Buttercream post for tips and troubleshooting.
- To help ensure your cake layers bake up nice and flat, see my Flat Top Cakes post.
Brown Butter Cake
Ingredients
Brown Butter:
- 2 cups unsalted butter *
Brown Butter Cake:
- 2 1/4 cups all-purpose flour
- 2 tsp baking powder
- 3/4 tsp salt
- 3/4 cup brown butter room temperature, solid
- 1 cup granulated sugar
- 1/2 cup light brown sugar packed
- 3 large eggs room temperature
- 1 1/2 tsp vanilla extract
- 1 cup milk room temperature
Brown Butter Swiss Meringue Buttercream:
- 6 large egg whites
- 2 cups granulated sugar
- 1 1/2 cups unsalted butter room temperature, cubed
- 3/4 cup brown butter room temperature, solid
- 1 tsp vanilla extract
Instructions
Brown Butter:
- Place 2 cups butter into a large, shallow, light colored saucepan. Cook over med-low heat, stirring frequently until the butter starts to brown and smell nutty.**
- Immediately transfer to bowl or large measuring cup. Be sure to scrape in the brown bits. Measure out two separate 3/4 cup portions into separate containers for the cake and frosting respectively. Let cool to room temperature and solidify.***
Brown Butter Cake:
- Preheat oven to 350F. Grease and flour two 8″ cake rounds and line with parchment.
- In a medium bowl, whisk flour, baking powder, and salt until well combined. Set aside.
- Using a stand mixer fitted with a paddle attachment, cream browned butter and sugars on med-high until pale and fluffy (approx 3mins). Reduce speed and add eggs one at a time fully incorporating after each addition. Add vanilla.
- Alternate adding flour mixture and milk, beginning and ending with flour (3 additions of flour and 2 of milk). Fully incorporating after each addition.
- Bake for 45mins or until a toothpick inserted into the center comes out mostly clean.
- Place cakes on wire rack to cool for 10mins then turn out onto wire rack and cool completely.
Brown Butter Swiss Meringue Buttercream:
- Place egg whites and sugar into the bowl of a stand mixer, whisk until combined.****
- Place bowl over a double boiler on the stove and whisk constantly until the mixture is hot and no longer grainy to the touch (approx. 3mins). Or registers 160F on a candy thermometer.
- Place bowl on your stand mixer and whisk on med-high until the meringue is stiff and cooled (the bowl is no longer warm to the touch (approx. 5-10mins)).
- Switch to paddle attachment. Slowly add all of the regular butter and then the browned butter 1 Tbsp at a time and mix until smooth.*****
- Add vanilla and whip until smooth.
Assembly:
- Place one layer of cake on a cake stand or serving plate. Top with 1 cup buttercream and spread evenly.
- Place second cake layer on top and apply a thin coat of frosting all over to crumb coat. Chill for 20mins.
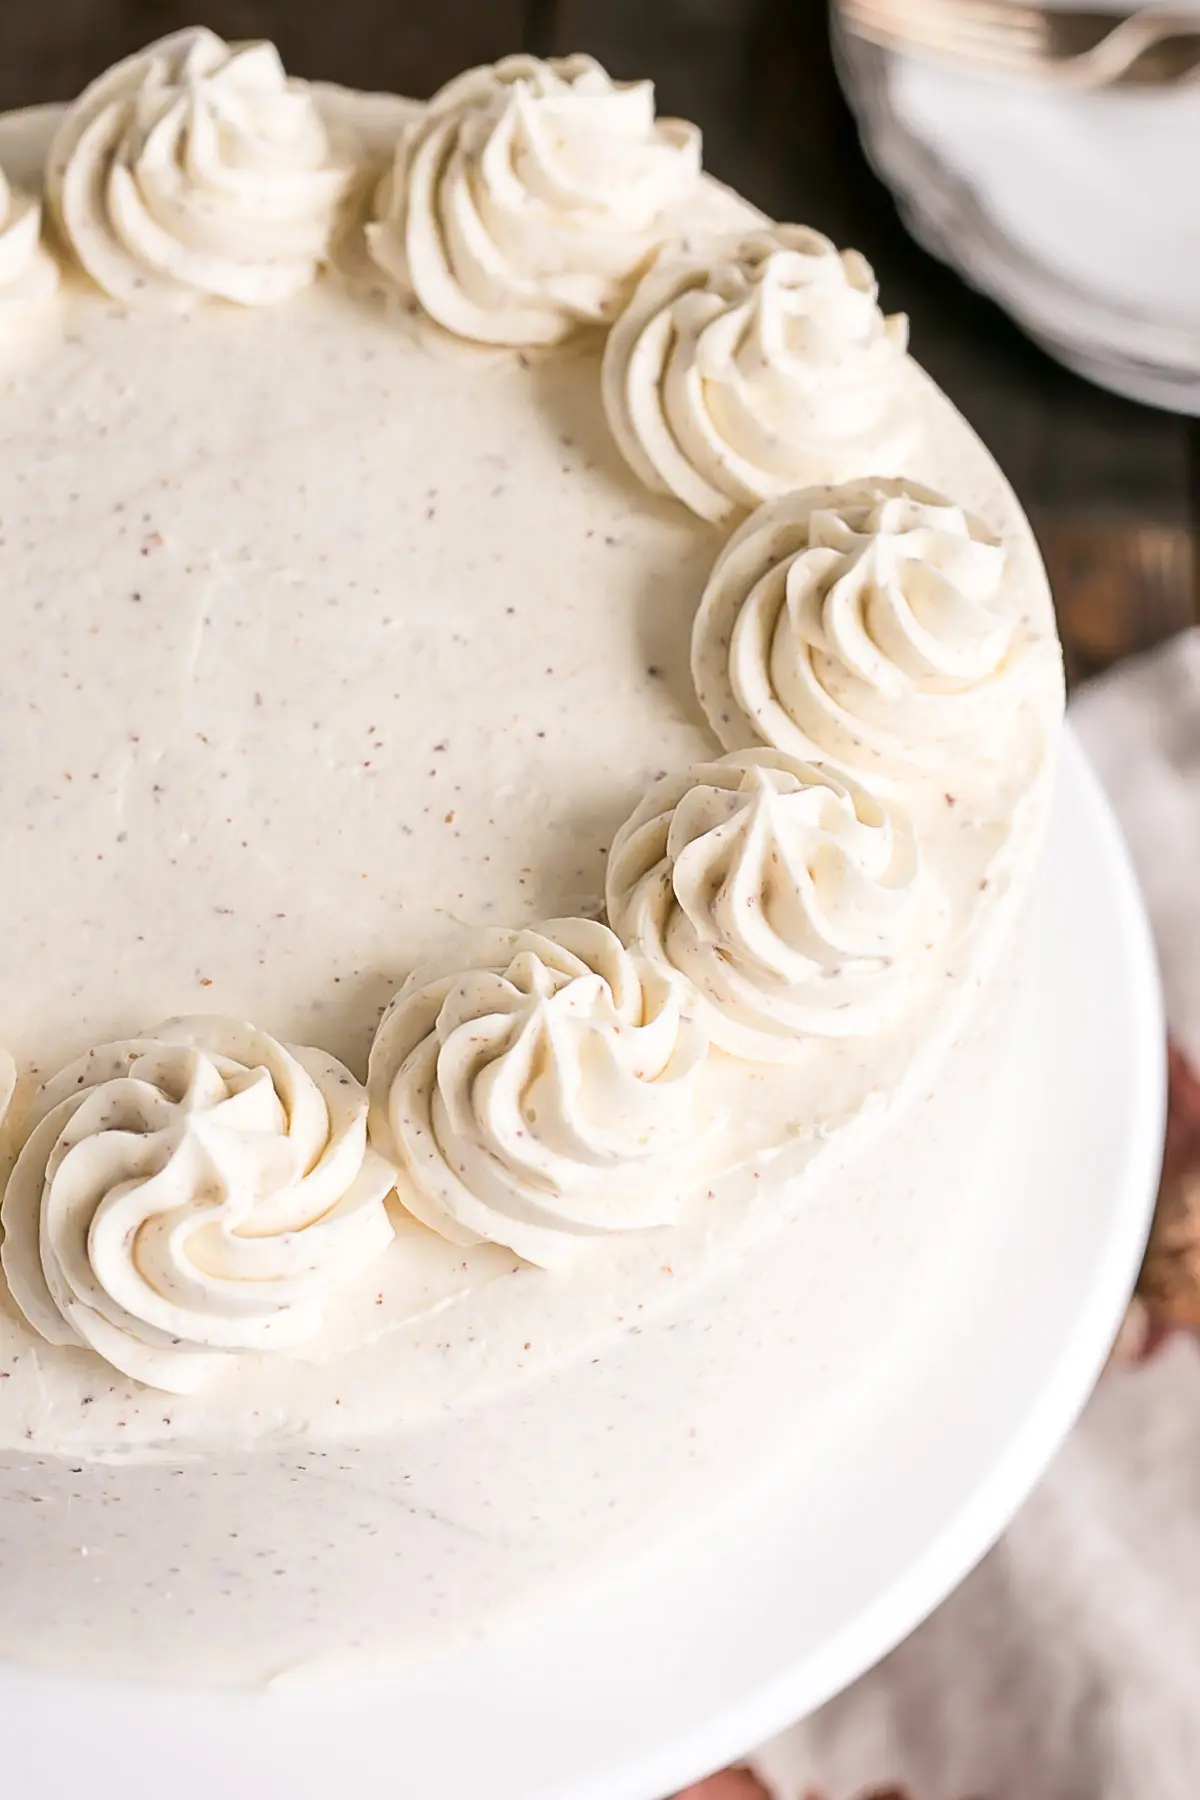
- Frost & smooth the top and sides of the cake. Pipe rosettes on top using a 1M tip if desired.
Notes
** Be careful not to burn it. It will go from brown to black very quickly.
*** Once the butter is at room temperature, you can place it in the fridge to speed up the solidifying process. Be sure to bring it to room temperature before using in the cake and frosting recipes.
**** Ensure there is NO trace of egg yolks in your whites and that your mixer bowl and whisk is completely grease free or your meringue won’t stiffen.
***** The buttercream may look like it’s curdled at some point. Keep mixing until it is completely smooth. NOTE: The Brown Butter Swiss Meringue buttercream recipe has been revised to add in more regular butter. The original recipe was browning 3 cups of butter and using 3/4 of that for the cake and 1 1/2 cups for the frosting.
The frosting was:
6 whites
1 1/2 cups sugar
1 1/2 cups brown butter
1 tsp vanilla



Valentina says
Hi there! I’d love to make this for my husbands birthday. Any tips for what I can make ahead besides the browned butter?
Olivia says
Hi Valentina! Here are my tips for baking in advance:
For the Cake: Cool the layers, double wrap in plastic wrap, freeze for up to 3 months. Take out 2-3 hours before assembly.
For the Buttercream: Place in an airtight container and refrigerate for 1 week for freeze for 3 months. Bring to room temperature and rewhip before using.
Finished Cake: The whole frosted cake can be frozen as long as it is stored in something airtight.
For shorter storage, the cake will be fine in the fridge for 2-3 days but after that it will start to dry out.
Julie says
Hello,
I’m so excited to try this recipe! I want to make an 8 inch 3 layer cake. Do you suggest increasing the recipe or will it be enough batter for three pans?
Thank you,
Julie
Olivia says
Hi Julie! For three 8″ layers I would 1.5x the recipe. You can change the Servings from 12 to 18 to get the amounts.
Regi says
Made this for my nephews birthday, it was a big hit! The frosting texture was amazing! I didn’t know I was capable of making something like that!
Olivia says
Hi Regi! I am so happy to hear that! Thanks for the feedback 🙂
Shareana says
Tha cake is amazing BUT when you use two 8 inch pans it makes a very small cake. Each pan is only about half full of cake. Next time I’d double it to get two full cake pans.
Olivia says
Hi Shareana! So glad you liked it. Each cake layer should be about 1.5″ tall. If you have 3″ tall cake pans you should be able to double it.
LCS says
Love the sound of this! How would you adapt to be gluten free? TIA!
Olivia says
Hi LCS! The recipe should work fine using a proper All Purpose GF flour blend.