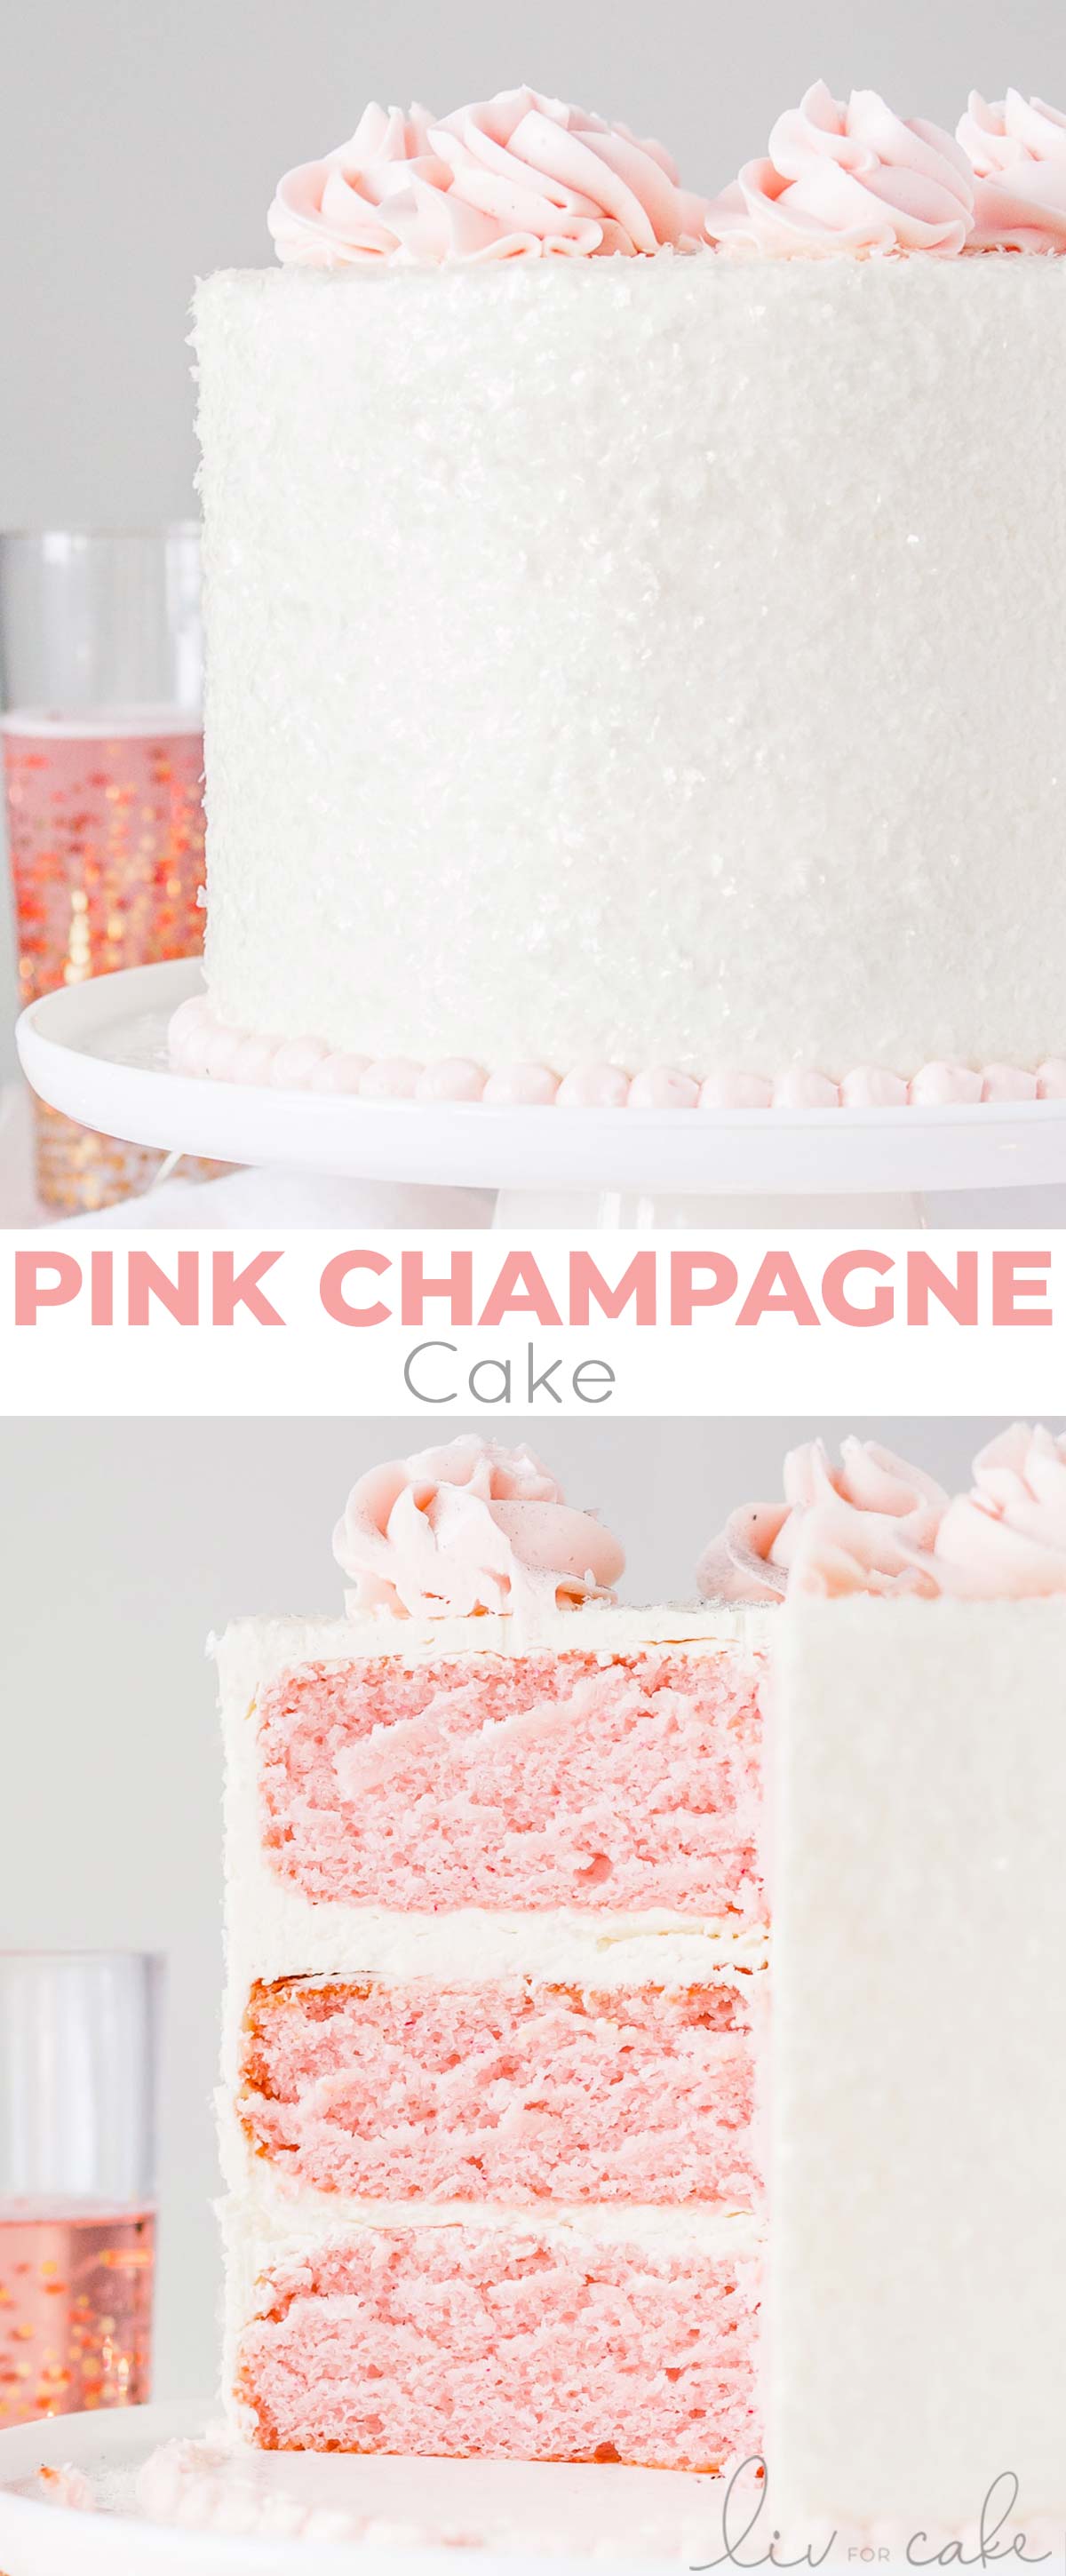
This Pink Champagne Cake is the perfect way to celebrate any occasion or holiday! A champagne infused cake with a classic vanilla buttercream.
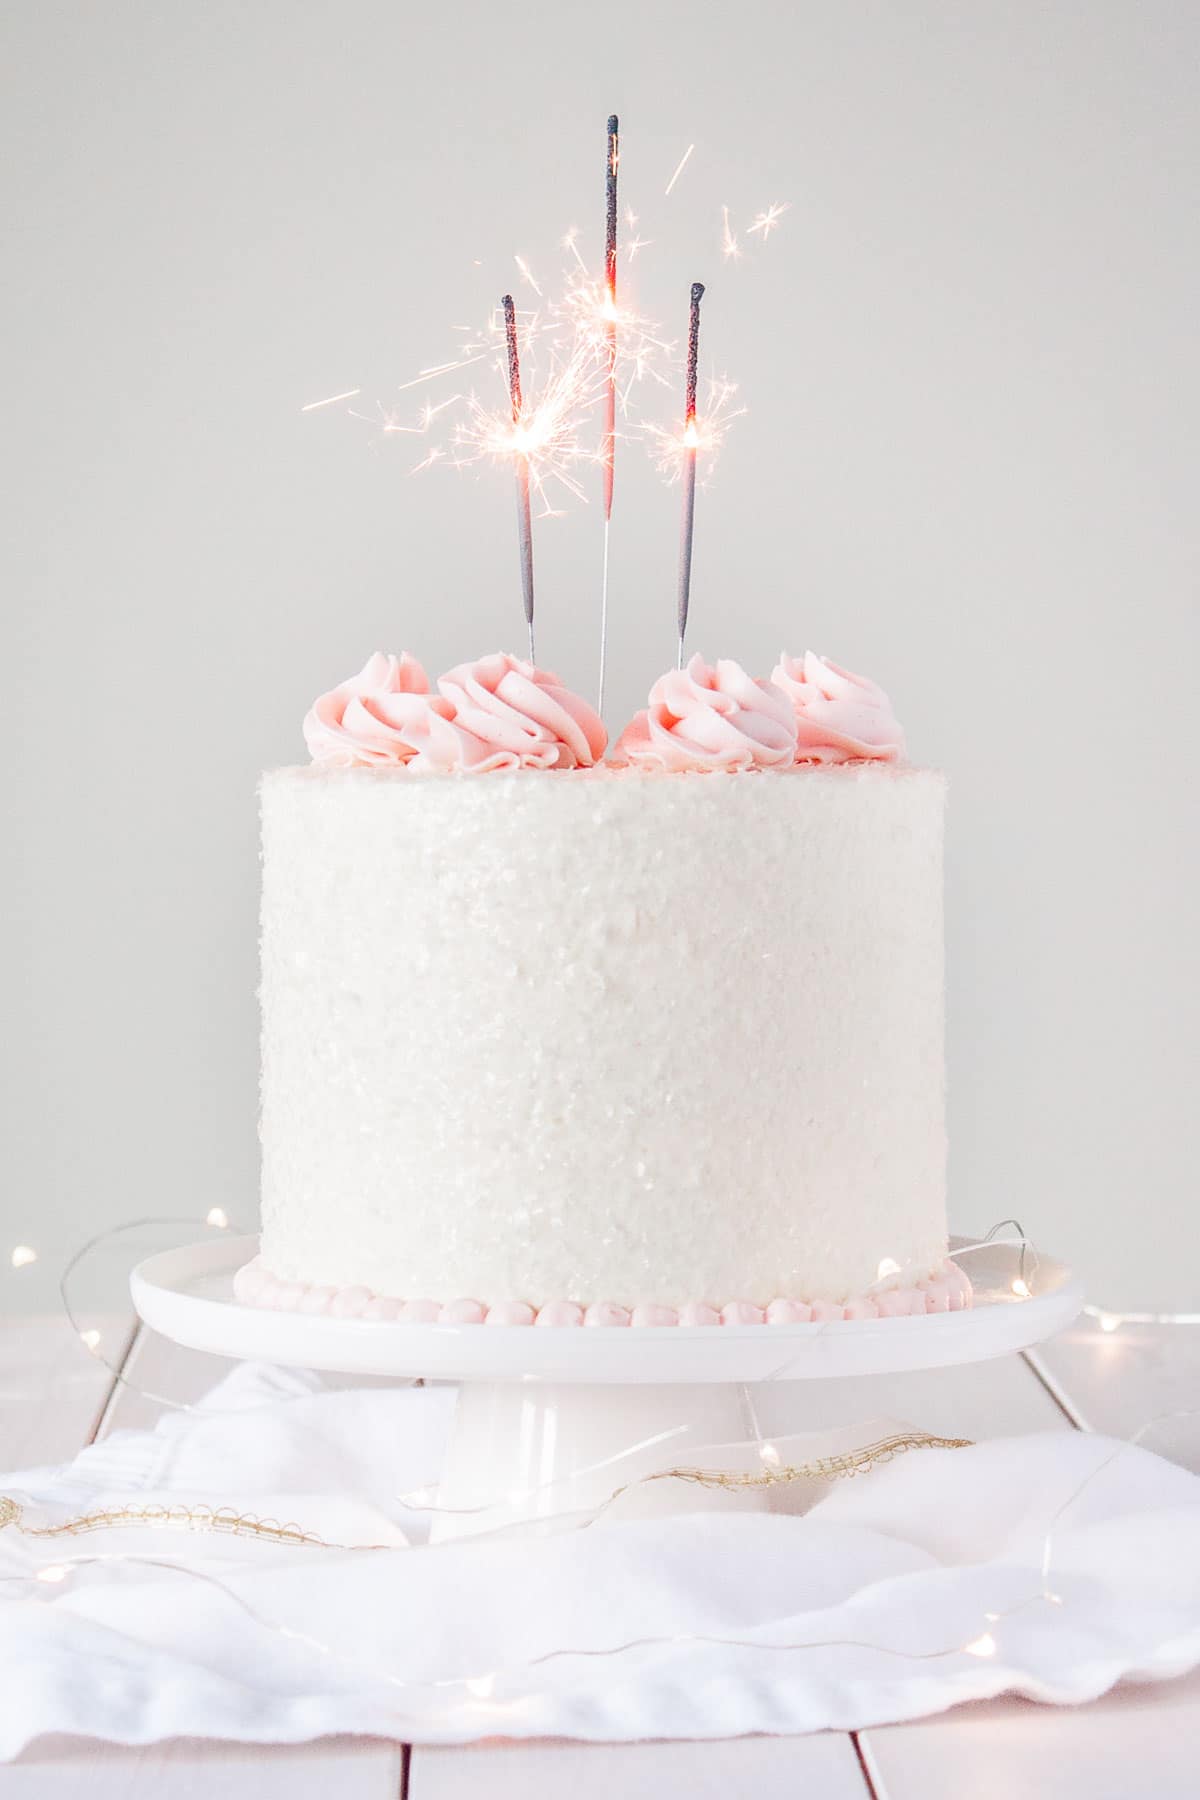
I wanted to do something special for New Year’s Eve this year, since I often let it pass by without mention.
We’re not big on New Year’s Eve parties, and often spend the evening enjoying a cozy night at home, though we do have our own traditions.
“Dinner” on NYE is a generous spread of various appetizers and goodies that we end up grazing on throughout the night.
There is always champagne or some sparking wine around, and we end up tuning in to some kind of NYE broadcast around midnight. Almost always, it’s New Year’s Rockin’ Eve because it’s in Times Square and, to me, that is the epitome of NYE celebrations.
It’s not the same without Dick Clark though. 🙁
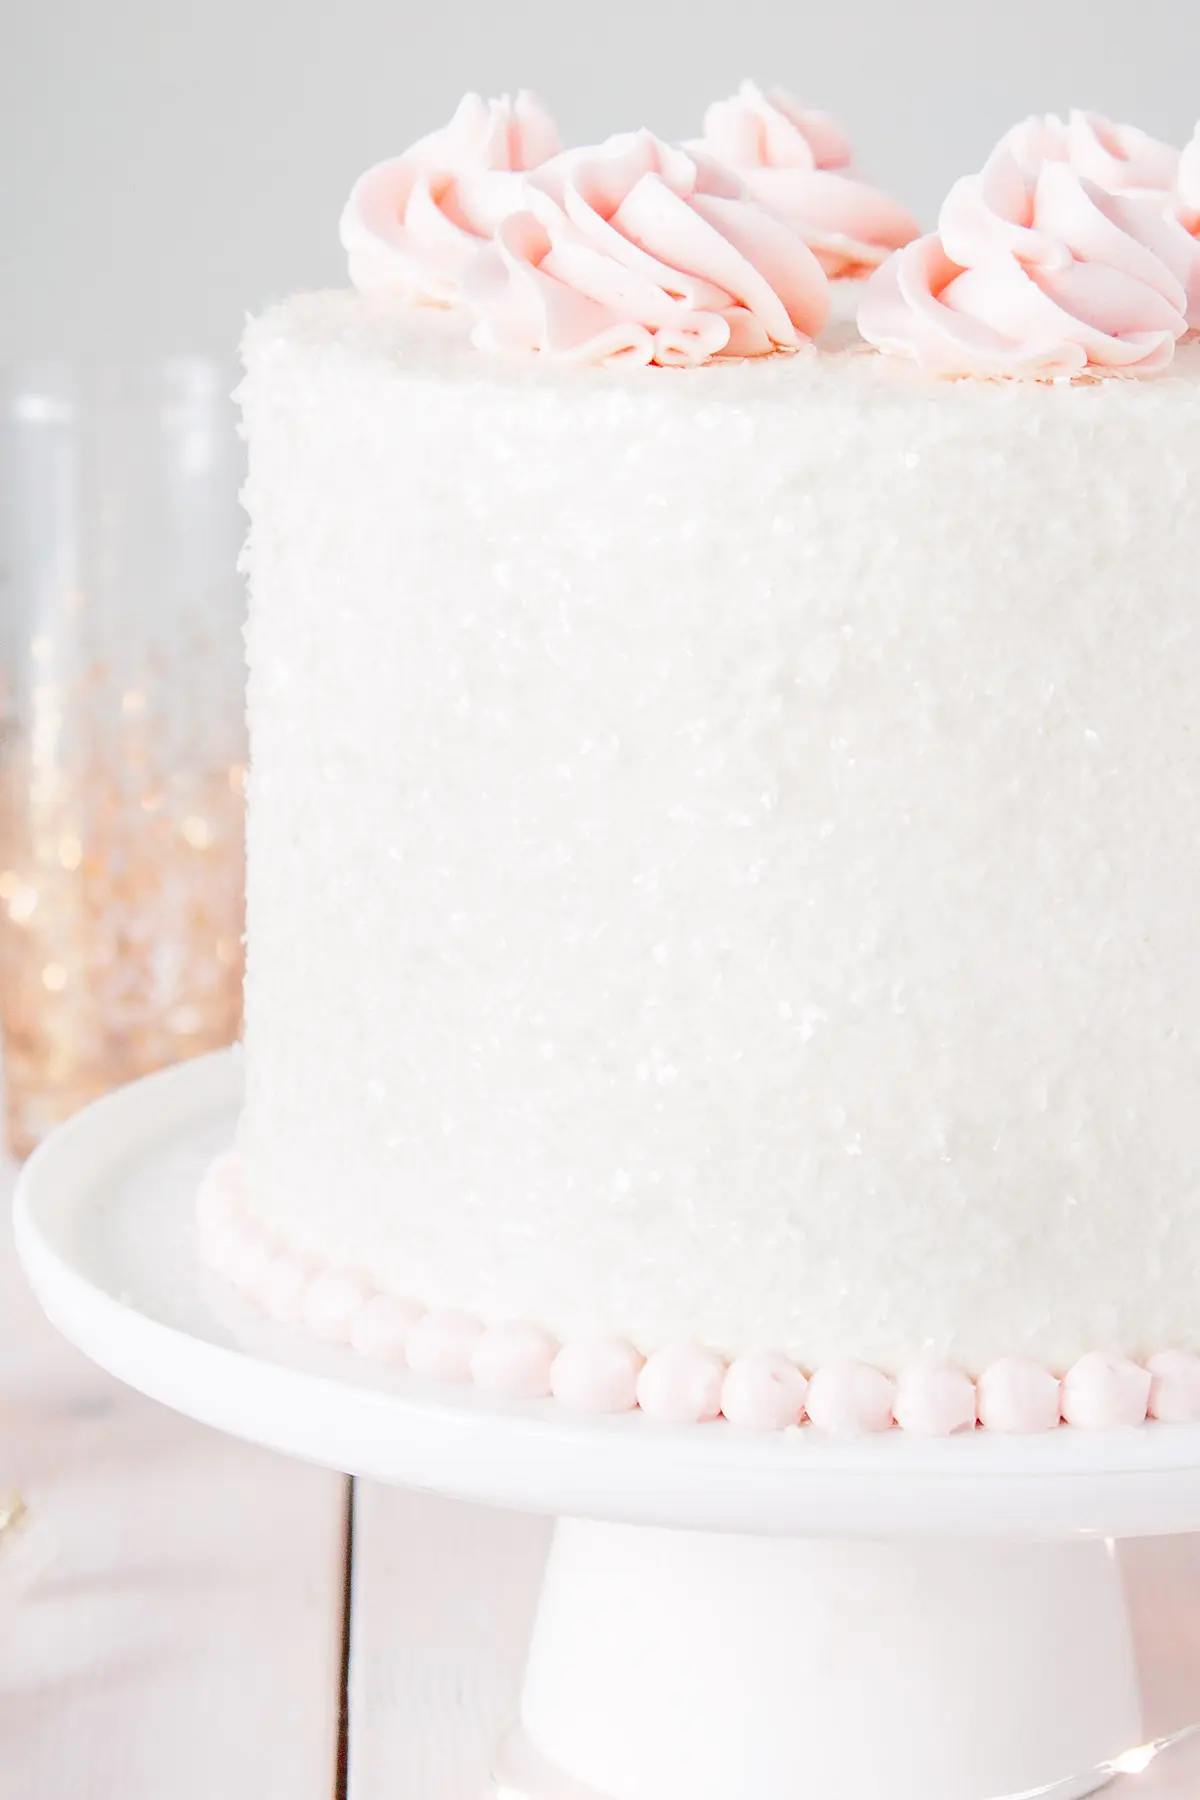
It’s always a quiet and enjoyable evening at the Liv for Cake household, and this Pink Champagne Cake is the perfect way to celebrate.
I’d like to tell you that this Pink Champagne Cake went off without a hitch, but I think you know me better than that by now.
This cake, or rather the photo shoot for this cake, was a huge pain in the butt.
Since the cake was pretty and pale, I thought it would look best with a light/white backdrop, which essentially made it impossible to get a good shot (at least with my camera and expertise).
Know what else is not fun?
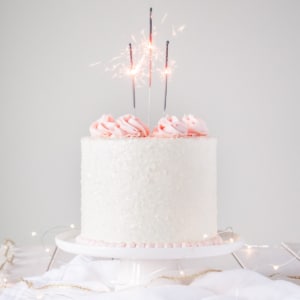
Trying to light 3 sparklers simultaneously so that they ignite at exactly the same time, placing them quickly onto the cake, and grabbing your camera so you can take some pics.
I could have really used an extra set of hands (or two) or a remote for my camera. Ugh.
Let’s not even talk about how many sparklers I went through (18). That’s one entire package (though it actually felt like more at the time). I bought two packs just in case, and I would have used more, but by the 18th sparkler I was SO over it.
Naturally, of the 40 sparkler pics I took, I ended up using #4 which was the first one after a couple test shots.
True story.
Oh, and the sparkler photo session was briefly interrupted here and there so I could fan the smoke away from the smoke alarm. LOL. You can’t make this stuff up.
Sparkler issues aside, I think this Pink Champagne Cake turned out pretty well and it’s the perfect cake for any celebration!
Other noteworthy tidbits from this shoot:
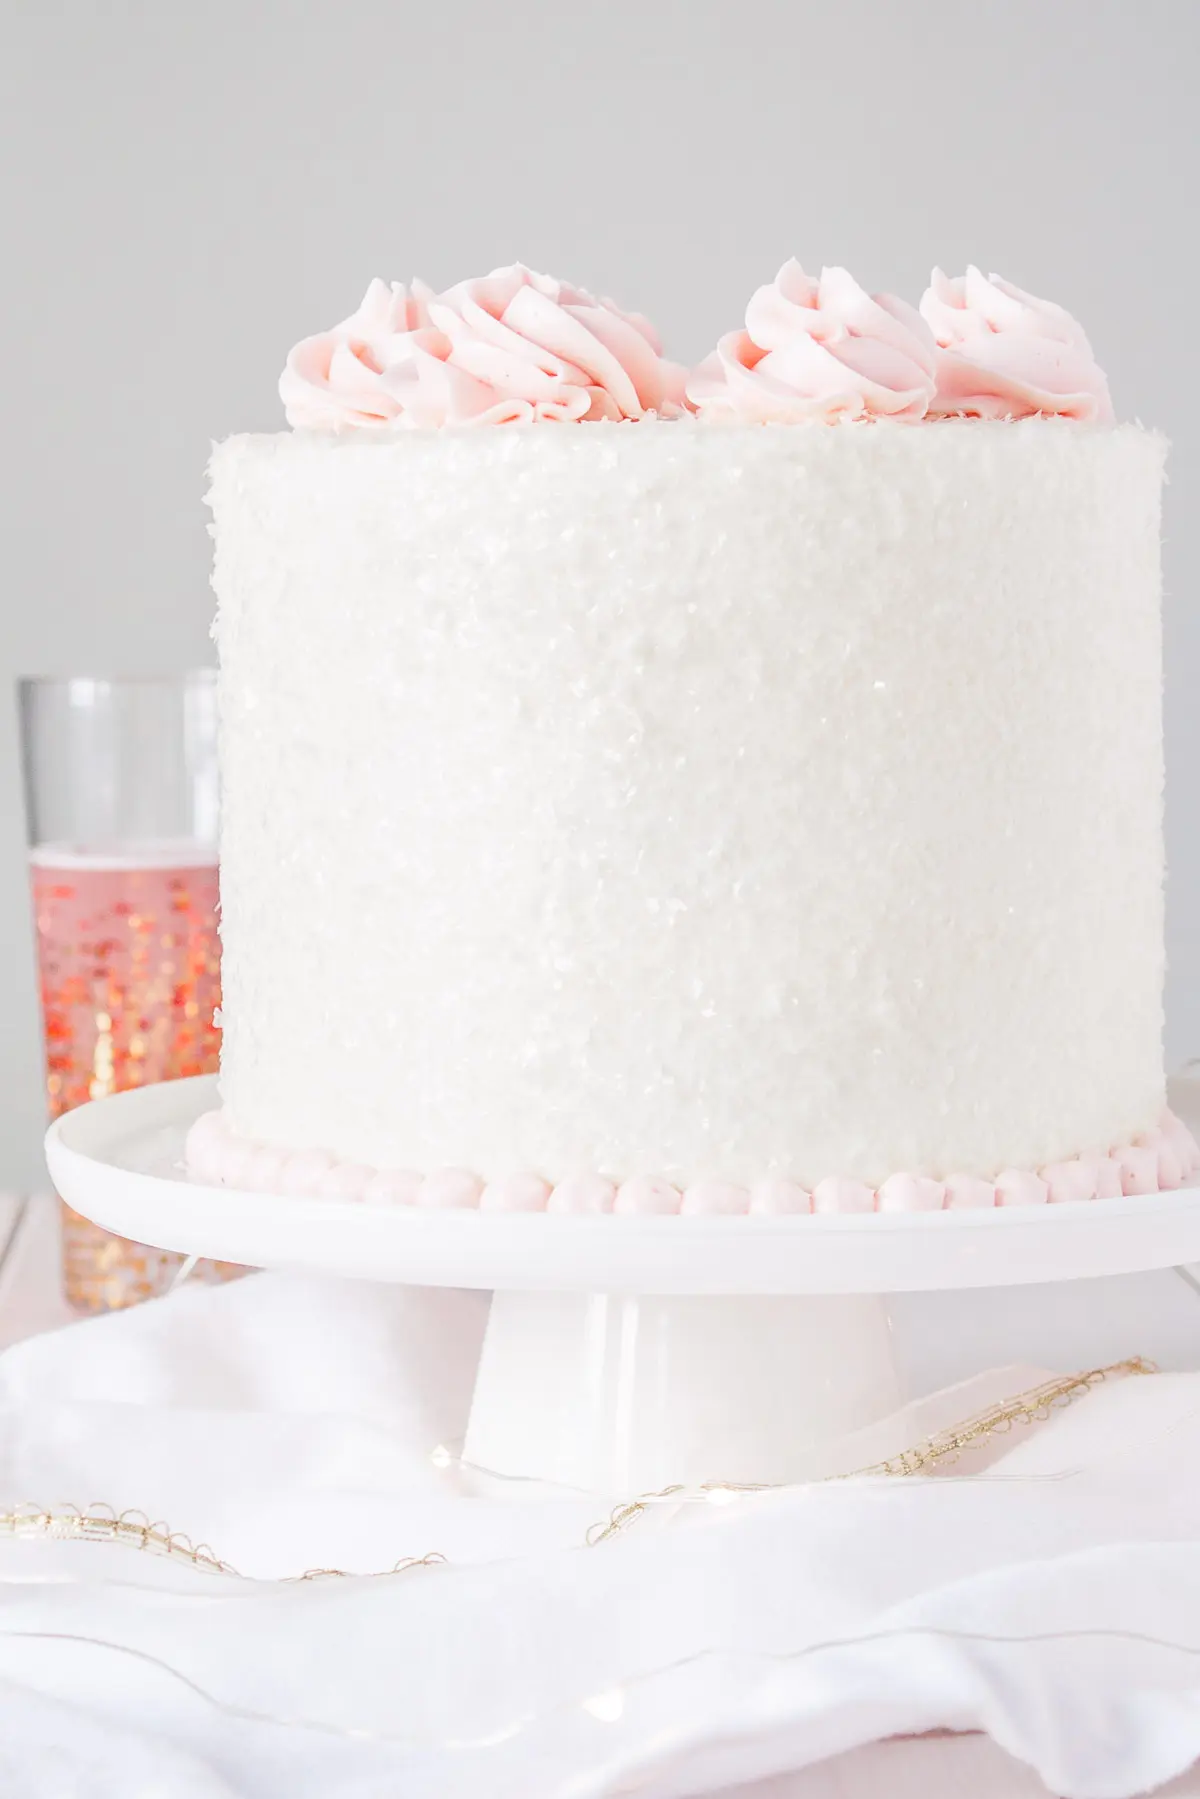
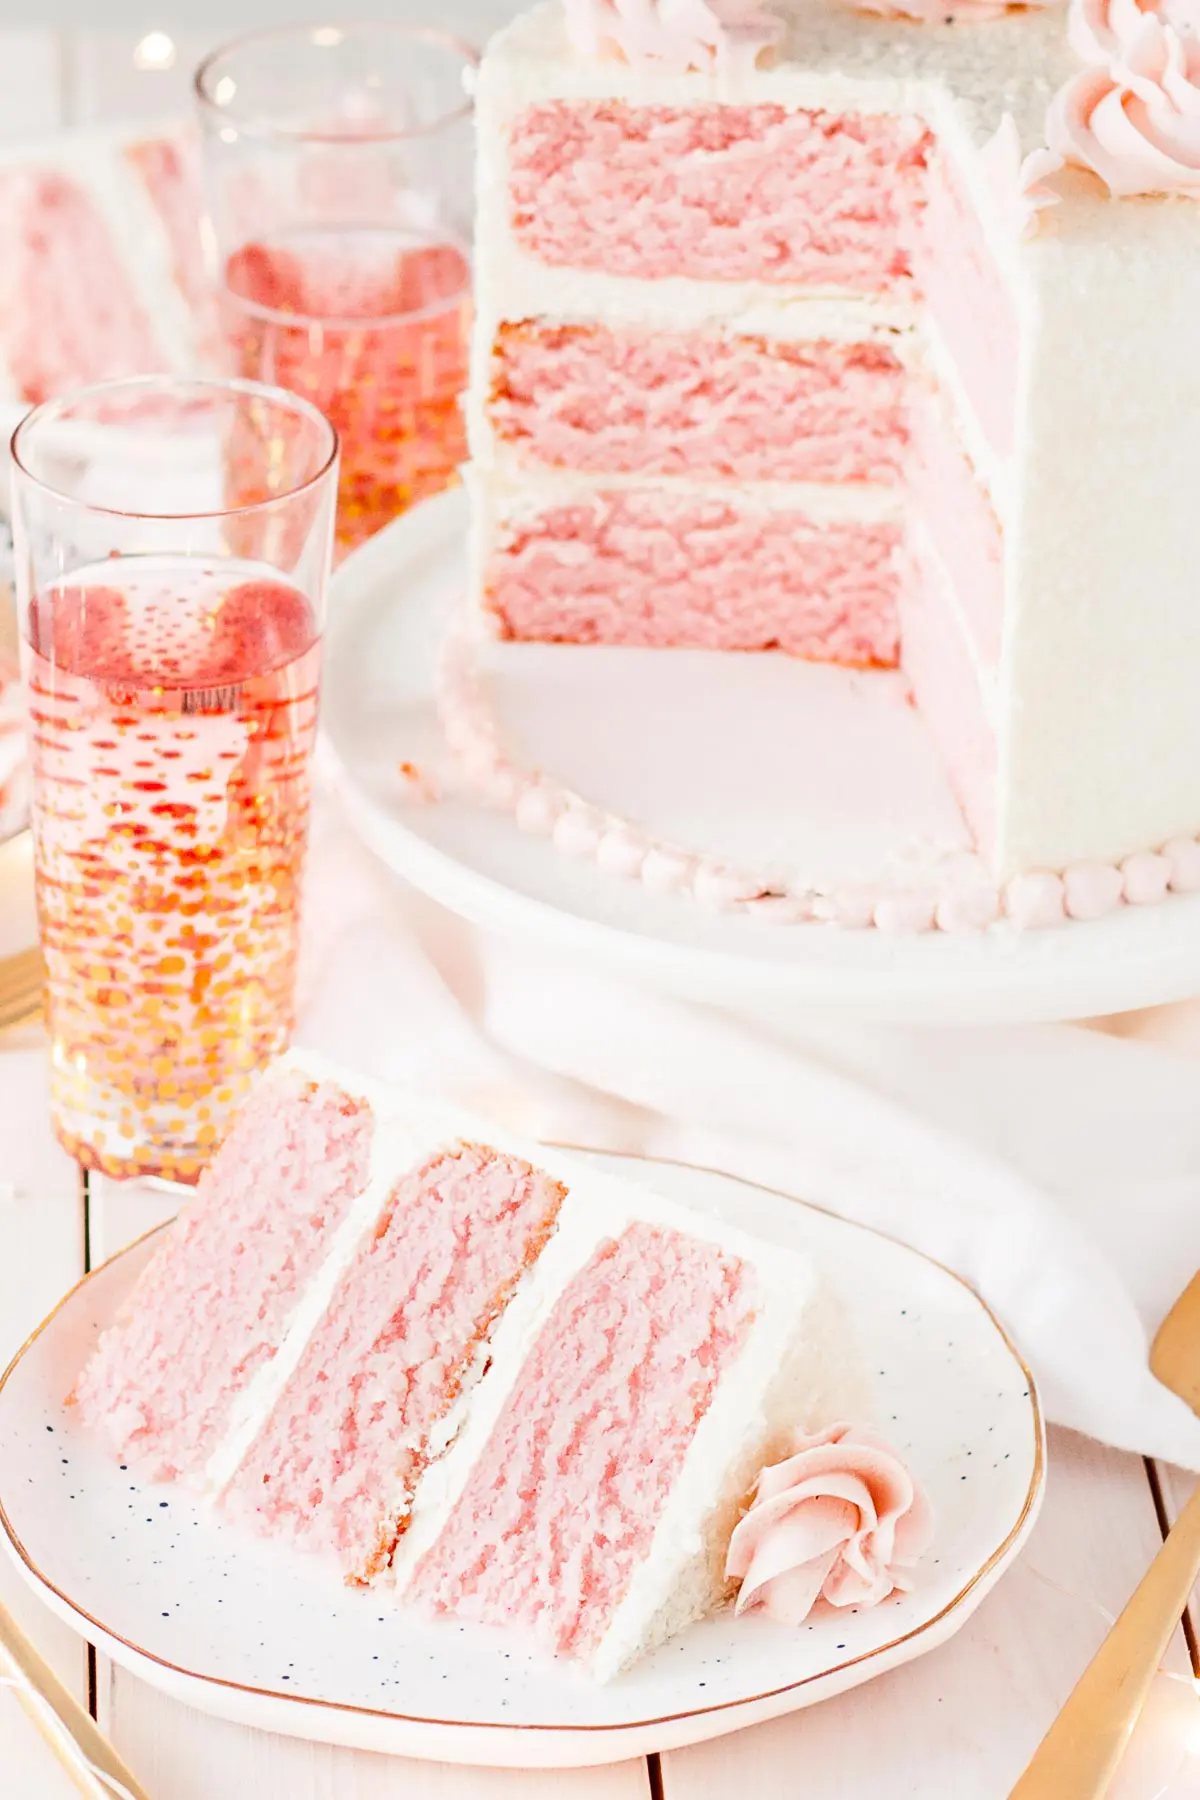
- I watered down the pink champagne because it was too dark pink in contrast with the cake.
- I removed the champagne glasses from the sparkler photo session for fear that they would ignite (lol).
Knowing my luck, they would have.
Cake Sparkles
The cake sparkles I pressed into the sides and top of the cake, while pretty and sparkly and perfect, do not have the best texture.
You’d think they would dissolve almost instantly as soon as you eat them… but they don’t.
You have to chew them and then eventually just give up and swallow. I’m still glad I used them though, and totally would again for the pretty effect that they gave the cake.
Pink Champagne Cake
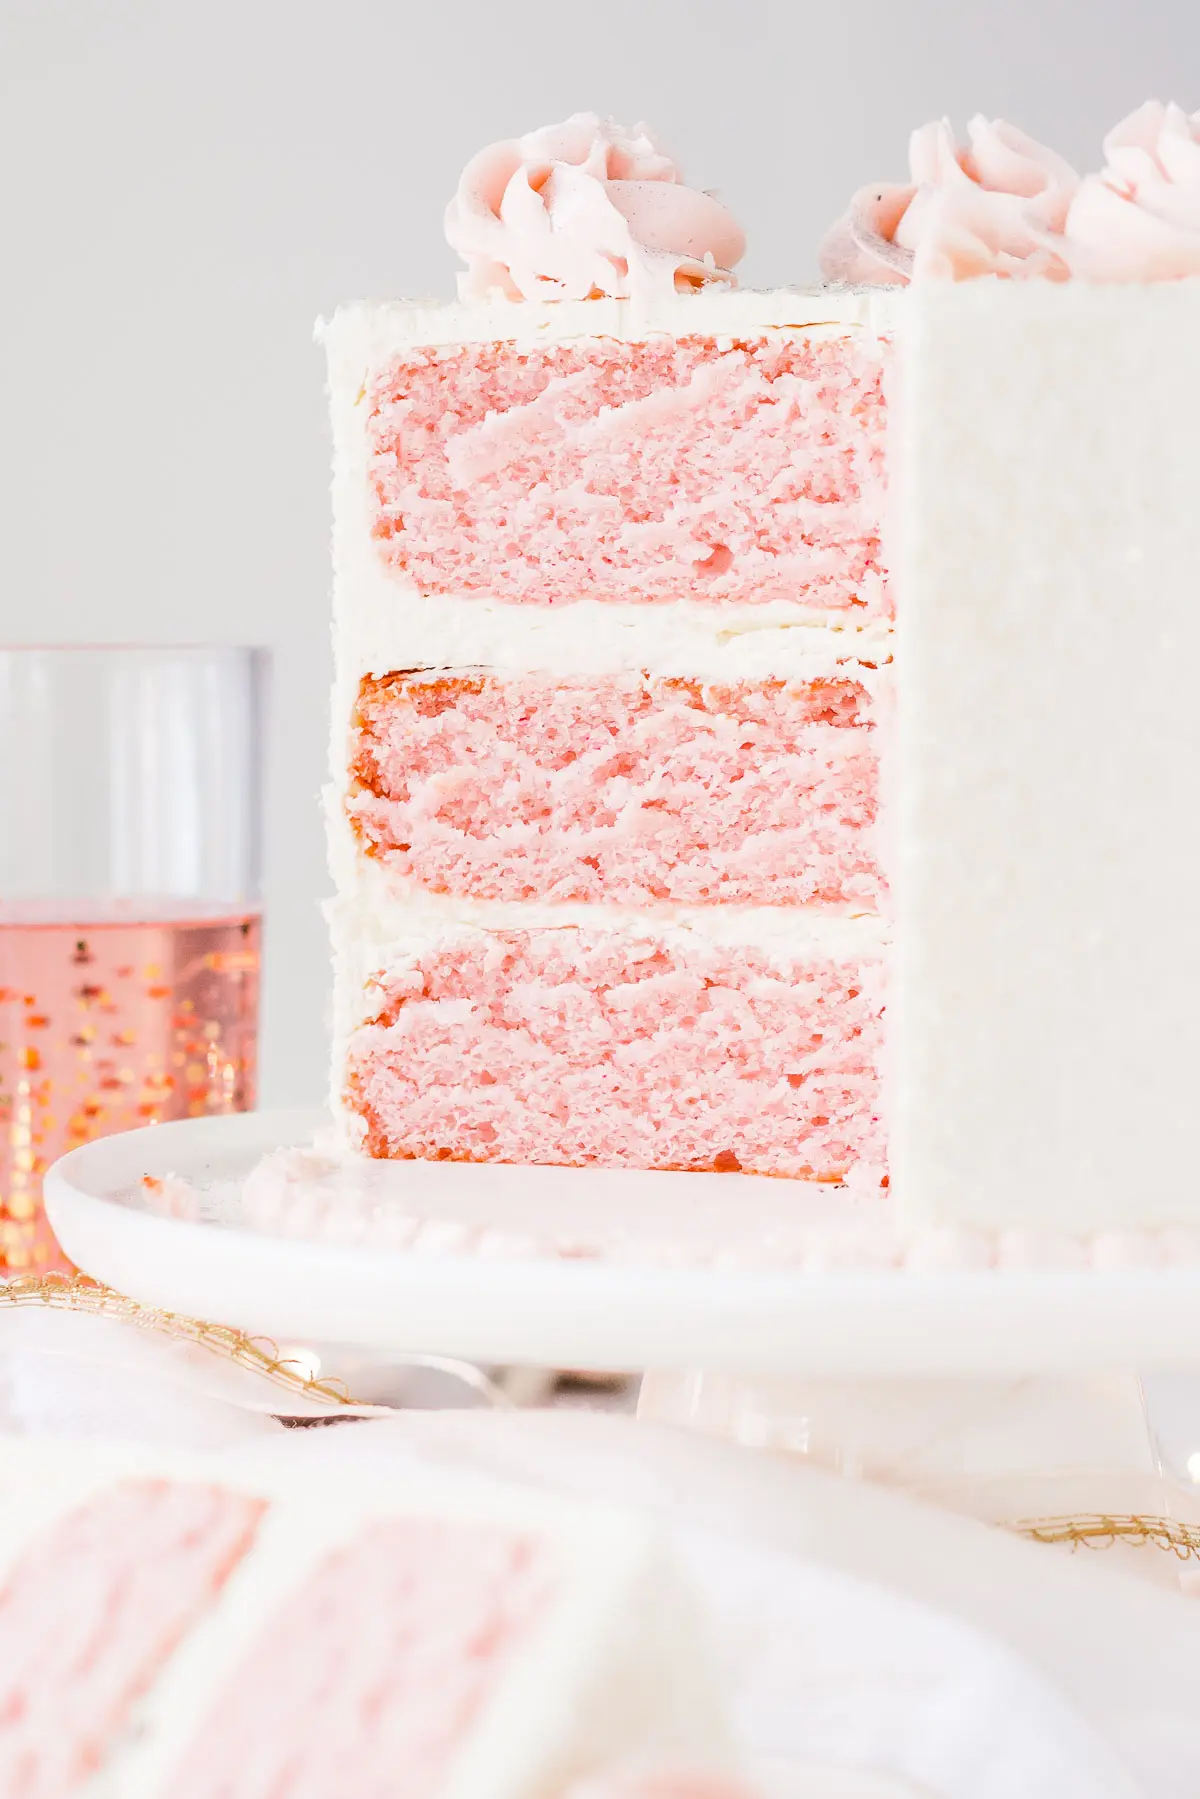
This Pink Champagne Cake tastes just like (surprise, surprise) champagne!
So if you don’t like the taste of champagne or sparkling wine, you might not like the flavor of this cake. Though my cake taste testers said it didn’t taste overly champagne-y and they thoroughly enjoyed it.
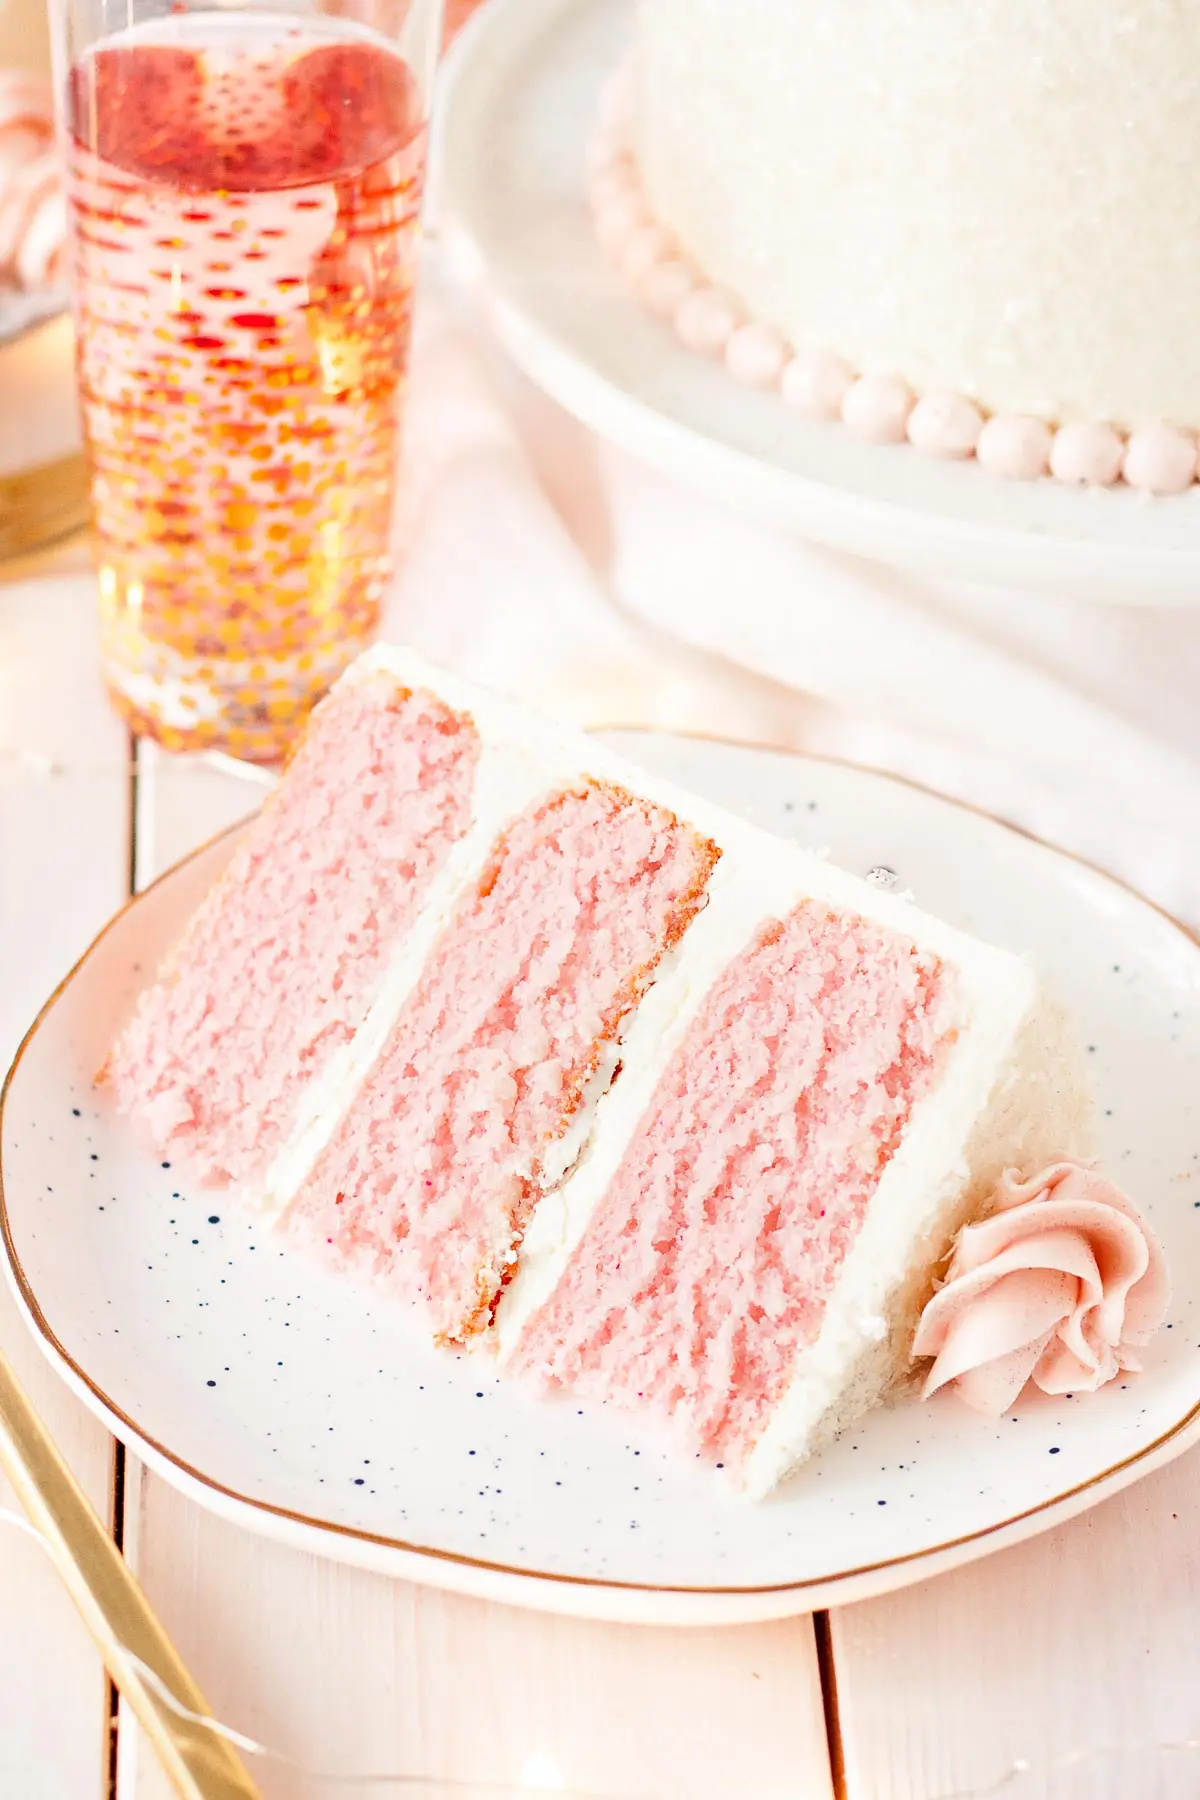
I went with a pretty pink color for the cake layers, as I wanted something different. You could do a gold (use 2 whole eggs rather than 3 whites, and non-pink champagne) or some other color instead and it would be just as pretty.
Whatever you decide, this cake is sure to be a crowd-pleaser for your celebrations.
Tips for this Pink Champagne Cake:
- Recipe revised Aug 4, 2019 ~ I increased volume to yield thicker layers. The recipe makes enough for three 6″ pans or two 8″ pans. Layers should be close to 2″ tall.
- The recipe as-is will also work in two 8″ pans. For three 8″ pans, 1.5x the recipe.
- To make cupcakes, all you need to do is reduce the baking time — start checking at 15mins or so.
- If you don’t like the taste of wine/champagne, you may not like the flavor of this cake (shocker, I know).
- Do not overmix the cake batter once the flour is added as it will result in a fragile and crumbly cake. To prevent this you can add some color gel when you’re mixing the butter & sugar instead.
- Cake sparkles give a perfectly pretty effect, but I would recommend sanding sugar instead for a more palatable texture.
- If you would like to have a gold-toned cake for NYE, use 3 whole large eggs rather than 5 large egg whites, and regular champagne instead of pink. I wouldn’t recommend tinting the batter, but you can try brushing gold luster dust onto the chilled/set frosting or using gold leaf to add accents!
- Learn how to keep your cakes moist by using Simple Syrup.
- Be sure to check my Swiss Meringue Buttercream post for tips and troubleshooting and for how to make your buttercream white.
- To help ensure your cake layers bake up nice and flat, see my Flat Top Cakes post.
Pink Champagne Cake
Ingredients
Pink Champagne Cake:
- 2 1/4 cups all-purpose flour
- 2 1/4 tsps baking powder
- 3/4 tsp salt
- 3/4 cup unsalted butter room temperature
- 1 1/2 cup granulated sugar
- 5 large egg whites room temperature
- 1 1/2 tsp vanilla extract
- 1 cup pink champagne or sparkling wine, room temperature
- Fuschia color gel
Vanilla Buttercream:
- 5 large egg whites
- 1 1/2 cups granulated sugar
- 1 1/2 cups unsalted butter room temperature, cubed
- 1 tsp clear vanilla extract
- Fuschia color gel
Assembly:
- 2 jars of cake sparkles or 1 jar sanding sugar
- Wilton tip 1M
- Wilton tip 12
Instructions
Pink Champagne Cake:
- Preheat oven to 350F and grease and flour three 6" cake rounds, line with parchment.
- In a medium bowl, whisk flour, baking powder, and salt. Set aside.
- Using a stand mixer fitted with the paddle attachment, beat butter until smooth. Add sugar and beat on med-high until pale and fluffy (2-3mins).
- Reduce speed and add egg whites one at a time, fully incorporating after each addition. Add vanilla.
- Alternate adding flour mixture and champagne, beginning and ending with flour (3 additions of flour and 2 of champagne). Fully incorporating after each addition.
- Add a small amount of Fuschia color gel using a toothpick. Mix to incorporate but try not to overmix.
- Spread batter evenly into prepared pans. Smooth the tops with a spatula.
- Bake for approx. 35 mins or until a toothpick inserted into the center comes out mostly clean.
- Place cakes on wire rack to cool for 10mins then turn out onto wire rack to cool completely.
Vanilla Buttercream:
- Place egg whites and sugar into the bowl of a stand mixer, whisk until combined.*
- Place bowl over a hot water bath on the stove and whisk constantly until the mixture is hot and no longer grainy to the touch (approx. 3mins).
- Place bowl on your stand mixer and whisk on med-high until the meringue is stiff and cooled (the bowl is no longer warm to the touch (approx. 5-10mins)).
- Switch to paddle attachment. Slowly add cubed butter and mix until smooth. Add vanilla and continue to whip until smooth.**
Assembly:
- Place one layer of cake on a cake stand or serving plate. Top with approximately 2/3 cup of frosting and spread evenly. Repeat with remaining layers and apply a thin coat of frosting all over the cake. Chill for 20mins.
- Frost and smooth the sides. Chill for 20mins.
- Using a toothpick, add a small amount of Fuschia color gel to the remaining frosting. Stir with a spatula to incorporate, or place back on the stand mixer to mix in the color.
- Gently press cake sparkles or sanding sugar into the sides and top of the cake.***
- Decorate with pink rosettes on top and beads along the bottom if desired.
Notes
** The buttercream may look like it’s curdled at some point. Keep mixing until it is completely smooth.
*** It’s easiest to do this if the cake is on a cake board and you can place it on an upside-down glass or bowl so the edges hang over. Adapted from My Cake School. ~Recipe revised Aug 4, 2019 – I increased volume to yield thicker layers. The recipe makes enough for three 6″ pans or two 8″ pans. Layers should be close to 2″ tall.~
Originally published on Dec 17, 2016



David Rebeles says
I was apprehensive about making this cake as sometimes, the recipes aren’t always on target. This recipe is the real deal! The only modification I made was to put the whipped meringue into the refrigerator for 5 minutes before adding the butter. I also made 24 large cupcakes instead of the 3 layers. Thankyou so much for sharing!
Olivia says
Hi David! Thanks for the wonderful feedback. I’m so glad you loved it 🙂