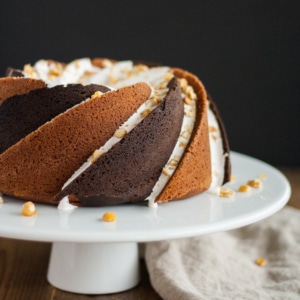
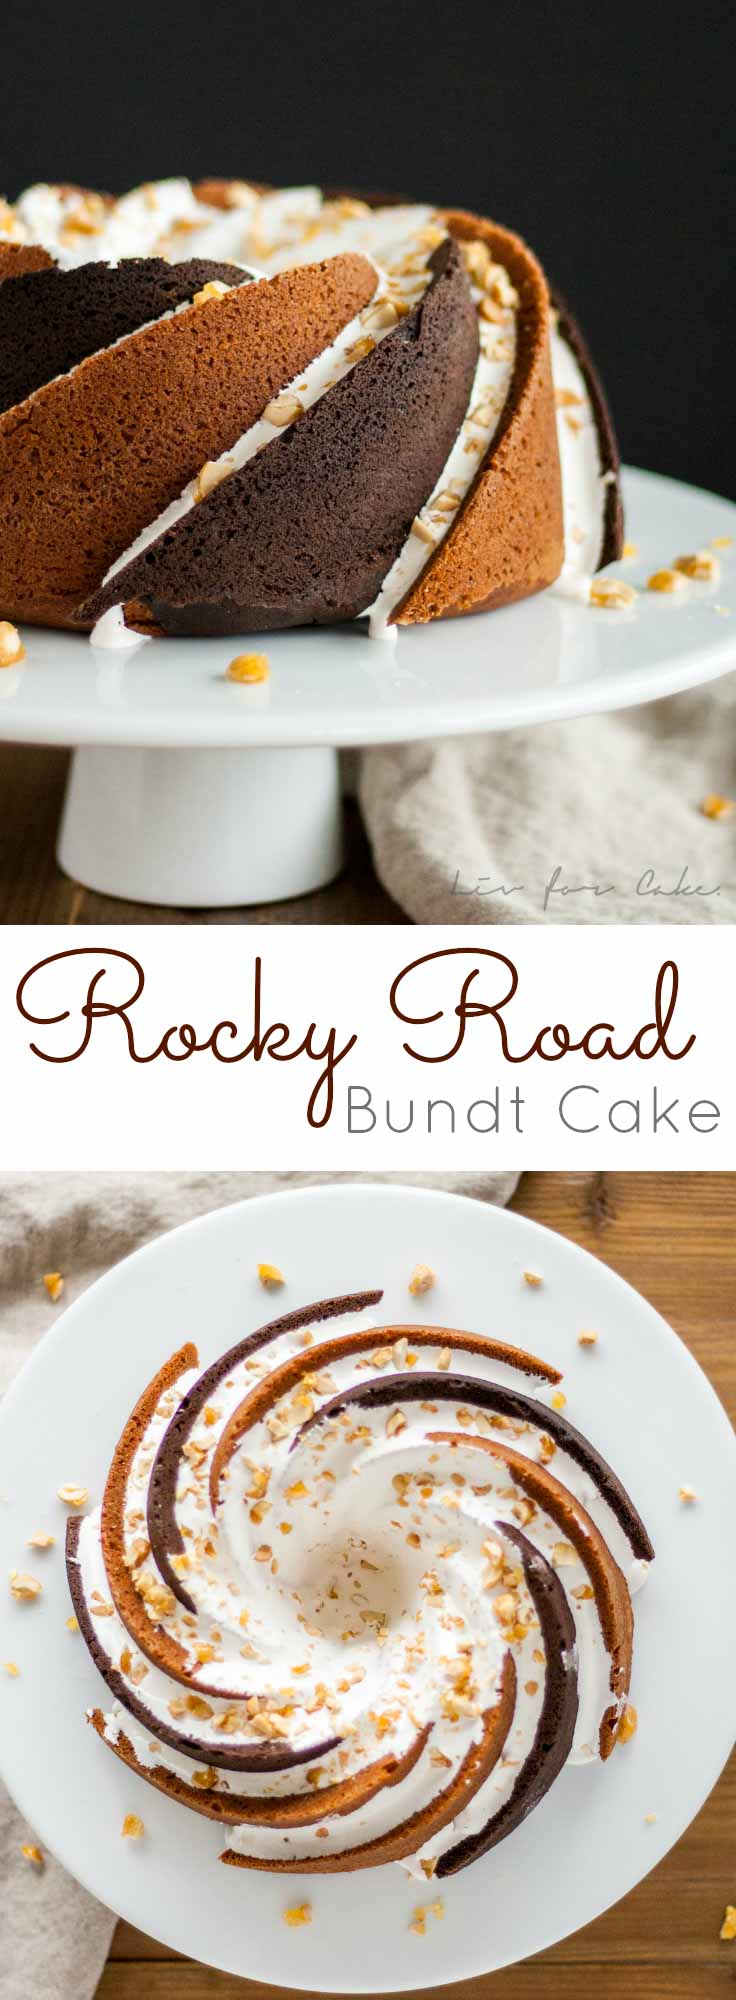
Rocky Road Bundt Cake! Alternating swirls of peanut butter and chocolate cake with a marshmallow glaze topped off with some candied peanuts.
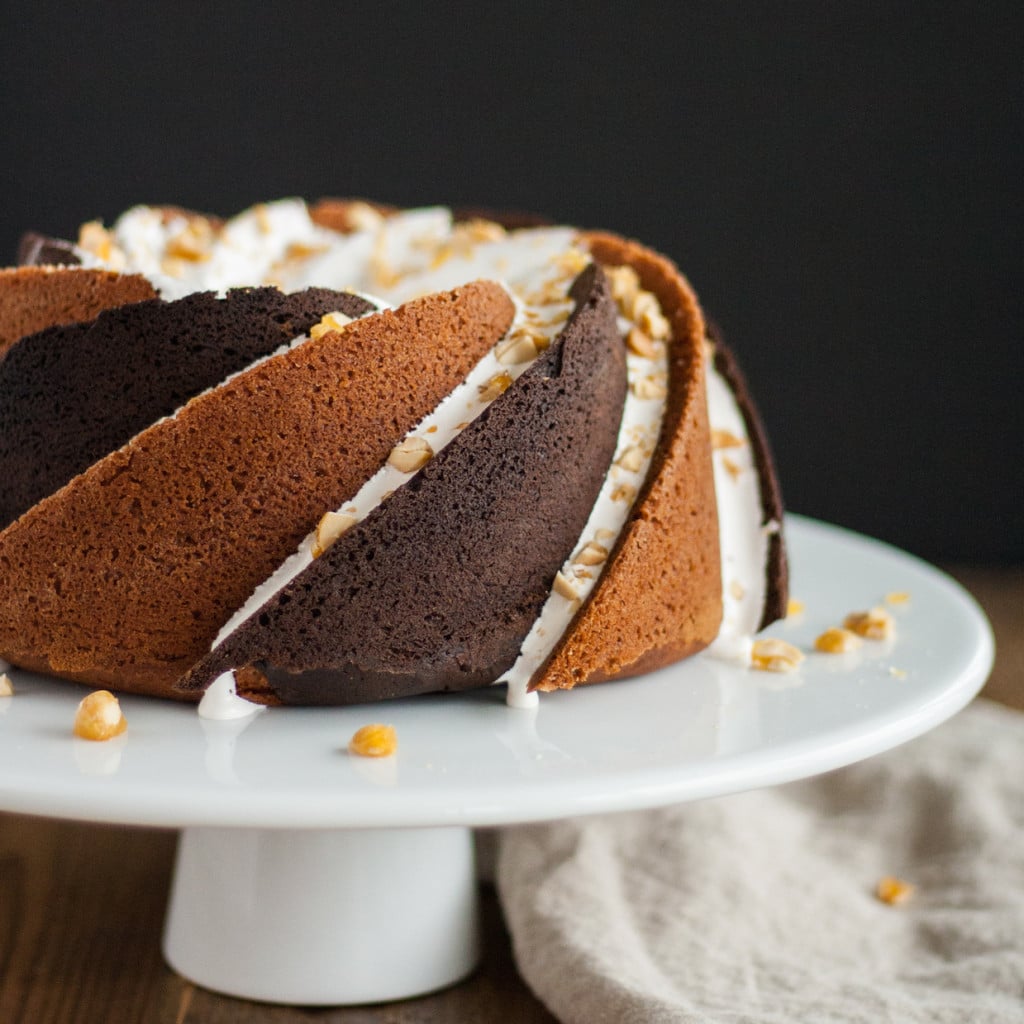
I don’t usually toot my own horn, but does this cake look amazing or what??
I was brainstorming ideas with Ryan a few weeks ago, about this month’s Bundt Bakers theme: Rocky Road, hosted by the lovely Laura from Baking in Pyjamas. Did you know that the ingredients in Rocky Road vary depending on where you live?? I decided to stick with the American version since it’s the one I grew up with, even though I don’t think I’ve ever had a Rocky Road anything. Crazy, right?
Anyhow, I knew I wanted chocolate and peanut butter to be the focus, but I didn’t want to do a chocolate bundt since I did one last month. I also wanted to use the Heritage Bundt pan, as I thought the spirals would make for perfect “roads” and go with this theme.
We tossed around a few ideas, but nothing was exciting, and then Ryan said the words just as I was thinking them… “you know what would be cool, is if you could alternate chocolate and peanut butter spirals”. Challenge accepted.
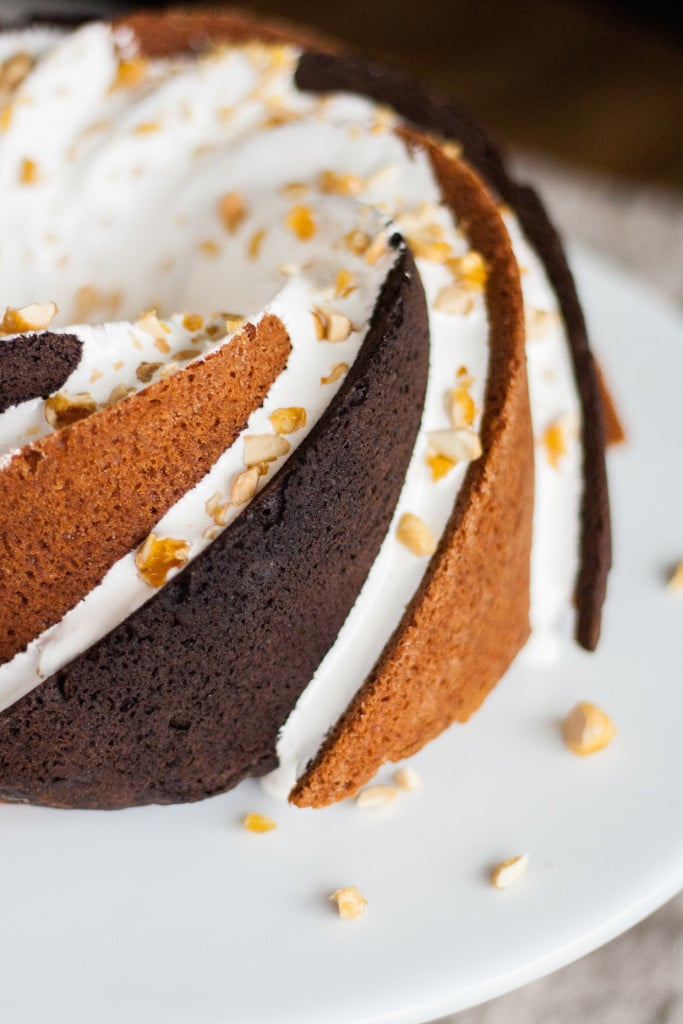
This wasn’t exactly difficult to do, but if you’re a perfectionist like me, you’re gonna have a bit of a hard time trying to make it look perfect.
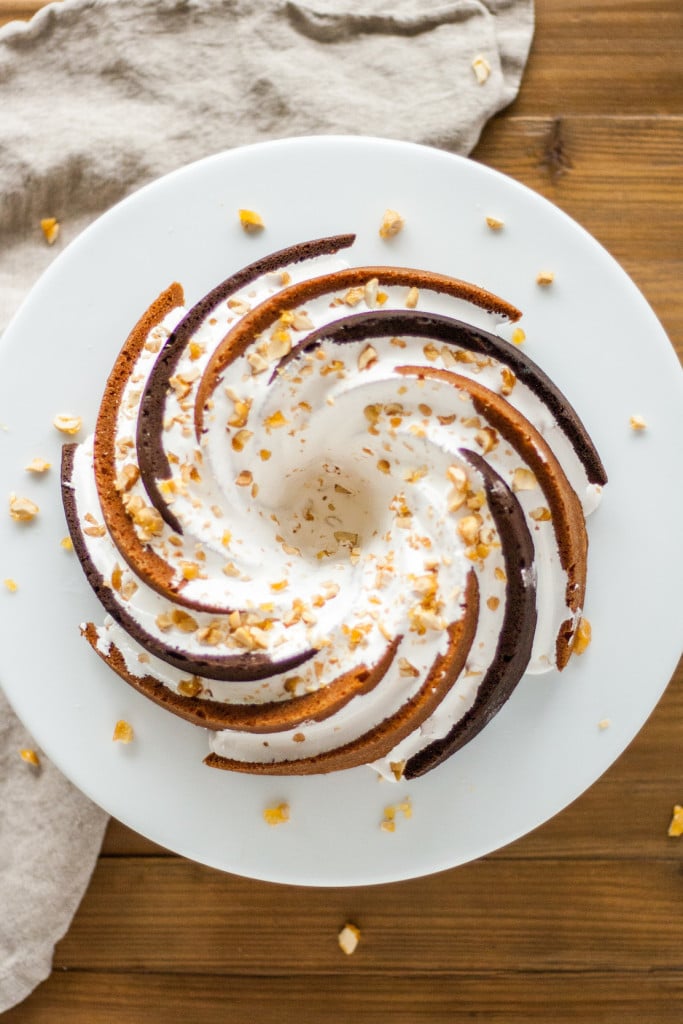
After making the peanut butter cake batter, I split it in half and added cocoa powder to one of the batches. Then I filled a piping bag with each of the batters, and piped the cake batter into the spirals. I started with the lighter, peanut butter batter and filled in every other spiral, being careful to not overfill them. Really I just needed the “shell” of the cake to look right – the inside was going to be marbled anyhow. I used a skewer to nudge the batter into the thinner areas of the spirals.
Then I did the same with the chocolate batter, making sure that the edges and points where the two batters met were as clean as possible. But I also knew I’d be pouring a glaze down each crack, so I didn’t worry too much if there was some overlap. Once each spiral was filled, I layered the remaining batter in the pan and marbled it with the same skewer. (For a detailed tutorial see here).
Let me tell you, the fact that there is an odd number of spirals nearly had me rethinking this whole idea. My poor OCD. I’m hoping that you’ve gotten to this point in the post and haven’t noticed this. If you have, welcome to my world!
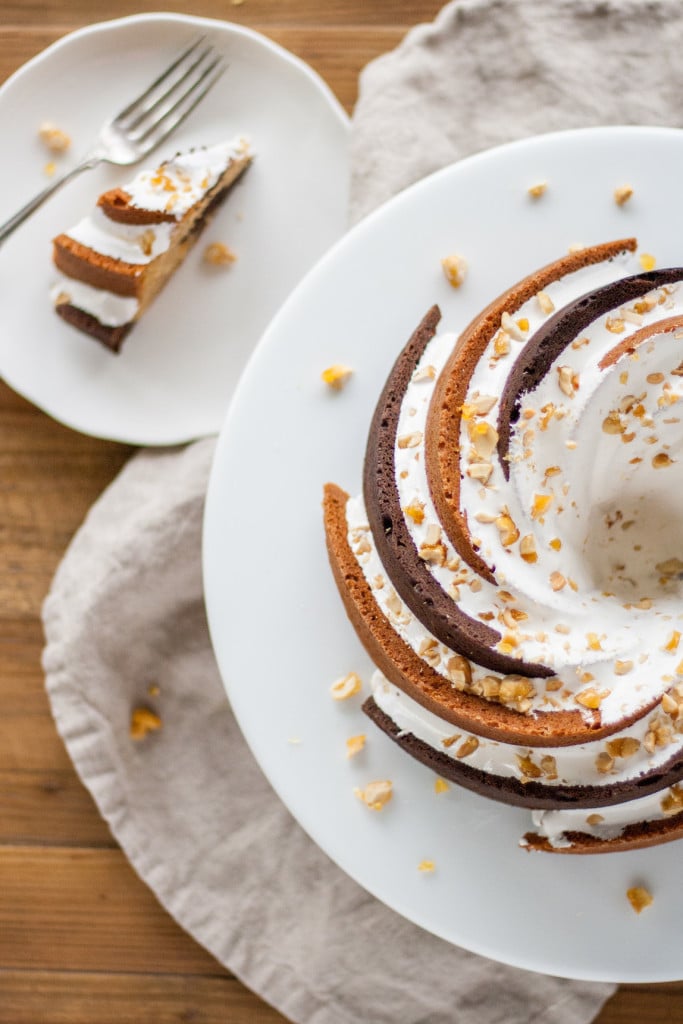
I patiently waited a good 15mins before I turned the cake out onto a cooling rack and removed the pan, holding my breath the entire time. Thankfully, it was perfect. Yay!
And just so you know how crazy I am… there was some noticeable (to me) flour dust on the chocolate parts of the cake from the cake release I used on the pan. So I mixed up a bit of the two cocoa powders I used (black cocoa & Dutch-processed) and used a small pastry brush to brush the cocoa onto the cake. To me, this made a HUGE difference. Ryan likely would not have even noticed the flour dust to begin with :).
Had this been an all chocolate cake, I would have dusted the pan with cocoa powder instead of flour. I could have dusted each alternating spiral with flour and cocoa, but that’s just crazy talk (it did cross my mind, but laziness prevailed).
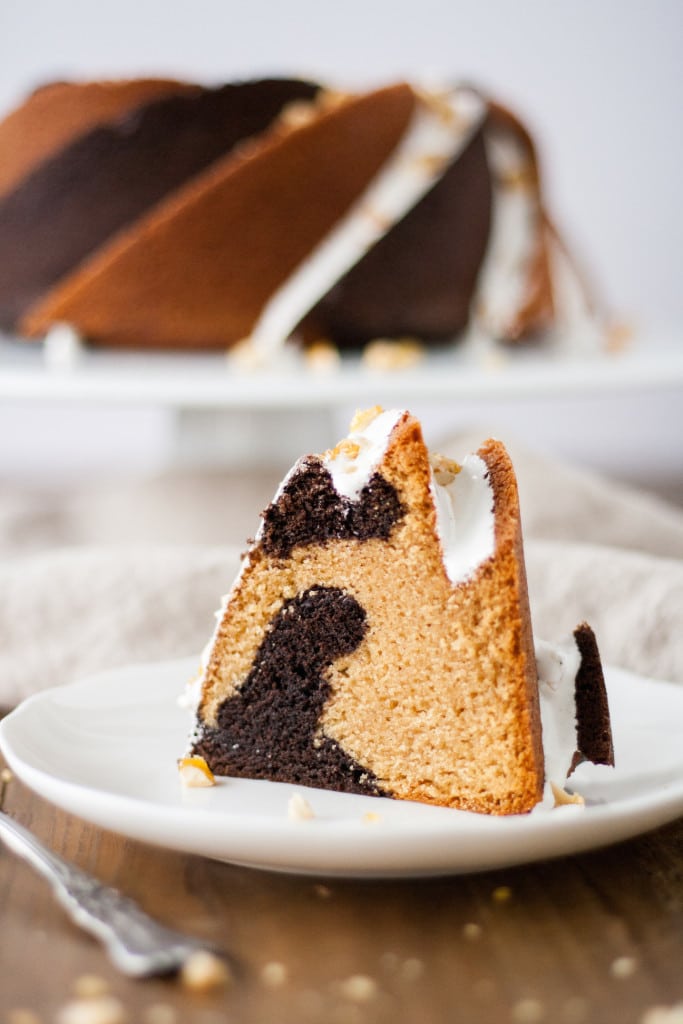
I made an easy marshmallow glaze to drizzle into the cracks, and sprinkled the top with some chopped up candied peanuts.
Rocky Road Bundt Cake
Ingredients
Bundt Cake
- 2 1/2 cups all-purpose flour
- 1 1/2 tsps baking powder
- 1 tsp baking soda
- 1/2 tsp salt
- 1/2 cup unsalted butter room temperature
- 1 cup smooth peanut butter smooth, not natural
- 1 cup light brown sugar packed
- 1/2 cup granulated sugar
- 2 tsps vanilla extract
- 3 large eggs
- 1 cup milk room temperature
- 3 Tbsp Dutch-processed cocoa powder I used 2 Tbsp black cocoa and 1 Tbsp Dutch-processed
Candied Peanuts
- 1 cup peanuts roasted, unsalted
- 3/4 cup granulated sugar
- 3 Tbsp water
- 1/4 tsp kosher salt
Marshmallow Glaze
- 2 cups marshmallow fluff store bought or homemade
- 1/2 cup powdered sugar
- 2 Tbsp heavy whipping cream
Instructions
Rocky Road Bundt Cake:
- Preheat oven to 350F and grease & flour a 10 cup Heritage Bundt pan (I use homemade cake release).
- In a medium bowl, whisk together the flour, baking powder, baking soda, and salt. Set aside.
- In a stand mixer fitted with the paddle attachment, beat butter and sugars on med-high until light and fluffy. Approx 2-3mins.
- Add peanut butter and vanilla, beat until thoroughly combined.
- Reduce speed and add eggs one at a time, thoroughly incorporating after each addition.
- Reduce mixer to low. Add flour mixture in 3 portions, alternating with 2 portions of milk. Mix until just combined.
- Pour half of the batter into a medium bowl, set aside.*
- Add 3 Tbsp cocoa powder to remaining batter and return to stand mixer. Beat until just combined.
- Prepare 2 separate pastry bags and fill one with chocolate batter and the other with peanut butter.
- Pipe the batter, alternating the colors, into the cracks of the Heritage bundt pan, being careful to avoid spilling over into neighbouring cracks. **
- Once cracks are sufficiently filled, add remaining batter in alternating layers and use a kitchen skewer to marble it. Spread the batter evenly.
- Bake for 45-50mins or until a skewer comes out clean.
- Remove from oven and transfer bundt pan to cooling rack for 10-15mins. Rap the bundt pan against the counter to loosen it then turn cake out onto cooling rack to cool completely.
Candied Peanuts:
- Line a baking sheet with parchment or a silpat.
- Place sugar and water into a small pot over med-high heat. Stir only to combine.
- Wash down the sides of the pot with some water and a pastry brush to prevent sugar from crystallizing. Do this from time to time, as needed, while the sugar is cooking.
- Continue to cook sugar until the caramel reaches a medium amber color. Do not stir at any point.
- Add in peanuts and salt and stir for 1 minute to coat.
- Pour peanuts onto baking sheet and spread evenly. Allow to cool completely, then roughly chop.
Marshmallow Glaze:
- Place marshmallow fluff, and icing sugar into a medium bowl, stir well to combine. Add 2 Tbsp of cream and stir until glossy and smooth. Add more cream as needed until desired consistency is reached.
- Using a small measuring cup, pour glaze carefully into the cracks of the cooled bundt cake.
- Sprinkle top with chopped candied peanuts.
Notes
**I used a kitchen skewer for the finer points of the cracks. It’s a process. Bundt cake recipe adapted from Bake or Break.



Eden Passante says
Wow! Love this! Such a beautiful presentation and the flavor combinations sound amazing! I definitely need to make this soon!
Olivia says
Thanks so much Eden! This is definitely one of my faves :).
Shirley says
Olivia, this is truly an extraordinary cake. It is stunning! Well done.
You never cease to amaze. So so talented ????
Olivia says
Thank you Shirley!! xo <3
Cheryl says
Olivia! It worked!!!! I bought the black onyx cocoa and it looks beautiful! Very distinct tones!
Olivia says
Yay!! I wanna see! Send me a pic :D. livforcakeblog[at]gmail[dot]com
Cheryl says
I love love love this!! Will try it this weekend and promise to come back and let you know how it went. Any other creative ideas for combos besides chocolate and peanut butter???? Could white cake and a pink strawberry work???? Any others?
Olivia says
Hi Cheryl! I’m so excited that you’re going to try this!! Did you see the tutorial I had about it?
Regarding other combos, I think chocolate would work best as one of the flavours. I think any other light-ish cake will bake up golden brown. If you tried strawberry and white cake it would likely be all golden brown with alternating slightly pink tinted golden brown. Can’t hurt to try though! Maybe add a bit of red food coloring into the strawberry cake?
You know, chocolate and strawberry (or raspberry omg) would be pretty delicious together, and the marble in the cut pieces would look stunning!
I can’t wait to hear/see how it turns out 🙂
Cheryl says
I made it!!!!! It wasn’t that hard but I didn’t use BLACK cocoa so the two tones really aren’t like yours. 🙁 nonetheless!!! I am going to do it again in the near future. Where do you find black Cocoa?
Olivia says
Doh! Are the tones different enough from each other? I bought Black Cocoa in a specialty store here in Vancouver. It looks like you can get it on Amazon (http://amzn.to/1T6llWr). Where are you located??
Cheryl says
I’m in the Chicago area. But lovveeeee Amazon !!! I don’t think anyone but me can tell that I used two different colors but it tastes incredible!!! I’m not easily scared off!! Will order up some black cocoa and do it again. My hubby and boys sure won’t complain!!! Lol! I’m gonna try the strawberry and dark chocolate suggestion too!! That’s a great idea!!
Olivia says
Yay! I hope the next one has distinct tones for you! 😀
Cyndy says
This cake is gorgeous. You did an awesome job. Have you seen the mini heritage bundt pan? It has six cavities & is beautiful. Got mine from Williams Sonoma. Love the photos!
Olivia says
Thanks so much Cyndy! I LOVE the mini heritage bundt pan. It’s on my list to get eventually! 🙂
Sammie says
I pinned this cake and just knew I had to look at your site and how this beauty was made! I’ve only recently ventured into the world of Bundt cake bake, but I love how a tin can transform a cake. Fantastic recipe and will be following the Bundt Bakers board. Thank you Sammie http://www.feastingisfun.com
Olivia says
Thank you Sammie!! 🙂
Kea says
That cake is art!
So pretty. I would have never thought of that, so going to try to alternate the spirals!
Olivia says
Thanks so much Kea!
Tanya says
Olivia, outstanding job! I just discovered your blog and found such a beauty.
Quick question: what kind of cream did you use for a glaze? The recepie calls for a cream but what cream? I really want to try it. Thanks.
Olivia says
Hi Tanya and thank you! I used whipping cream, but any kind of heavier cream would work. You can try it with milk as well, I’m sure that would work fine, but since it’s thinner be sure to use a bit less of it!
Winnie says
This is the most beautiful cake I’ve seen in a long time!! And believe me – I’ve seen many.
You are very talented
Olivia says
Thank you so much Winnie!!
Nancy @ gottagetbaked says
Girl, this bundt totally blows me away! I can’t believe you piped in alternating coloured batter into each groove. And that you actually thought about dusting each one with alternating flour and cocoa (I’m too lazy to even THINK about doing that). But all your OCD’ness totally paid off 😉 This is beyond stunning. And feel free to pour that marshmallow glaze right into my mouth.
Olivia says
Thank you Nancy!! The marshmallow glaze is a new fave.
Jacquee | I Sugar Coat It! says
AH, you’re the creator of these swirls of awesomeness! I have this pan tucked in a cupboard – I’ll have to bring it out for a spin.
Olivia says
Do it! It’s the best pan ever :).
Catherine says
Dear Olivia, your cake is stunning. I love all the details and thought you put into this bundt. The mold is beautiful…those spiral roads are just magnificent. I would love to try this. I am sure it was as good as it looks! xo, Catherine
Olivia says
Thank you Catherine! 🙂
Meaghan says
Seriously toot your own horn!! Like all week long! WOW amazing looking cake. I want right now!
Olivia says
Lol! Thanks Meaghan! I’m really happy with how this one turned out!
Shauna says
This looks seriously beautiful and delish!
Olivia says
Thanks so much Shauna! 🙂
Julia @ Swirls and Spice says
Truly extraordinary! And no, I didn’t notice the odd number of spirals until you mentioned it in the post!
Olivia says
Whew! Haha. Thanks Julia!!
Kelster says
This is gorgeous! Stunning! I need to buy this pan for the sole purpose of recreating this.
Olivia says
Thank you! I LOVE this cake pan. The cake is so stunning right out of the pan it almost doesn’t need any decoration :).
Margaret says
The top view of that cake is stunning Looks like fireworks. I was wondering how you did that. Thanks for the instructions.
Olivia says
Thanks Margaret! 😀
Chichi says
Absolutely gorgeous cake. I am drooling
Olivia says
Thanks Chichi!! 🙂
Un Mordisco Un pecado says
This month I was not inspired to bake… But I have to write that your Bundt is amazing!!!!! Congratulations!!!!
Olivia says
Thank you so much! 🙂
Heather says
Wow!!! Ive got to try this! I love the idea of alternating the colors/flavors. Ive never seen anything quite like it before. Beautiful.
Olivia says
Thank you Heather! 🙂