Reese’s Peanut Butter Chocolate Cake! A rich and delicious chocolate cake with a whipped peanut butter frosting and mini Reese’s peanut butter cups.
It all started with a jar of peanut butter that I won from our local grocery store. Now, I’m not that crazy about peanut butter, but I was pretty excited to win nonetheless. When I went to pick it up at the store, they were actually having a Buy One Get One event on said peanut butter, so I ended up getting TWO jars for free. Pretty exciting, right??
I started thinking about dessert possibilities… we had dinner plans with friends on the weekend, so I thought it would be the perfect opportunity to bake a cake. Ryan’s not a huge fan of peanut butter, and was skeptical about the final result: “Are you just going spread peanut butter on the cake? That’s what I’m picturing.” Ew, no.
So since Ryan isn’t a huge fan of PB I had to verify that our friends were, just in case. When I asked if they liked peanut butter and chocolate – together – I was met with a puzzled look. Like, is this a trick question? Doesn’t everybody like that combo? Perfect. Dessert plans were set, and I was convinced Ryan would like it more than he thought he would.
Onto this Reese’s Peanut Butter Chocolate Cake…
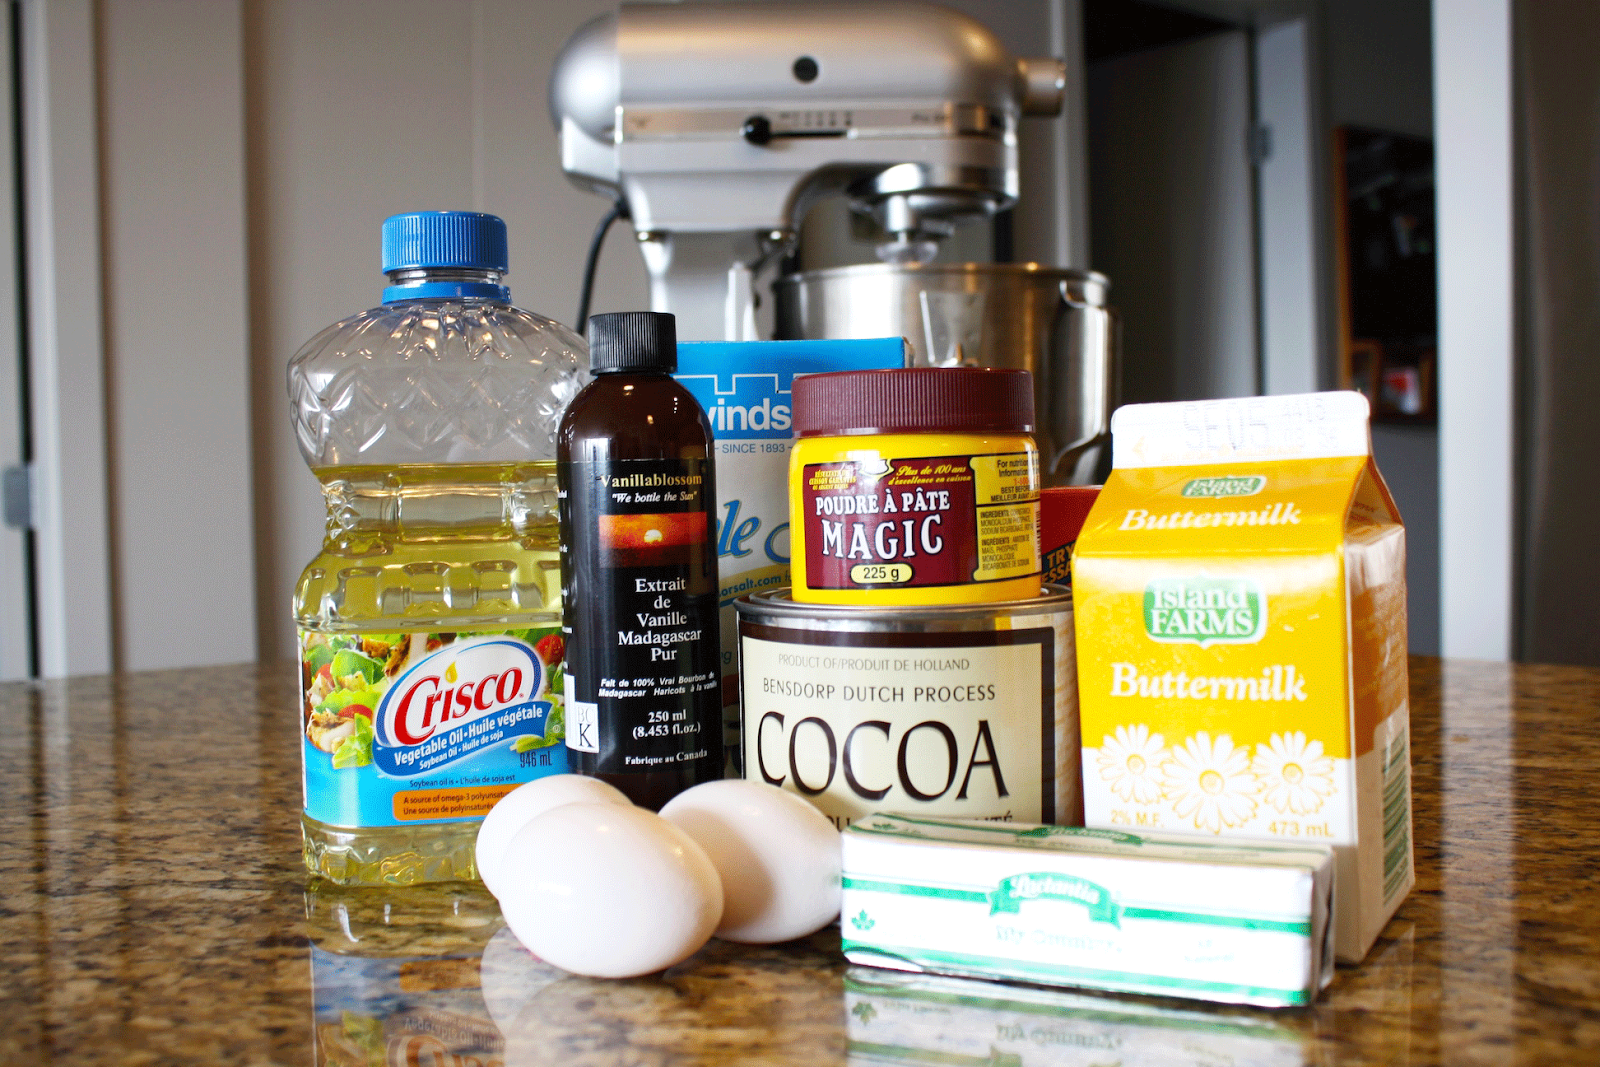
I followed this recipe from the Brown Eyed Baker. I modified the steps for the frosting, but stuck to the ingredients for the most part.
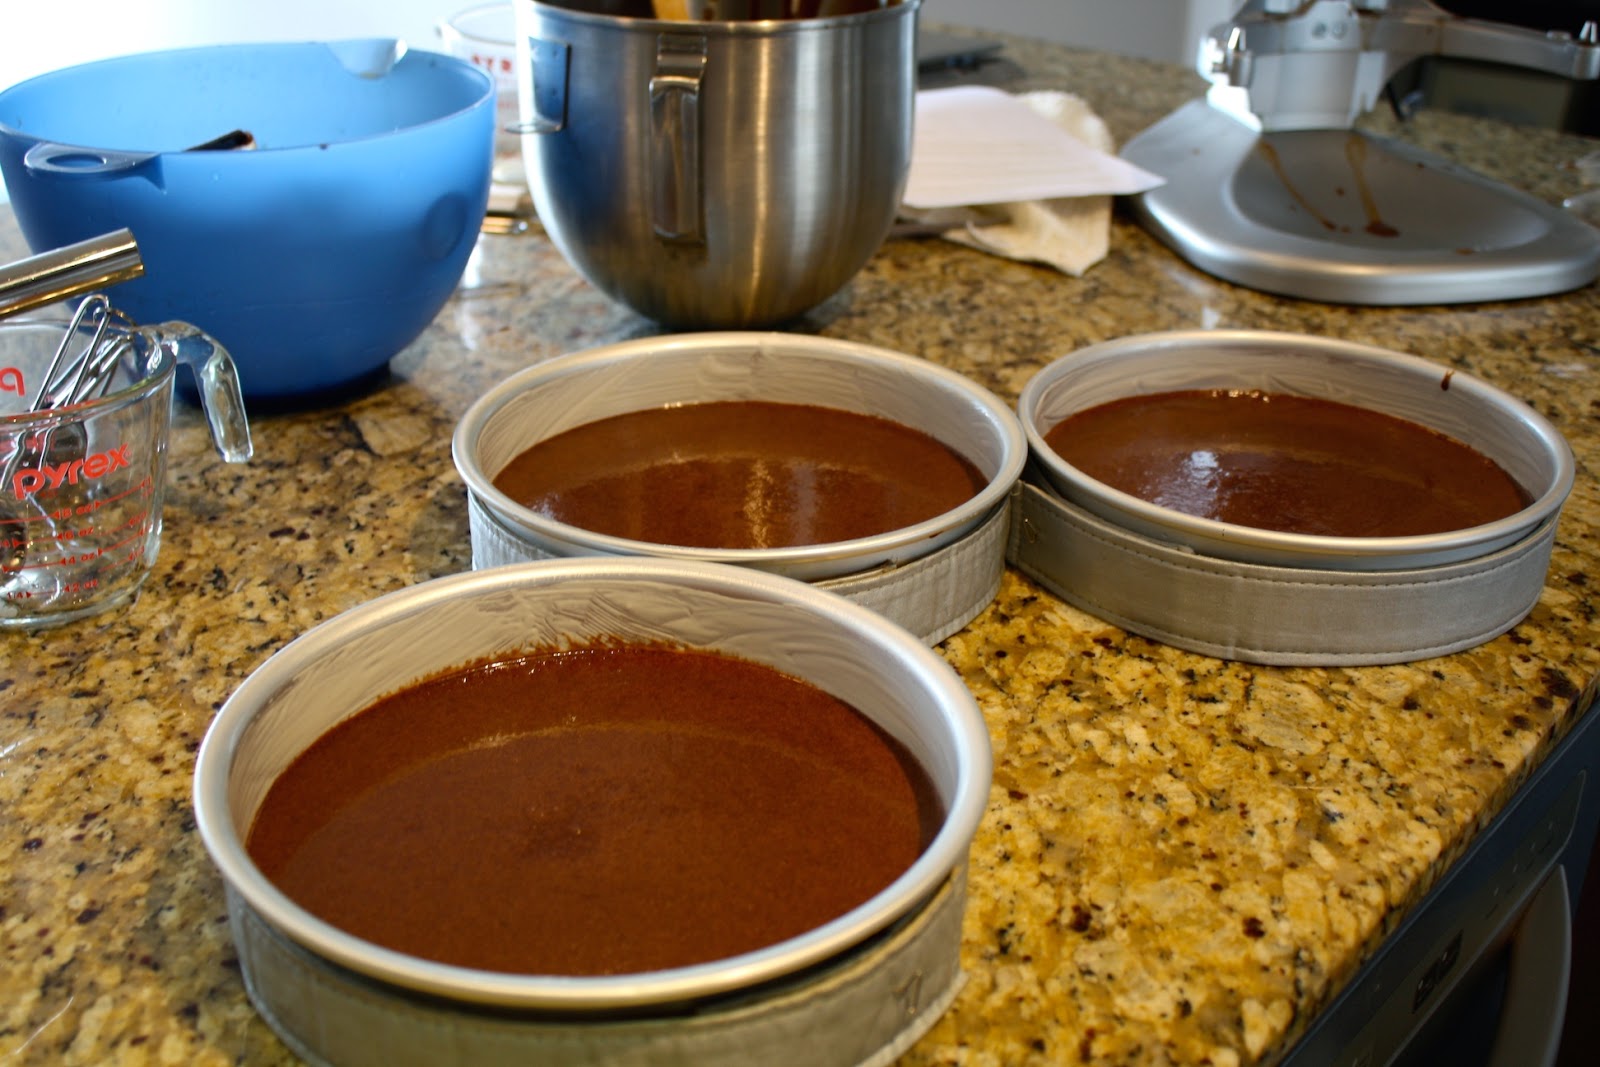
I’ve made a similar cake before, but never 3 layers at a time. The batter for this cake is extremely thin and is supposed to be. It bakes up mega-moist and delicious. More than usual in my KitchenAid plus thin and soupy batter makes for a bit of a mess (note the battle-worn KitchenAid in the background).
I’ve never had 3 cakes in my oven at the same time, and there were some learnings here… The recipe says to rotate the pans halfway through baking. To me, this means cram them all on one rack and switch them around 20mins in. What it actually means is have 1 on one rack and 2 on another, then switch them around 20mins in. That would have been a better strategy.
What ended up happening is that the cake in the middle cooked fastest, and was done at about 45mins. The other two needed a decent amount longer in the oven. I took one out after an additional 5mins and the last one after an additional 10 or so.
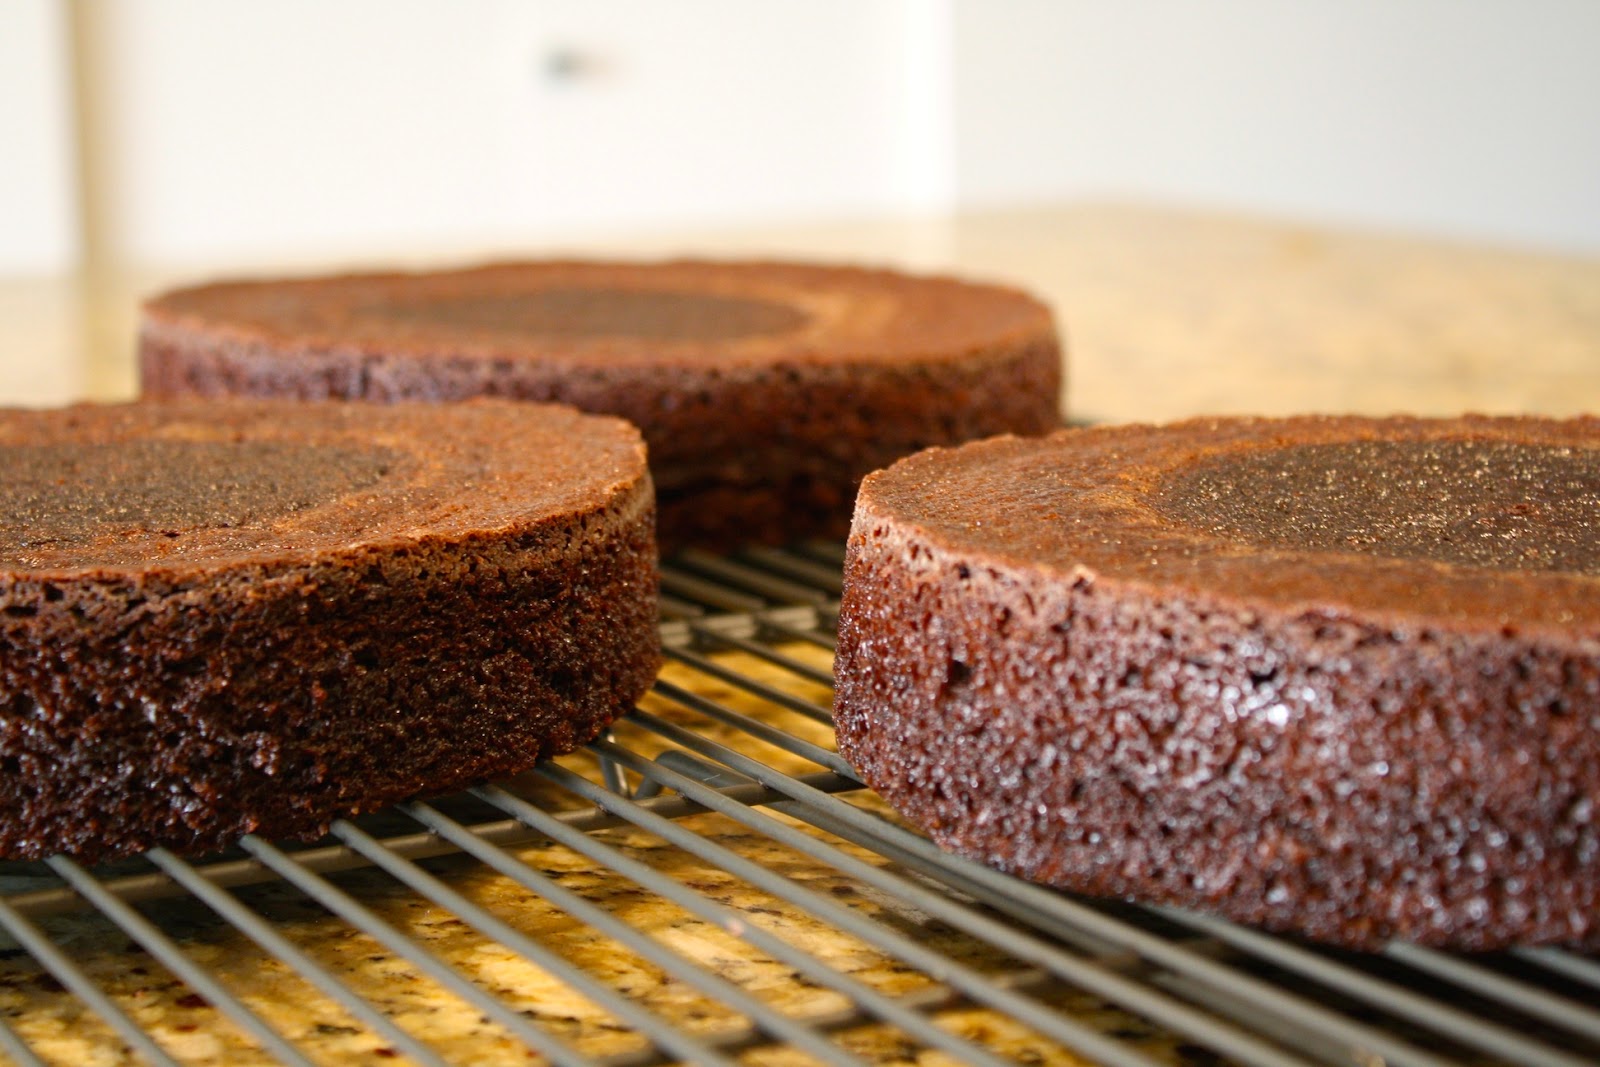
The cakes also baked with a dark spot in the middle, looking like it wasn’t quite cooked (it was) so I think this had to do with crowding them all on one rack. That or my bake even strips weren’t wet enough. Next time I’ll be sure to use more of the oven space.
Once the cakes cooled, I wrapped them in plastic wrap and stuck them in the freezer overnight. Freezing cakes is actually GOOD for them. It locks in moisture, as opposed to refrigerating which can dry them out.
Day 2: Frosting.
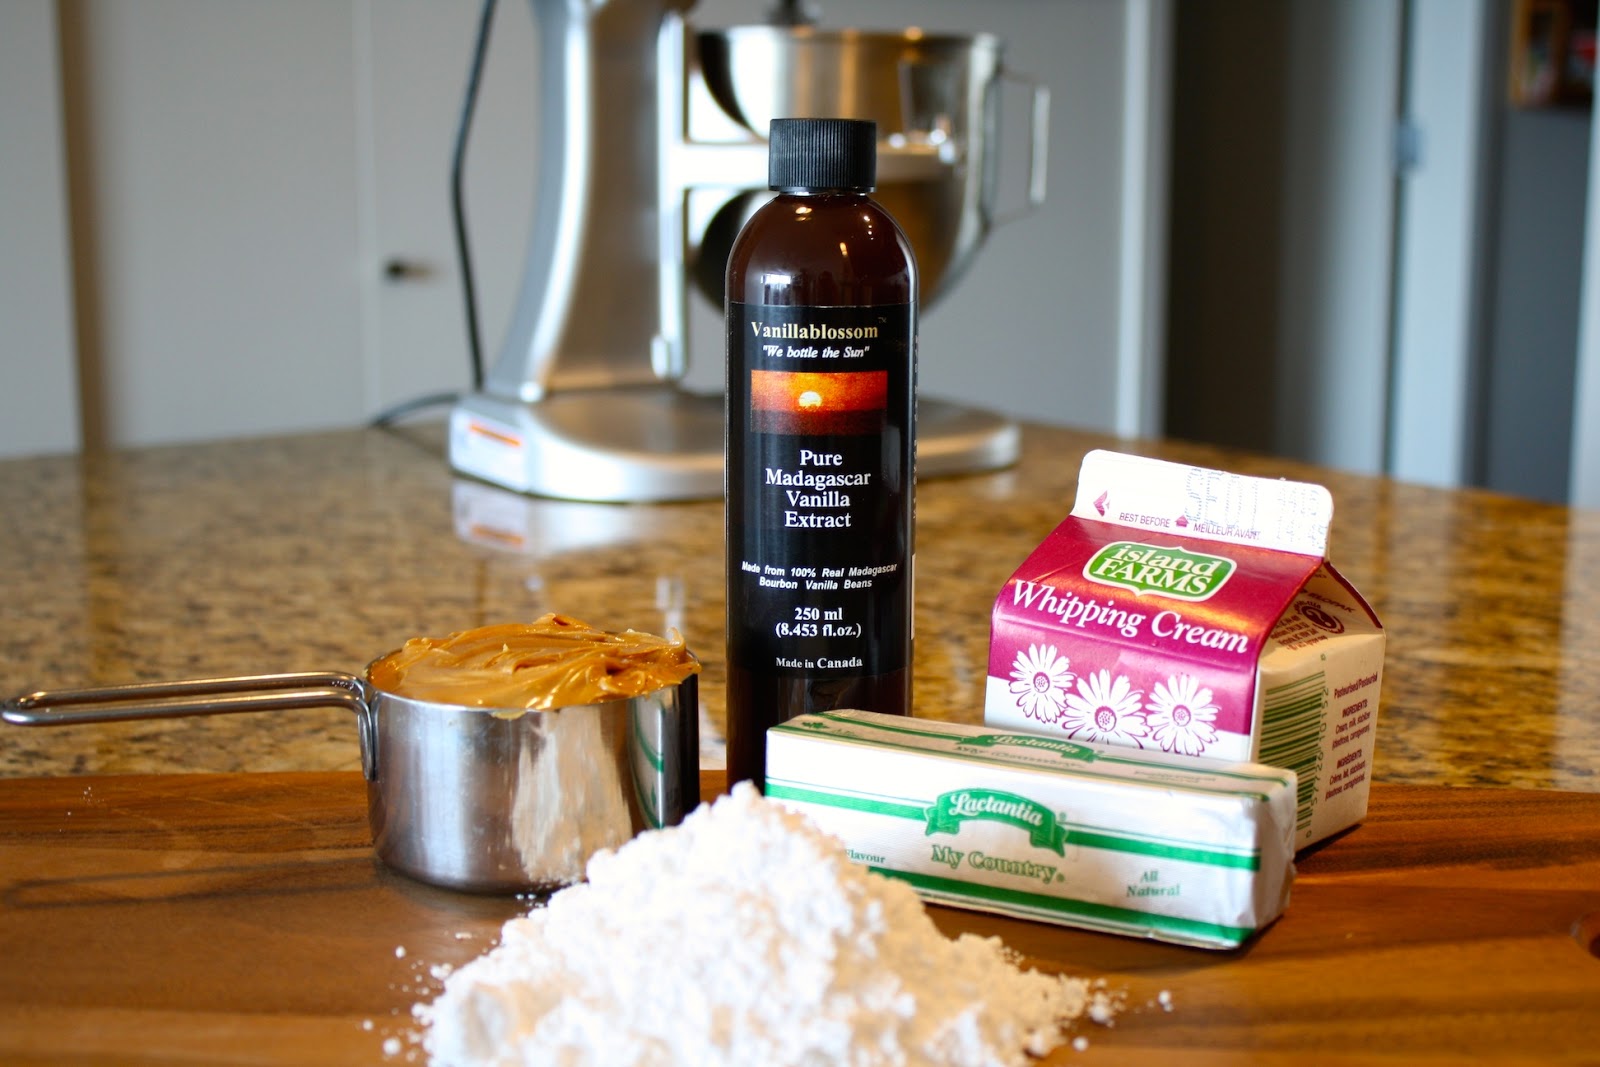
I followed used the ingredients/quantities called for in the recipe, but did not follow the directions. I wanted to make sure the frosting was creamy and not gritty, and read that the best way to do that was to cream the PB and butter first for 3 minutes, then add the powdered sugar 1/2cup at a time so that it incorporates slowly and gets blended in. After that I added the cream and mixed until combined.
A taste test at this point revealed that it literally still tasted and felt just like straight-up PB. Omg, I AM just going to be spreading peanut butter on the cake! I was not a fan of this, so even though the recipe says to “not overbeat” I cranked up the mixer and beat the crap out of it until it was light and fluffy, more like a mousse.
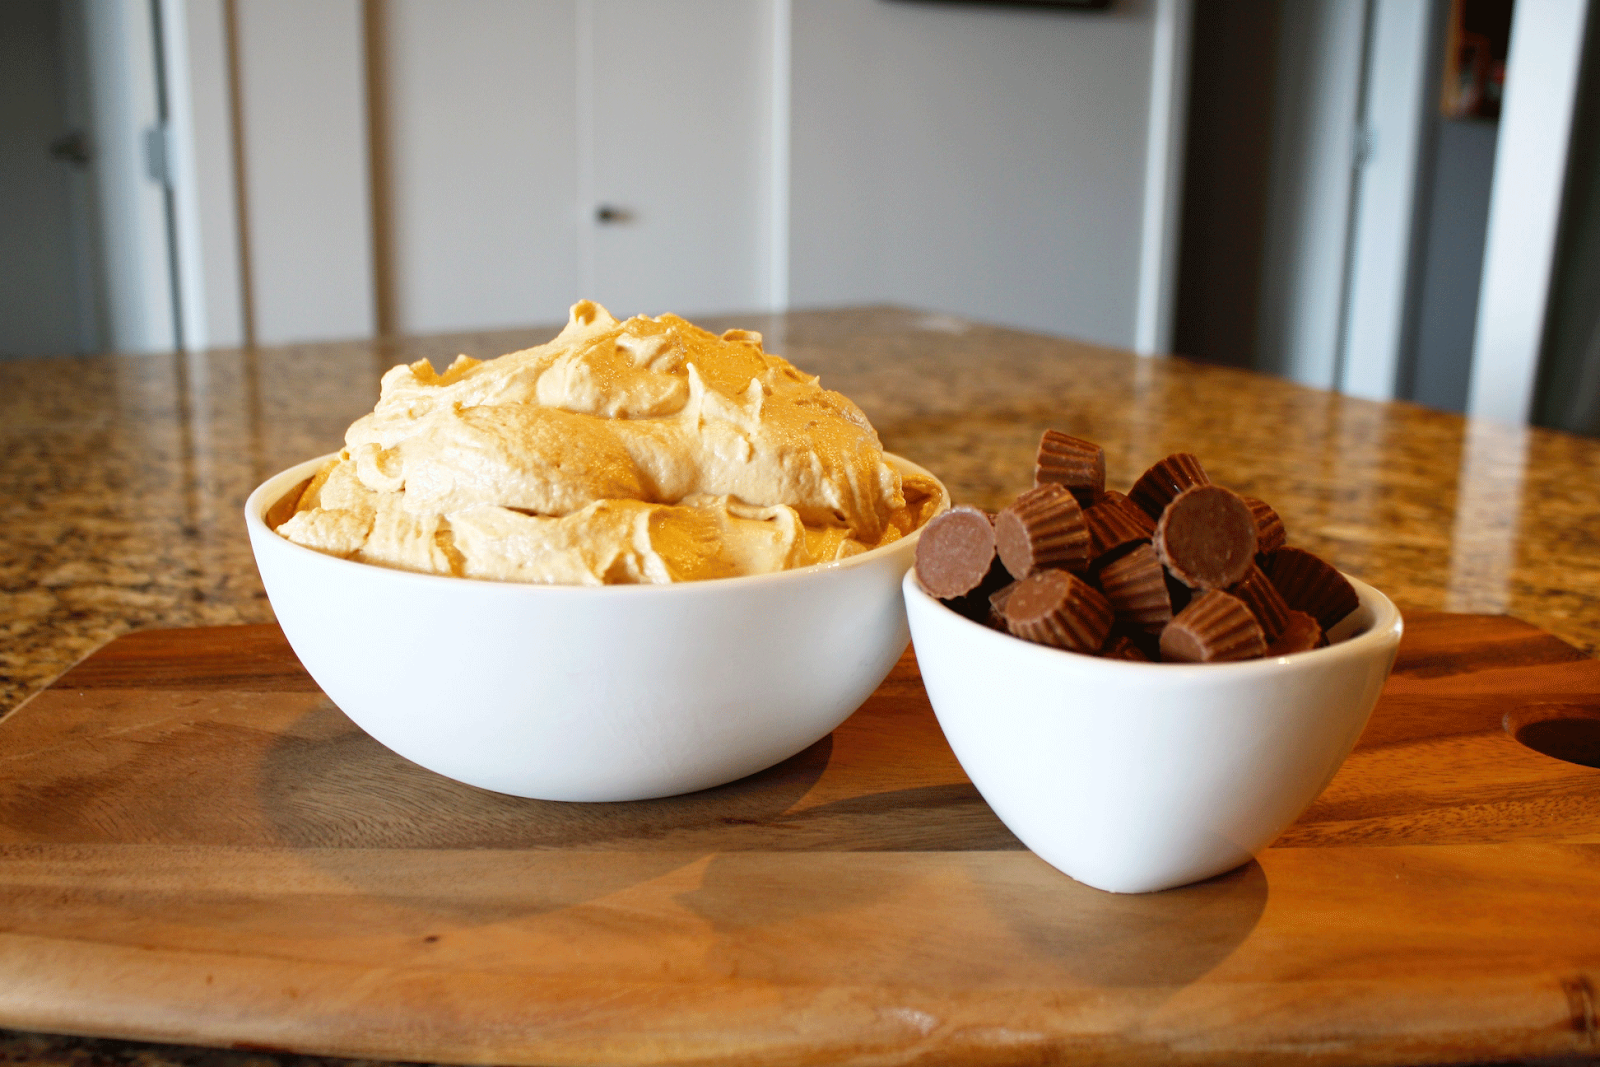
So the frosting tasted much lighter, which was great, but the problem with mousse-like frostings is that they aren’t very stable. They’re super soft, and I was making a 3-layer dense cake here. I stuck the frosting into the fridge in hopes it would stiffen up. I had taken the cakes out of the freezer when I started to make the frosting, so they were ready to go.
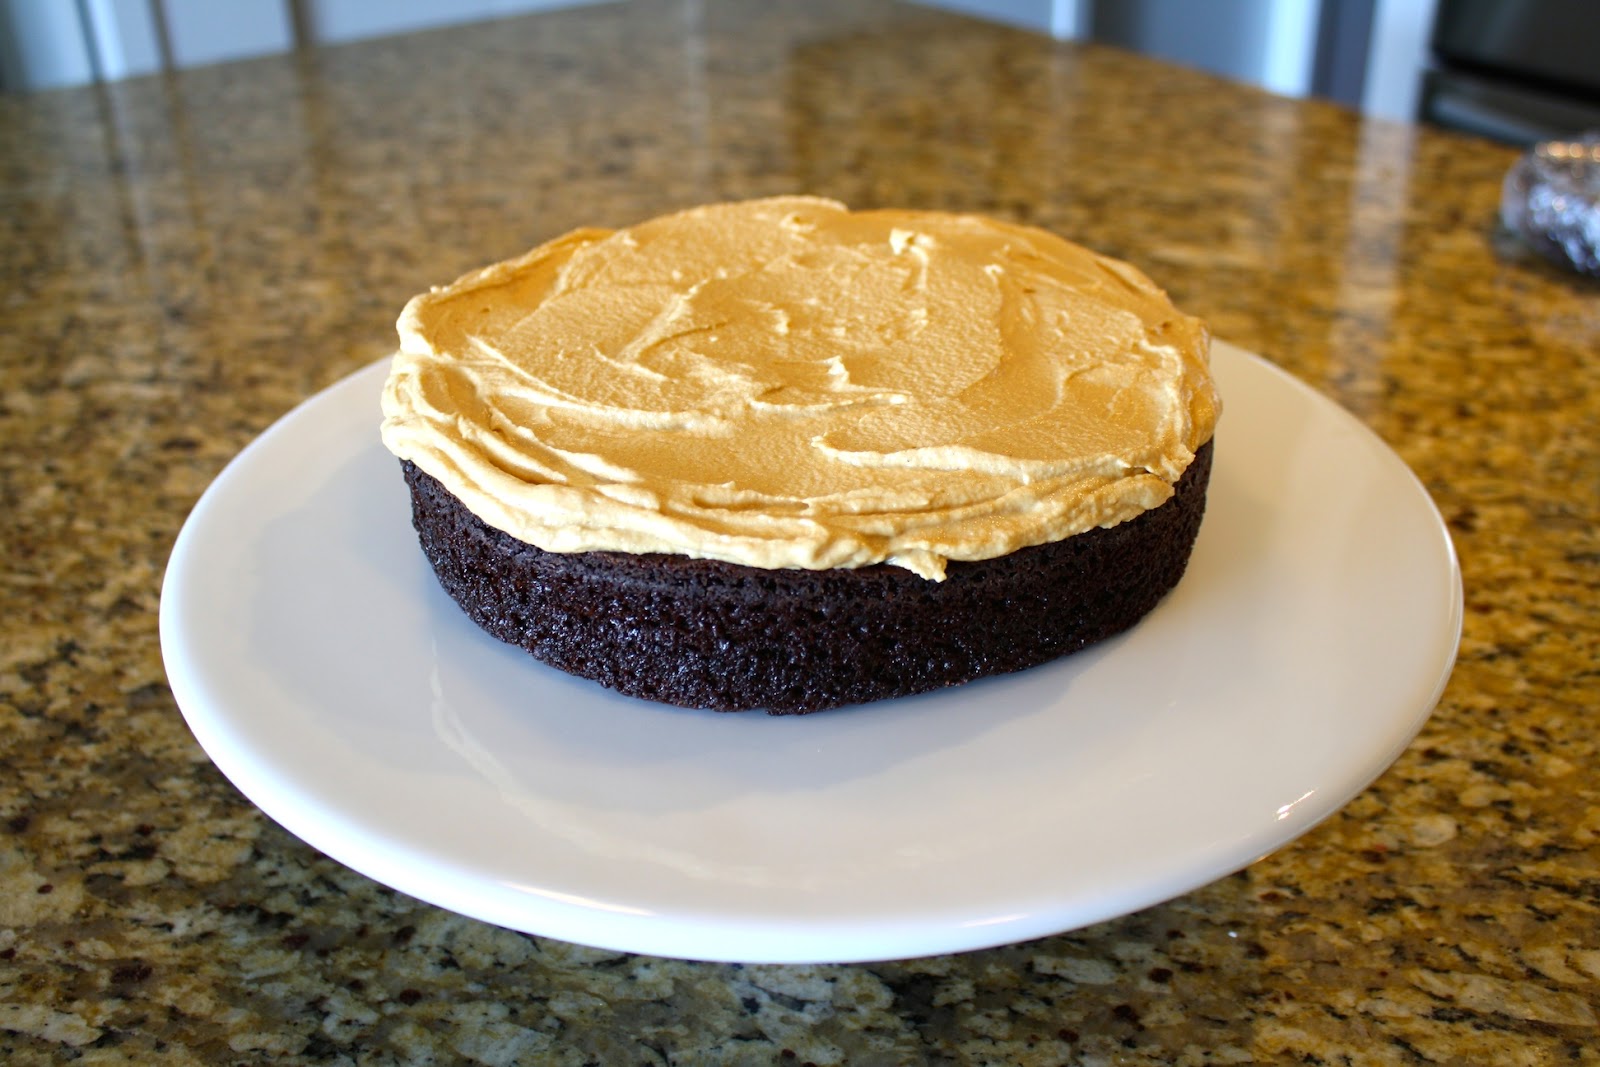
Patience is not one of my virtues… This will likely be an issue for me in pastry school. After a whopping 10mins in the fridge, I wanted to get to icing the cake. Naturally, the frosting was still super soft, but I went at it anyhow. Ryan suggested I stick each layer into the fridge after frosting to help it set. I did that, and it did help, but the waiting was painful. I wanted to put it all together and take pictures already!
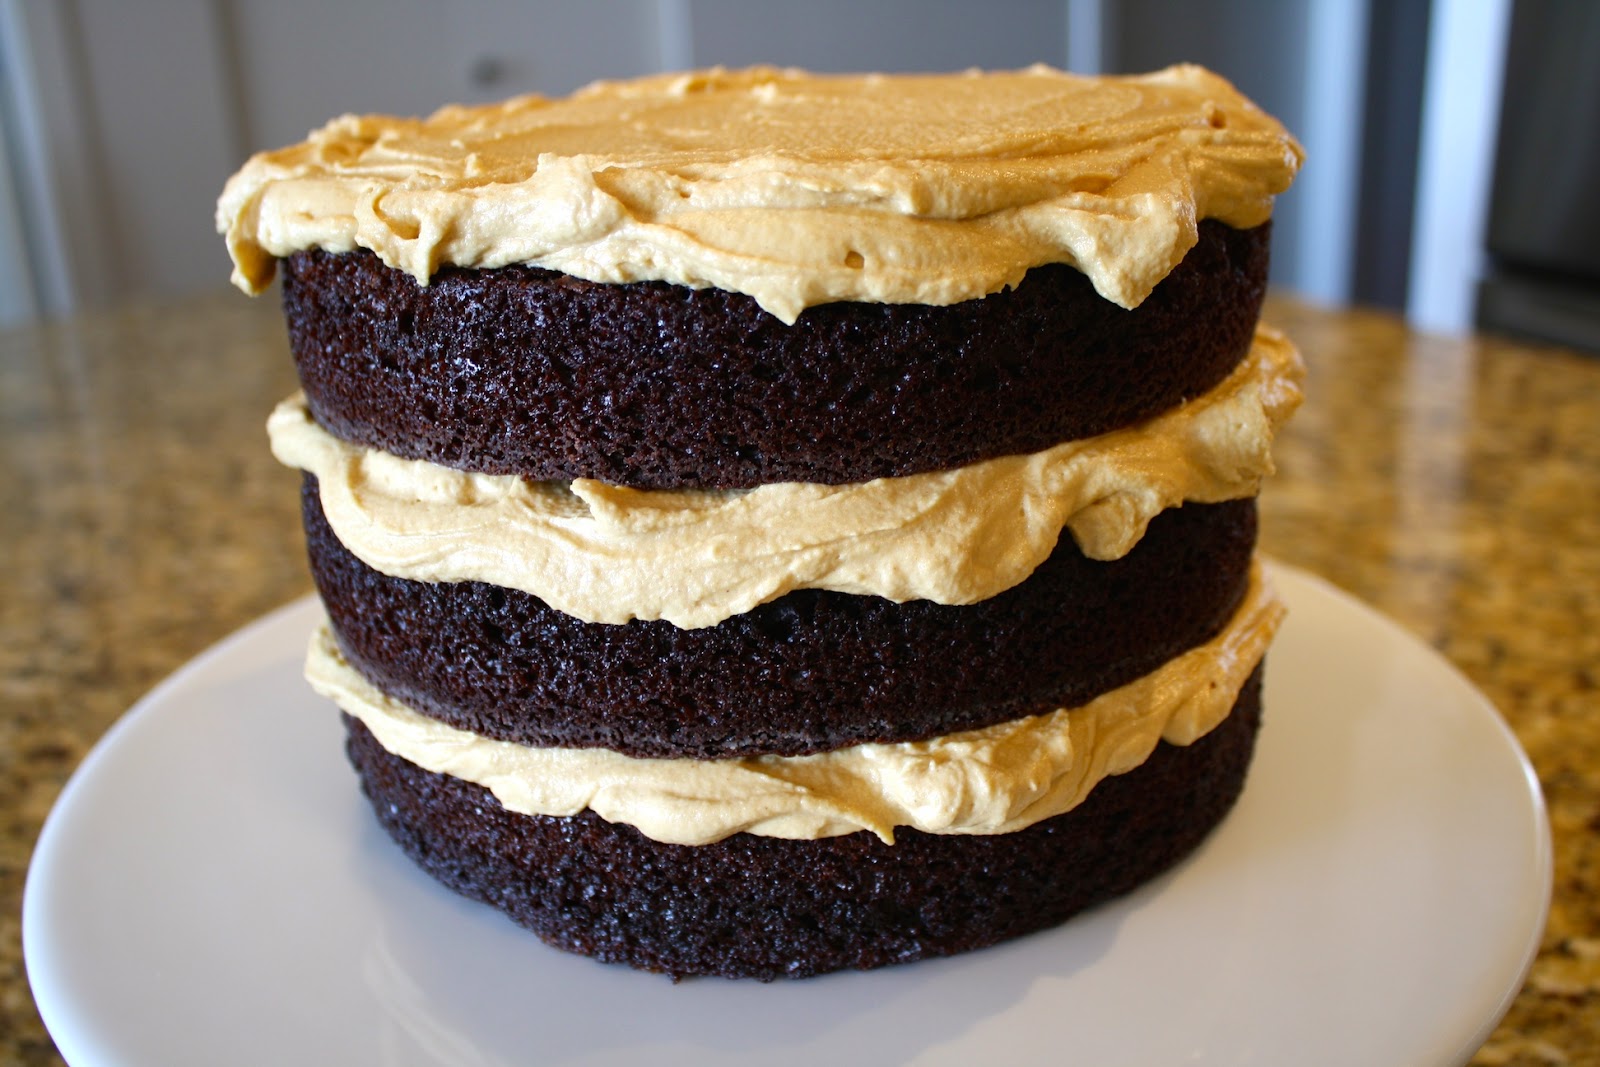
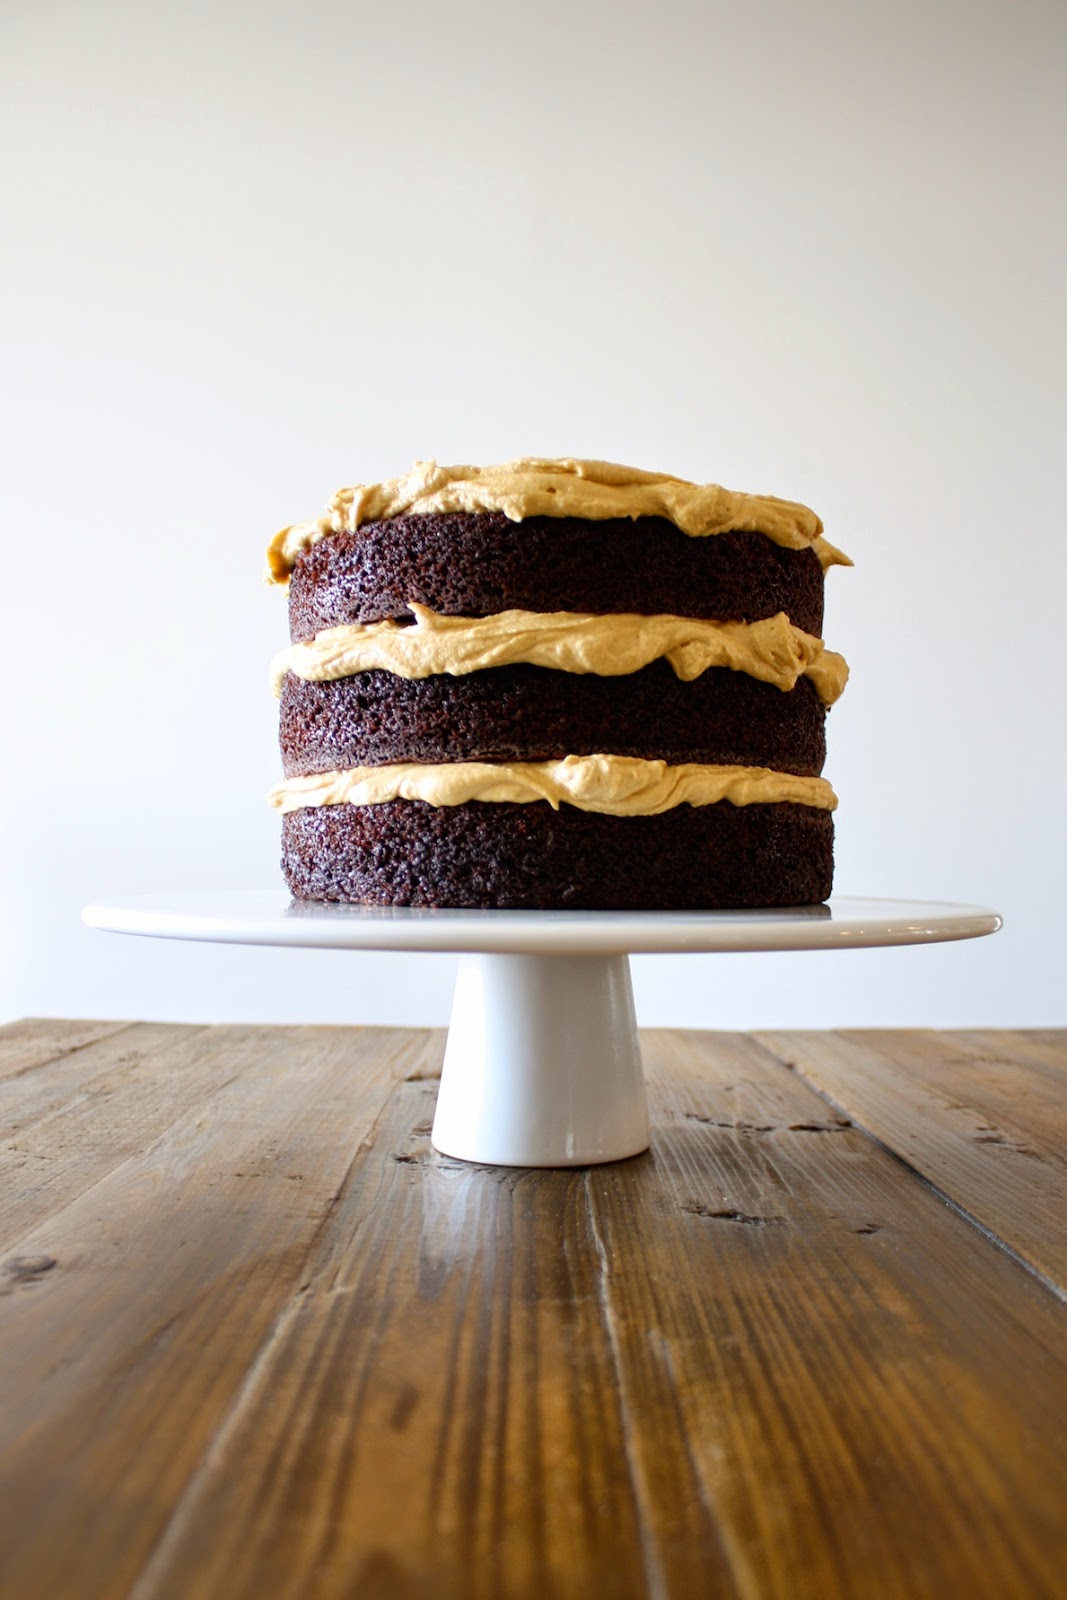
Slowly but surely, each layer was stacked and iced with care. I ended up using almost all of the frosting! I was sure there would be some left over, but I was pretty generous with it, especially considering I didn’t plan to ice the sides.
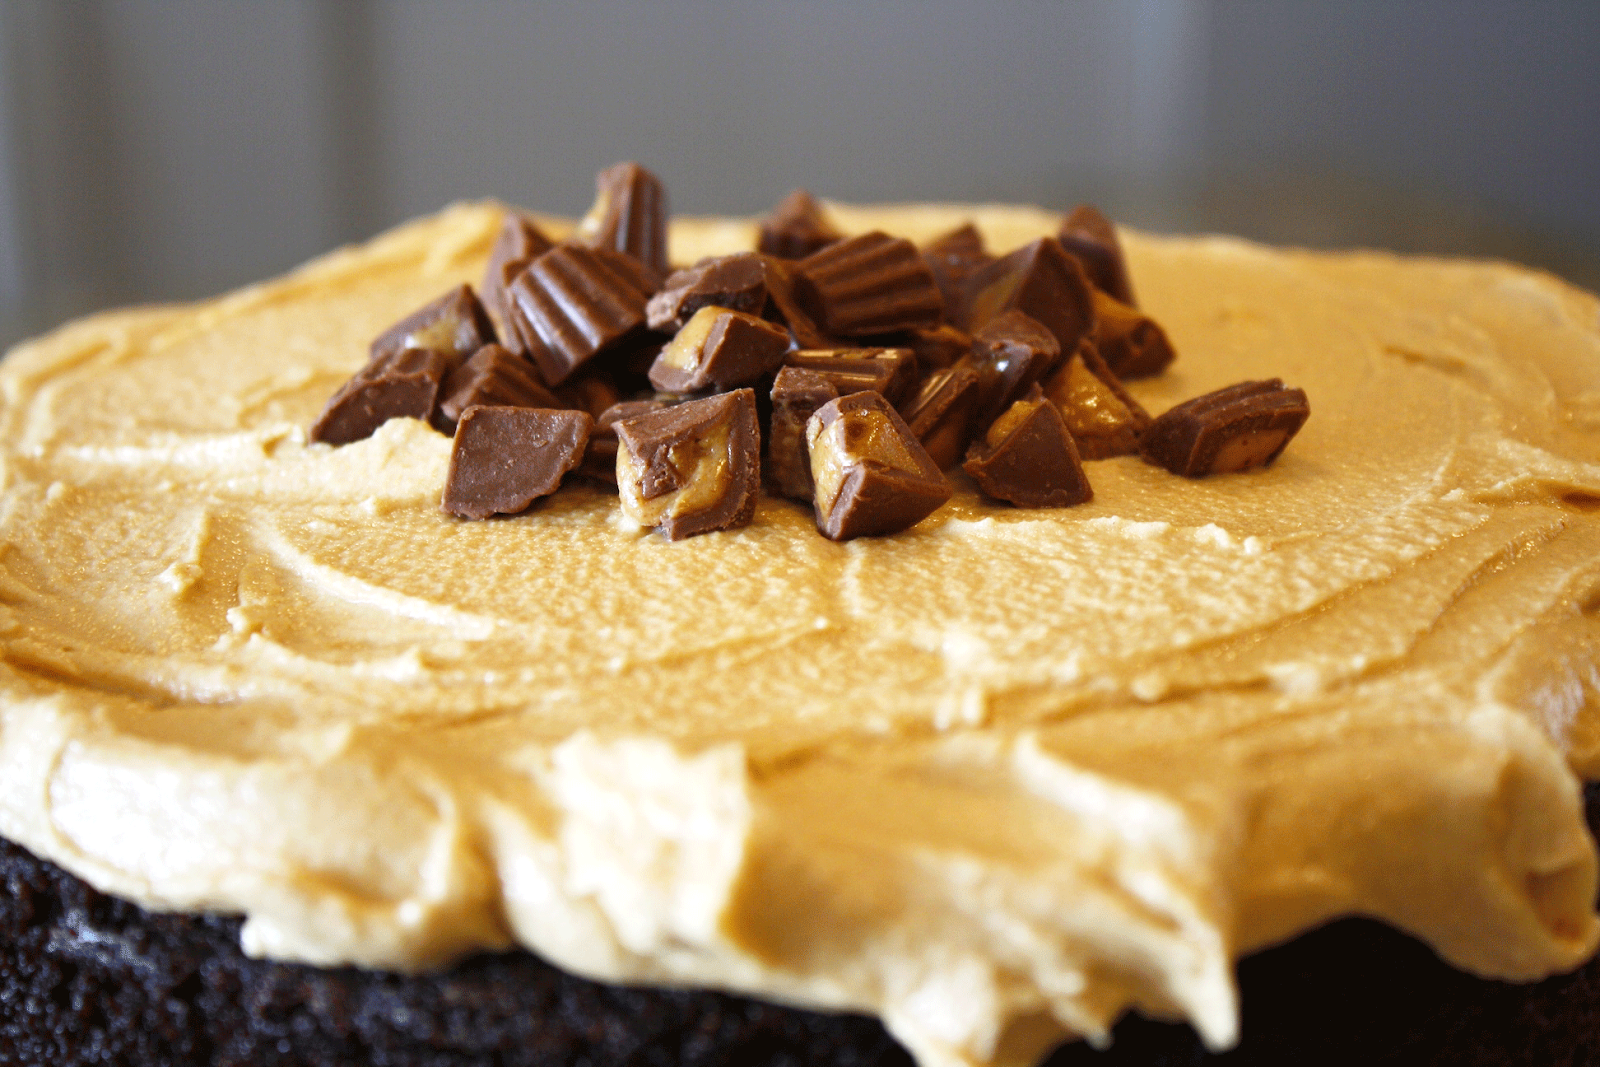
Final touches of chopped up Reese’s Minis.
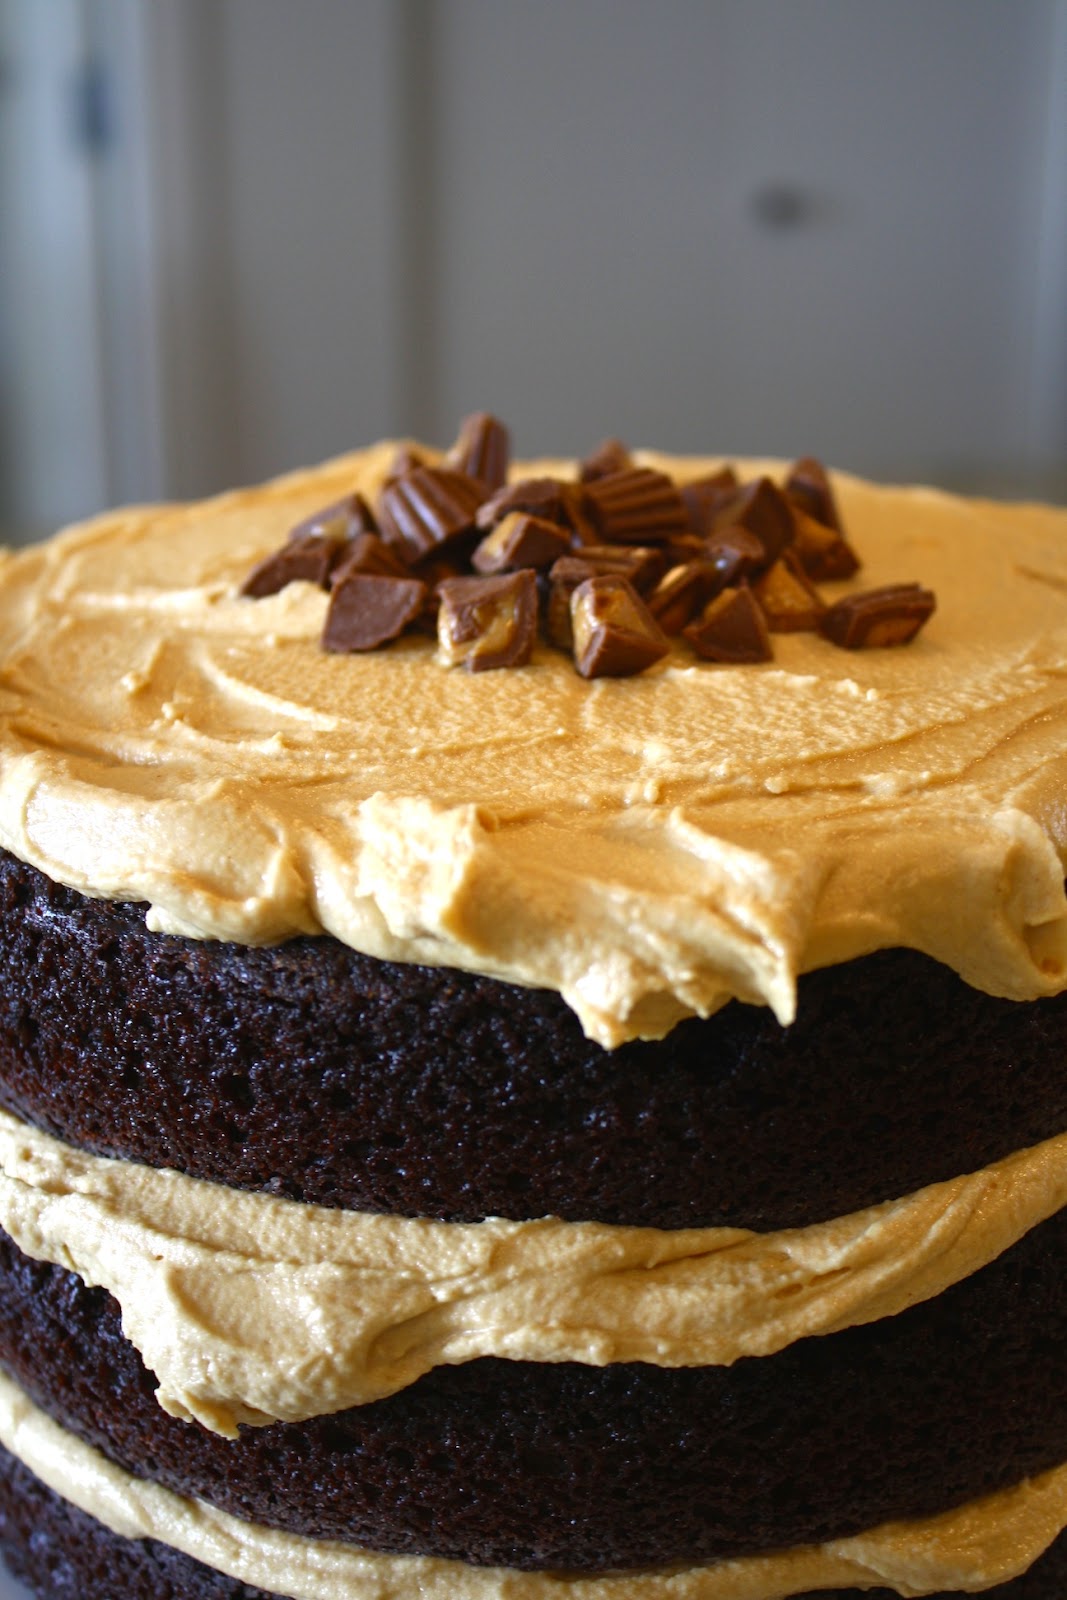
Look at those fluffy buttercream layers!
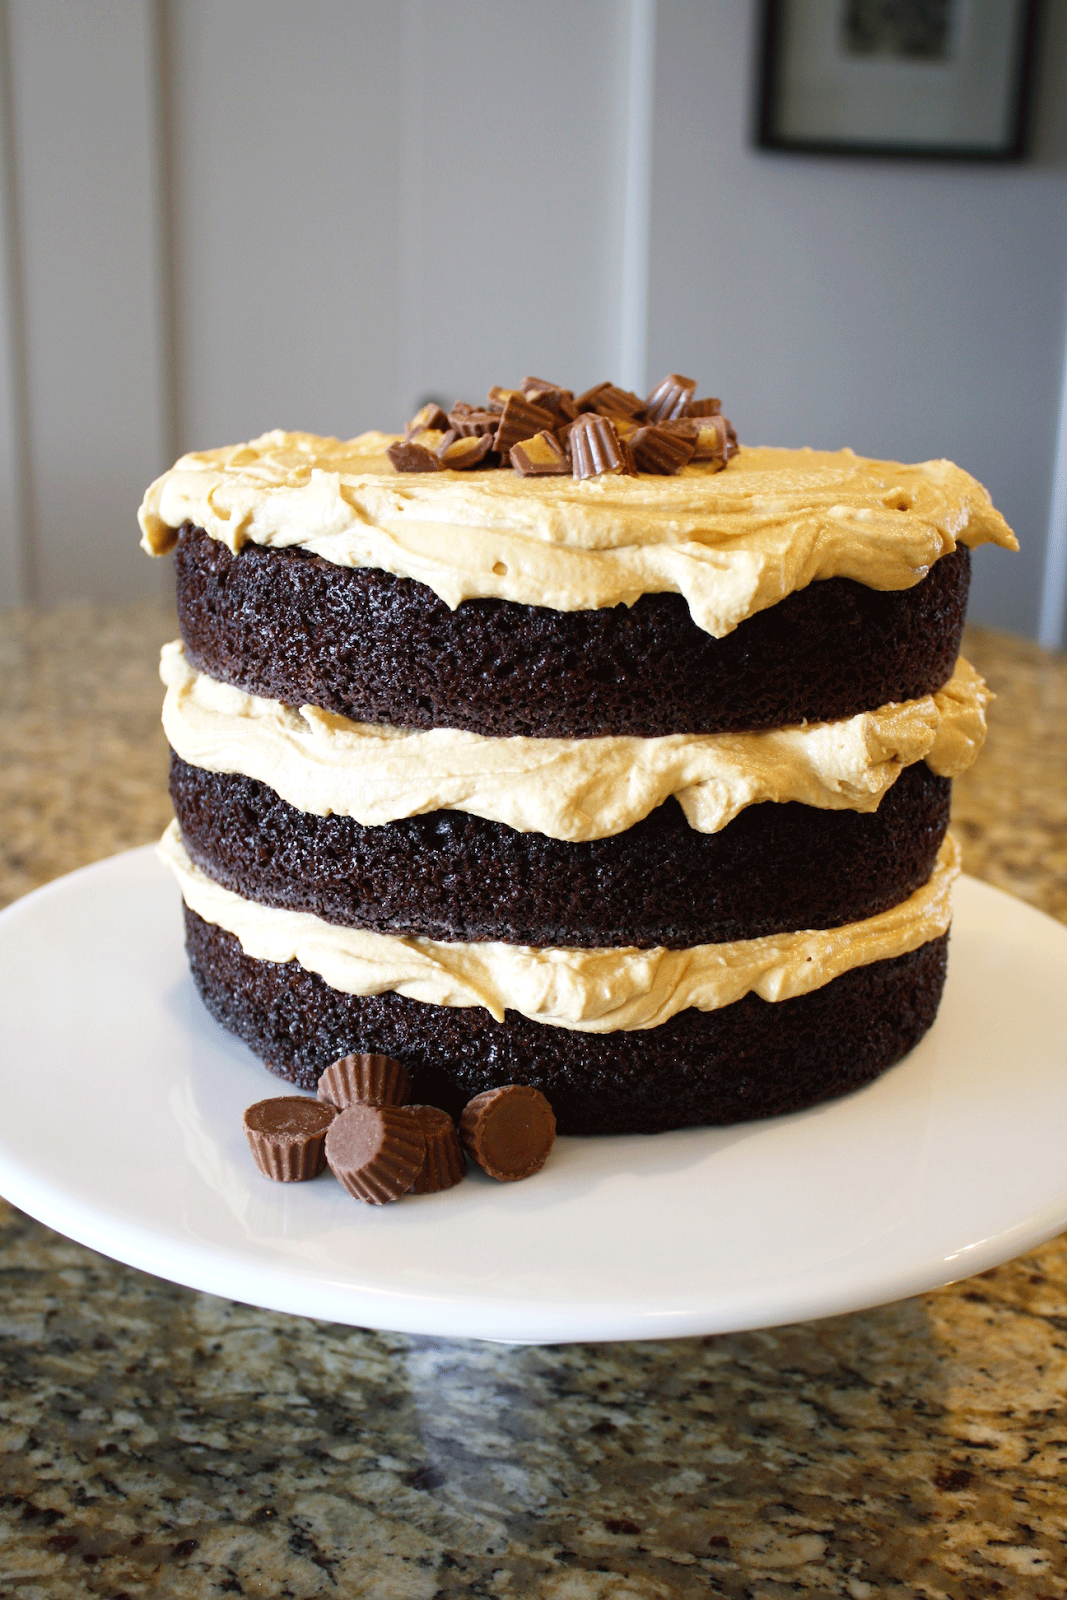
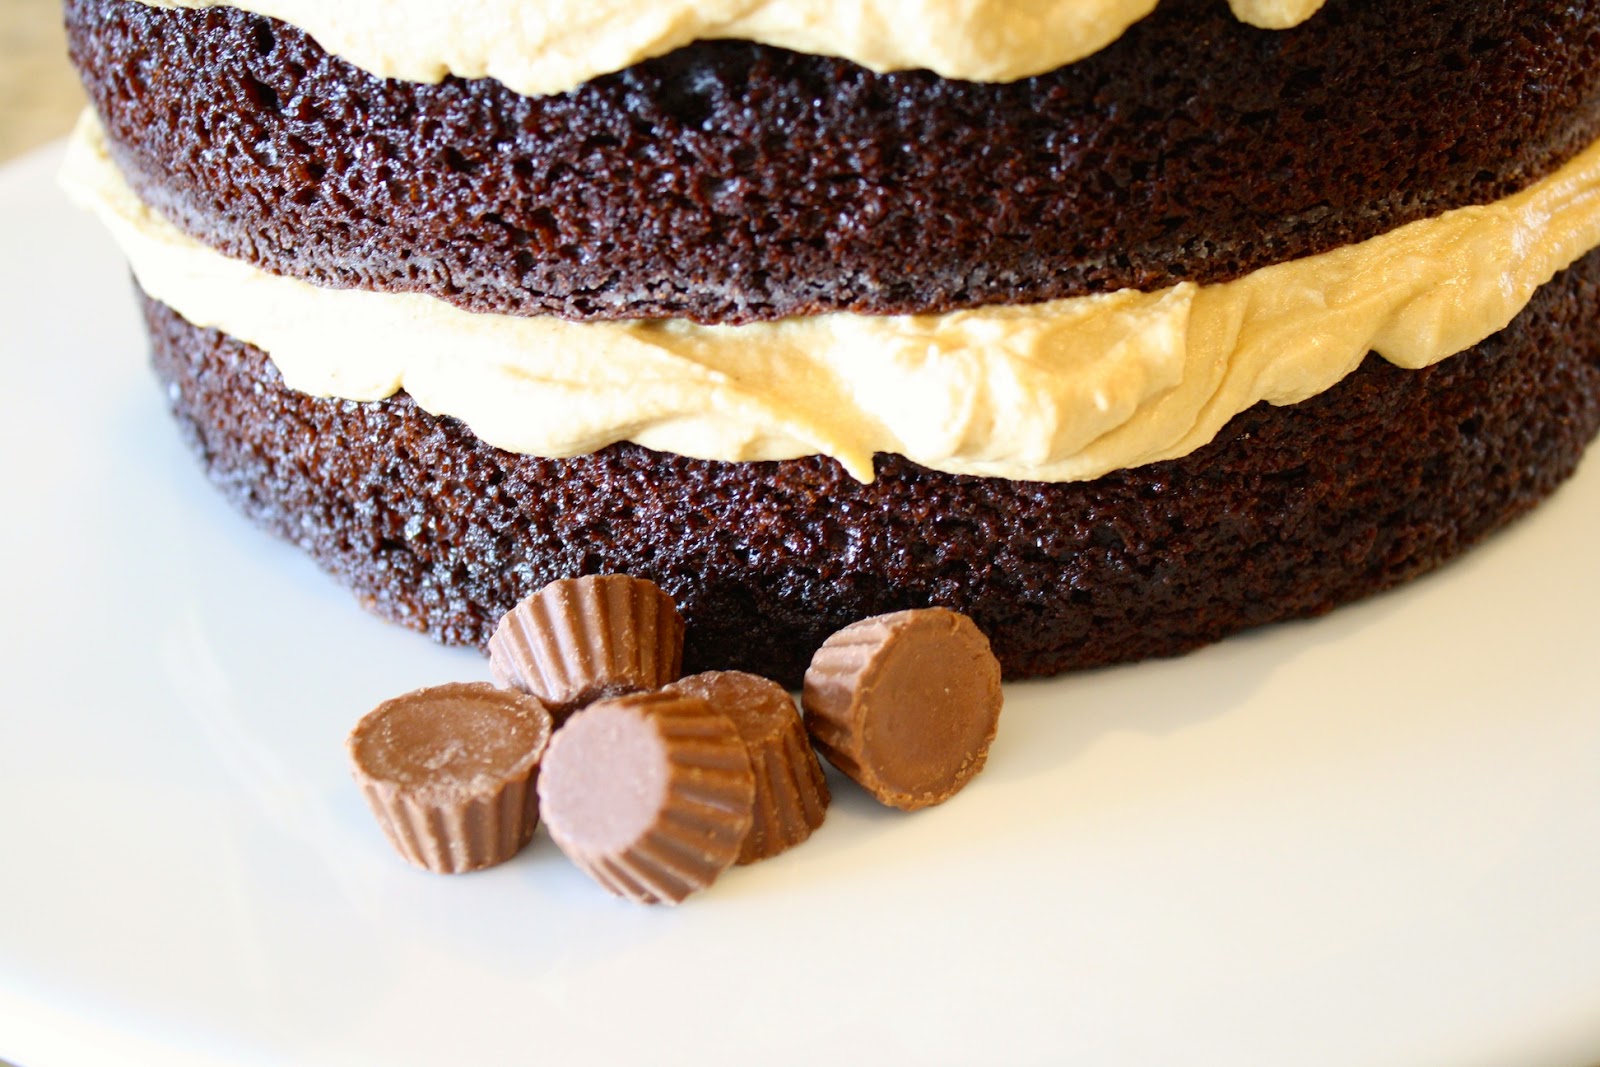
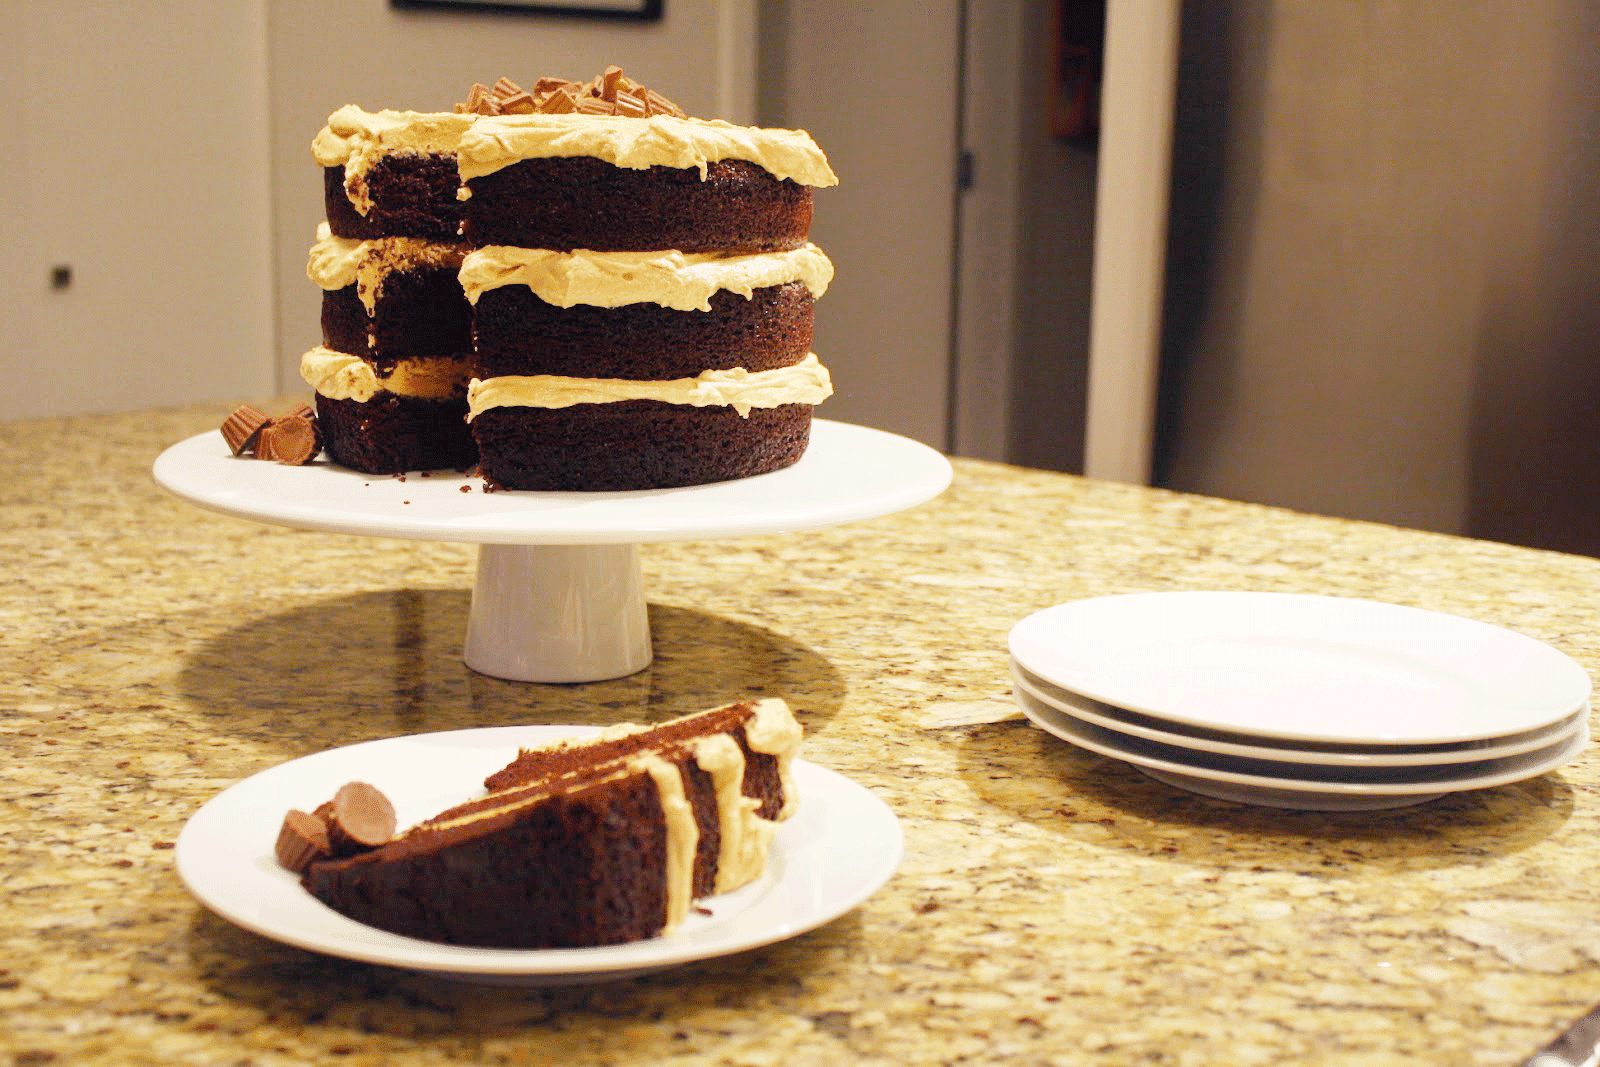
Sadly, we had to wait until after dinner before we could dive into this, so back into the fridge it went. This Peanut Butter Chocolate Cake turned out perfectly. Super moist, strong chocolate flavour, and the PB frosting was light and delicious.
A resounding success!
Reese’s Peanut Butter Chocolate Cake
Ingredients
CAKE
- 2 1/2 cups all-purpose flour
- 3 cups granulated sugar
- 1 cup Dutch-processed cocoa powder
- 1 tbsp baking soda
- 1 1/2 tsp baking powder
- 1 1/2 tsp salt
- 3 large eggs room temperature
- 1 1/2 cups buttermilk room temperature
- 1 1/2 cups strong black coffee hot
- 3/4 cup vegetable oil
- 4 1/2 tsp vanilla extract
FROSTING
- 2 cups powdered sugar
- 2 cups smooth peanut butter
- 2/3 cup unsalted butter 140g, room temperature
- 1 1/2 tsp vanilla extract
- 1/2 tsp salt
- 2/3 cup heavy whipping cream
Instructions
CAKE
- Preheat oven to 350°F. Grease & flour three 8″ round cake pans (I use homemade cake release) & line the bottoms with parchment paper.
- In the bowl of a stand mixer, sift all dry ingredients (flour, sugar, cocoa powder, baking soda, baking powder, and salt). Whisk to combine.
- In a medium bowl, whisk together the eggs, buttermilk, coffee, oil and vanilla.
- Add the wet ingredients to the dry and mix for 2-3 minutes on medium. Scrape the sides of the bowl as needed. Note: the batter will be very thin.
- Divide the batter evenly amongst the 3 cake pans (I used a kitchen scale to ensure evenness).
- Bake for 20 minutes and rotate the pans in the oven. Continue to bake until a toothpick inserted into the center comes out mostly clean (a few crumbs) about 10-15 more minutes.
- Cool the cakes (in the pans) on wire racks for 20 minutes, then carefully turn them out onto cooling racks to cool completely.
FROSTING
- Sift the powdered sugar. Place the peanut butter, butter, vanilla and salt in the bowl of an electric mixer fitted with a paddle attachment. Mix on medium-low speed until creamy. Turn speed down to low and add in the powdered sugar scraping down the bowl with a rubber spatula as needed. Add in the heavy cream and beat on high until the mixture is light and smooth. *



Amanda says
Hi Olivia,
I would like to make a 3 tier 8″ cake…. i went to your old recipe thinking it would be the exact same cake just different measurements, but I’m seeing the recipe’s ingredients do differ. Do you have this recipe with measurements for 8″?
Excited to try your recipe!
-Amanda
Olivia says
Hi Amanda! This recipe here is for three 8″ cake layers. The ingredient amounts differ slightly but I can assure you it’s every bit as delicious! If you prefer though you can 1.5x this recipe here: https://livforcake.com/peanut-butter-chocolate-cake/ to get three 8″ layers. The layers will be slightly thinner though.
Ann Tillson says
Hi Olivia, I recently made your Reese’s Peanut Butter Cake. It’s the latest of several of your cakes I have made. I carefully followed the directions. The only exception to that was I used three 9″ cake pans. I placed them in the oven and about halfway through the baking I was ready to rotate the pans. I turned on the oven light before opening the door and found that the pans were overflowing! I didn’t rotate the pans. When they were finished baking I removed them from the oven. They had sunk back down but they were a mess on the outside of the pans. Surprisingly I was able to remove the cakes from the pans. At the time I was adding the ingredients I paused when the instructions indicated to add 1tbsp baking soda along with 1-1/2 tsp baking powder. It seemed like a great deal of baking soda, but what do I know??? Would you please verify for me that a tablespoon of soda is actually correct. Fortunately the cake, which I made for my daughter’s birthday turned out to be delicious! My oven was another story……. I enjoy reading and creating your wonderful cakes. Hope to hear back from you.
Olivia says
Hi Ann! Sorry to hear you had issues with overflowing! Are your pans at least 2″ tall? And do they taper on the sides or are they straight up and down? The cakes should bake right to the top. I use baking strips to help them bake more evenly (https://livforcake.com/flat-top-cakes/). The measurements are correct. Another culprit though could be if you’re at high elevation (over 3000ft) which can wreak havoc on chocolate cakes specifically.
Suzanne says
The Best!
Olivia says
Hi Suzanne! So glad you loved it 🙂
Heather says
Hey! I have a unique spin to the icing for you!!
Try adding pineapple juice in place of the heavy cream or milk to thin out the peanut butter icing and its going to take on a whole new taste!
I promise you it will not disappoint!!!
Olivia says
Hi Heather! Pineapple?? I am intrigued. I’ll give it a try!
Kaela says
Is the 1 tbsp baking soda measurement correct? It seems a little big to me, but I do realize this is a large cake.
Thanks!
Olivia says
Hi Kalea! Yes, that is the correct amount. Let me know how you like it 🙂
Maria says
This was a DIVINE cake , and i got rave reviews from my family members!!
I made it last October for my brother’s birthday and i tweaked it a little by adding chocolate ganache along with the frosting. The result was scrumptious!
Thank you so much Liv: ):):)
Olivia says
Hi Maria! Thanks so much Maria! I’m so happy you loved it 🙂
Antoinette says
I only did your frosting recipe, but it was lovely! Big hit with the family.
Olivia says
Hi Antoinette! So happy you loved it 🙂
Amy says
Hi Olivia
This cake sounds amazing! I only have 9” pans, how can I tweak this recipe to accommodate my pans? Thanks!
Olivia says
Hi Amy! You can bake the cakes in three 9″ pans but the layers will be thinner so you’ll need to reduce the baking time. Otherwise, I would 1.5x the recipe (you can increase the Servings to 24 to get the amounts). Let me know how you like it! 🙂
Collette says
Thank you very much
Great recipe
Frosting is delicious and perfect
Cheated and used box cake, but used melted butter, extra egg, cold brew coffee and whole milk, extra vanilla for homemade taste.
Olivia says
Nothing wrong with a box mix! So glad you liked it 🙂
Beth says
Hey! Would you suggest using this recipe for three layers of cake or any of your chocolate cake recipes?
Olivia says
Hi Beth! I would use some of my more recent chocolate cake recipes as I’ve fine tuned them over the years. Just be sure to double the recipe though if you’re going for three 8″ pans!
Sylvieann says
Hi Olivia, I haven’t made this yet but it sounds scrumptious. And it looks beautiful too! Thanks for sharing.
Olivia says
Hi Sylvieann! Thank you!! I hope you try it :).
Lucy @ Bake Play Smile says
Oh my goodness! You really are the queen of cake! This looks amazing… pinned!
Olivia says
Thanks so much Lucy!! 😀
Amanda @ Cookie Named Desire says
What a gorgeous cake! And it’s my favorite flavor combo EVER!!
Livforcake says
Thanks Amanda! It definitely satisfies both a chocolate and peanut butter craving! The chocolate cake was my fave though.
Bette says
You’re a grown up now. You can have cake FOR dinner. Especially one that looks so yummy
livforcake says
Well that’s true, and we HAVE been known to do so… We opted to be polite and waited for our guests before diving in :D.