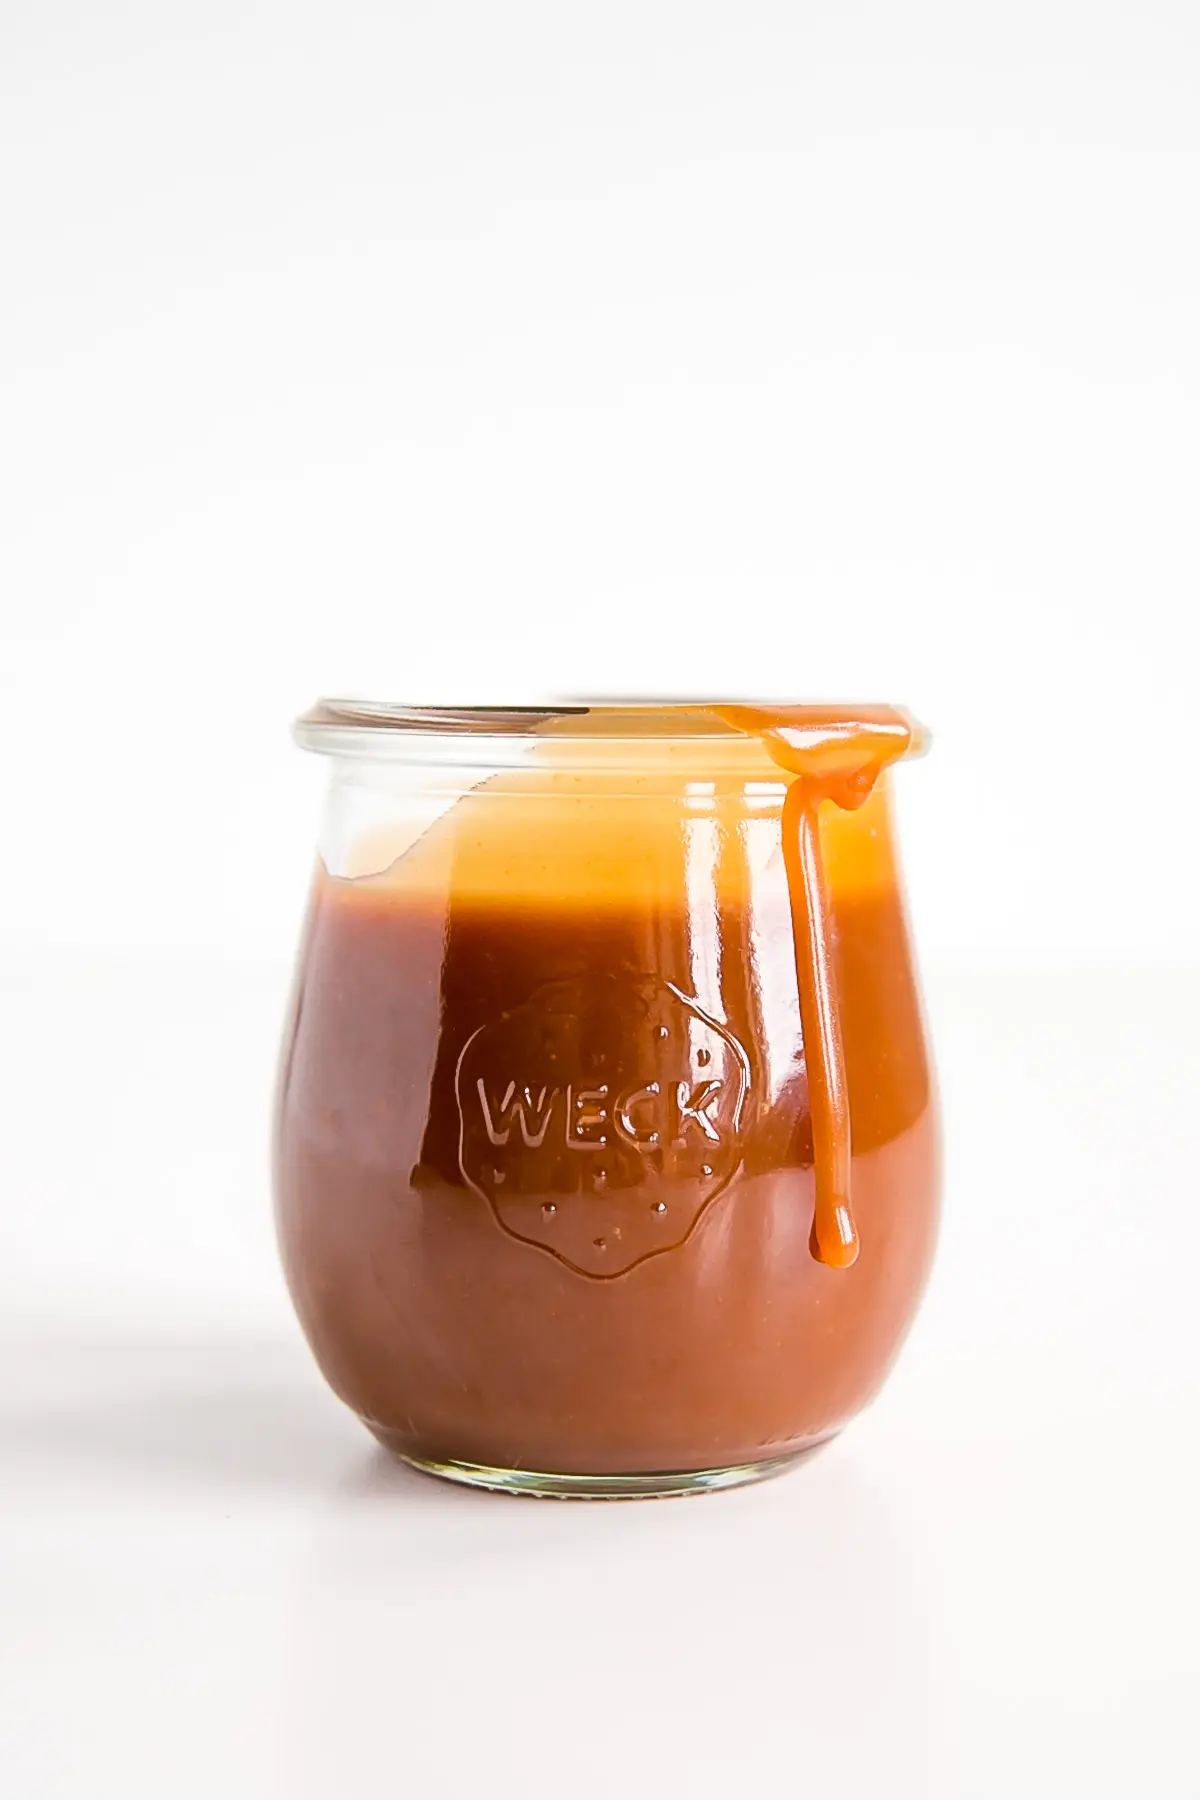
Make your own caramel at home with this easy tutorial! This easy Caramel Sauce recipe takes only four simple ingredients and 15 minutes to make.
It’s been a while since my last post. I hope you all had a wonderful holiday season and are back in the swing of things now that we’re halfway through January.
I’m going to be sharing some tutorials for the first part of the year covering common cake components. Focussing on things that people may struggle with, get intimidated by, or just want to learn how to make.
Today, I’m kicking it all off with this Caramel Sauce Recipe & Tutorial!
There are a variety of different ways that you can make caramel sauce, but I’m going to tell you about my favorite way to do it. It requires very few ingredients that you probably already have in your fridge/pantry, and just a bit of patience.
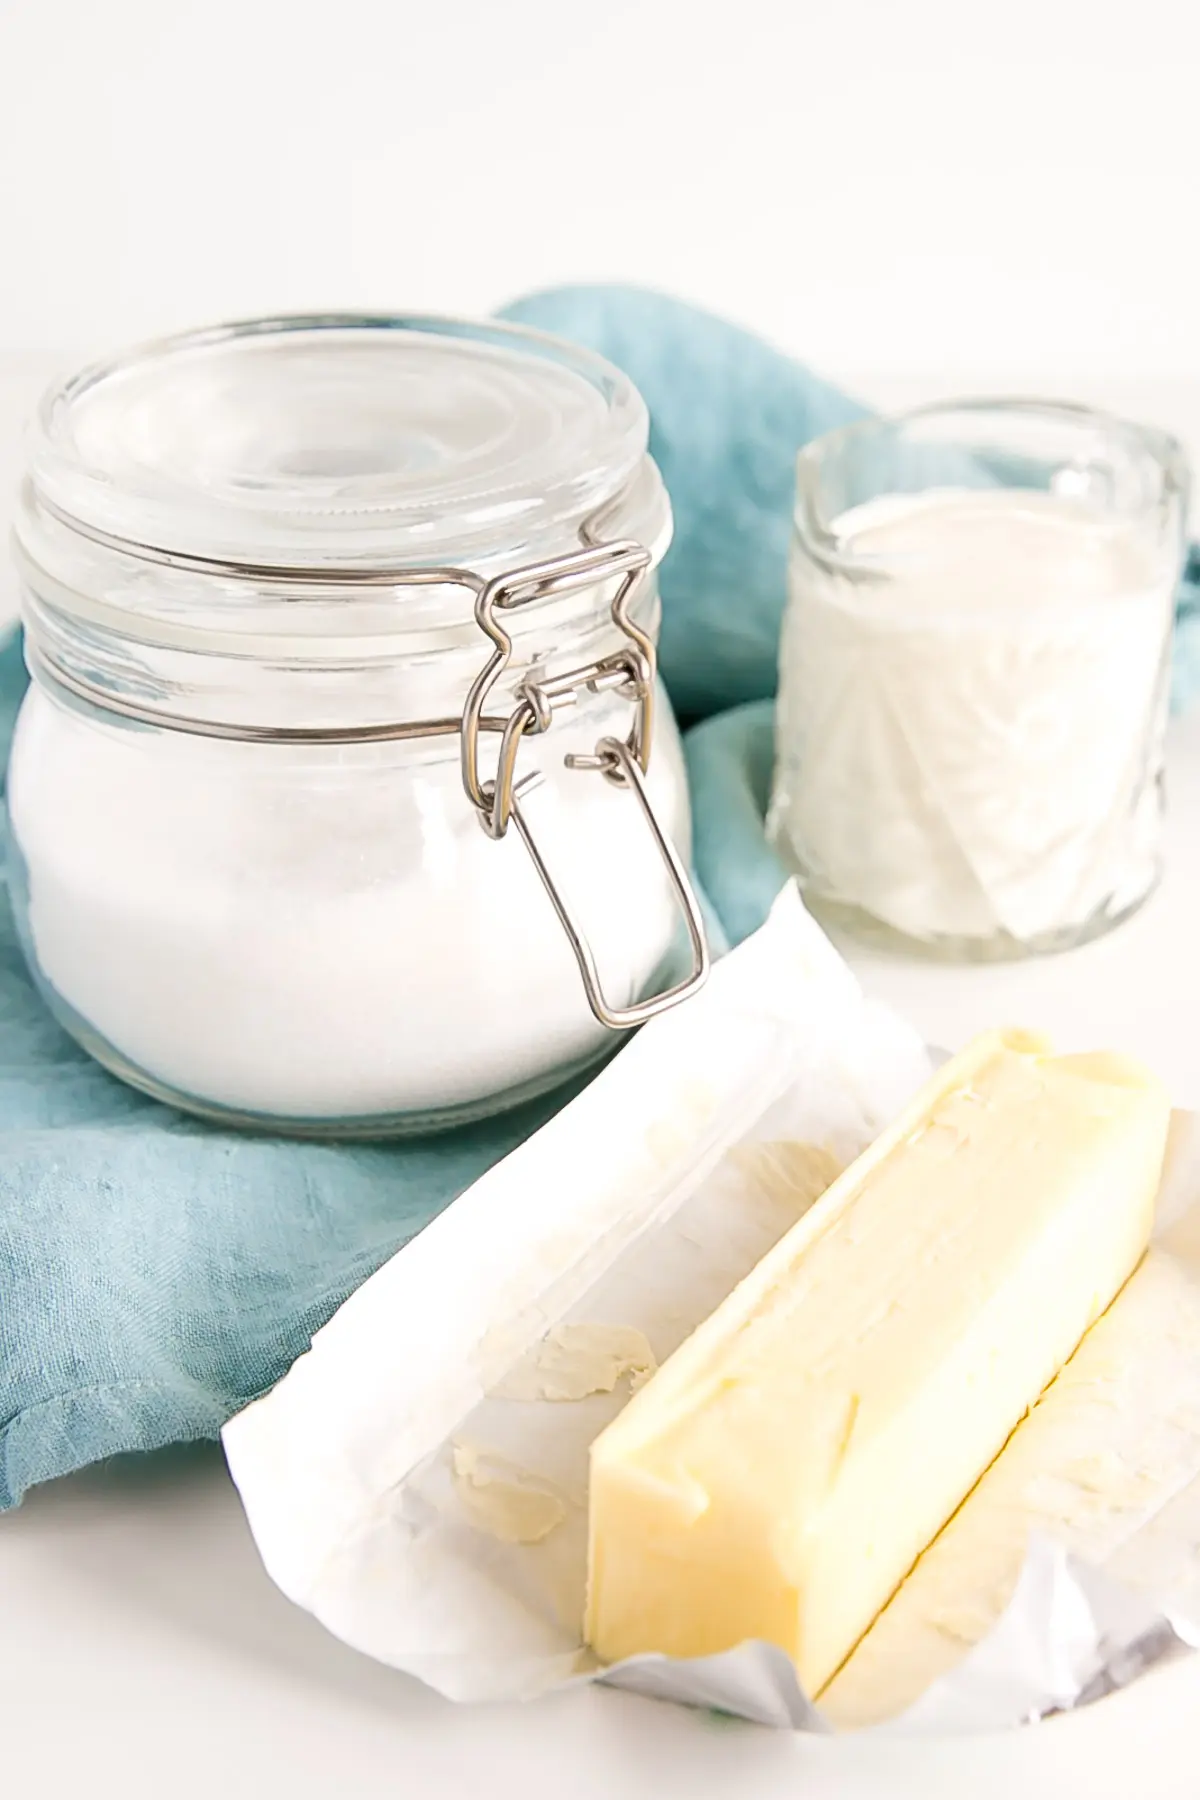
Ingredients to Make Caramel
These are the ingredients I use to make my caramel. There are other caramel sauce recipes out there that use slightly different ingredients, but this one is my favorite.
- granulated sugar
- water
- heavy cream (room temperature)
- butter (room temperature)
- flavorings (optional – vanilla, sea salt, bourbon, maple, etc.)
It’s critical that your cream and butter are at room temperature — or even warmed a bit. Caramel does not react well to drastic changes in temperature and can seize or separate.
Leave your butter out overnight if you can, and if your cream is cold then warm it slightly in the microwave.
How to Make Caramel Sauce
I’m going to take you through how to make this caramel sauce recipe step by step, covering everything you need to know so that you can feel confident making it at home.
It really is easy to do, it just requires a bit of focused time. It’s not something you can really step away from while you’re making it, but it only takes about 15mins start to finish.
Here are some basic tools you’ll need to make this recipe:
- med-large pot
- pastry brush
- whisk
- glass jar or container
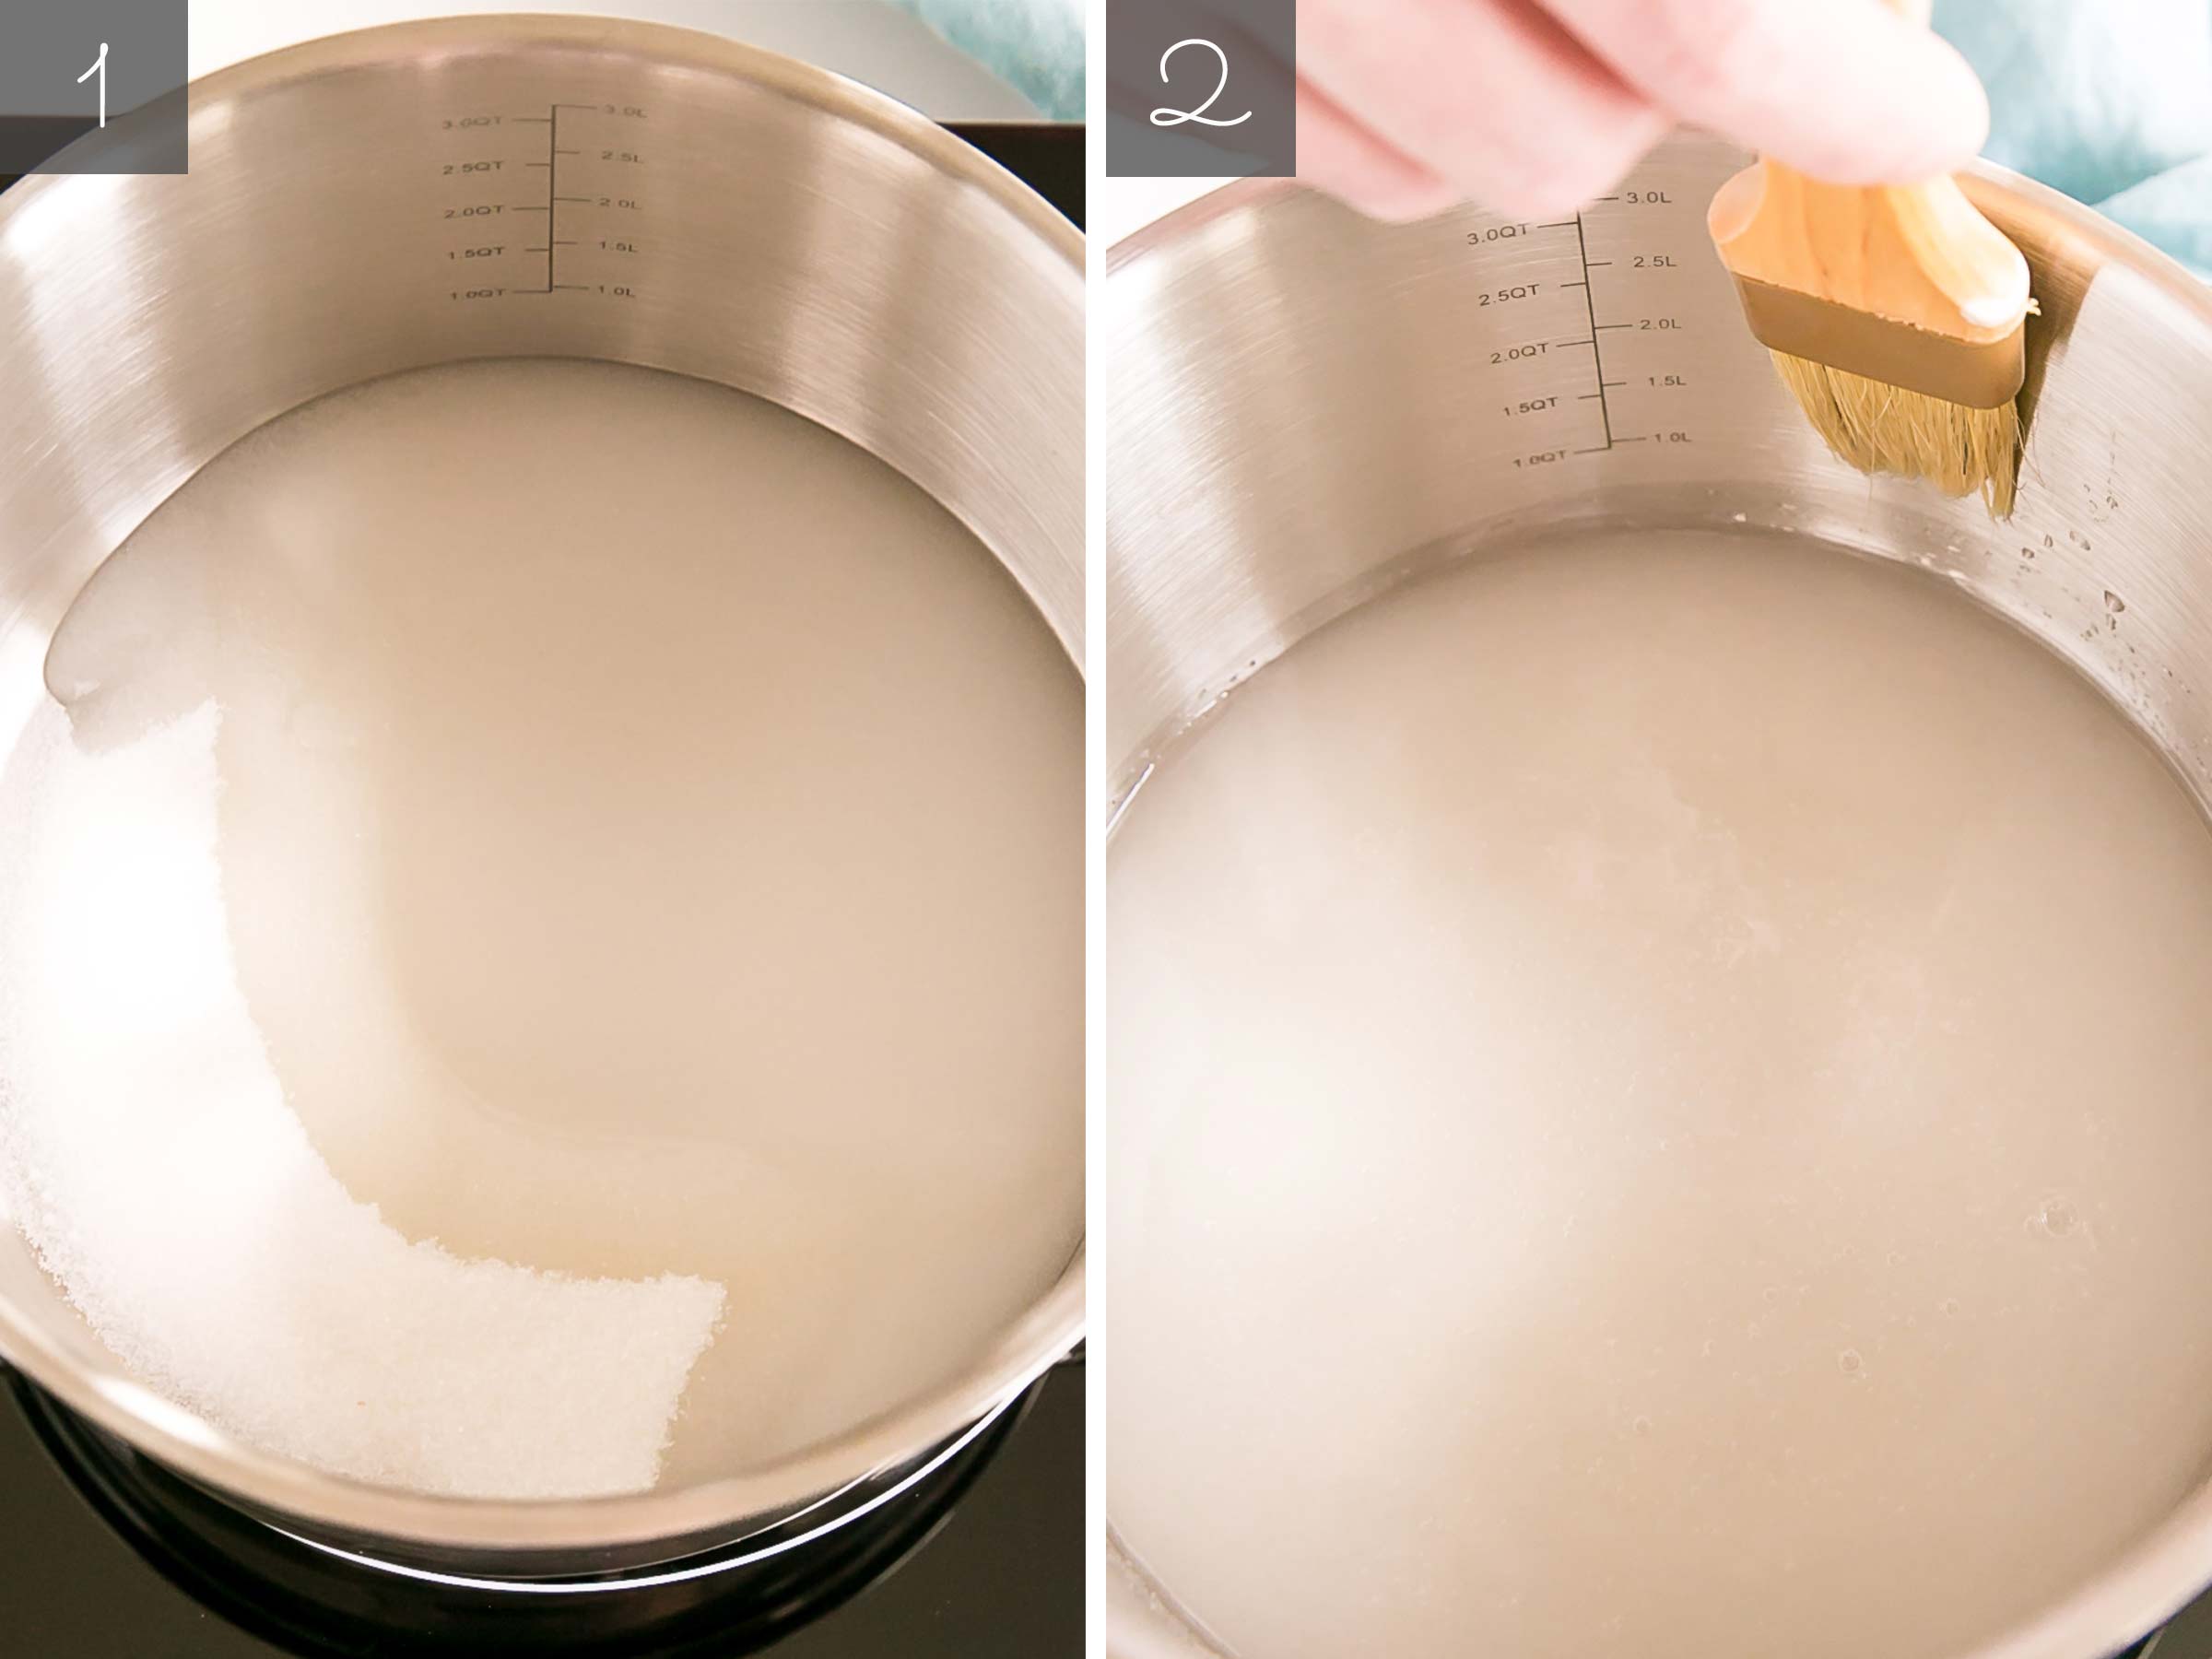
#1. Place Sugar & Water in a Pot – Place the granulated sugar and water into a pot and stir to combine and dissolve, but do not stir from this point forward. Stirring will cause the sugar to crystallize which will ruin your caramel.
It’s best to use a light-colored or white pot so you can easily see the color of the sugar as it’s cooking.
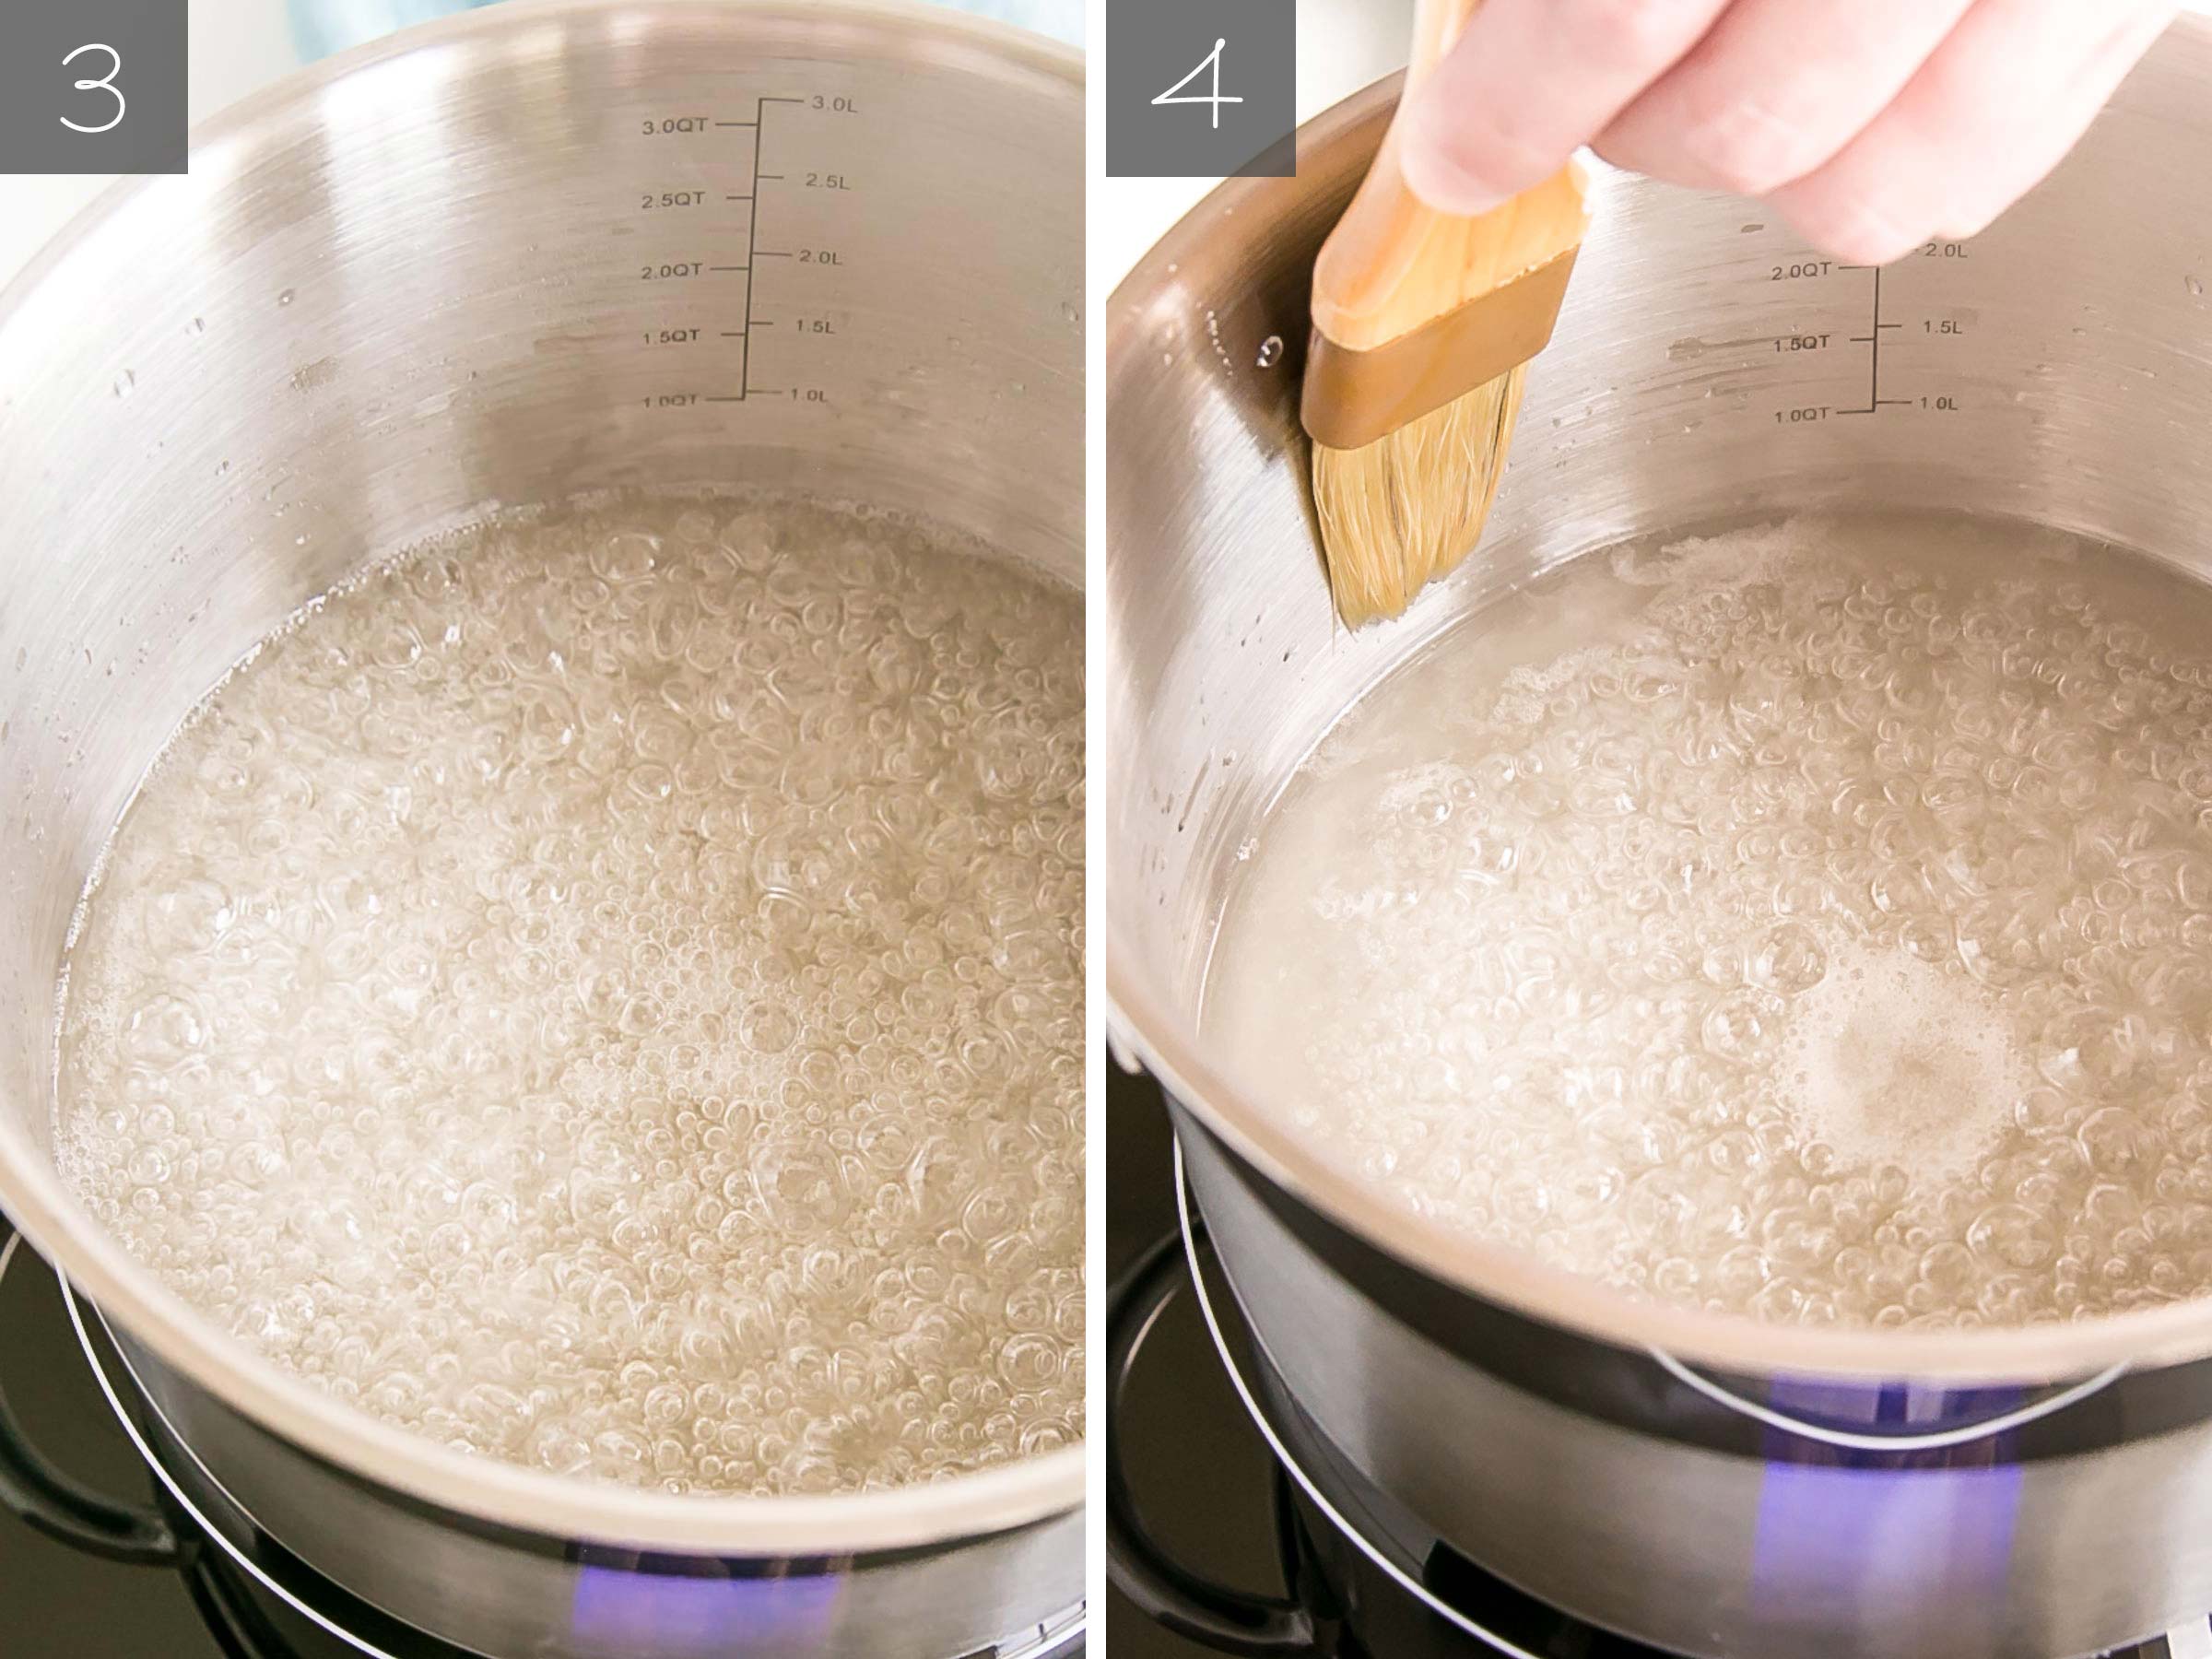
#2. Brush Sugar from the Sides of the Pot – Dip a pastry brush into water and brush down the sugar crystals from the sides of the pot (this also prevents crystallization).
Caramel Tip
Make sure your sugar is dissolved before it comes to a boil. This can help prevent crystallization.
#3. Bring the Sugar to a Boil – Place the pot over med-high heat and bring the sugar mixture to a boil.
#4. Brush Down the Sides – Occasionally brush down the sides of the pot with water to prevent crystals from forming. Be careful not to dip the pastry brush into the boiling sugar.
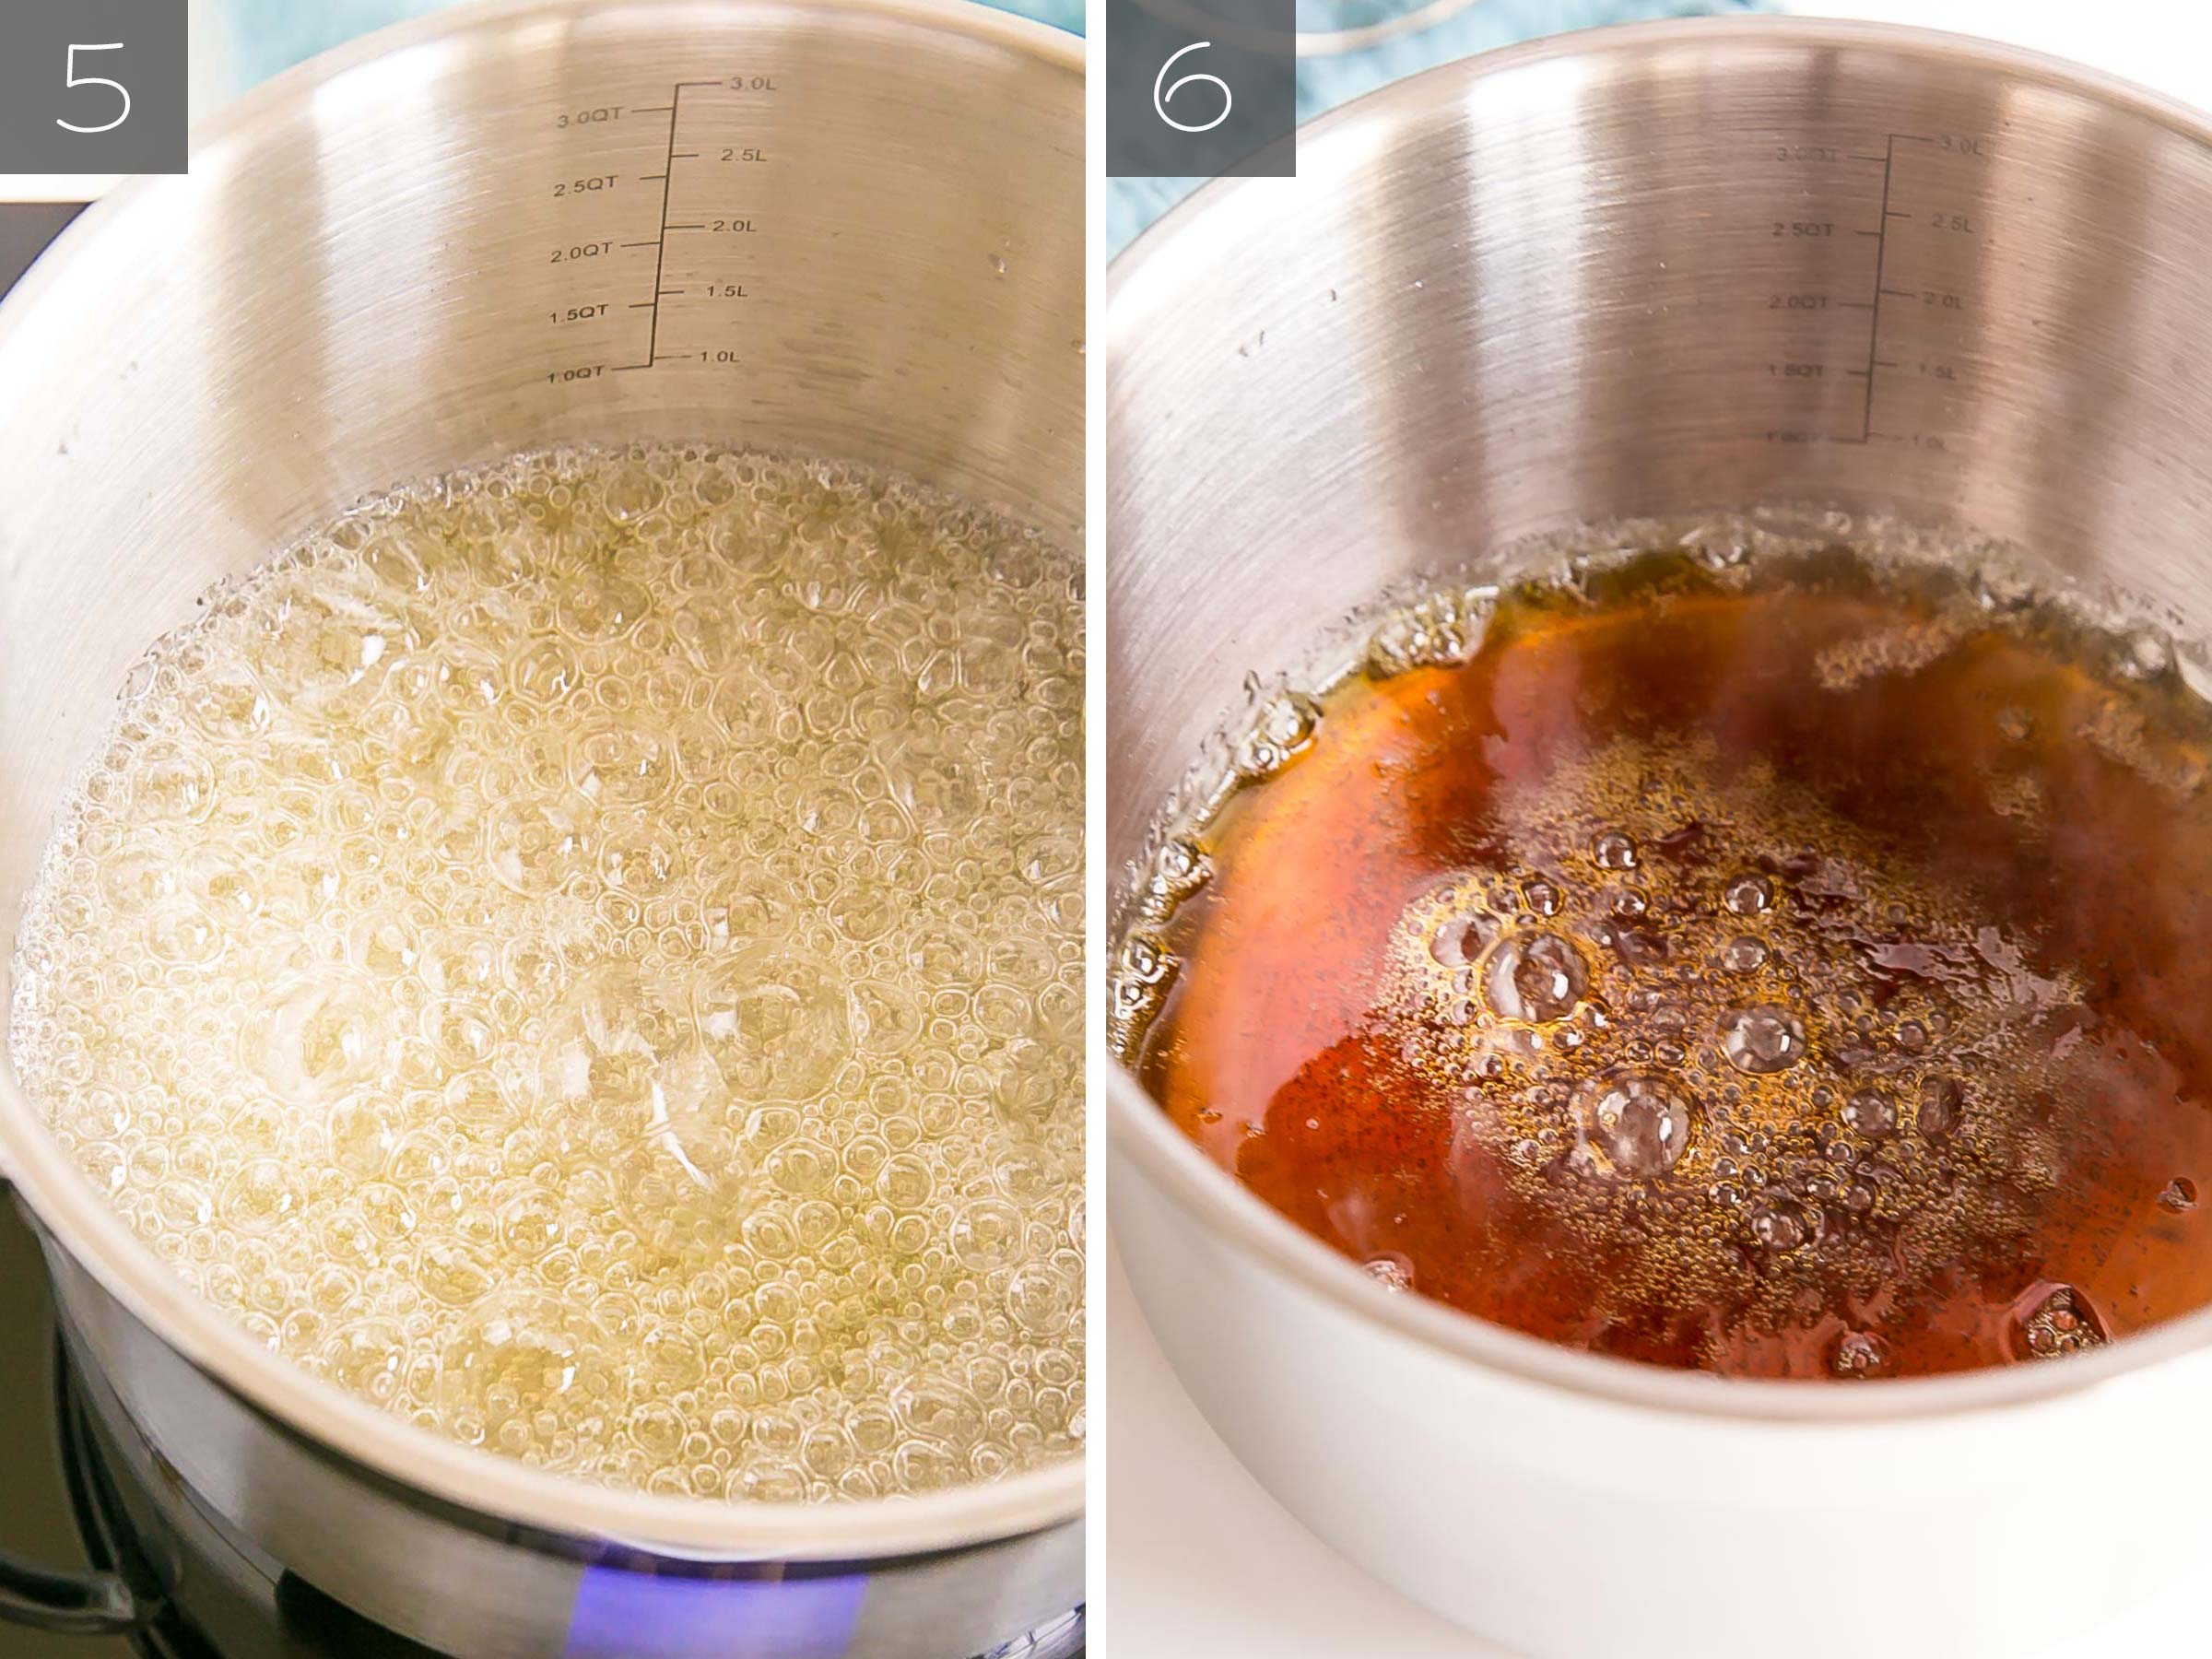
#5. Cook Sugar Until it Starts to Caramelize – Continue cooking the sugar until it starts to change color. This can take anywhere from 5-10mins depending on the amount of sugar, size of the pot, temperature, etc.
Caramel Tip
It’s best to use a light-colored pot, as it will be harder to see the sugar changing color in a dark pot and harder to tell when it’s ready.
I recommend watching the sugar the entire time — once it starts to color it can burn very quickly. I never take my eyes off the pot while it’s cooking. Okay, maybe I do for the first couple minutes or so, but I watch it like a hawk after that.
When the sugar starts to caramelize and turn a bit yellow, you can swirl the pot a bit to mix it around.
#6. Cook Until a Deep Amber Color – Continue cooking until the sugar is a nice amber color. It will start to smell AMAZING. Don’t let it get too dark, as it will burn and taste bitter.
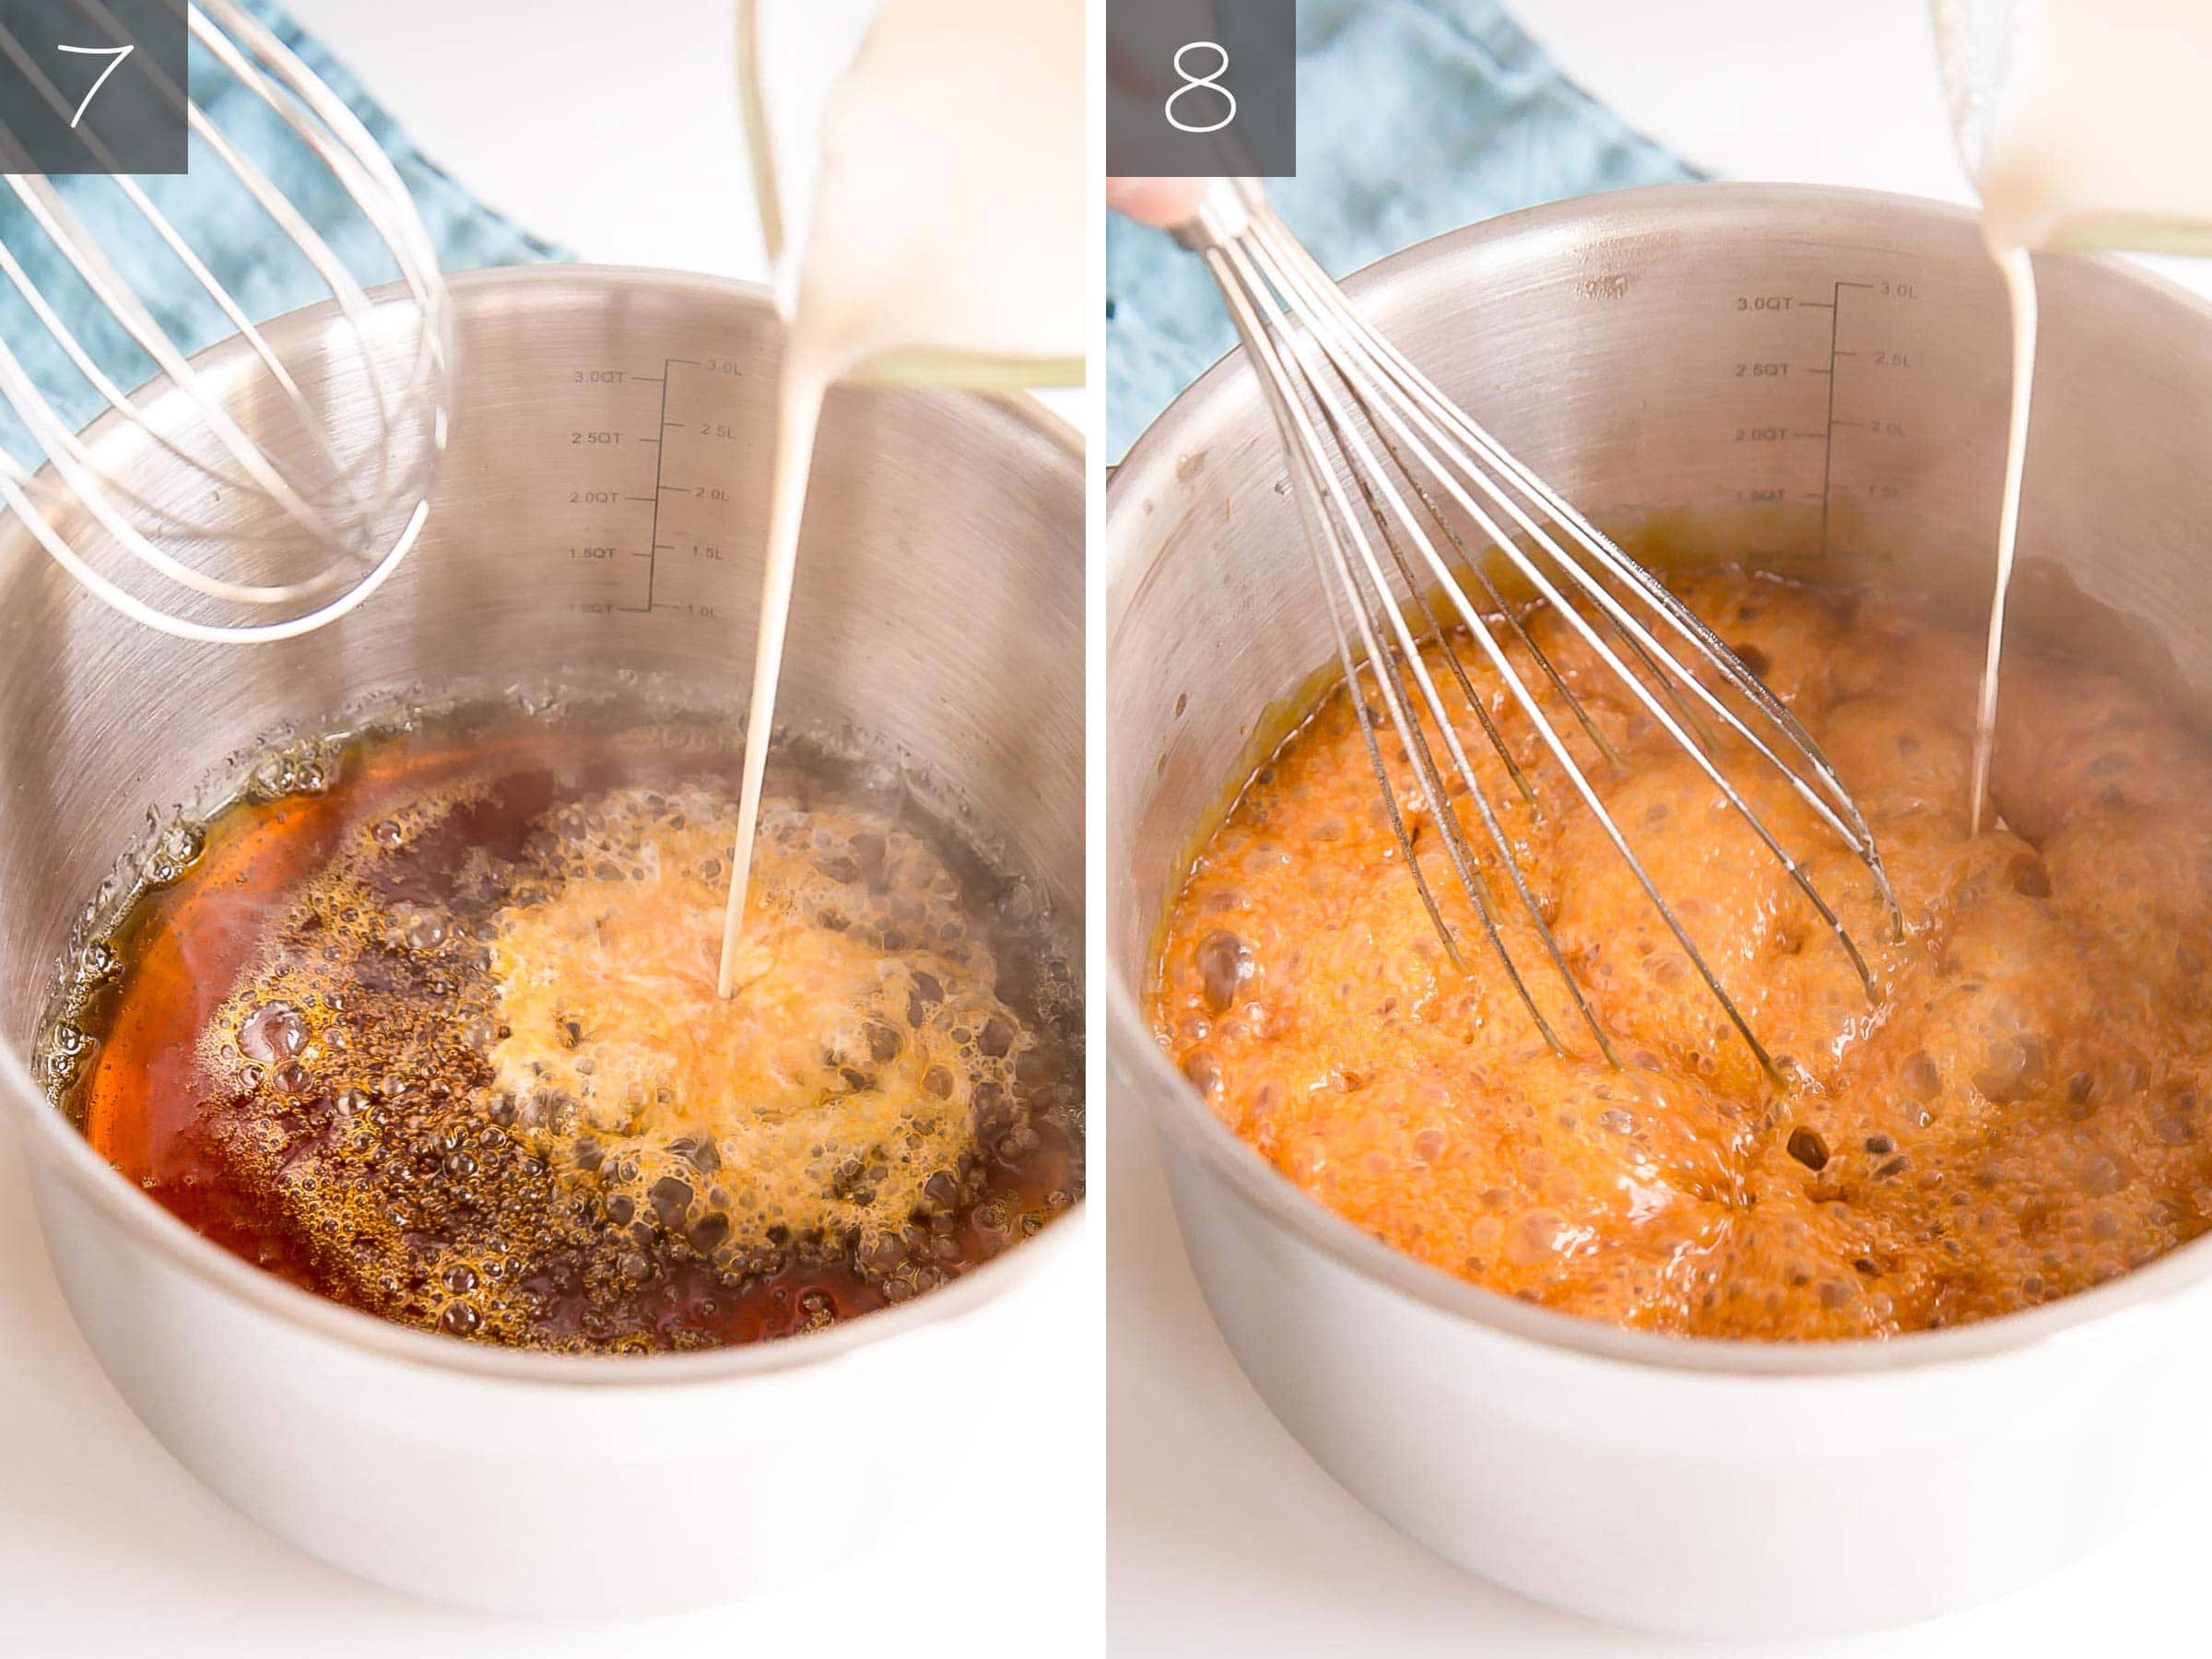
#7. Whisk in the Heavy Cream – Once the sugar is a nice amber color, immediately remove the pot from the heat and carefully whisk in the (room temperature) heavy cream (pour slowly, whisk quickly).
#8. It will bubble up a LOT, so be prepared.
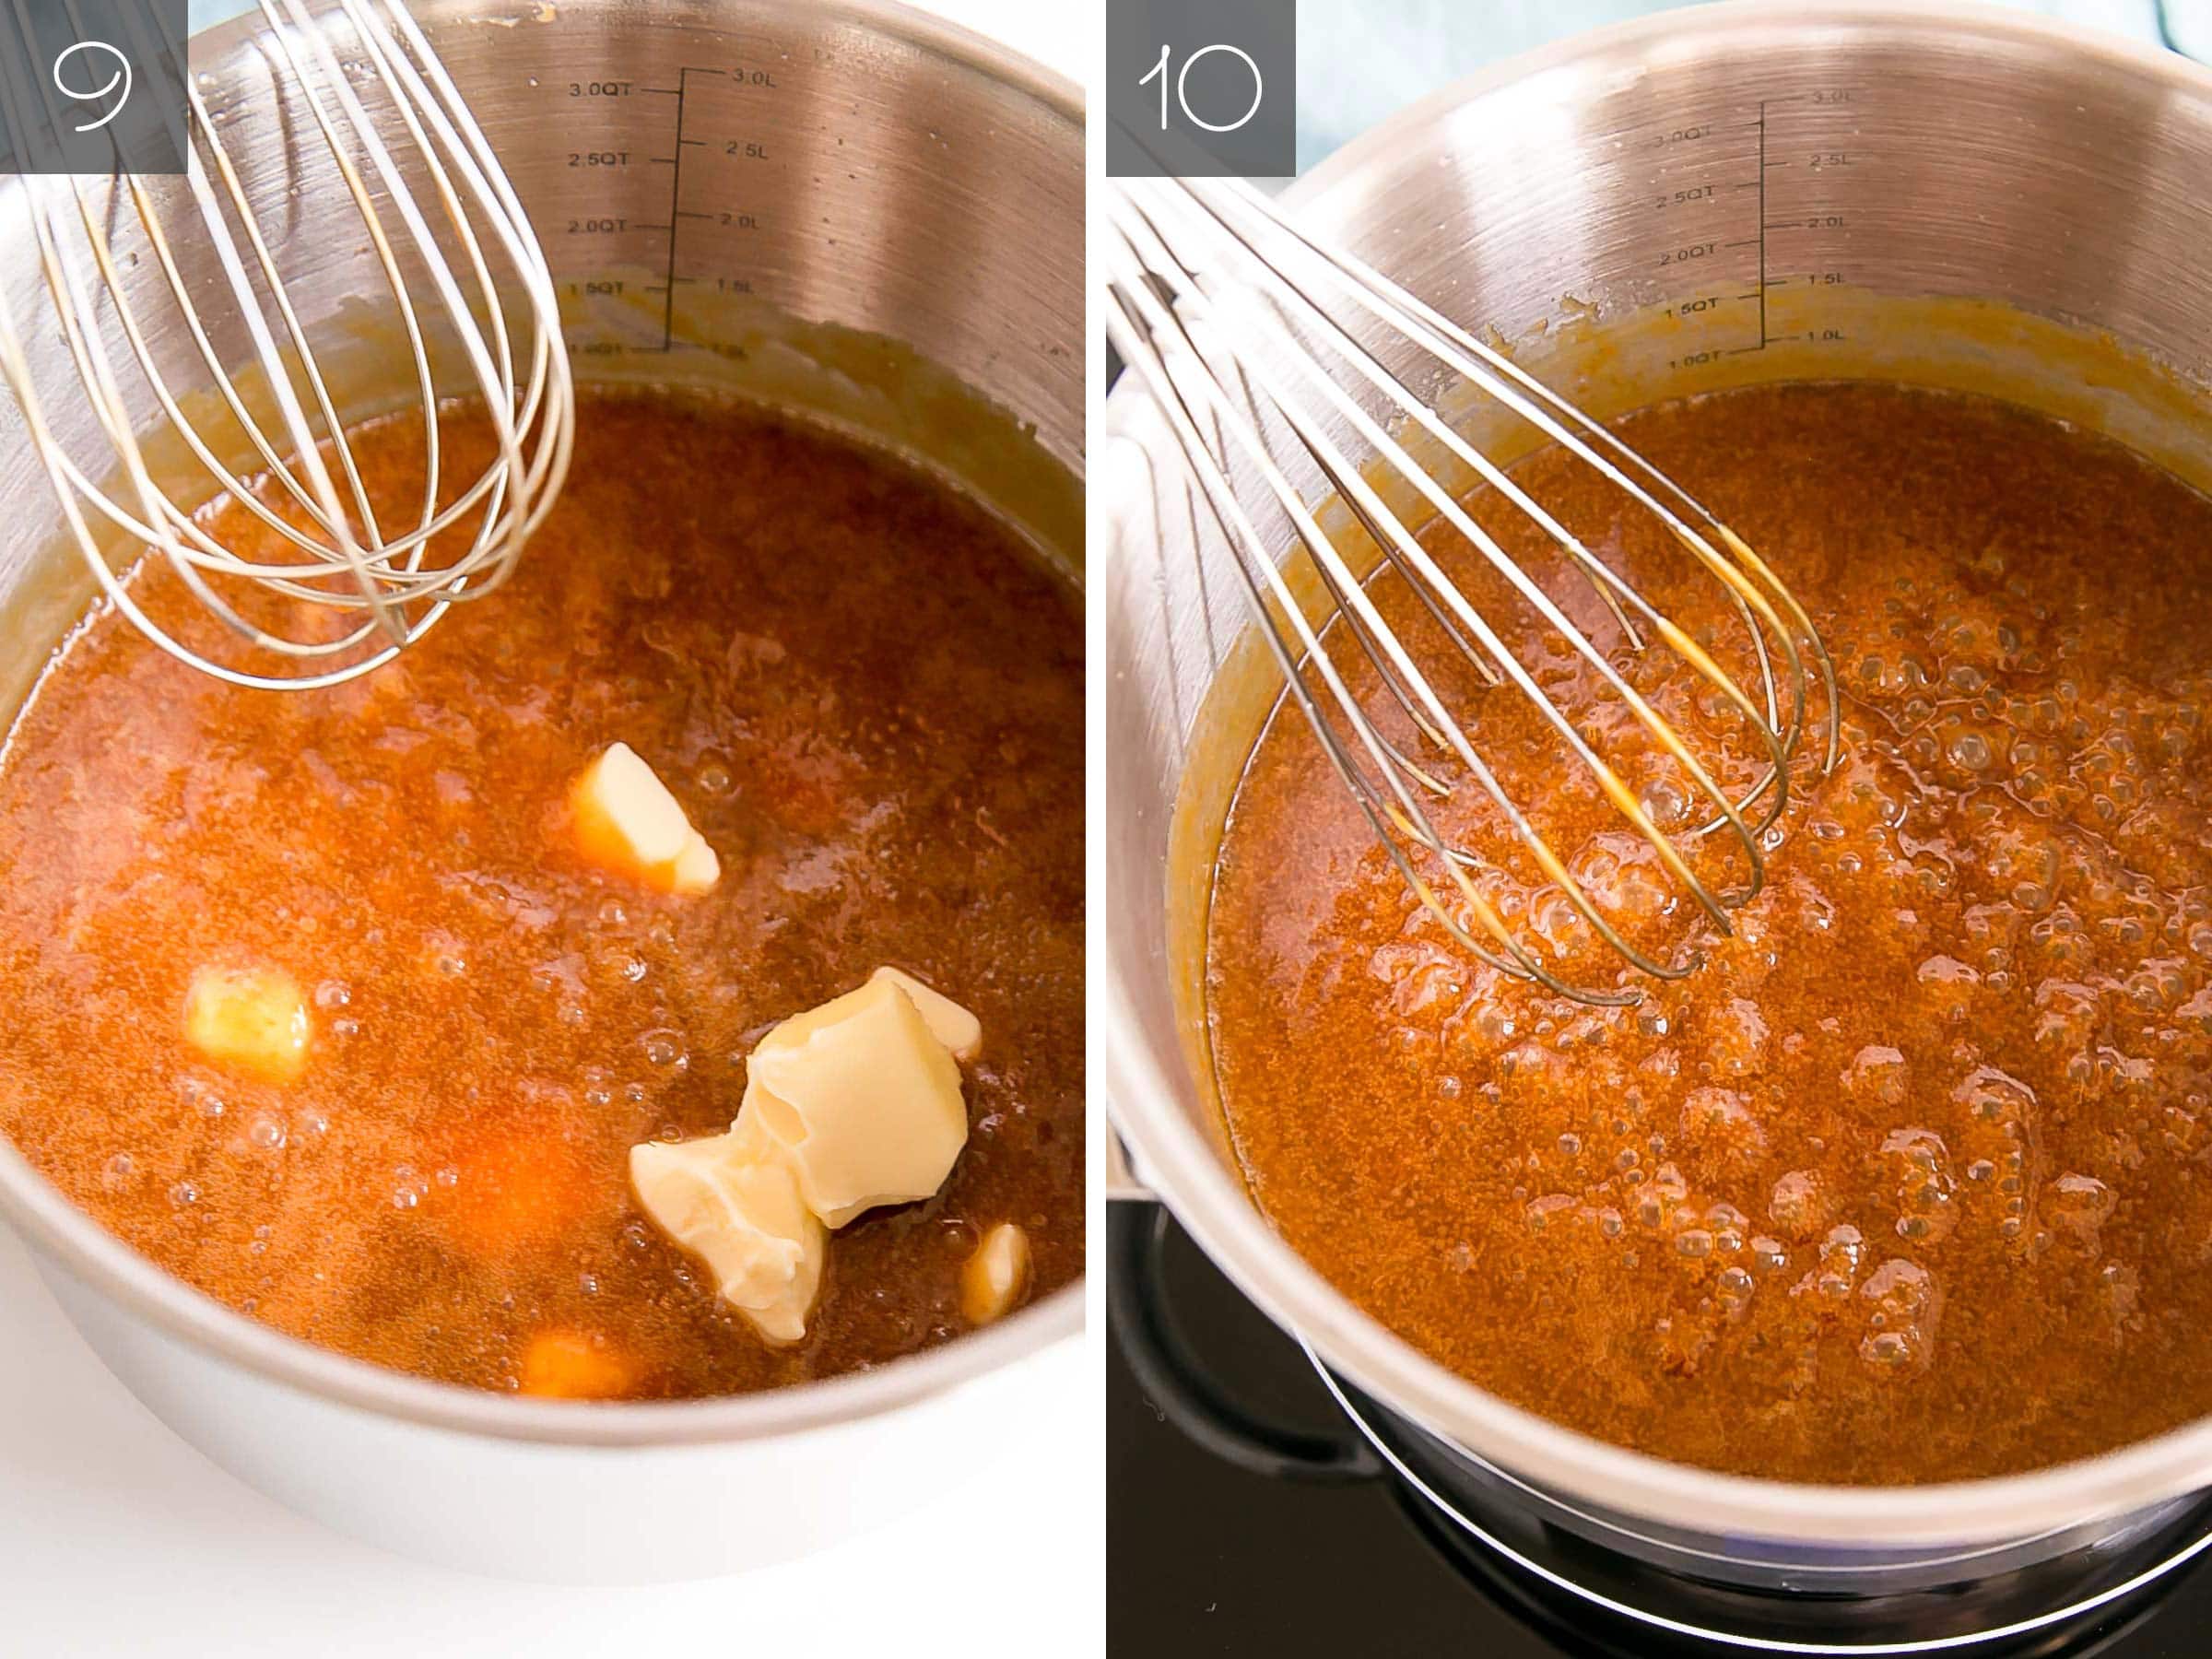
#9. Add the Butter & Flavorings (optional) – Once all the cream is whisked in, add the (room temperature) butter and whisk until incorporated.
If you’re making salted caramel, or vanilla, or adding bourbon or other flavorings, this is when you’d do it. Add the flavor and whisk it in.
#10. Return to Heat and Simmer – Return to heat and simmer the caramel sauce on low for a minute or two. Don’t boil it too furiously or cook it for too long, as it will thicken too much.
At this point, remove the pot from the heat and set it aside to cool. The caramel sauce will thicken as it cools.
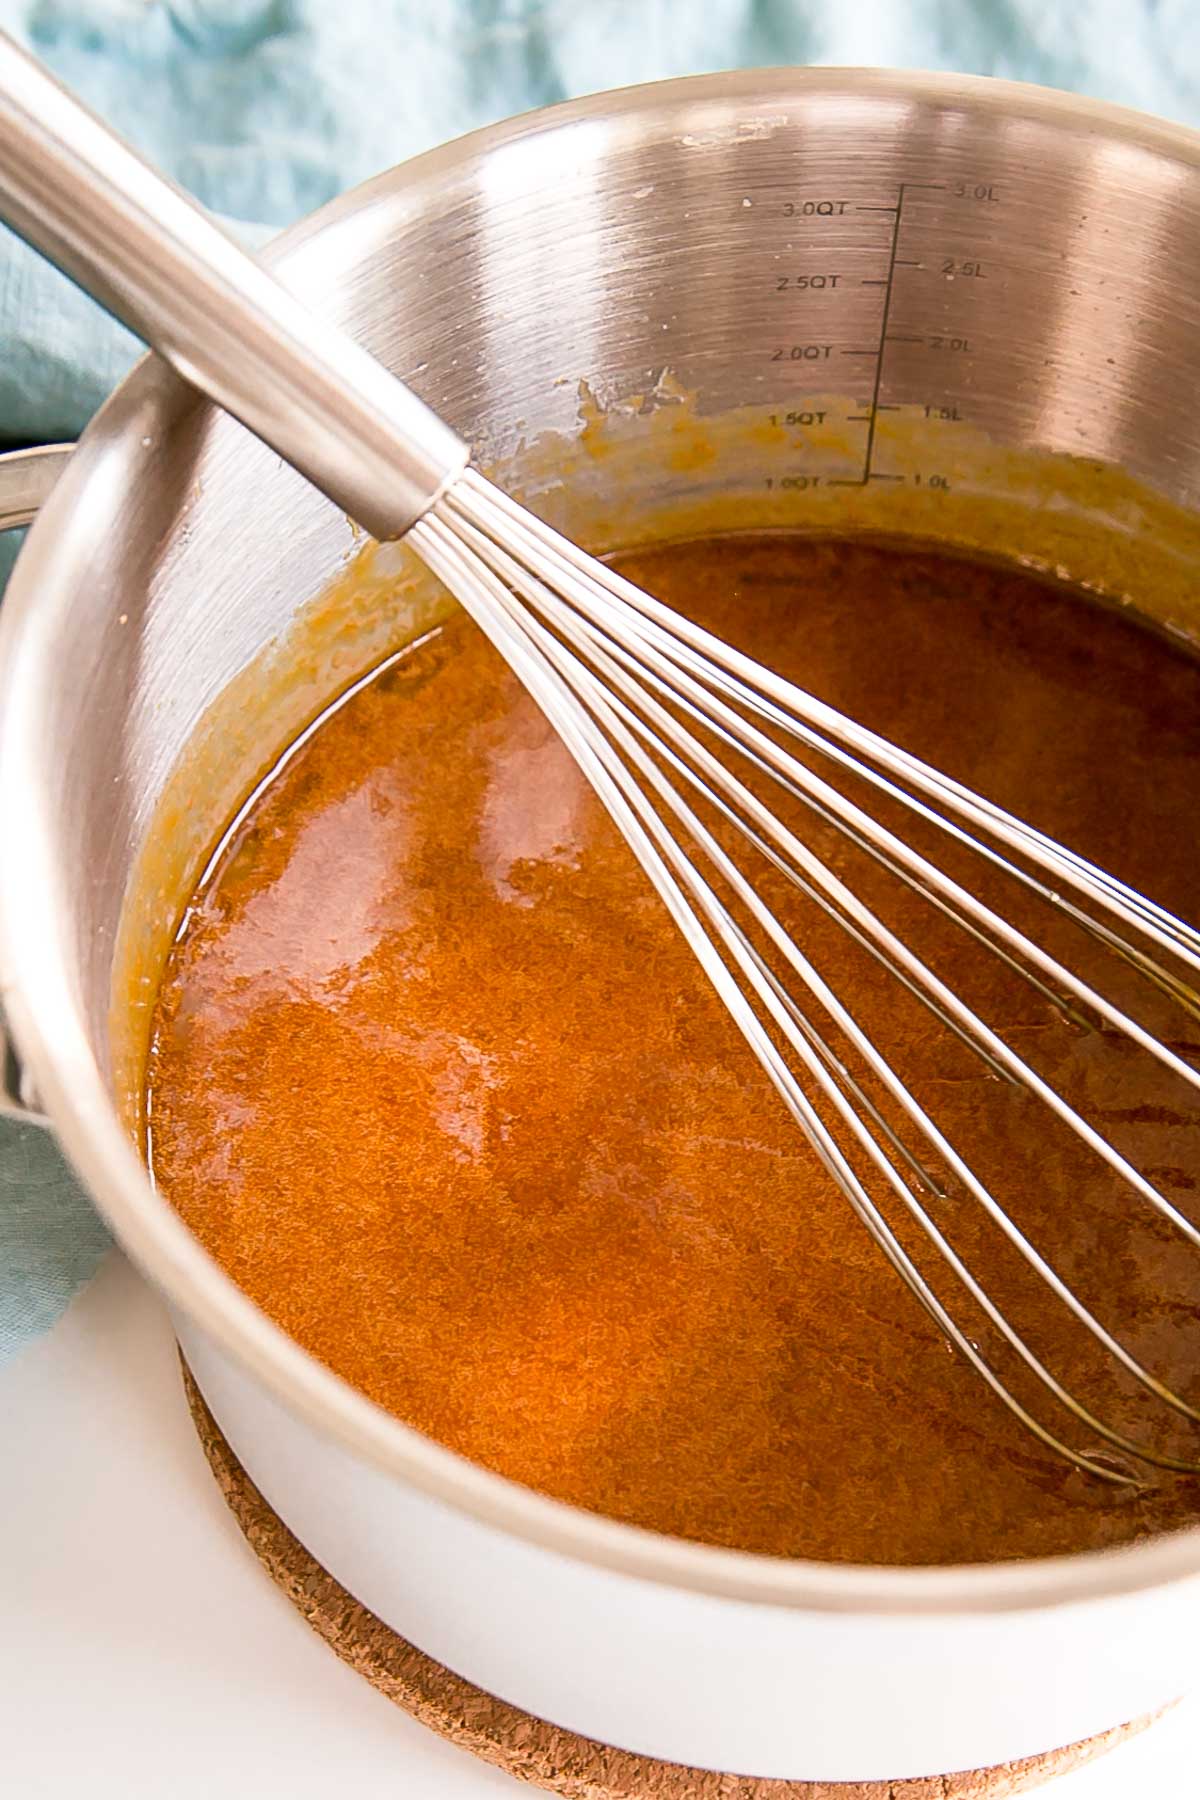
Once it has cooled you can transfer it to a glass or plastic container. You can leave it at room temperature overnight or place it in the fridge if storing for longer.
If you store it in the fridge, you may need to warm it up a bit in the microwave before using it.
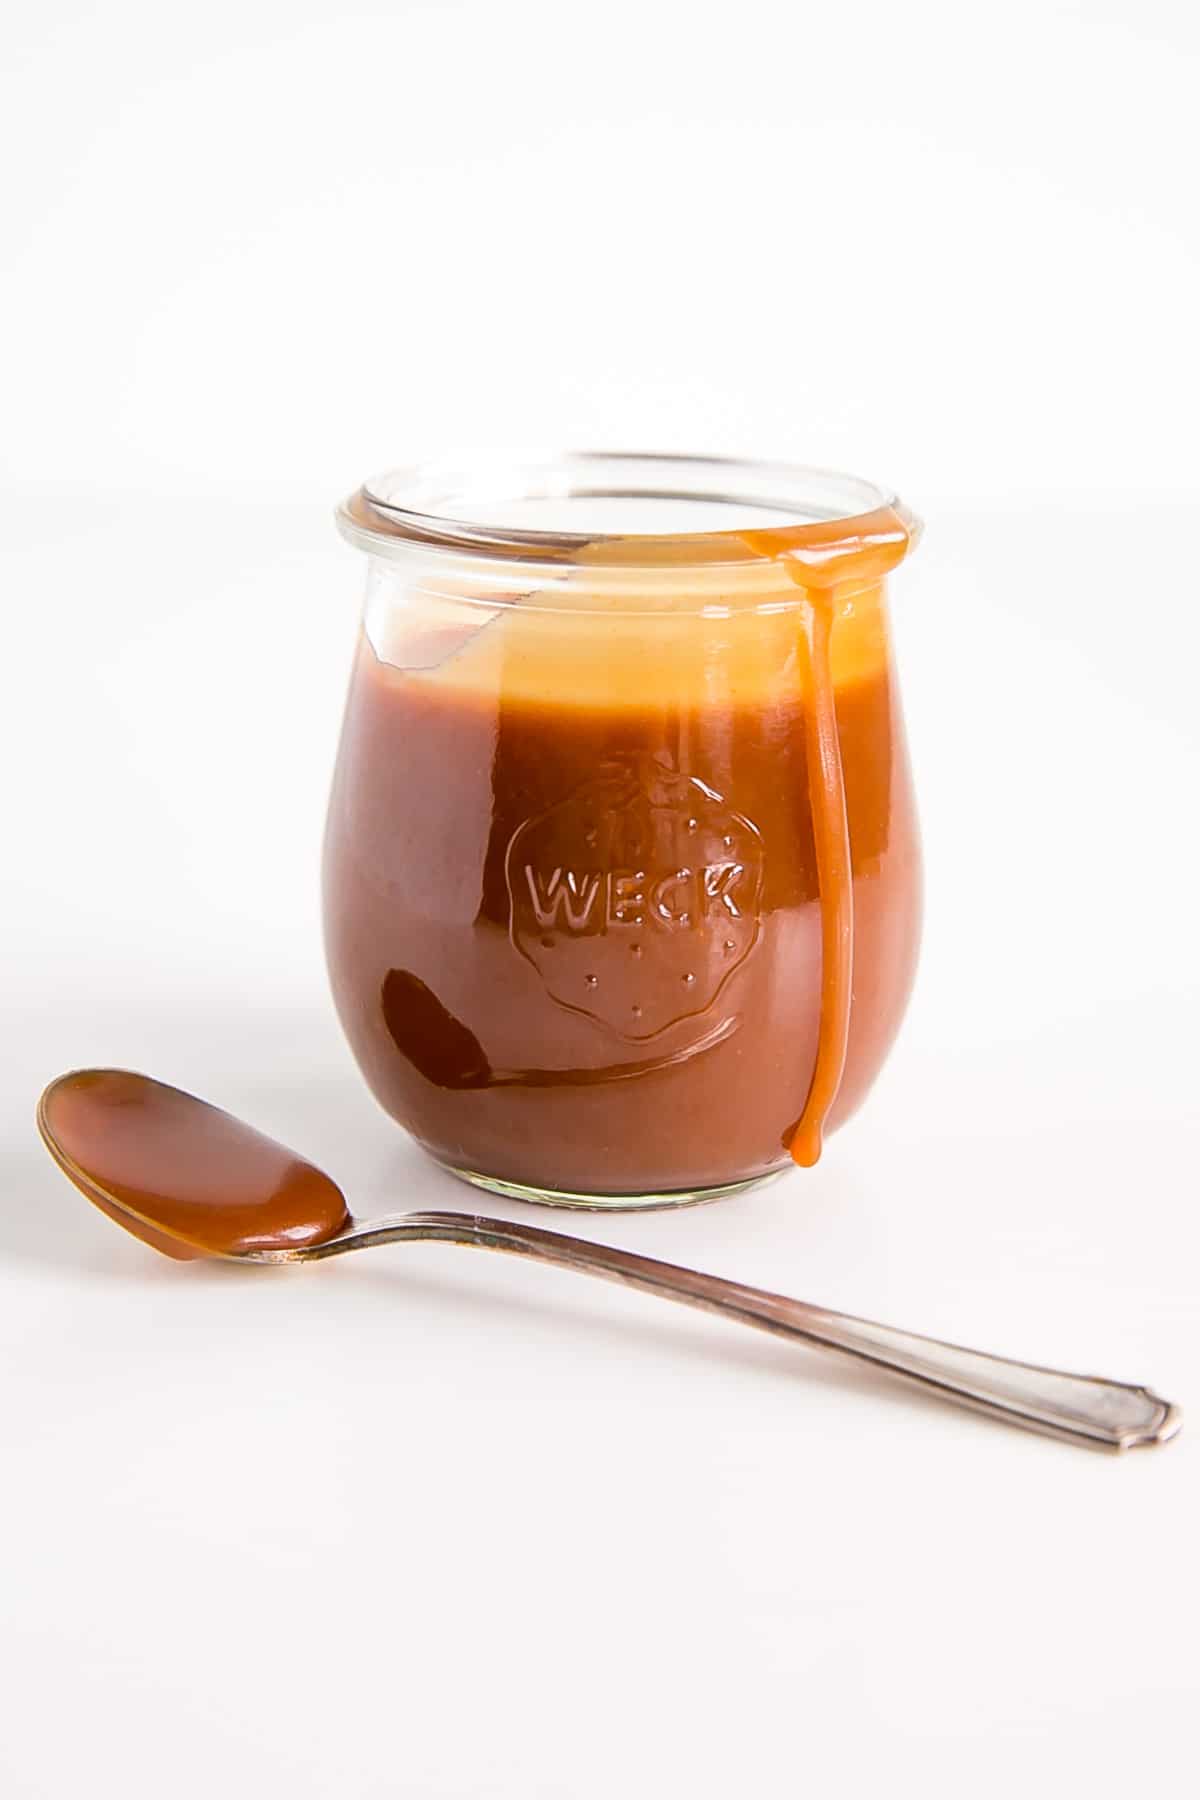
Flavor Variations
There are a couple of ways you can flavor your caramel depending on what you’re using. Something like sea salt, vanilla, bourbon, etc. can be added at the end with the butter before you bring it back to a simmer.
If you wanted to make a lavender or earl grey flavored caramel (for example), I recommend infusing the cream first by doing the following:
- Place the cream into a small pot with the lavender or tea
- Cook over low-medium heat until just before it starts to simmer (you can see bubbles along the edges of the pot)
- Remove from heat and steep for 15-30mins
- Strain through a fine mesh sieve
Storage & Perishability
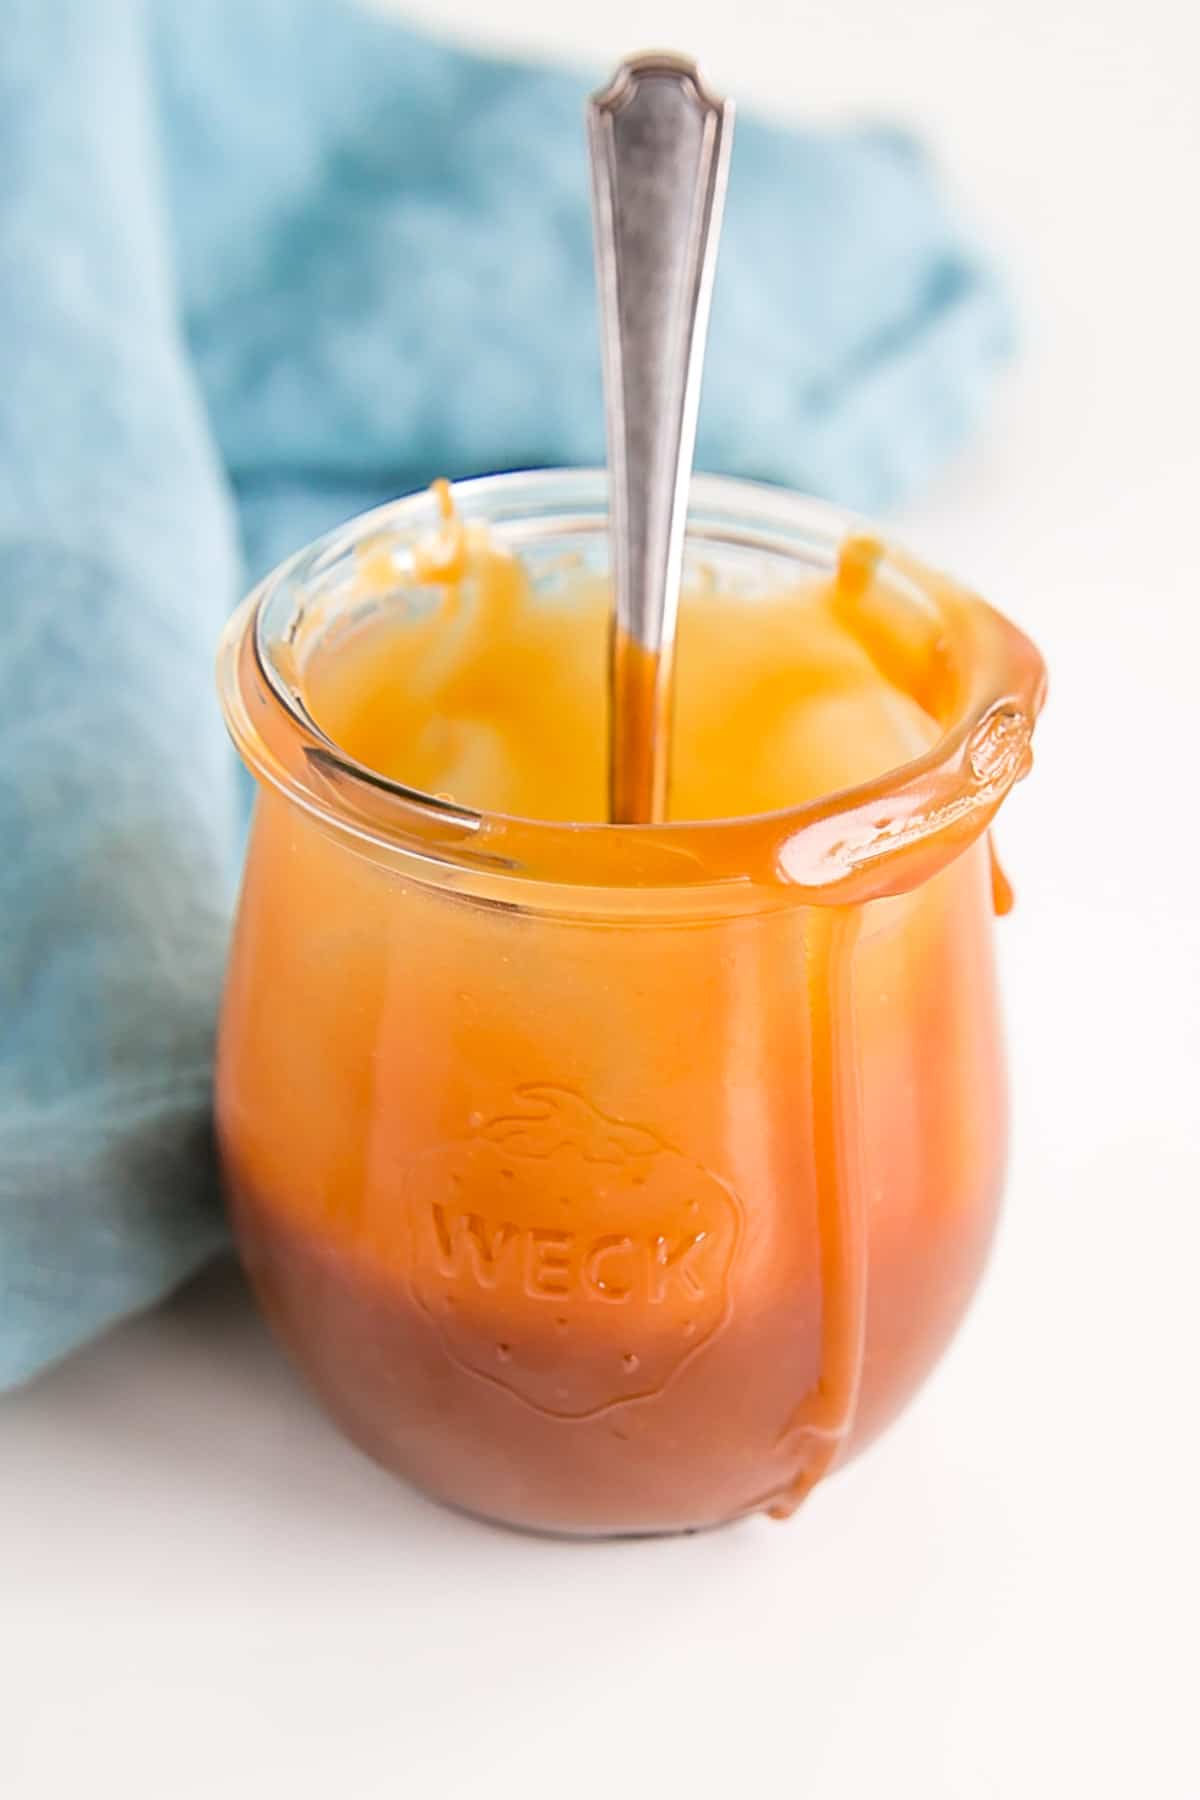
If you’re like me and like to spread out your baking, you’ll be happy to know you can make the caramel well in advance. I pour mine into a glass container once it’s cooled. The one I used here is a small glass jar, or I like this one for larger amounts. You can use any glass or plastic storage container though.
Store as follows:
- Room temperature – a day or two
- Fridge – up to two weeks
- Freezer – up to 3 months
I like to warm my caramel in the microwave a bit before use. This helps thin it out if it’s a little on the thicker side too.
Do’s and Don’ts of Making Caramel
A few key things for success when making homemade caramel:
- Do use a larger pot than you think you’ll need. The caramel bubbles a LOT when the cream is added. At least 4-5x the volume.
- Do brush down the sides of the pot. This helps prevent your sugar from crystallizing and ruining the caramel.
- Don’t take your eyes off the sugar. Once it starts to turn color it can burn very quickly. Watch the sugar like a hawk once it’s cooking.
- Don’t attempt to make the caramel with cold cream or butter. They must be at room temperature. Caramel does not react well to drastic changes in temperature, so it’s important that the cream and butter are added slowly and are room temperature or warmer.
- Don’t boil the caramel furiously once the cream and butter are added. This can cause the caramel to separate and/or make it too thick.
- Do handle with care. The caramel will be HOT, so please be careful. If you’re making salted caramel or flavored caramel, be sure to let it cool before tasting it! Dip a spoon into the hot caramel, let it cool, taste, add more flavor as needed.
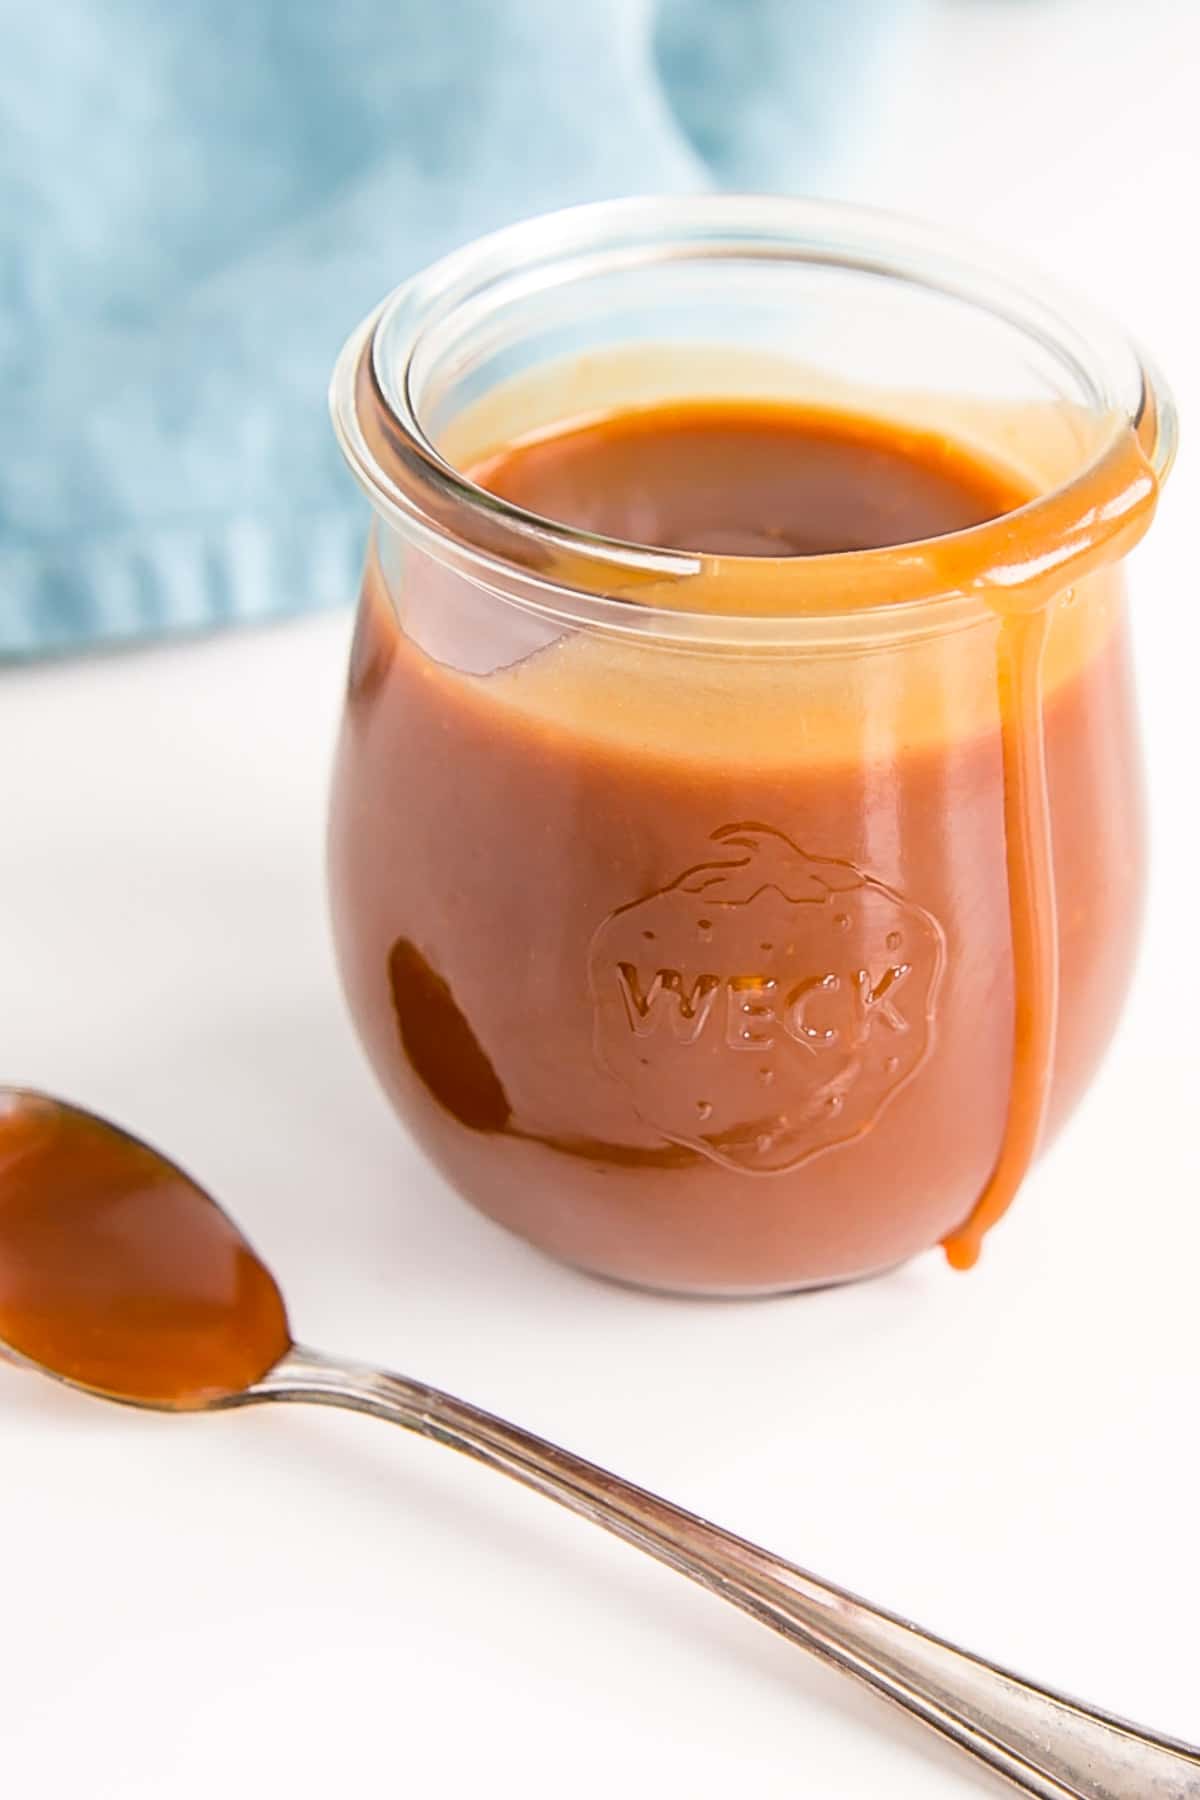
I hope all that didn’t scare you away from making your own caramel sauce at home. It’s really very easy, it just requires a bit of focus and attention for 15mins or so. And carefully following directions.
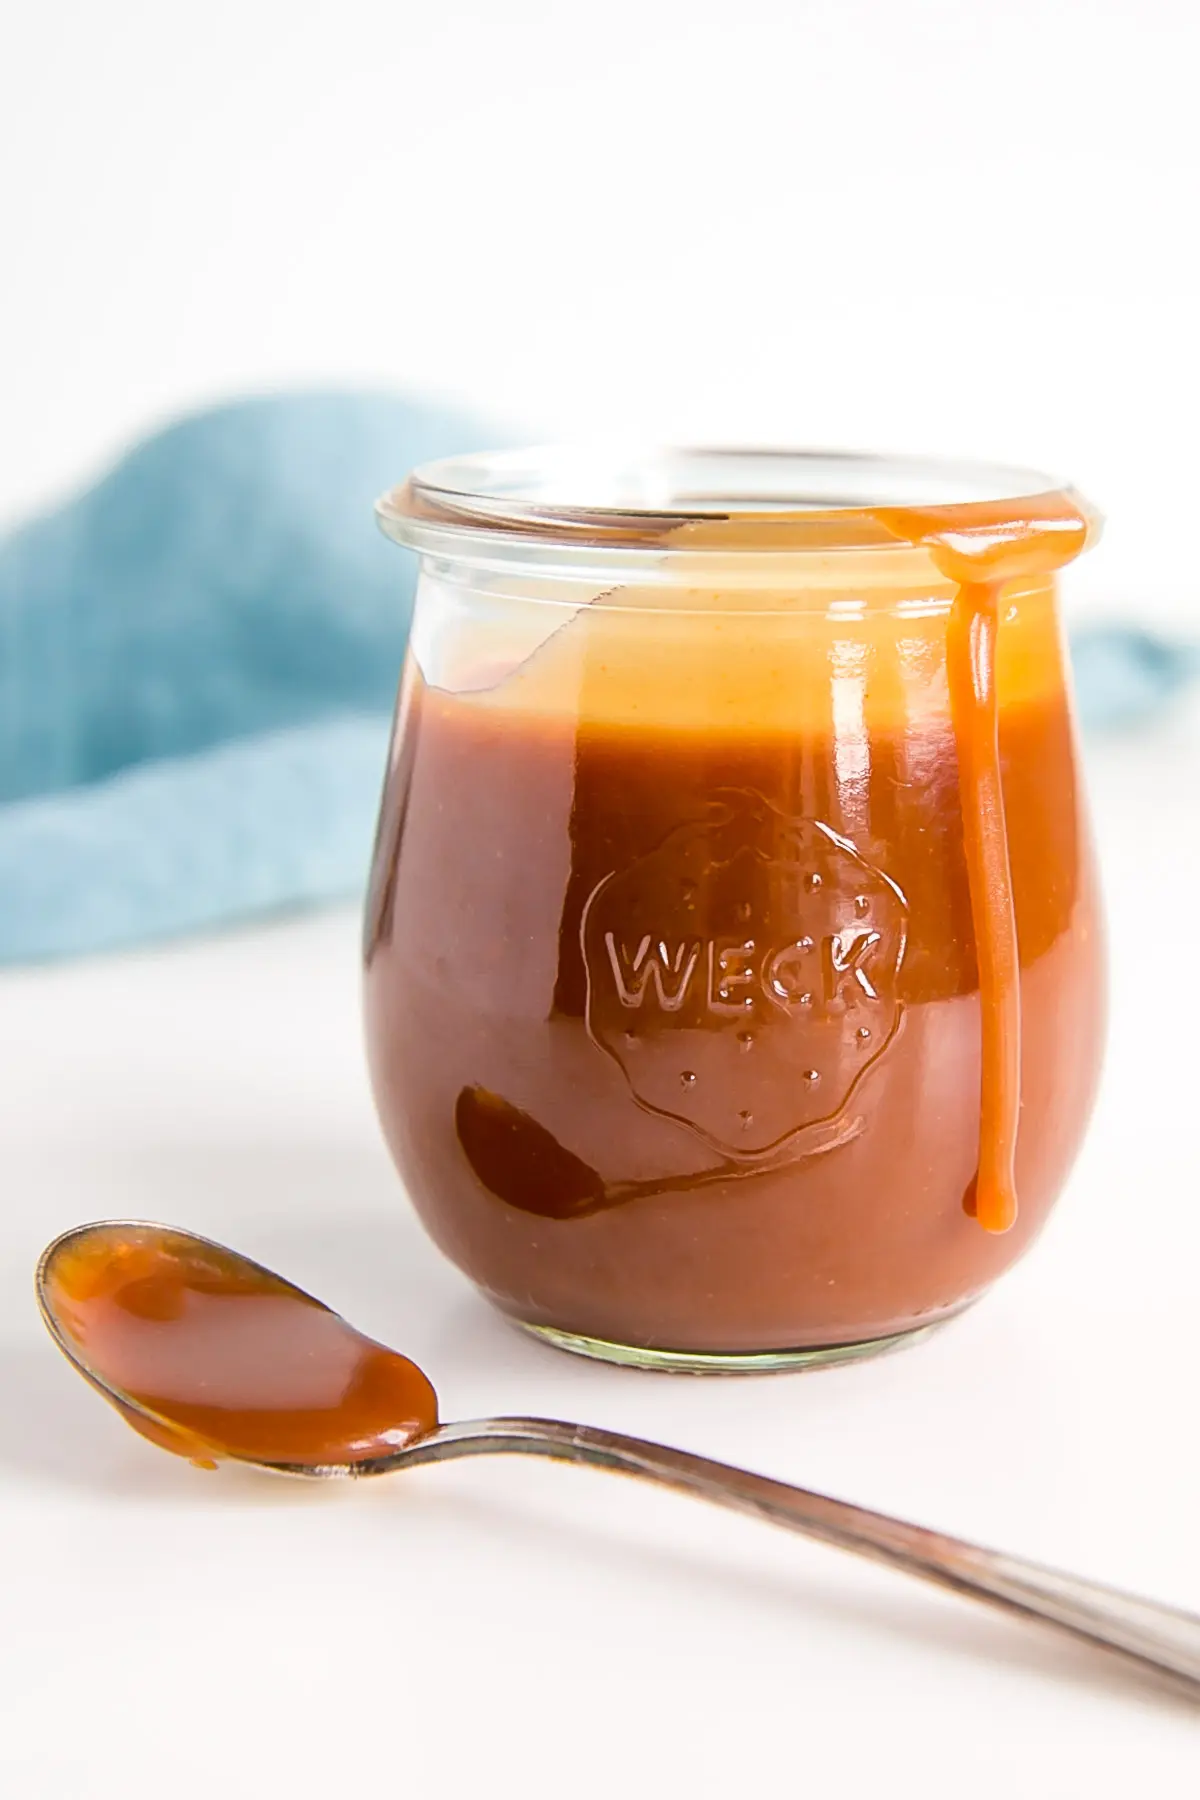
This caramel sauce is seriously SO good and so versatile. You could use it as a topping for other desserts or ice cream or pancakes… the list goes on!
You’ll never look to get store-bought caramel again after you try this!
Recipes that use Homemade Caramel Sauce
- Caramel Cake (Salted Caramel Cake)
- Caramel Apple Cake
- Caramel Cookie Cups
- Caramel Gingerbread Cake
- Dark Chocolate Ganache Tart
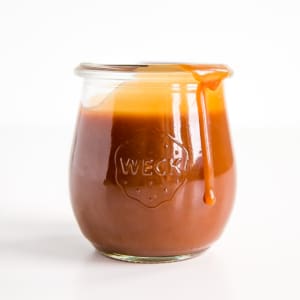
Caramel Sauce
Ingredients
Caramel Sauce:
- 1 1/2 cups granulated sugar
- 1/3 cup water
- 225 ml heavy cream room temperature
- 3/4 cup unsalted butter room temperature
- flavoring optional, to taste
Instructions
Caramel Sauce:
- Place sugar and water into a medium pot, stir to combine and dissolve, but do not stir from this point forward. Cook over high heat, washing down the sides of the pot with a pastry brush dipped in water as needed to prevent crystals.
- Cook until desired color of caramel is reached (amber) and immediately remove from heat. Very slowly pour in (room temperature) heavy cream while whisking quickly. The mixture will bubble up (a lot) and boil. Add (room temperature) butter and whisk in.
- If you want to make this a flavored caramel, add your flavoring at this point. Whisk it in (start with less than you think you'll need), dip a spoon into the caramel, let it cool, taste it, add more as needed.
- Return to heat and simmer gently for 1-2 minutes while whisking constantly.
- Remove from heat and let cool to room temperature (about 2 hours). Transfer to a container and allow to thicken.
- Store at room temperature for a day or two, in the fridge for 2 weeks, or the freezer for 3 months.



Brityn says
My caramel keeps crystallizing! I won’t even touch it and it crystalizes. Help!
Olivia says
Hi Brityn! I’ve never had that happen myself. Is the pot you’re using completely clean? Free of any residue?
Mary says
Hi Liv! If I wanted a bourbon caramel, how much should I add and when?
Olivia says
Hi Mary! I would add 2-3 Tbsp right at the end. Make sure it’s at room temperature.
Grace says
Hey Liv, thank you for this recipe it’s great and I’ll defo be using it regularly! I think however I may have taken the pot off the heat a bit too late at the start and although the final product tasted good there’s a slight bitter after taste 🙁 is there anything that can be done to change this? Thanks again
Olivia says
Hi Grace! I’m so happy you loved it. Was the caramel quite dark? If it’s a bit burnt that can make it taste bitter :\ I’m not sure if there’s a way to fix it after the fact. You might not really tell though once the caramel is in/on something 🙂
Leah says
Thank you so much! 👍 Num num num 😋
Olivia says
Glad you loved it Leah!
Ellen says
I tried making this today and had to leave a comment. It worked so well!! Last time I tried making caramel (with a different but similar recipe), it turned into one giant sugar crystal. But I recently found this recipe and decided to try it out today for fun. I may have burnt the sugar just a little, but otherwise it turned out splendidly! The sauce looks so smooth and smells delicious! I can’t wait to give it a taste once it’s properly cooled. Thanks for this recipe!
Olivia says
Hi Ellen! I am so happy to hear that!! Thanks so much for taking the time to leave a comment 🙂
Njeri says
Love it!
Need to make a double batch, would you recommend doubling the ingredients or just making 2 batches?
Olivia says
Hi Njeri! I’ve never tried doubling it myself, but I don’t think it should be a problem 🙂
Sarah says
Hi! I’d love to adapt this to make an orange caramel to mix into your Swiss meringue buttercream, as you did with your Caramel Apple Cake. What do you think would be the best way to do this? Infuse cream with orange zest? Add orange oil at the end? If you have any suggestions on technique and amounts, I’d love some advice! Thanks!
Olivia says
Hi Sarah! I think both are great options. You could infuse the cream first and then add a bit more oil at the end if you want to intensify the flavour?
Emily M says
Great recipe! Though I was paranoid about burning the sugar so as a result my caramal is a bit pallid-looking. Any tips of how to rectify this?
Olivia says
Hi Emily! So glad you liked it 🙂 Unfortunately, there isn’t an easy way to darken the caramel at this point. You could cook the finished caramel for longer to attempt to deepen the color, but that would also cause the caramel to get quite thick/not pourable anymore.
Susie says
Hello. An you give me the conversion for the 225 ml of heavy cream to ounces. I’m so excited to try this recipe
Olivia says
Hi Susie! It’s about 7.6 fl oz.
Sana says
Hi
Can I use salted butter in this recipe? And in place of heavy cream, can I use the regular cream used in soups etc?
Olivia says
Hi Sana! Salted butter is fine but it will give you a salted caramel taste. As long as the cream has a high fat content 33% or so, it should be fine!
Lauren says
Wow this is incredible! I am an eager baker at the age of 12 and even though I have no experience of working with caramel or hot sugar (same thing?!) I could complete this recipe on the first try, and more importantly, it tasted delicious! I am addicted to livforcake and thank you so much for sharing incredible and achievable recipes with us!
Olivia says
Hi Lauren! I am so happy to hear you totally nailed this one on your first try! No small feat for an adult, nevermind a 12 year old, so great job!! I’m so happy you loved it 🙂
Eva says
Amazing recipe. Tastes, looks and smells delicious. I will freeze most of it for next time I make a cake. Very easy, just follow instructions to the letter. I made my batch very salty with 8g of salt. I think it will be nice on a cake, but too salty to eat in large quantities 😀
Olivia says
Hi Eva! So happy you love it 🙂 Thanks for the feedback!
Candace says
Another great recipe and instructions!! This was my second time making caramel the first time was another recipe and i think it was overcooked so the caramel was hard. Anyways this was great! I also made the caramel apple cake recipe also deelish!!!
Olivia says
Hi Candace! So glad this worked well for you. Thanks for the feedback! 🙂
Shelisah Piggee says
Made this today so we can drizzle on french toast and pancakes for our mothers day brunch tomorrow. This is the most amazing recipe! Super easy! It’s also fool proofed. I didnt pour the cream in slowly and the sugar kind of clumped up. I just turned the heat back on med. and the sugar melted and combined with the cream, then I added the butter. It’s so so tasty! I added a little salt and vanilla. I couldnt stop tasting it as it cooled lol
Olivia says
Hi Shelisah! I am so glad you found this recipe easy. Glad you were able to save it when it clumped 🙂
Lisa MacDonald says
Seemed super easy, I didn’t think I let the first batch go to far but it definitely tastes burnt. Any chance there’s a way to fix that? Ha second round I did SO much better. Thanks for sharing!
Olivia says
Hi Lisa! So happy your second batch turned out 😀 I don’t think there’s a way to really save a burnt one, but maybe it won’t be so bad with something else? Try to drizzle it over ice cream and see how it tastes 🙂
Rebecca says
Hi Olivia! I was wondering if it’s possible to keep the caramel smooth once it goes into the refrigerator? It’s smooth and perfect when I make it but once it chills it seems to get a little crystallized. Any tips?
Olivia says
Hi Rebecca! It shouldn’t crystallize — do you cool it to room temp first before refrigerating? Caramel does not do well with drastic changes in temp, which is why it’s important to use room temp butter and cream and also to not boil it too much.
Maryanne says
Am so glad that i finally found this great recipe…I muat give it a try…
Thank you Liv!!😊
Olivia says
Hi Maryanne! I hope you love it 🙂
Grace says
How much salt would you be likely to need for salted caramel sauce? It sounds wonderful!
Olivia says
Hi Grace! I would start with 1 tsp of flakey sea salt and add more to taste 🙂
Kim says
Hey Liv.
I was so happy to get this recipe in my email. This looks scrumptious! Salted caramel is my favorite flavor of all time. I just love it. One scoop of ice cream with 1 cup of caramel sounds just right. lol. I’m looking forward to reading your blog and trying out the wonderful recipes for 2020. I know it’s going to be a delicious year!
Olivia says
Hi Kim! Thanks so much for the sweet comment. LOL to your ice cream to caramel ratio — sounds about right to me too! 😉
WilliamsLoreleiA says
I love it
Olivia says
Thank you! I hope you try it 🙂