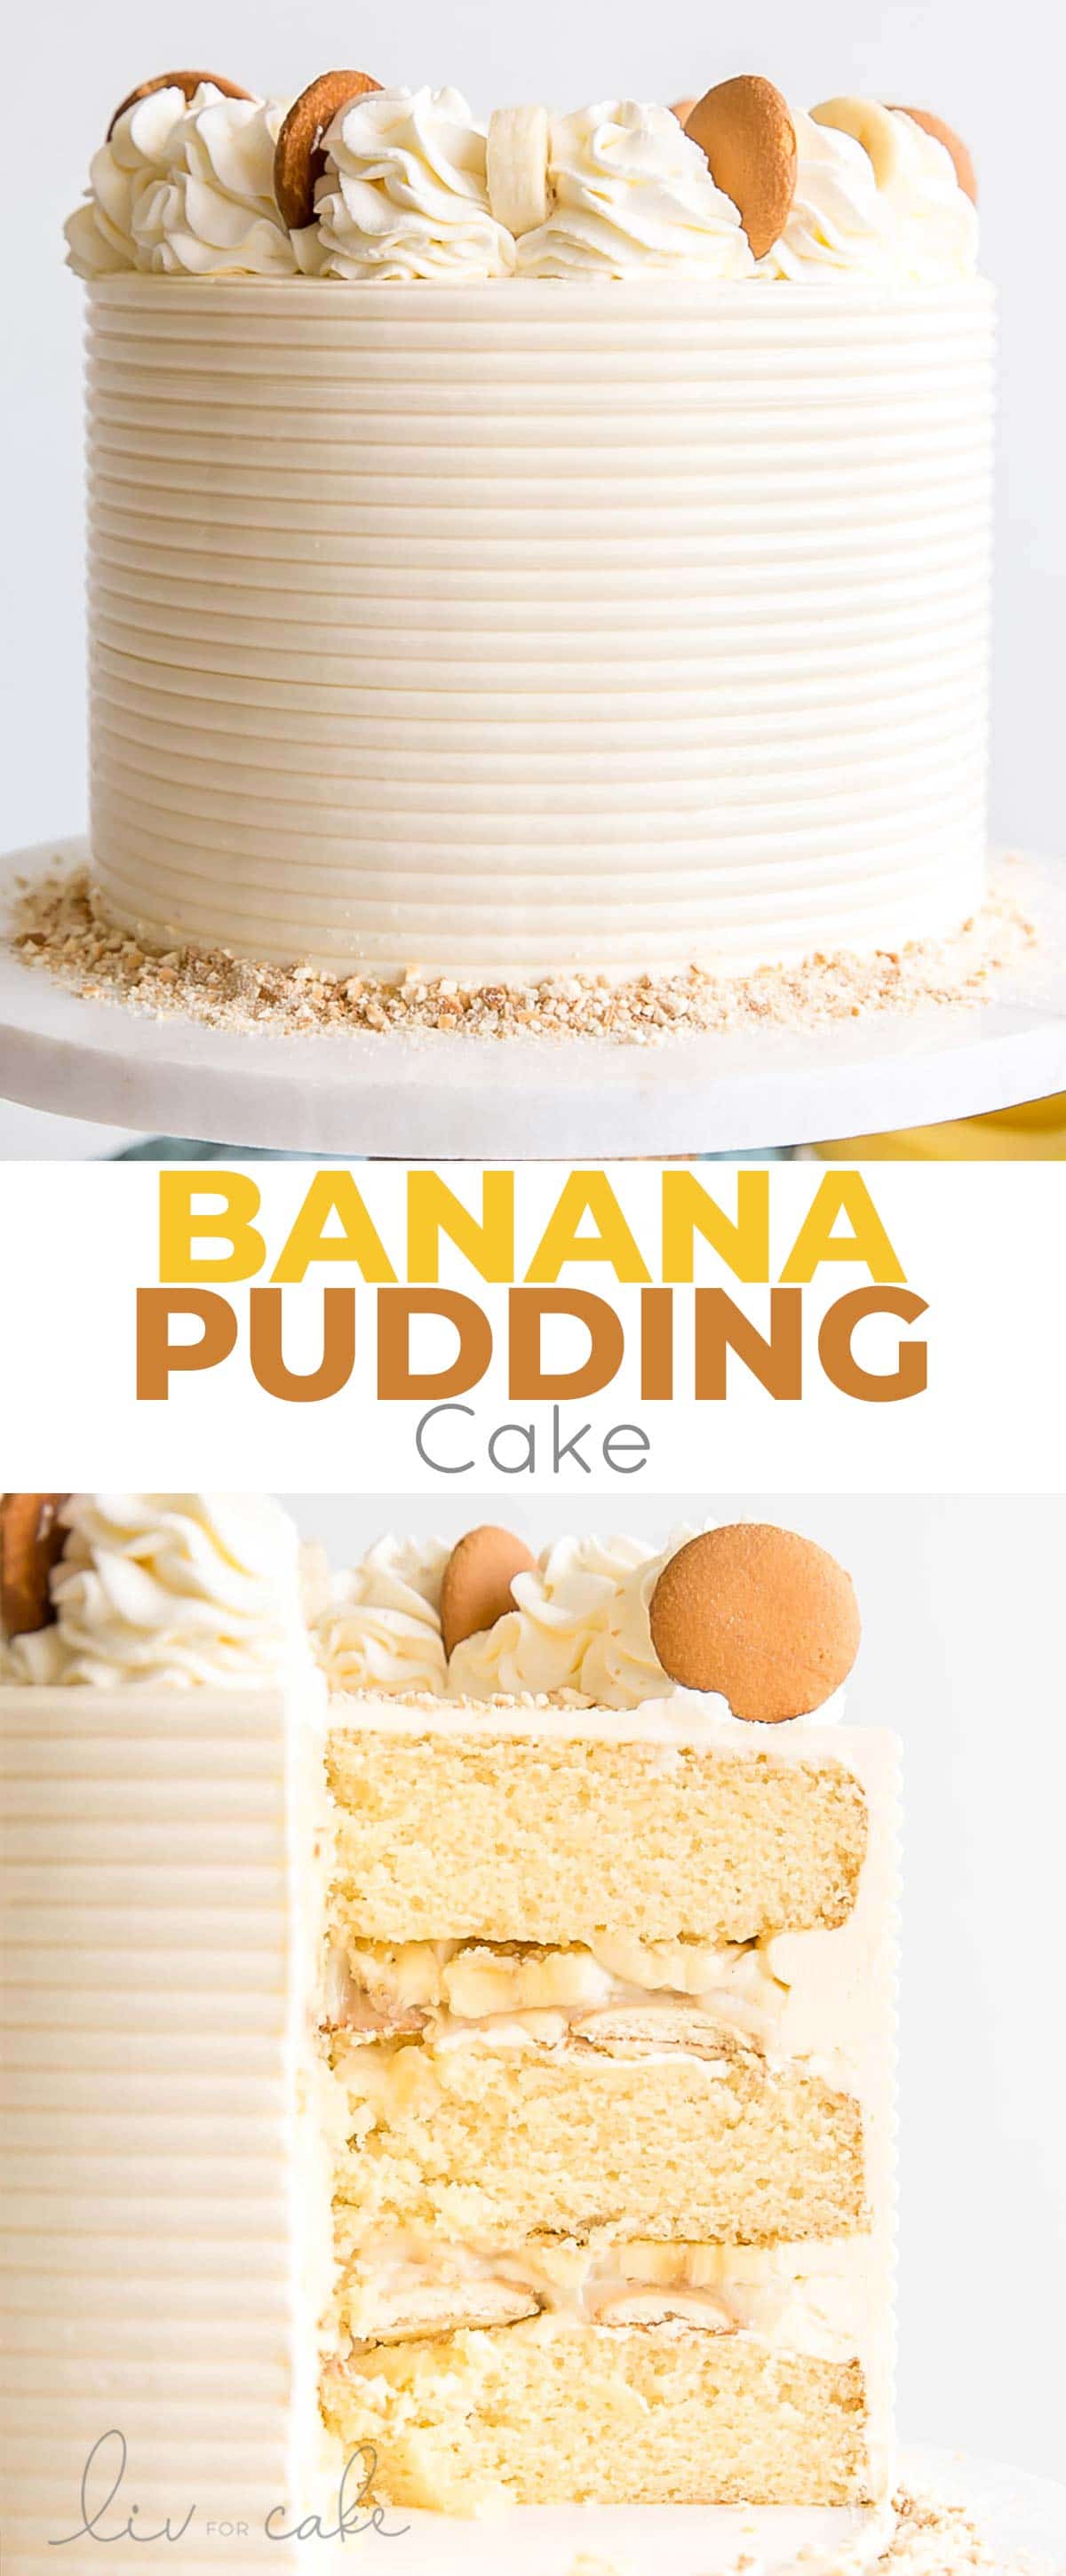
This Banana Pudding Cake combines all of the elements of the classic southern dessert. Vanilla cake, banana pudding, and vanilla wafers with vanilla buttercream and fresh whipped cream.
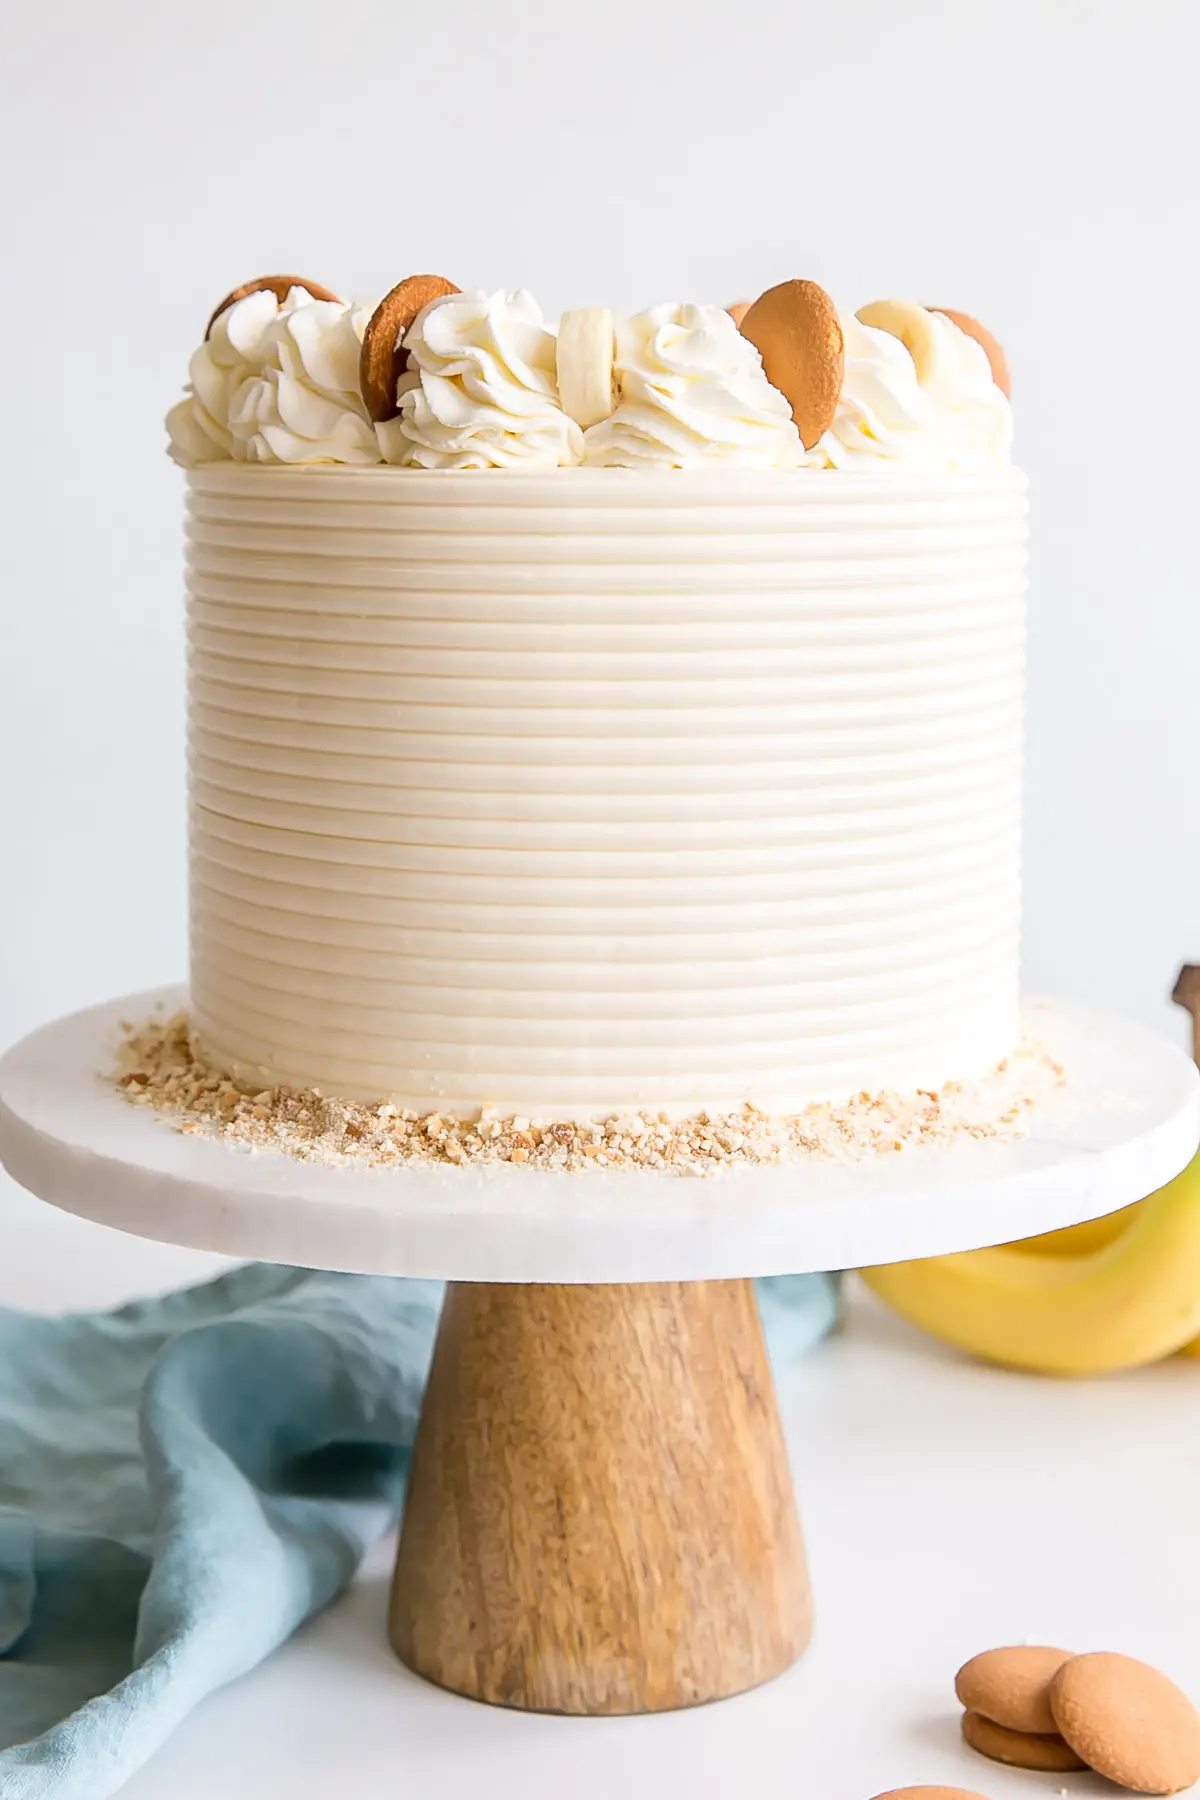
Did you know that some people (seemingly a lot of people) do not like banana desserts?! I know. I can’t believe it either.
I came to this realization when I posted my Bananas Foster Cake a few weeks ago and multiple people told me they didn’t care for bananas or banana desserts or both!
I can’t help but think to myself that this cannot possibly include banana bread, because it is literally one of the best things ever. And really, since bananas have like a one day perfect ripeness window, what better way to make use of them than in baked goodies?
Despite the fact that I may be alienating a portion of my audience here (again), when my friend Sara said to me “You should make a Banana Pudding Cake!”, it just had to be done.
What is Banana Pudding?
Banana pudding is a trifle-like dessert consisting of vanilla wafers, custard, fresh banana slices, and whipped cream (or meringue). It’s largely associated with the southern US, but is very popular throughout the country.
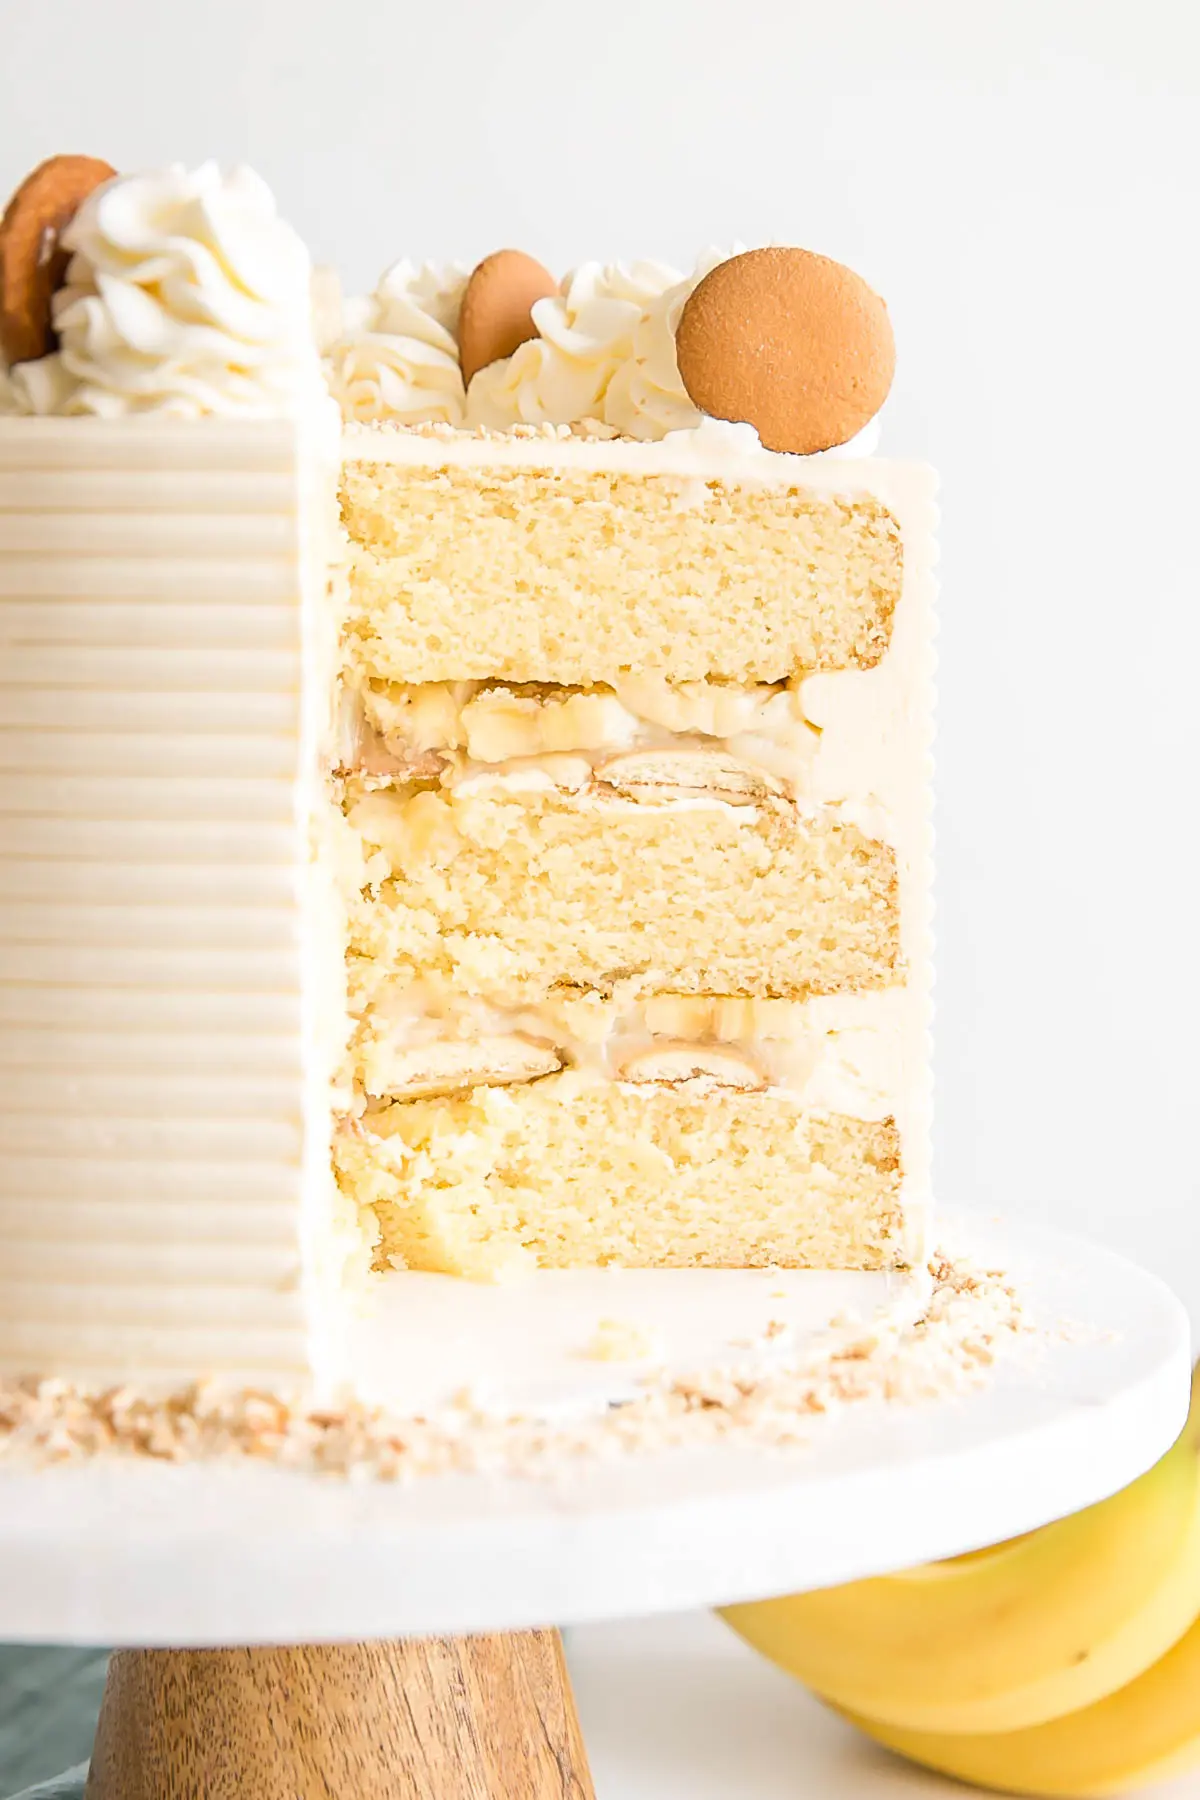
My version of banana pudding in cake form consists of:
- vanilla cake layers
- banana custard (or pastry cream)
- fresh sliced banana
- Nilla wafers
- vanilla Swiss meringue buttercream
- whipped cream
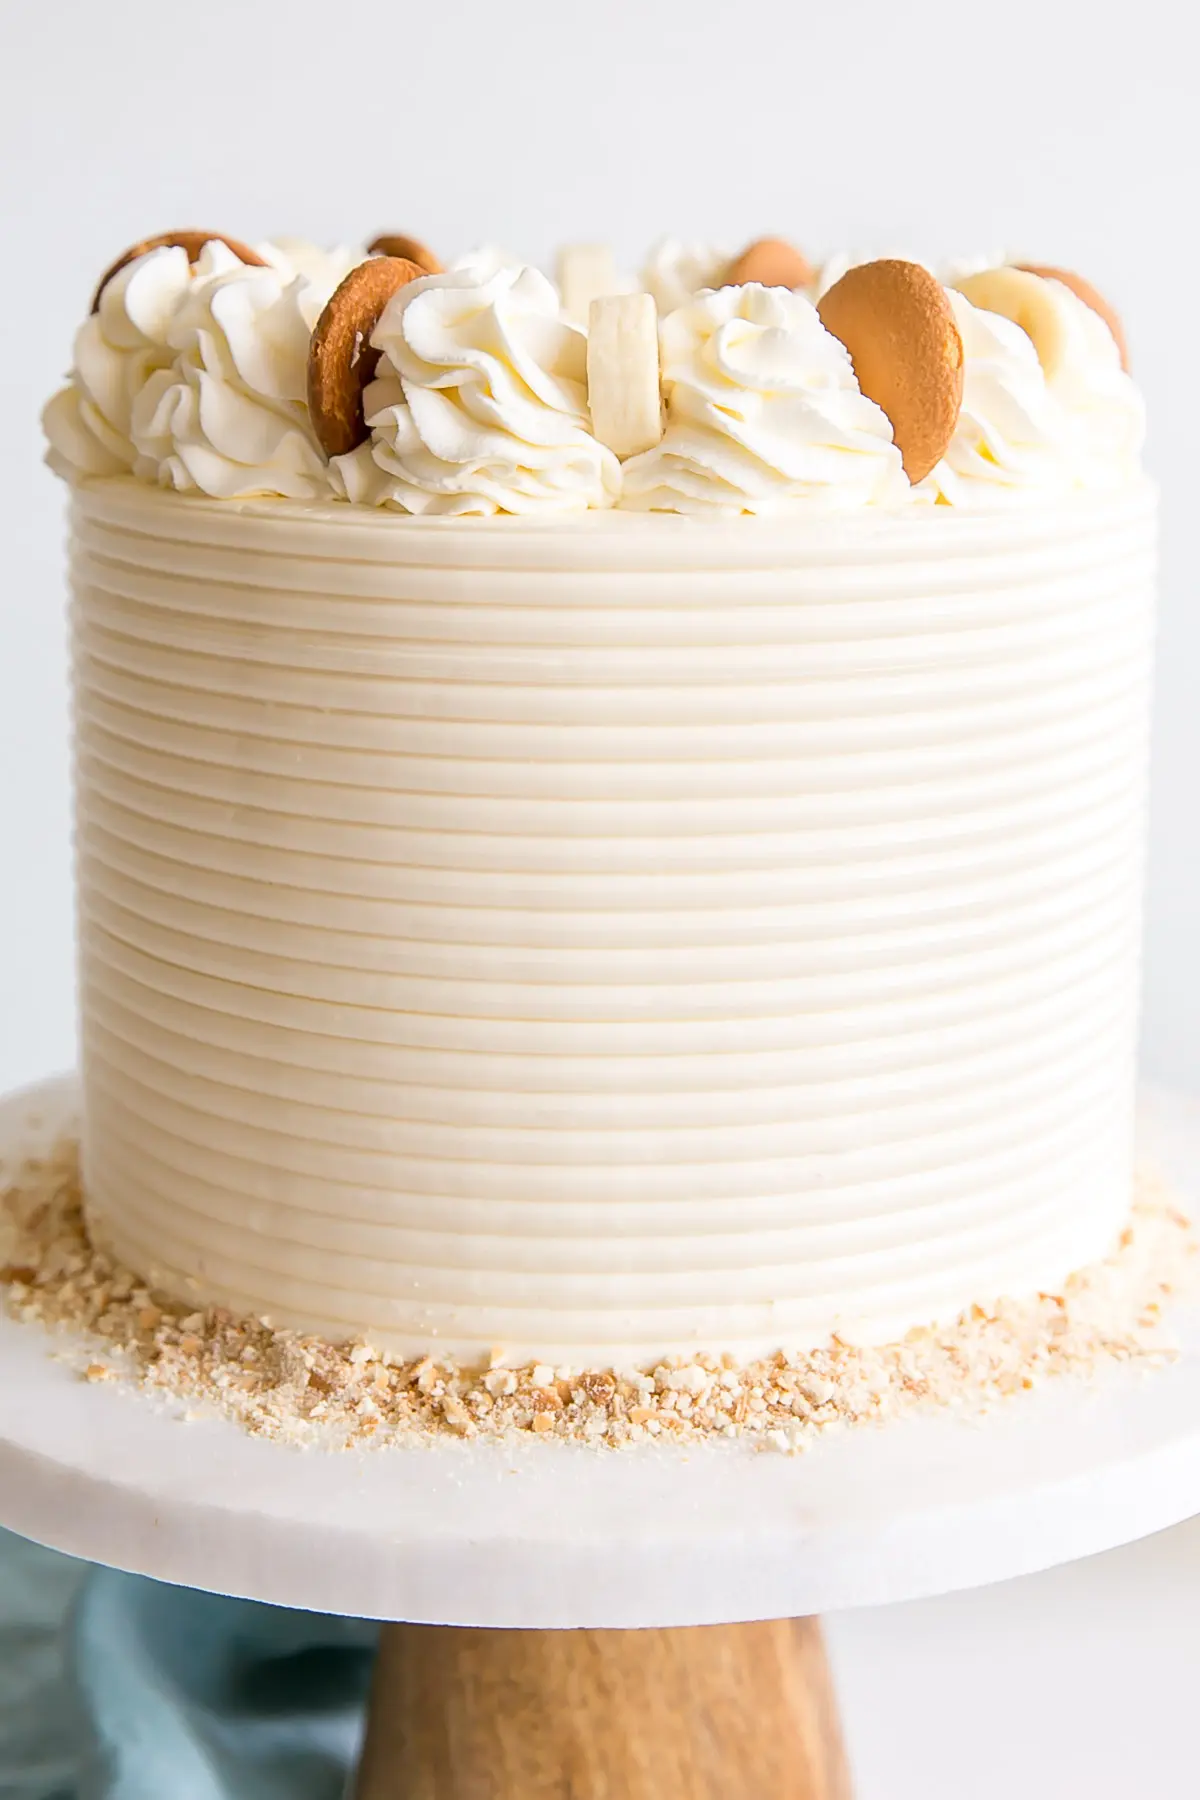
Banana Pudding Cake
I used my favorite Vanilla Cake recipe but scaled it up a bit to make three 8″ layers. For the custard, I modified a pastry cream recipe that I’ve used before, but added some banana liqueur to it. I had some left over from the Bananas Foster Cake from a few weeks ago, so thought it would be a good addition.
If you don’t have any liqueur or don’t want to use it, you can try some banana flavoring. I’m not a fan of using artificial flavours though, so I’d probably just leave it as a plain vanilla pastry cream, which is the traditional version anyhow.
If you want to make your life even easier (I won’t judge) you can use instant banana or vanilla pudding for the filling. And on that note, you could use a doctored box mix for the cake if you really want to simplify your life. I have a very popular recipe for that too.
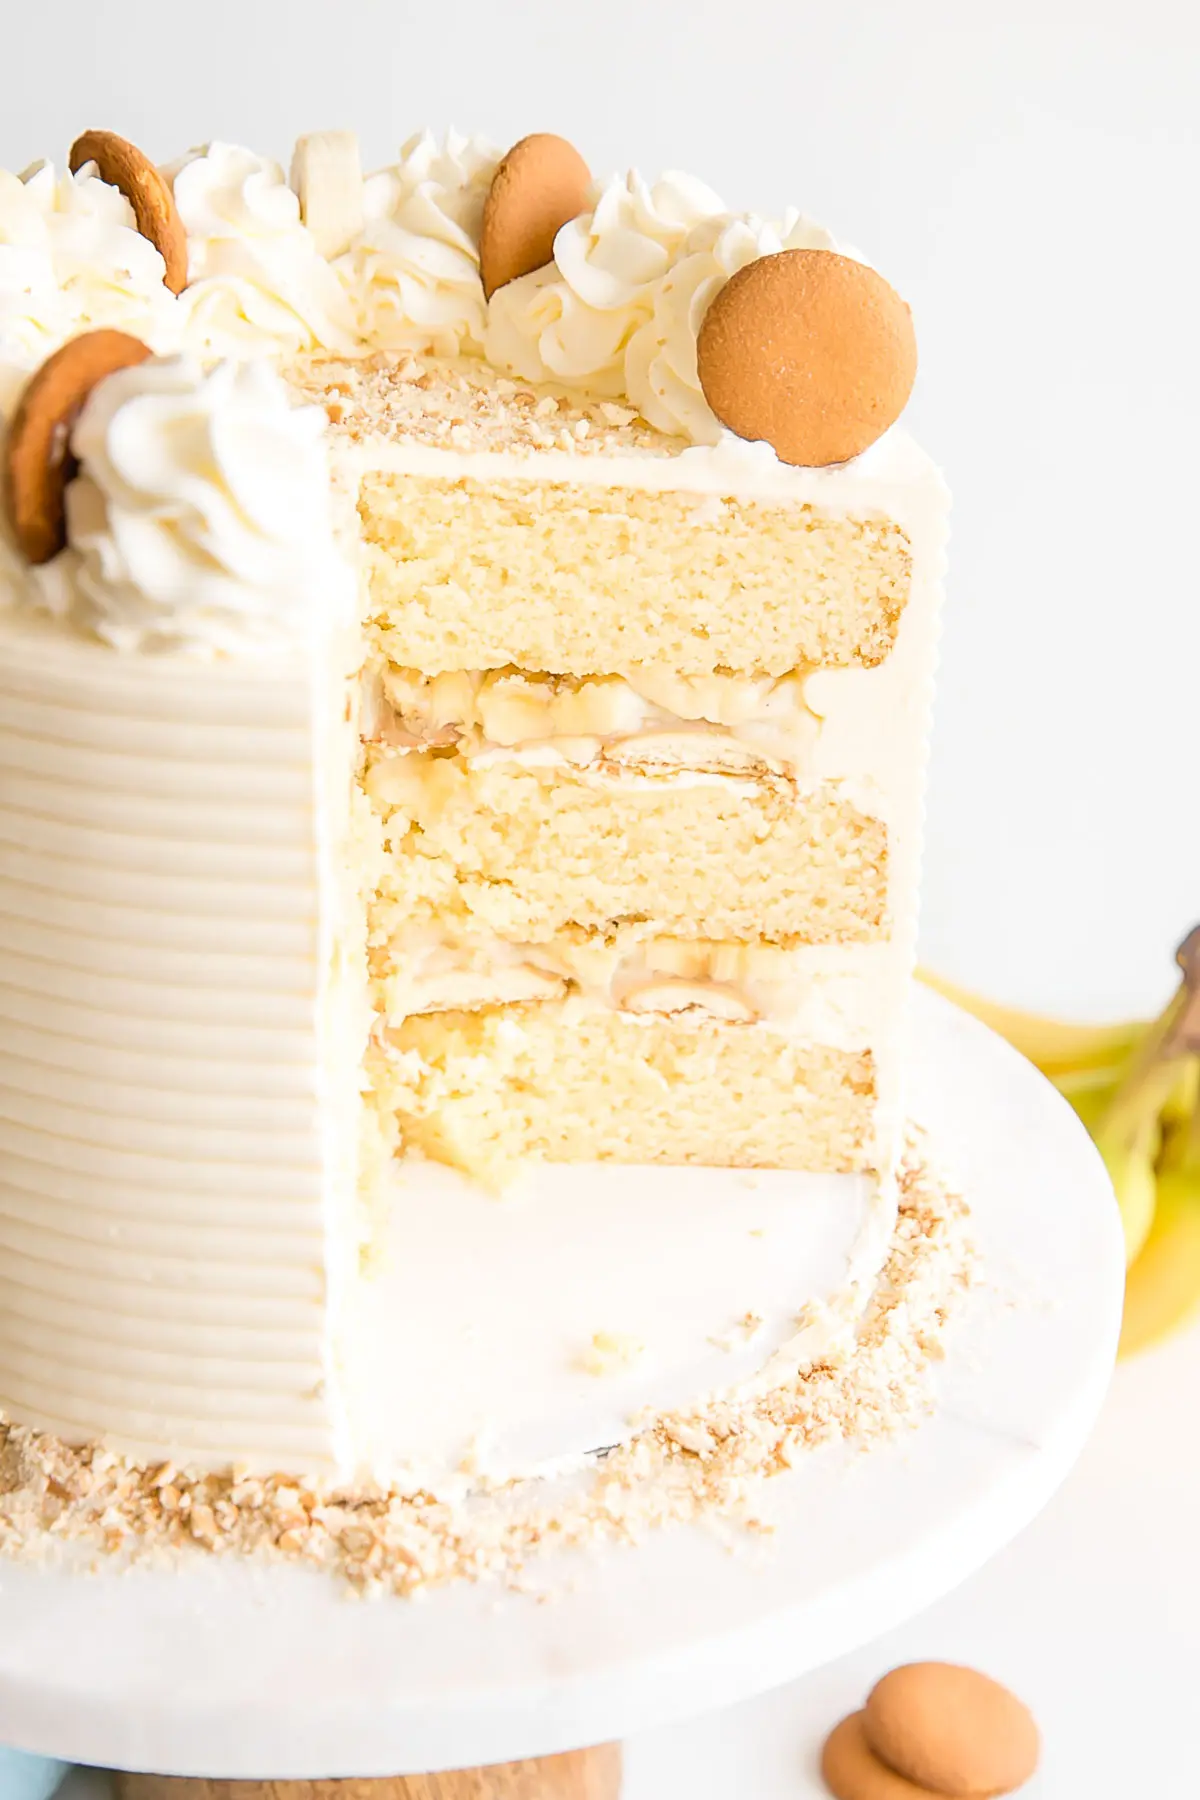
When assembling this cake, I did a thin layer of buttercream on each cake layer, then did a double height dam to hold in all the filling. Actually, I did a single height dam first, placed the Nilla wafers on the bottom, and then realized a single height dam would not cut it. So I doubled the dam and added the custard on top of the Nilla wafers, followed by the fresh banana slices.
I hope that makes sense. I can see the confusion in Ryan’s face already as he’s proofreading this. I guess this is where progress pics would come in handy! Hopefully the pic below helps highlight the double dam.
The Nilla wafers will get soft over time, but I didn’t let the cake sit long enough before I cut it, so they were still a bit firm. If you prefer, you can rough chop the Nilla wafers instead, and sprinkle them on top of the custard and bananas.
Vanilla Swiss Meringue Buttercream
I paired this Banana Pudding Cake with a vanilla buttercream, which isn’t traditional, but I thought it fit. I used my favourite Swiss meringue buttercream, but you could use an American buttercream instead.
I wouldn’t recommend using a whipped cream frosting, as it’s not stable enough to hold in the filling and the weight of the cake layers. I did use homemade whipped cream for the rosettes on top though, since it’s traditional with the dessert.
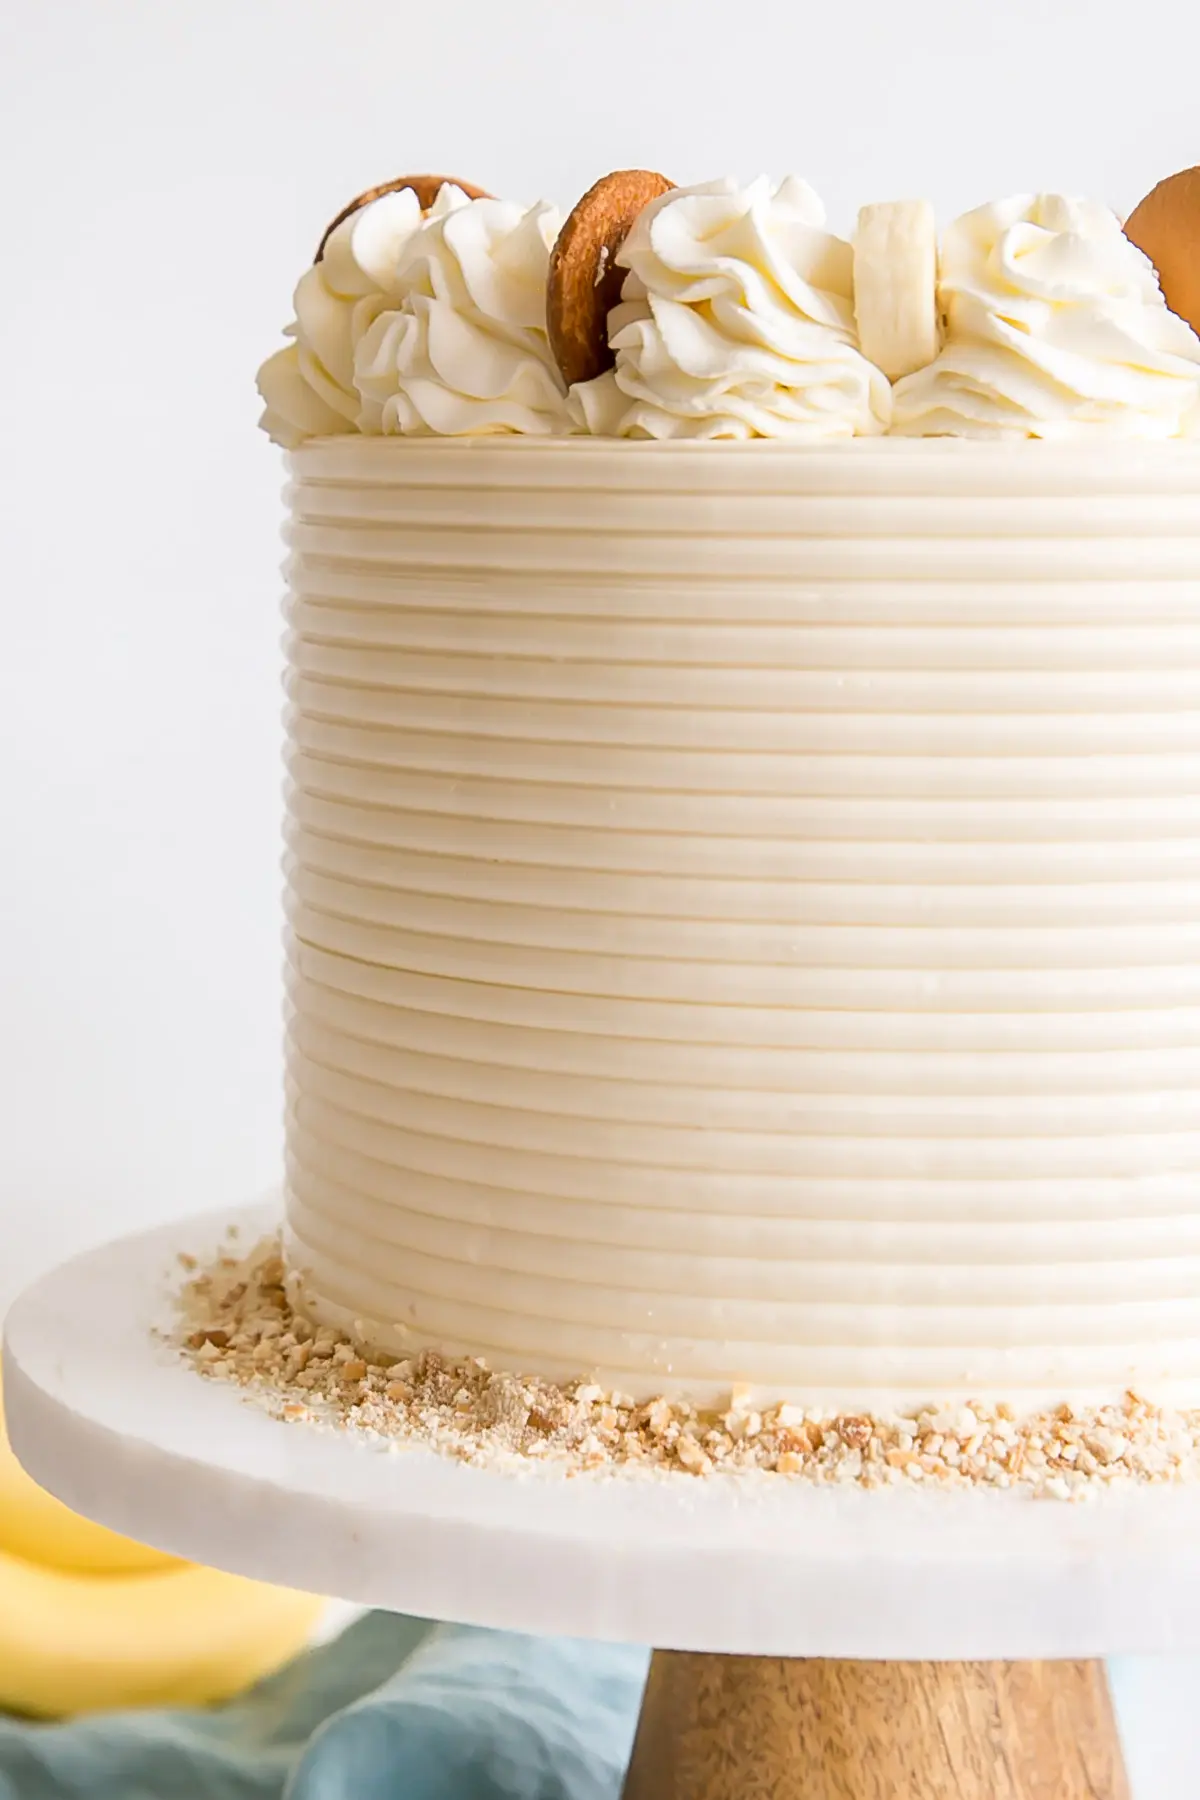
For decorating the sides of the cake, I used a cake comb from this set. It took a few passes and some additional buttercream in parts to get it completely smooth, but otherwise it was very easy to use.
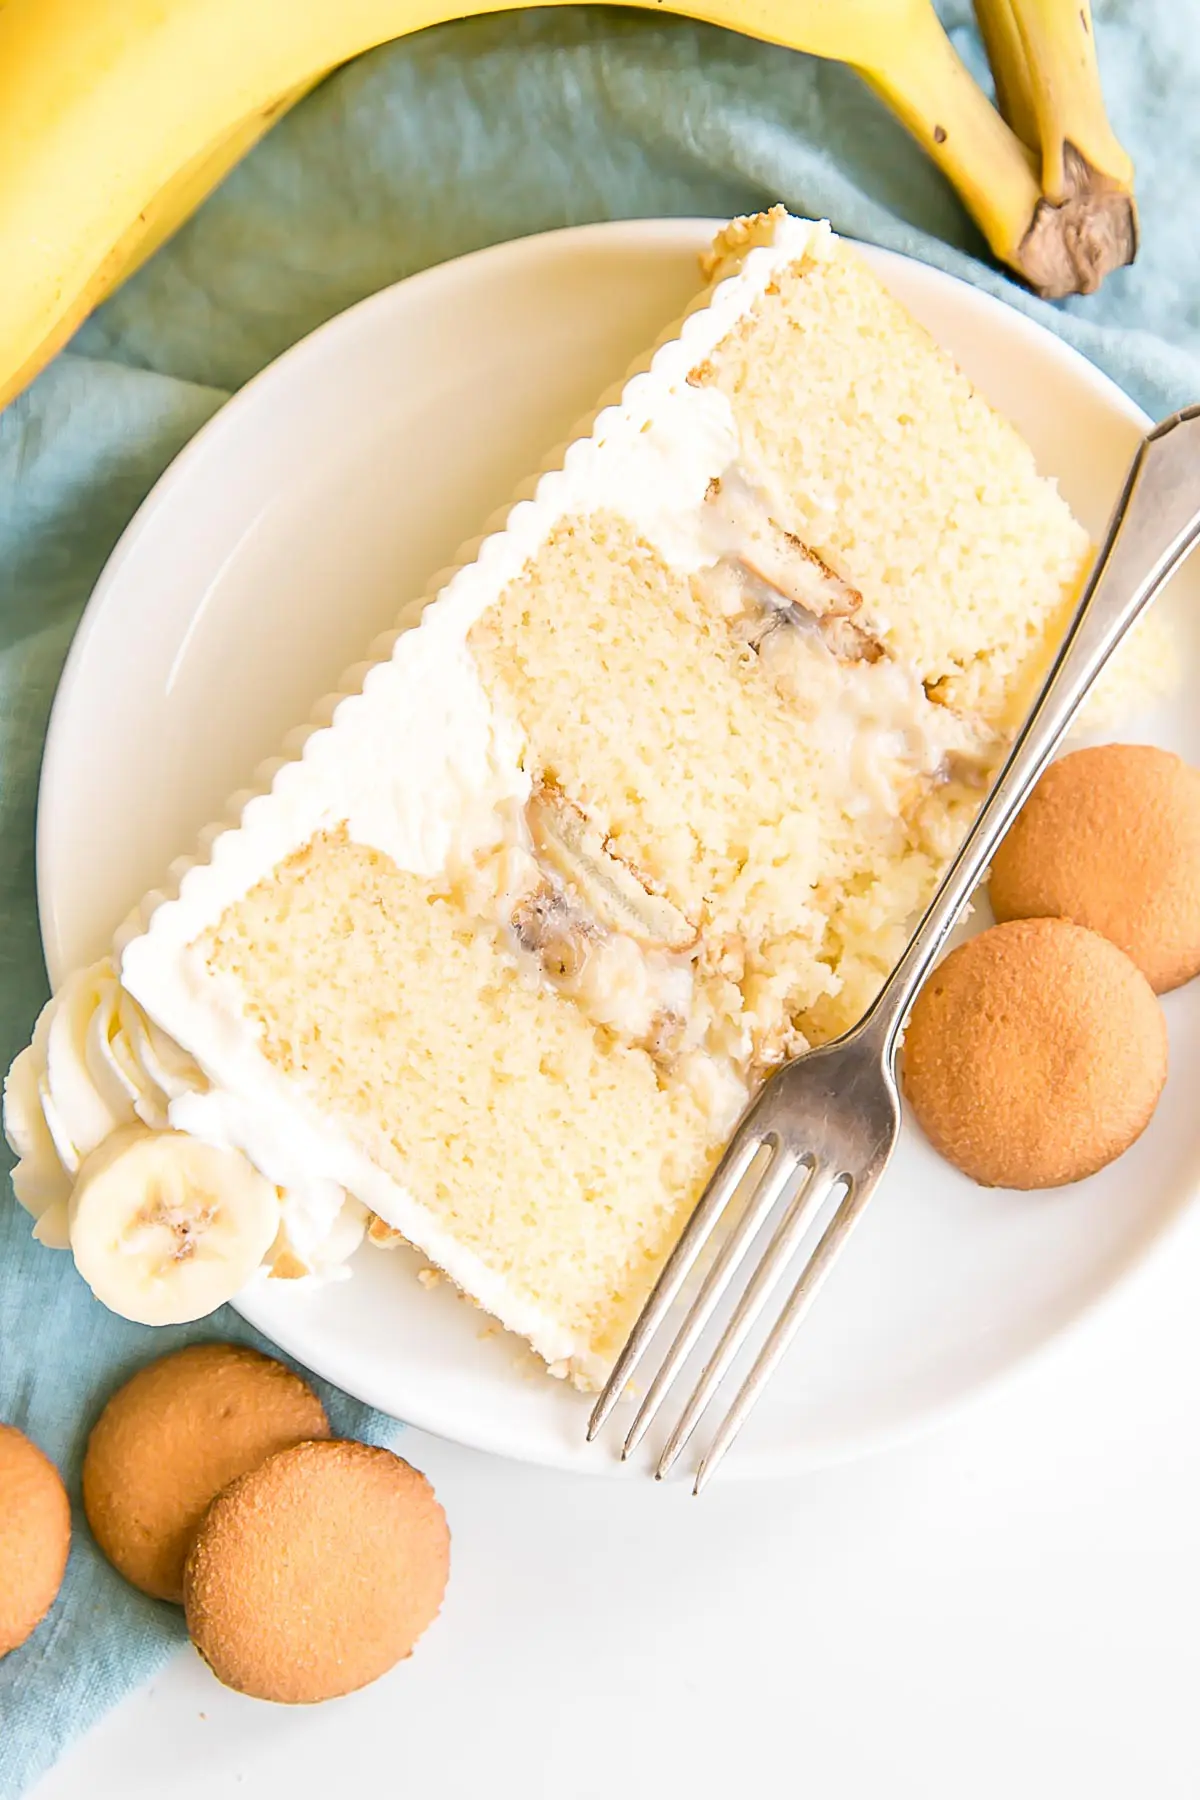
If you’re a Banana pudding fan, I hope you try (and love) my cake version. It’s not overly banana-y, so even if you’re not a banana lover you might like it too!
Looking for more Banana recipes?
- Bananas Foster Cake
- Blueberry Banana Cake
- Banana Chocolate Chip Cake
- Banana Split Cake
- Nutella Banana Cake
Tips for making this Banana Pudding Cake recipe
- The recipe as-is will also work in two 8″ or three 6″ pans provided they are 3″ tall. Baking time will need to be increased.
- To make cupcakes, all you need to do is reduce the baking time — start checking at 15mins or so.
- If you want to make your life even easier you can use instant banana or vanilla pudding for the filling.
- You could also use a doctored cake mix for the cake layers if you like.
- I don’t recommend using whipped cream to frost the cake, as it’s not stable enough to support the filling or the weight of the layers.
- The cake comb I used to do the sides is from this set.
- Be sure to check my Swiss Meringue Buttercream post for tips and troubleshooting.
- Learn how to keep your cakes moist using Simple Syrup.
- To help ensure your cake layers bake up nice and flat, check out my Flat Top Cakes post!
Banana Pudding Cake
Ingredients
Vanilla Cake:
- 3 cups all-purpose flour
- 1 Tbsp baking powder
- 1 tsp salt
- 1 cup unsalted butter room temperature
- 2 cup granulated sugar
- 4 large eggs room temperature
- 2 tsp vanilla extract
- 1 1/3 cup milk room temperature
Banana Custard (make in advance):
- 2 cups milk
- 1/2 tsp vanilla bean paste
- 1/4 cup cornstarch
- 1/3 cup granulated sugar
- 2 large egg yolks
- 2 Tbsp banana liqueur or 1 tsp banana flavoring
Swiss Meringue Buttercream:
- 6 large egg whites
- 2 cup granulated sugar
- 3 cups unsalted butter room temperature
- 2 tsp vanilla extract
Whipped Cream:
- 1 cup whipping cream cold
- 1 Tbsp granulated sugar
Assembly:
- 2 large bananas sliced 1/4" thick
- nilla wafers
Instructions
Vanilla Cake:
- Preheat oven to 350F. Grease and flour three 8" cake rounds and line with parchment.
- In a medium bowl, whisk flour, baking powder,and salt until well combined. Set aside.
- Using a stand mixer fitted with a paddle attachment, cream butter and sugar on med-high until pale and fluffy (approx 3mins). Reduce speed and add eggs one at a time fully incorporating after each addition. Add vanilla.
- Alternate adding flour mixture and milk, beginning and ending with flour (3 additions of flour and 2 of milk). Fully incorporating after each addition.
- Bake for approx. 30 mins or until a toothpick inserted into the center comes out mostly clean.
- Place cakes on wire rack to cool for 10 mins then turn out onto wire rack. Allow cakes to cool completely.
Banana Custard (make in advance):
- Place 1 1/2 cups milk and vanilla bean paste into a medium saucepan. Cook over high heat, stirring often until it just starts to simmer. Remove from heat.
- In a medium bowl, whisk remaining 1/2 cup milk, egg yolks, sugar, and cornstarch.
- While whisking vigorously, slowly pour the hot milk into the egg mixture.
- Return mixture to saucepan, add banana liqueur and cook over high heat, whisking constantly, until it thickens and comes to a boil.
- Pass through a strainer and into a small bowl. Place plastic wrap directly on top of custard to prevent a skin from forming. Cool to room temperature then place in refrigerator a couple hours to set.
Swiss Meringue Buttercream:
- Place egg whites and sugar into the bowl of a stand mixer, whisk until combined.*
- Place bowl over a pot with 1-2" of simmering water and stir constantly with a whisk until the mixture is hot and no longer grainy to the touch or reads 160F on a candy thermometer (3mins)
- Place bowl on your stand mixer and whisk on med-high until the meringue is stiff and cooled (the bowl is no longer warm to the touch (approx. 5-10mins)).
- Switch to paddle attachment. Slowly add cubed butter and mix until smooth.** Add vanilla and mix until smooth and fluffy.
Whipped Cream:
- Whip cream and sugar until stiff peak (in a cold bowl with a cold whisk for best results). Fill a piping bag fitted with a large star tip (I used a 1M tip).
Assembly:
- Place one layer of cake on a cake stand or serving plate. Do a thin coat of buttercream on the layer and pipe a dam around the edge using a large round tip to hold in the custard (I did a double height dam).
- Place whole Nilla wafers on the bottom within the dam.*** Top with 3/4 cup banana custard and spread evenly. Top with banana slices. Repeat with next layer.
- Place final layer on top of the cake and frost and smooth the outside with a thin crumb coat. Chill for 20mins.
- Frost the top and sides of using the remaining buttercream. Smooth the sides and the top and then use a fine toothed cake comb on the sides.
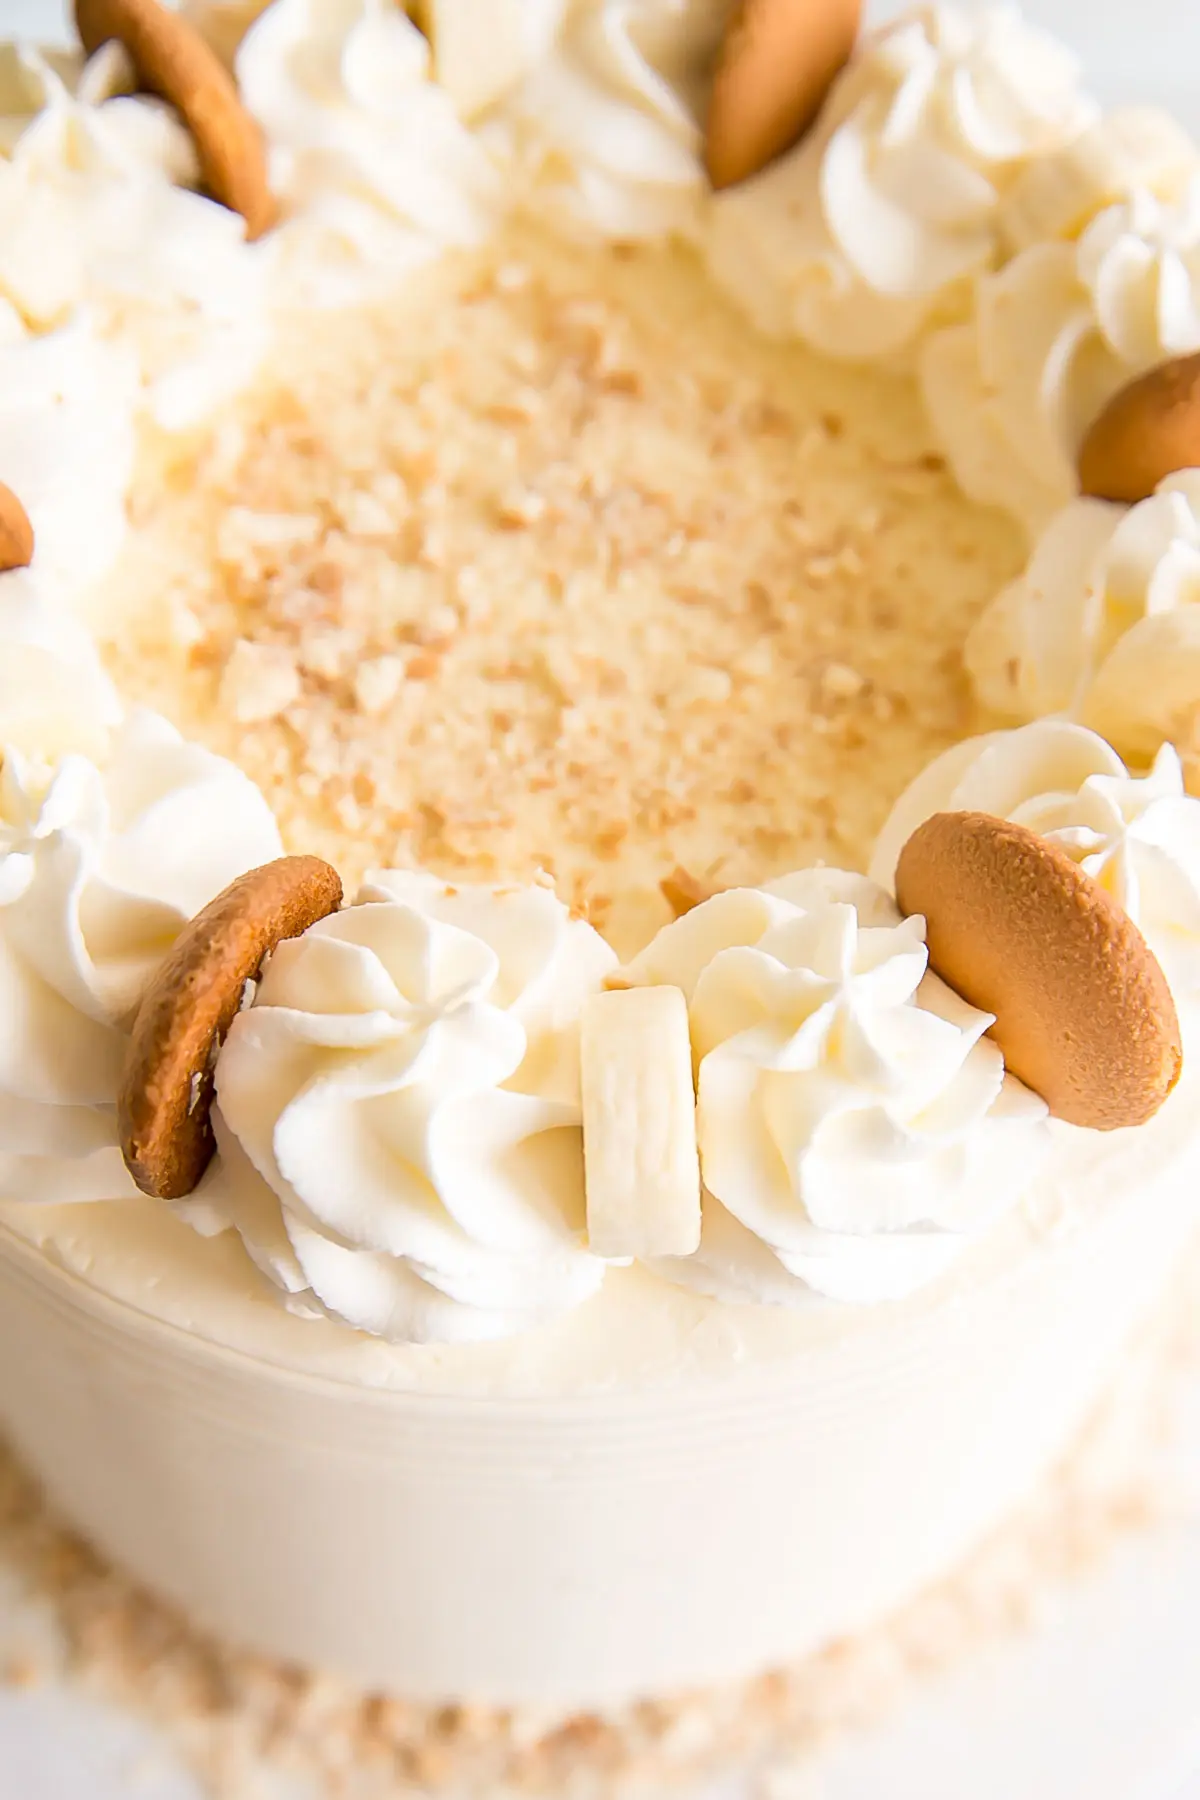
- Do rosettes on top with the whipped cream and alternate banana slices and Nilla wafers between them. Spread some crushed Nilla wafers along the bottom if desired.
Notes
** The buttercream may look like it’s curdled at some point. Keep mixing until it is completely smooth.
*** Mine fit about 13 Nilla wafers per layer. Alternatively you can put the custard and bananas down first and then top wit chopped Nilla wafers instead.



Julie says
My girls are obsessed with bananas and I’m making this for their birthday. If I keep everything separate how long will it be good for in the fridge or freezer? Or how should I go about that l! I have a lot to do the week leading up to the party and I’m just trying to be prepared
Olivia says
Hi Julie! Here are my tips for making in advance:
For the Cake: Cool the layers, double wrap in plastic wrap, freeze for up to 3 months. Take out 2-3 hours before assembly.
For the Buttercream: Place in an airtight container and refrigerate for 1 week for freeze for 3 months. Bring to room temperature and rewhip before using.
For the Custard: Cool completely and place in an airtight container with plastic wrap directly on top. Refrigerate for up to a week.
For the Whipped Cream: Make day of assembly.
I hope that helps!