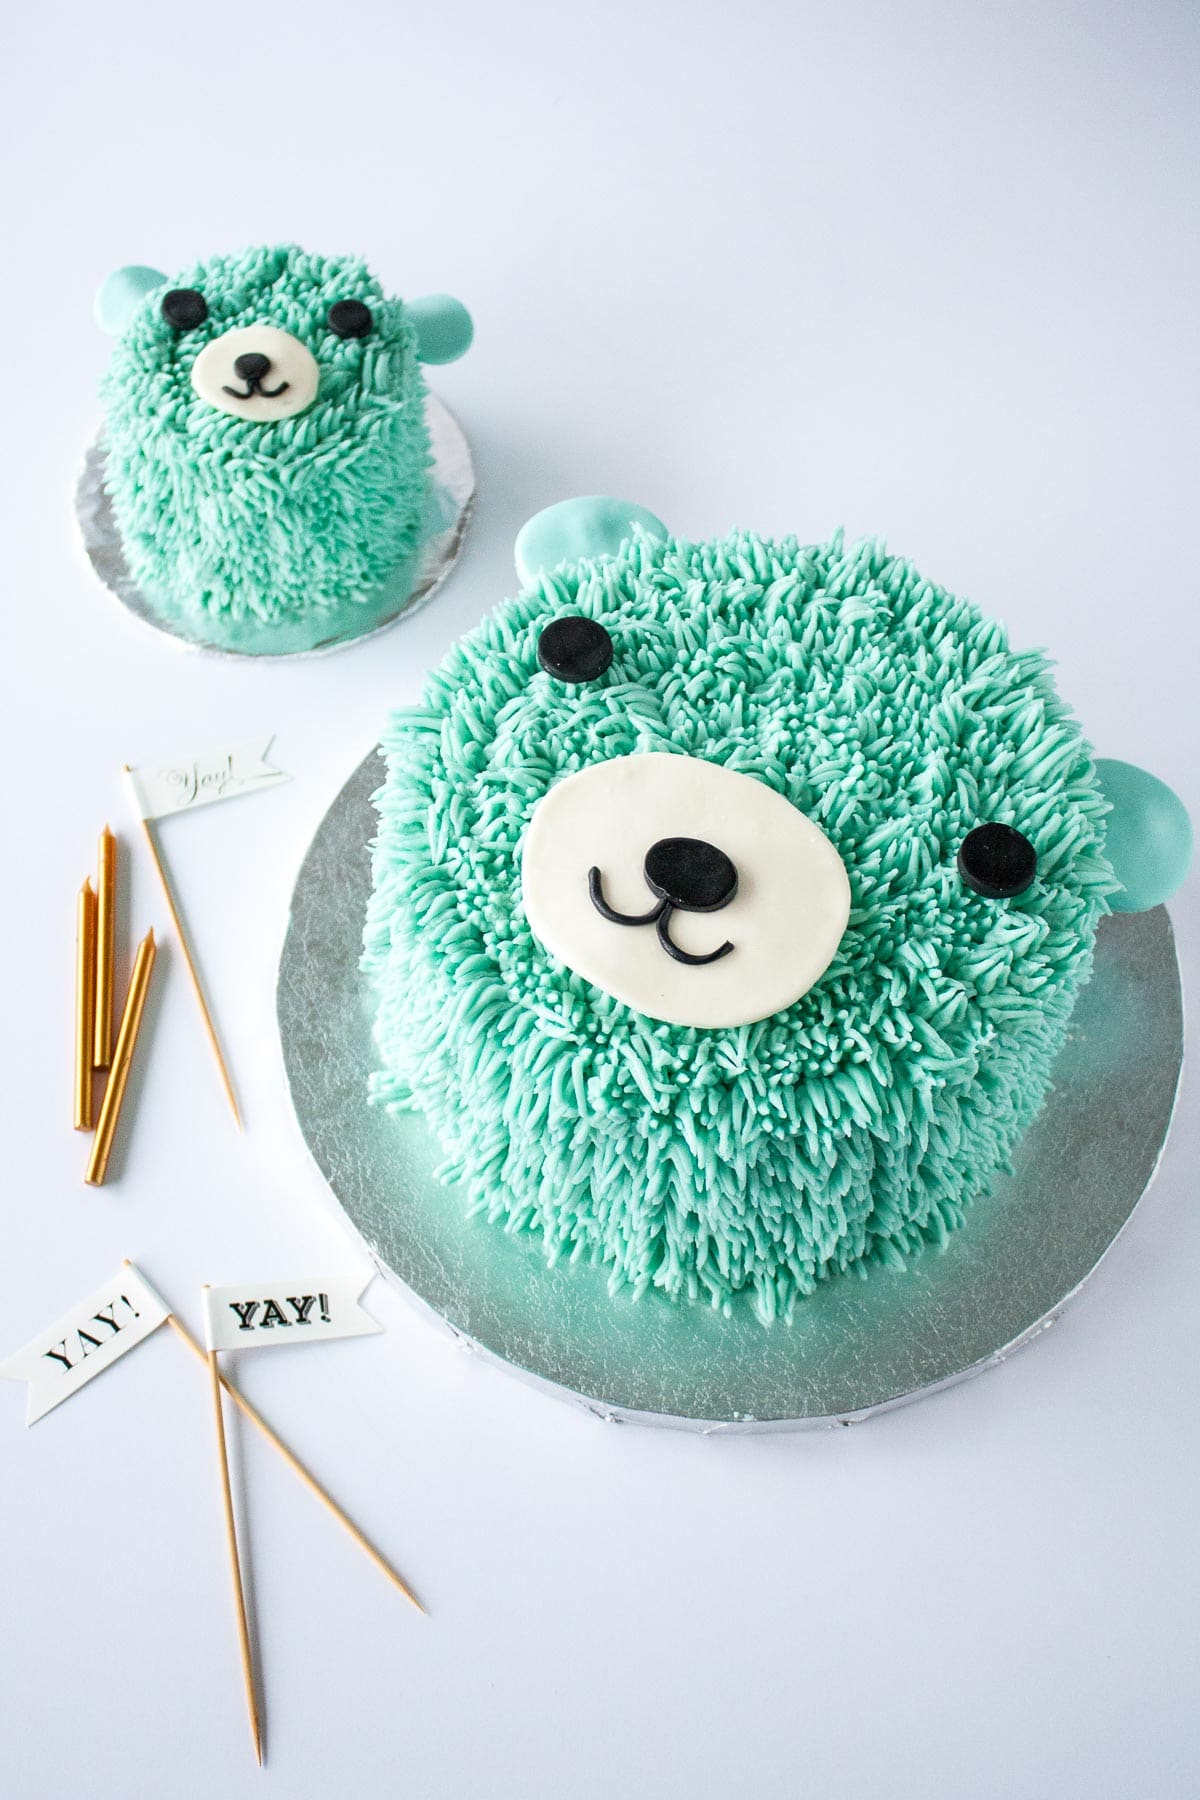
This adorable bear cake is perfect for a little one’s birthday! The cake and frosting recipes are simple and the technique is surprisingly easy to do!
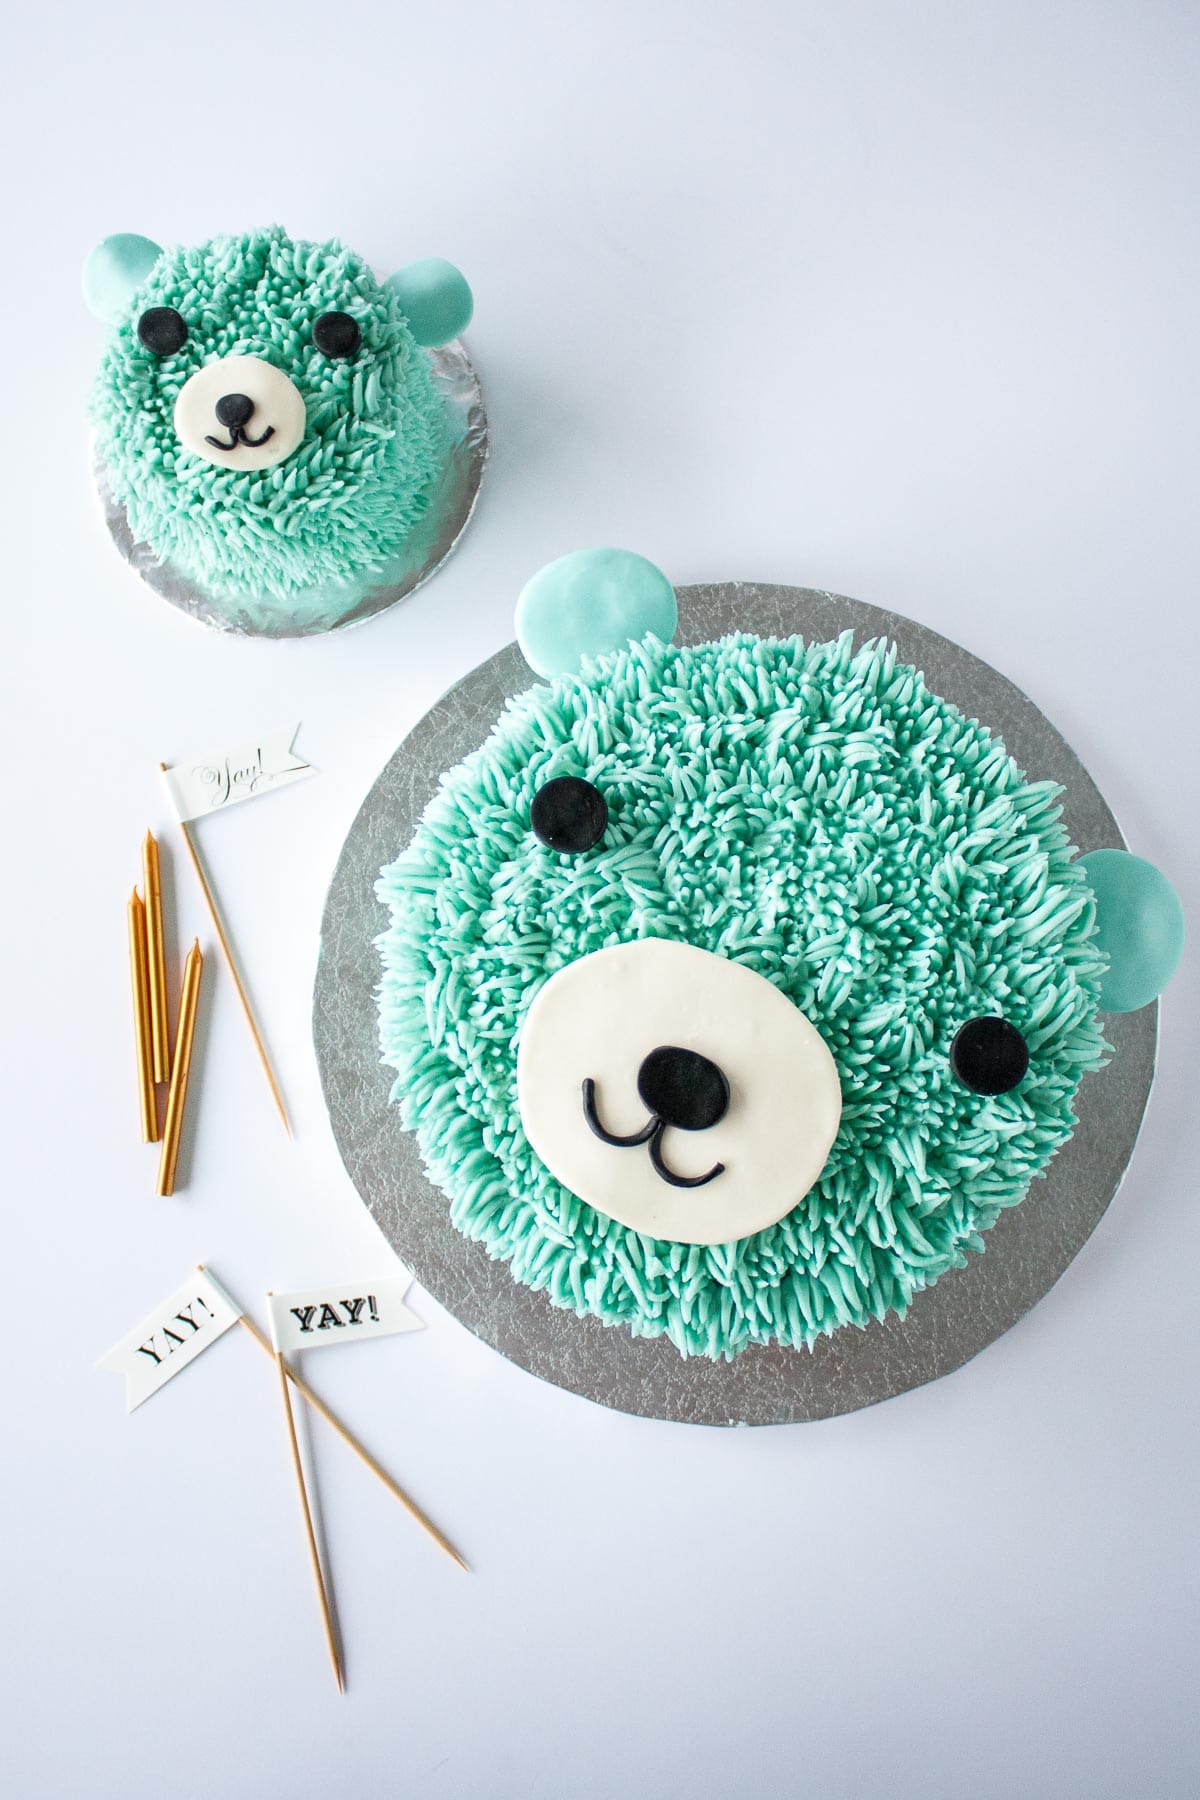
This Bear Birthday Cake is a huge departure from my my recent posts, but it’s actually what Liv for Cake was all about when I started the blog 6 years ago. I was heavily into cake decorating for about a year, and if you delve deep into the archives you’ll find some cake decorating relics. Cake decorating of this kind isn’t my thing anymore, but I was offered a pretty sweet deal that I couldn’t pass up!
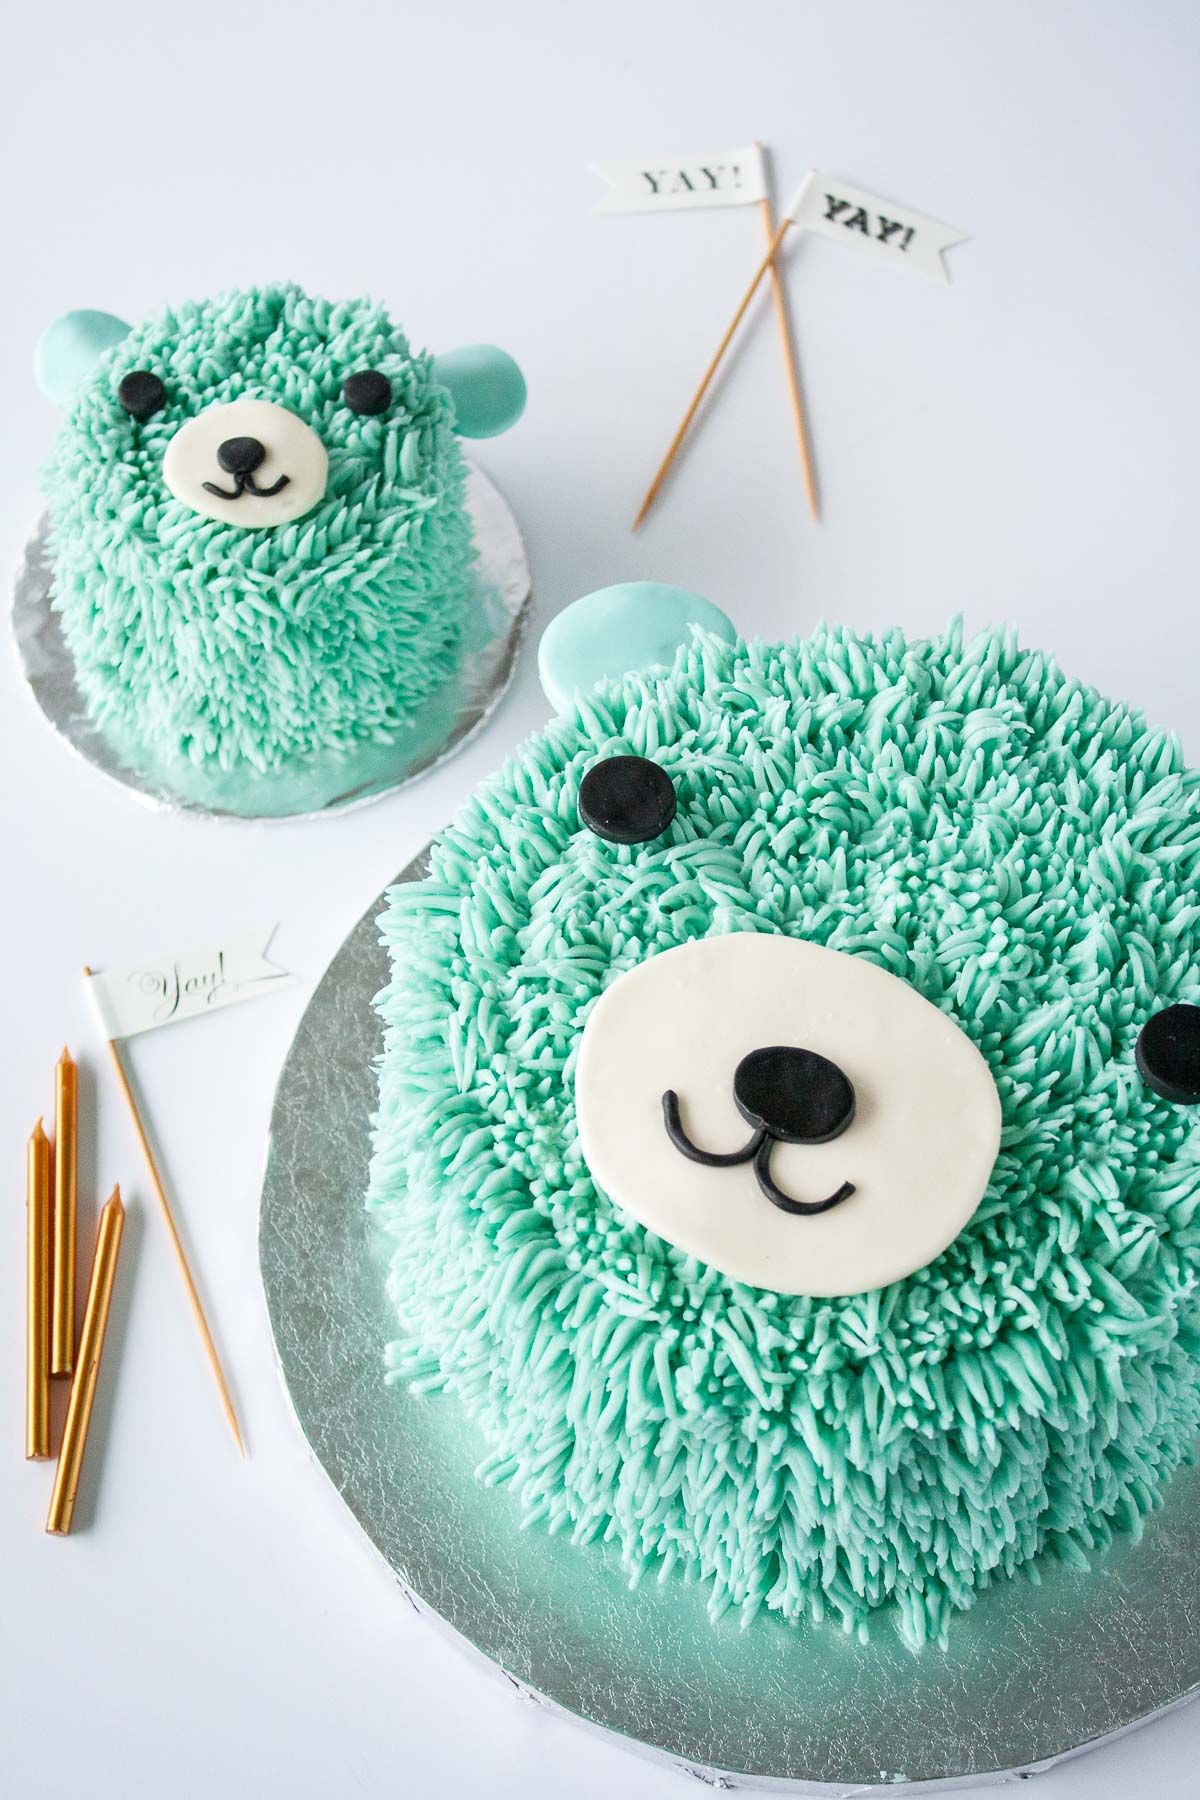
My friend Brad is a woodworker, and I was looking to have some backdrops made for my photography. I reached out to him and asked about the cost, and he offered up a trade: some custom backdrops in exchange for a cake to celebrate his son’s 1st birthday. Now, those of you that know me know that I don’t like to do custom orders. I’m a perfectionist, and having to make something for someone that they’re going to PAY me for is a whole ‘nother level of stress that takes all the fun out of baking. But this was an offer that I couldn’t really pass up.
The design of this bear birthday cake is inspired by Coco Cake Land. Let’s be honest here, I pretty much copied her cake except that I made a smash cake too. I’ve been following Lyndsay since way back in my cake decorating days, and I love how unique and adorable her style is. Go check out her site and see for yourself!
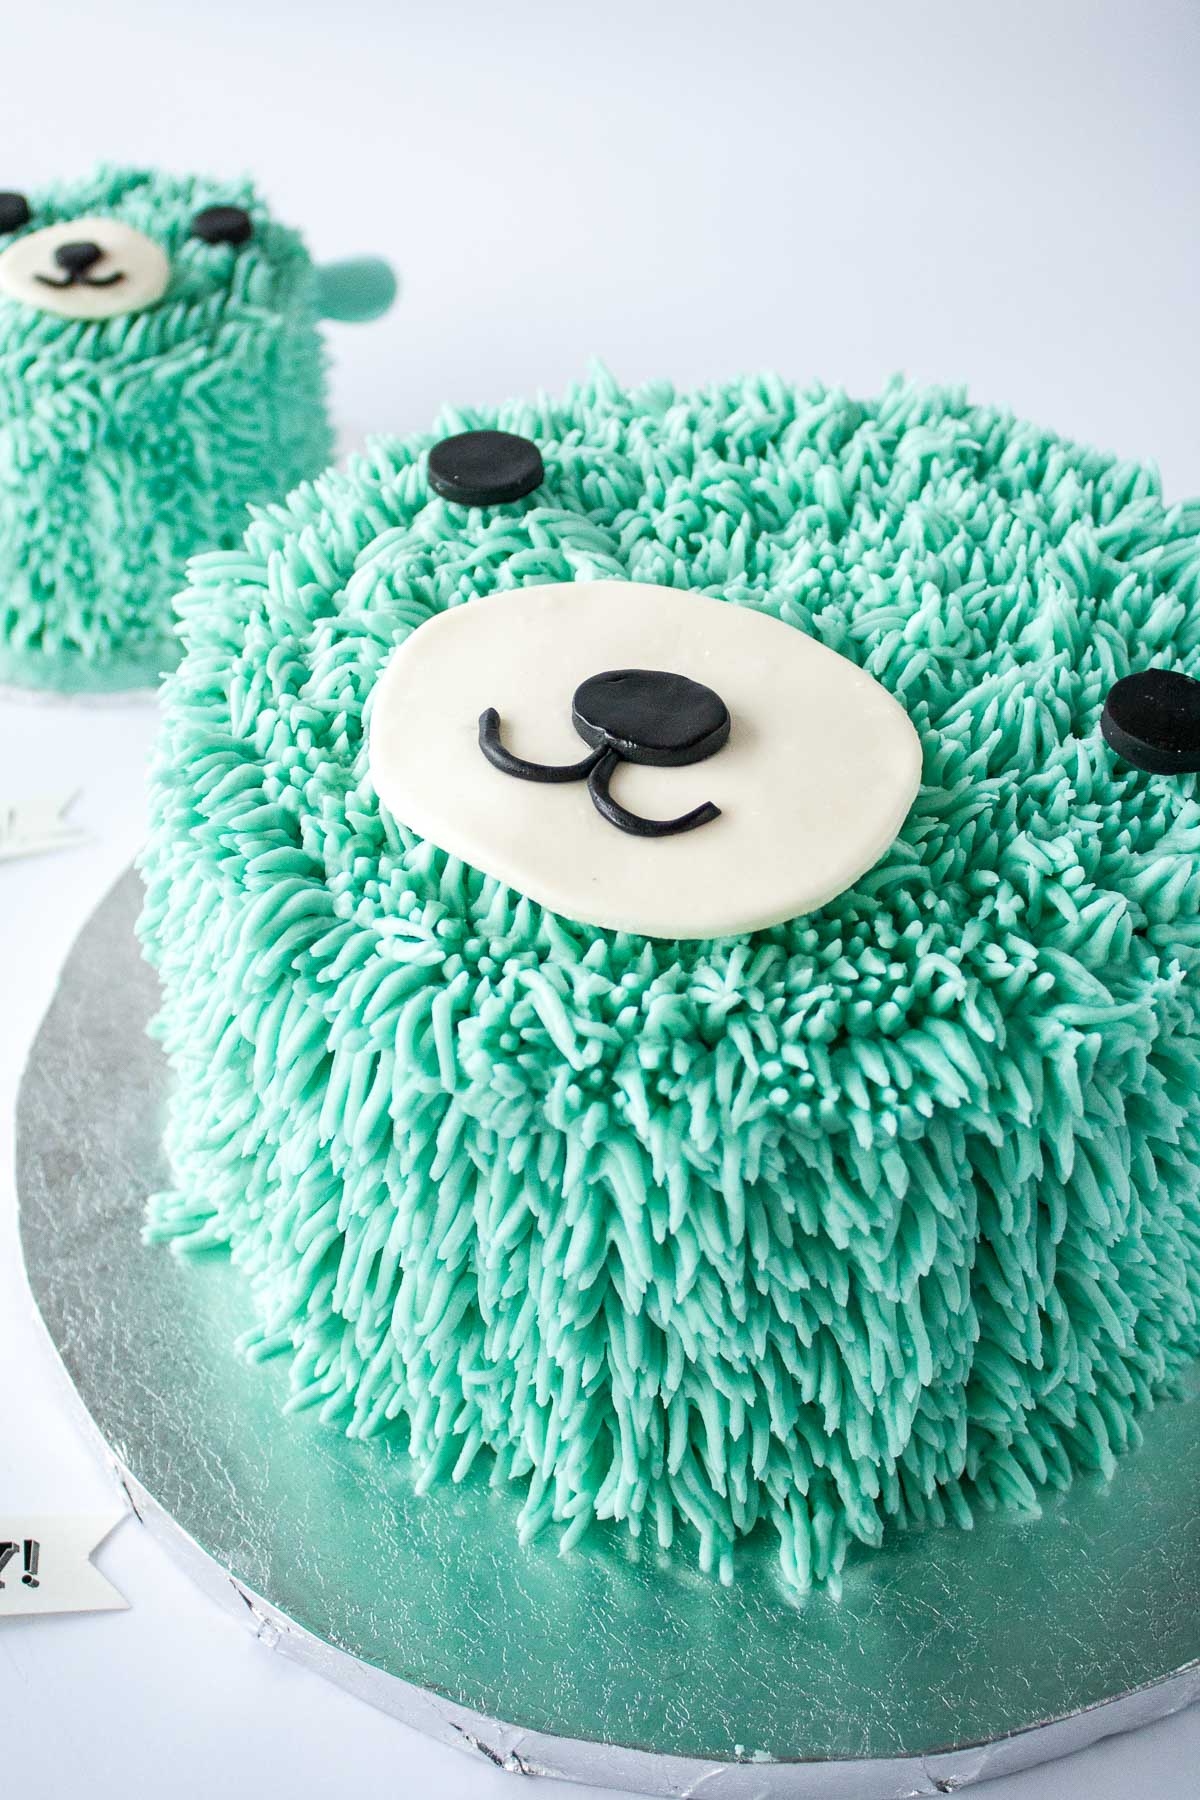
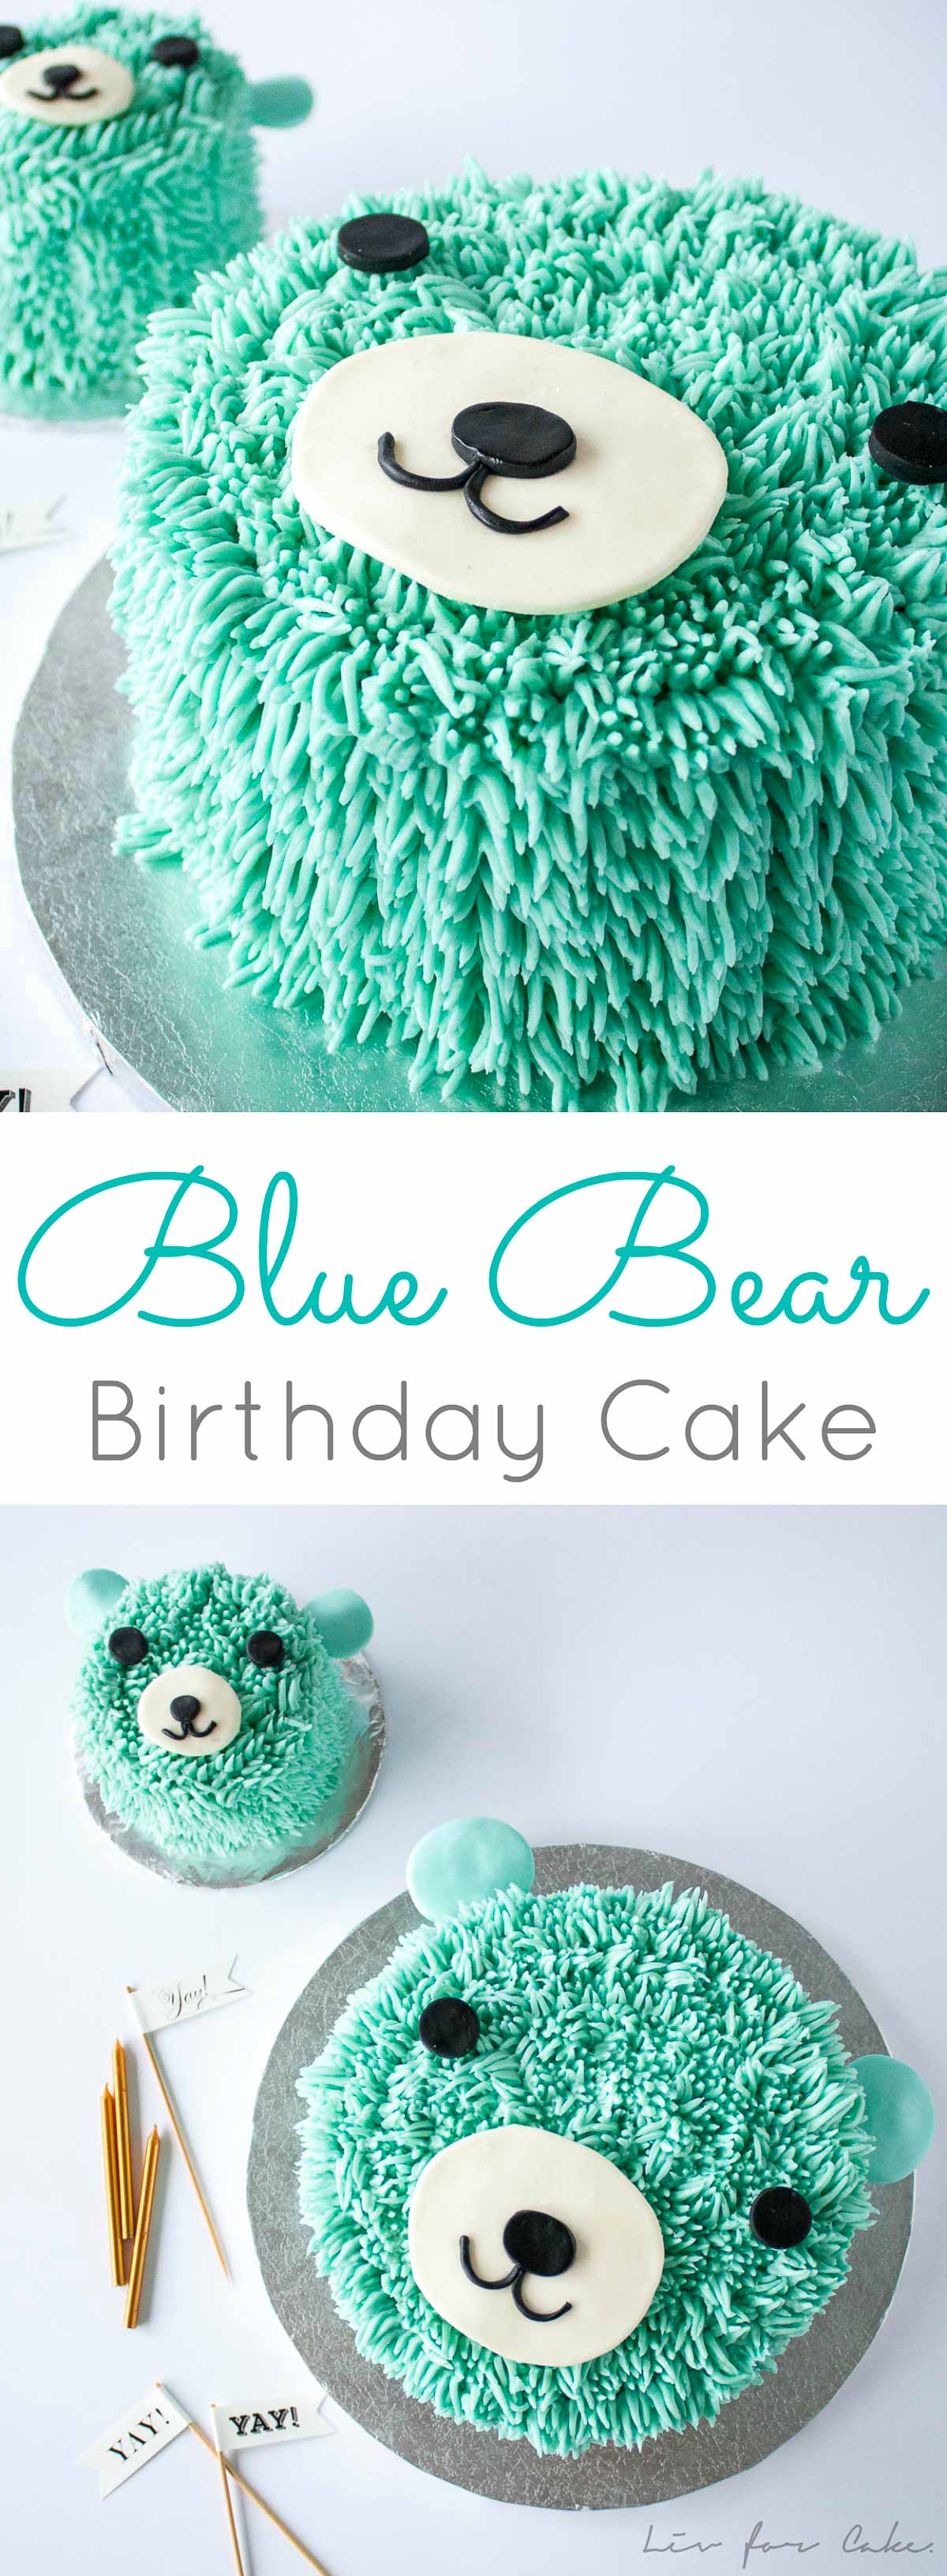
You’ll need a large grass tip for this design — I used Wilton #234. After frosting and crumb coating the cake, I started piping the grass in columns around the side of the cake, starting at the base and working my way upwards. The technique took a bit of time to get used to, but was actually really easy. Press the tip onto the cake, apply pressure to pipe some frosting, release pressure and then pull back. It took a couple tries to get the hang of it, and I did a couple practice pipes on some parchment.
This was time-consuming to do, but easy overall. Not gonna lie, my hand was hurting a bit near the end!
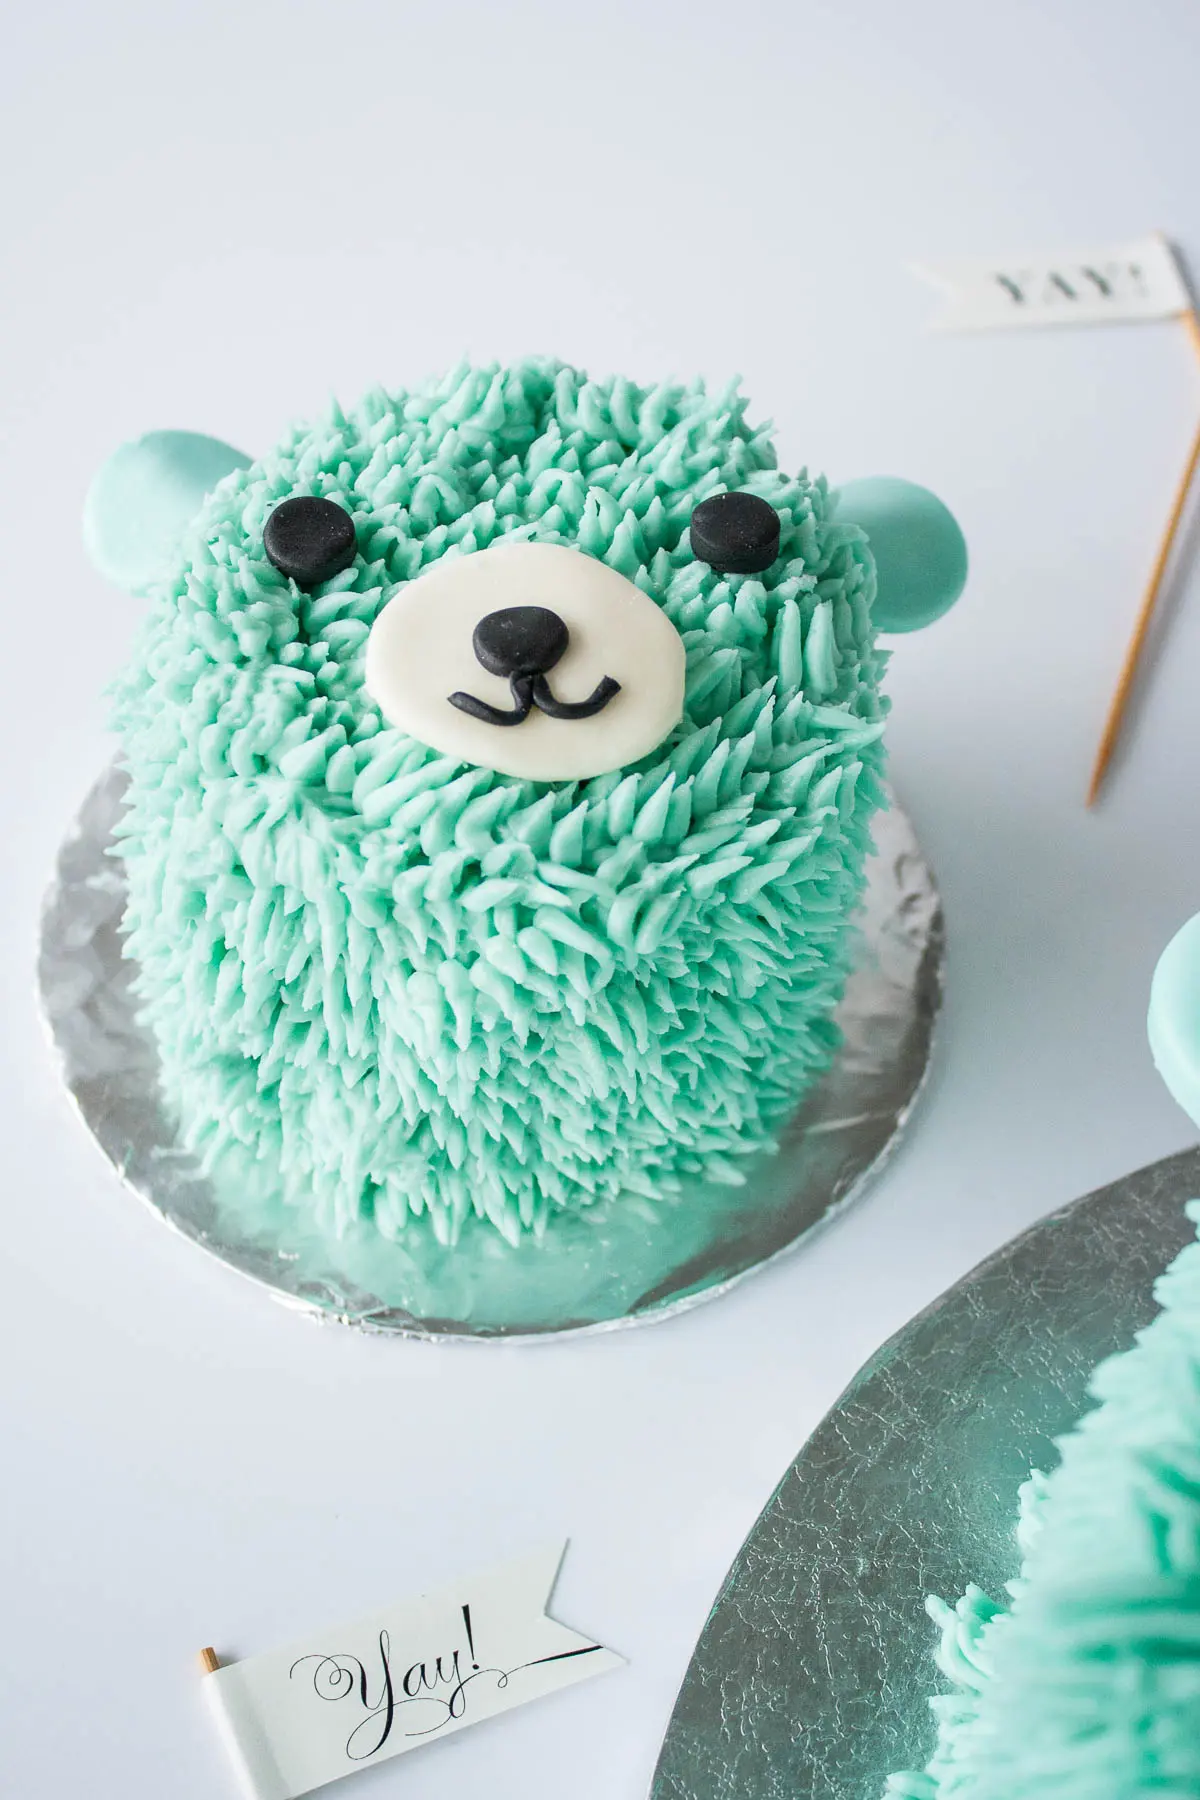
The accent pieces (eyes, muzzle, mouth, and ears) are all made from homemade fondant. I would definitely use gumpaste for these next time, especially for the ears, as it dries harder. My fondant was too soft, so I had to create little cardboard supports for the ears so that they wouldn’t flop down.
All in all, this Bear Birthday Cake was a pretty sweet trade (literally) and I love the backdrops Brad made for me. You can take a look at at some of them here and here and I have a couple others I still need to break in!
And, if you’re looking for some more birthday cake inspiration, check out this epic list on Spaceships and Laser Beams!
Notes & tips for this Blue Bear Birthday Cake:
- I used Wilton #234 for the fur, but any grass tip should work as long as it’s not too thin.
- It’s best to make the accents out of gumpaste rather than fondant as it dries harder and is easier to work with.
- The fur is easy to do, but takes time. The more comfortable you get with it, the faster it will go, but your hand may start to hurt after a while!
Blue Bear Birthday Cake
Ingredients
Cake:
- 1 box yellow/white cake mix
- 1 cup all-purpose flour
- 1 cup granulated sugar
- 1/2 tsp salt
- 3 large eggs
- 1 1/3 cup water
- 2 tbsp vegetable oil
- 1 cup sour cream 250g carton
- 2 tsp vanilla extract
Buttercream:
- 9 cups powdered sugar sifted
- 3 cups unsalted butter room temperature
- 1 Tbsp vanilla extract or flavoring of your choice
- 4 tbsp heavy whipping cream
- Blue color gel
Instructions
Cake:
- Preheat oven to 325°F.
- Butter and flour three 8″ cake rounds (I use Homemade Cake Release), line with parchment.
- Combine all dry ingredients and whisk together.
- Add wet ingredients and mix until combined. I use my KitchenAid on low for 2 minutes but you can also do this by hand.
- Divide the batter between the pans and bake for approximately 35-45 minutes.
- Cool in pans on wire rack for 10mins, then turn cakes out onto wire racks to cool completely.
Buttercream:
- Prepare a stand mixer with a whisk attachment. Whisk butter until creamy.
- Reduce speed to low and add in icing sugar 1 cup at a time until well blended.
- Increase speed to medium and beat for 3 minutes.
- Add vanilla and 2tbsp cream and continue to beat on medium for 1 minute.
- Add more cream as needed until desired consistency is reached (I added all 4).
Assembly:
- Place one layer of cake on a cake stand or serving plate. Top with approximately 1 cup of frosting. Repeat with second layer and crumb coat the cake. Chill for 30mins.
- Using Wilton tip #234, pipe fur all over the top of the cake and sides. Create eyes and ears our of fondant or gumpaste.



Jamie says
I’m making an Elmo cake next week so am so happy to see this that is so similar! Do you recommend using the icing you listed? I’m nervous about using something other than what you listed in case it doesn’t hold up. Would love to hear your thoughts.
Olivia says
Hi Jamie! I would use the icing I listed as it’s nice and stiff to make the fur 🙂
Serena says
I made this cake except did a GF version for my little girls first birthday. Got lots of compliments on how great it looked and I am absolutely not a cake maker. Thanks, from New Zealand.
Olivia says
Hi Serena! So happy to hear that, glad you liked it 🙂
Mrs Bolarinwa says
Pls what number of piping mouth dis you used
Olivia says
Hi there! I used Wilton #234
Susie says
Cute cake. How did you stick the ears on?
Olivia says
Hi Susie! Thanks! I used toothpicks and stuck them into the fondant ears, let them dry, then pushed them into the cake.
Susie says
Great idea. Thanks for that Olivia!
Tanya from Dans le Lakehouse says
Love this idea! Your cakes are so pretty – just started following along on Pinterest 🙂 I’m Canadian too!
Olivia says
Hi Tanya! Always nice to “meet” a fellow Canadian. Thank you! 😀
Sowmiasgalley says
Wowww so cute bear. Bookmarked it. Gonna try soon.
Olivia says
Thanks!!
June @ How to Philosophize with Cake says
What an adorable cake! It does look like it was fun to make, if a little time consuming with all the careful piping 😛
Olivia says
Thanks June! I think it took me an hour to do all that piping. My hand was hurting (!!). Haha.
jacquee | i sugar coat it! says
I like Lindsay’s cakes and yours is equally ADORABLE!!! What you said about the stress and making it just right is exactly why I don’t sell cakes! I checked out your friend’s link and his wood work is gorgeous. You got yourself a sweet deal…oh, wait…I think he did. 😉
Olivia says
I know right? Win-win. I knew you’d understand the cake-stress!! 😉
Erin says
Wow. This is an amazing cake. My little guy turns 1 this weekend and I am looking for cake ideas! I am not sure that I could pull this off but I pinned it and saved it so I might try! 🙂
Olivia says
DO IT! You can totally pull this off. It’s easier than it looks and it’s supposed to look kinda messy. Let me know if you end up taking this on, I would love to see it!
Chandra@The Plaid & Paisley Kitchen says
I am loving your blog! This is the second time today I have been here. this bear is absolutely adorable!
Olivia says
Ahh, thank you so much Chandra!! xo
Agnieszka says
It looks so lovely!
Olivia says
Dziekuje Agnieszka! 😀
Brianna Danner says
So adorable! I want to play around with a grass piping tip now.
Olivia says
It’s SO fun, and so easy to use! Thanks!
Sara says
SO SO SO cute! I think if I attempted this it would look like a psychotic porcupine, envious of your piping skills 🙂
Olivia says
LOL you make me laugh. Your version sounds epic, I wanna see it! haha. Thanks! <3
Jessica @ Sweetest Menu says
You are so incredibly talented Liv! What a spectacular and absolutely gorgeous cake! I have a nephew who would love one of these. I can only imagine the hard work that went into such a beautiful creation – frosting a batch of cupcakes is enough for me! haha Pinned!
Olivia says
Haha! I know what you mean. I’ve seen your stuff though, you can totally make this!! 😀 xo