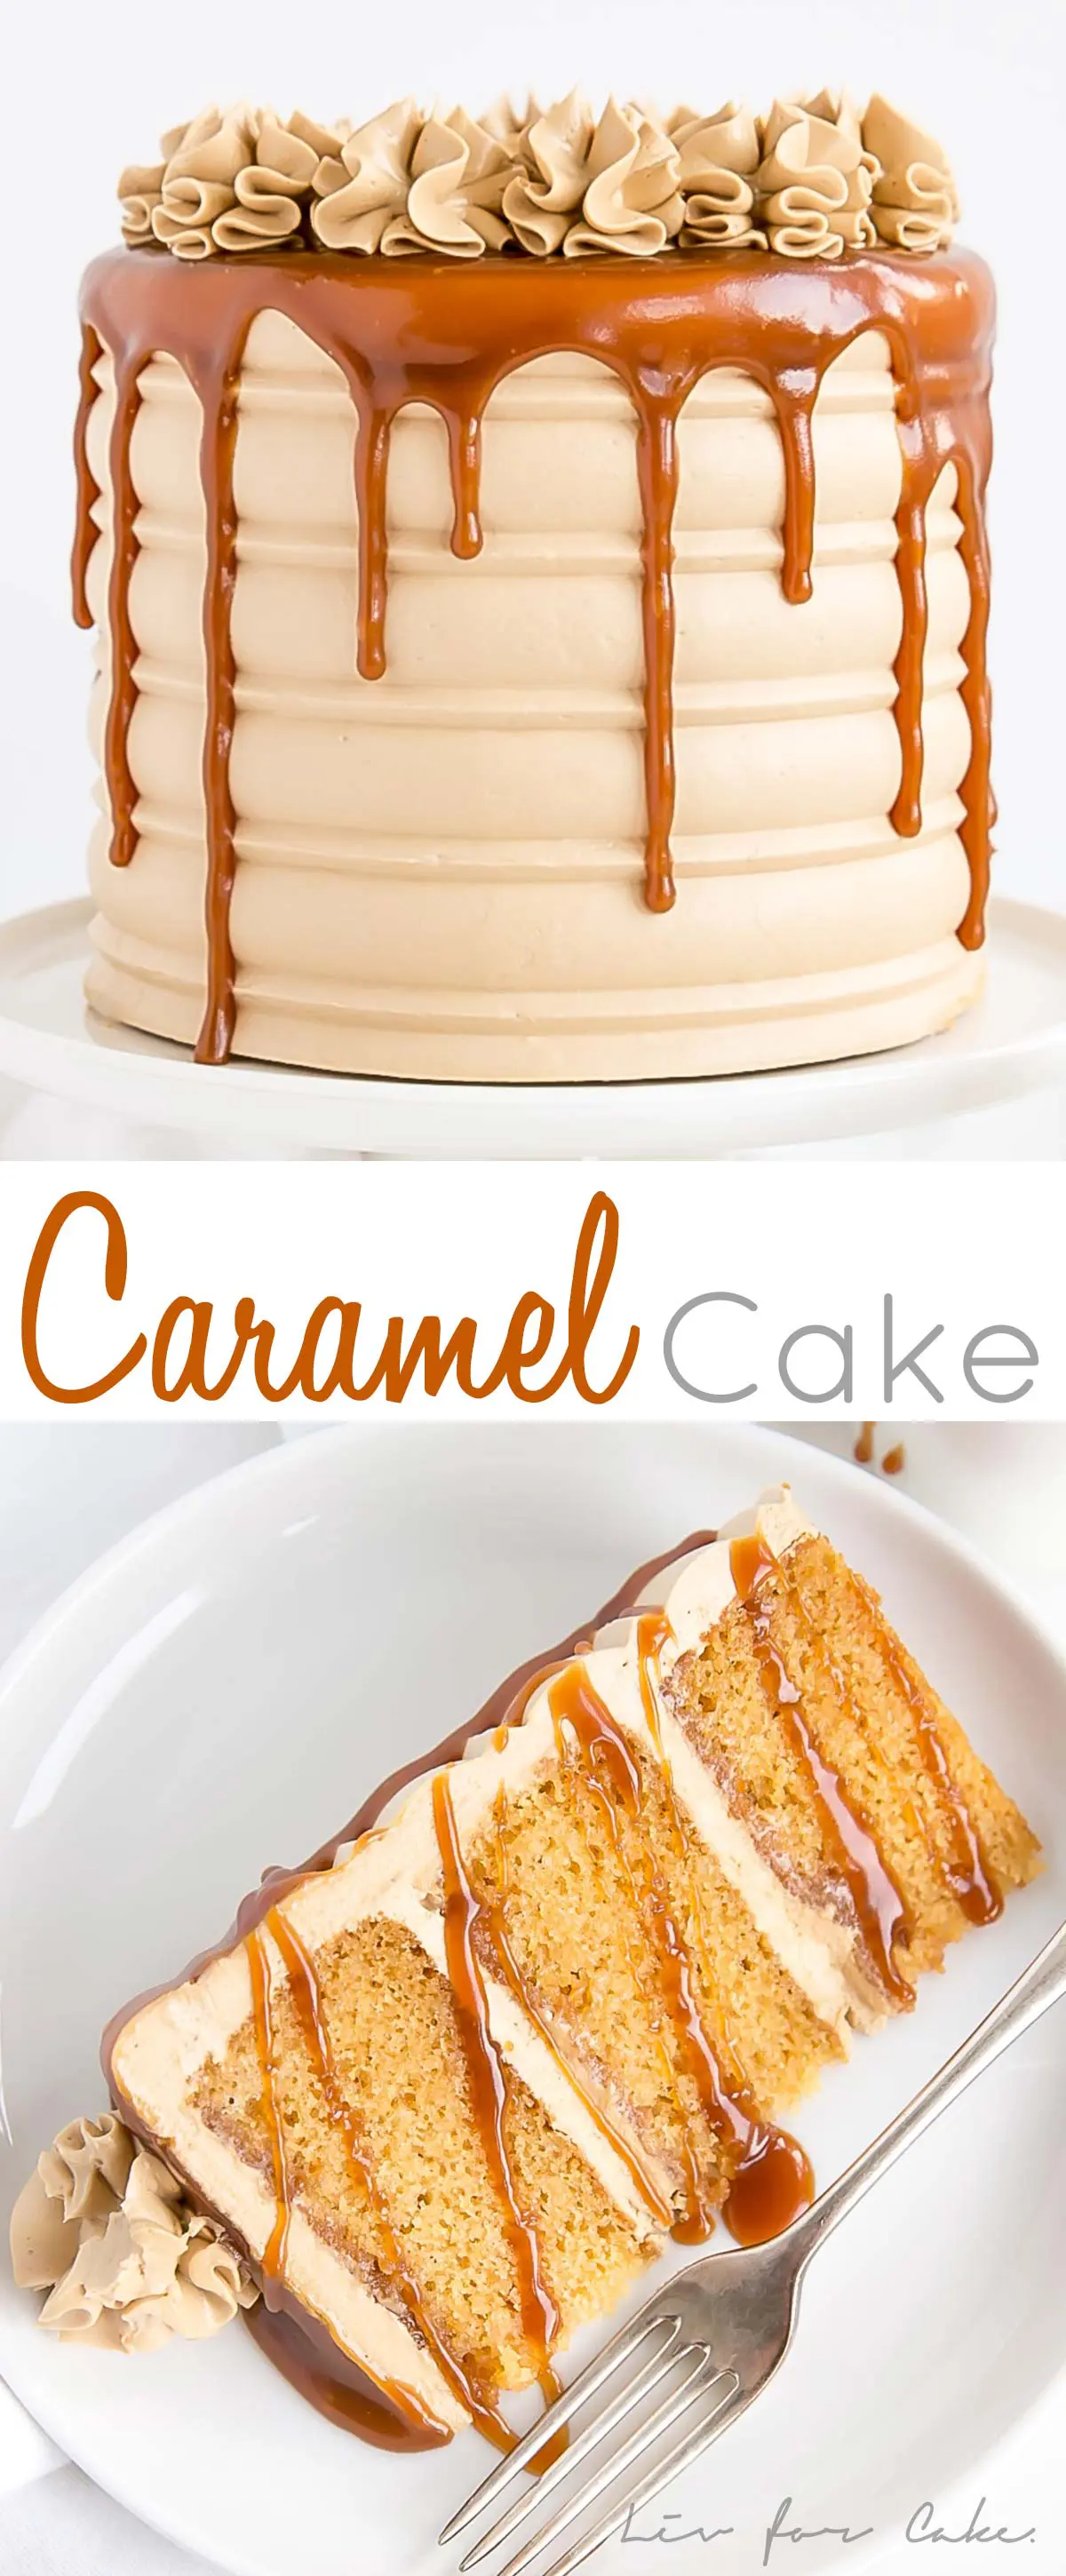
This Caramel Cake recipe is perfect for that die hard caramel fan in your life. Homemade caramel sauce is used in the cake layers, frosting, and the drip!
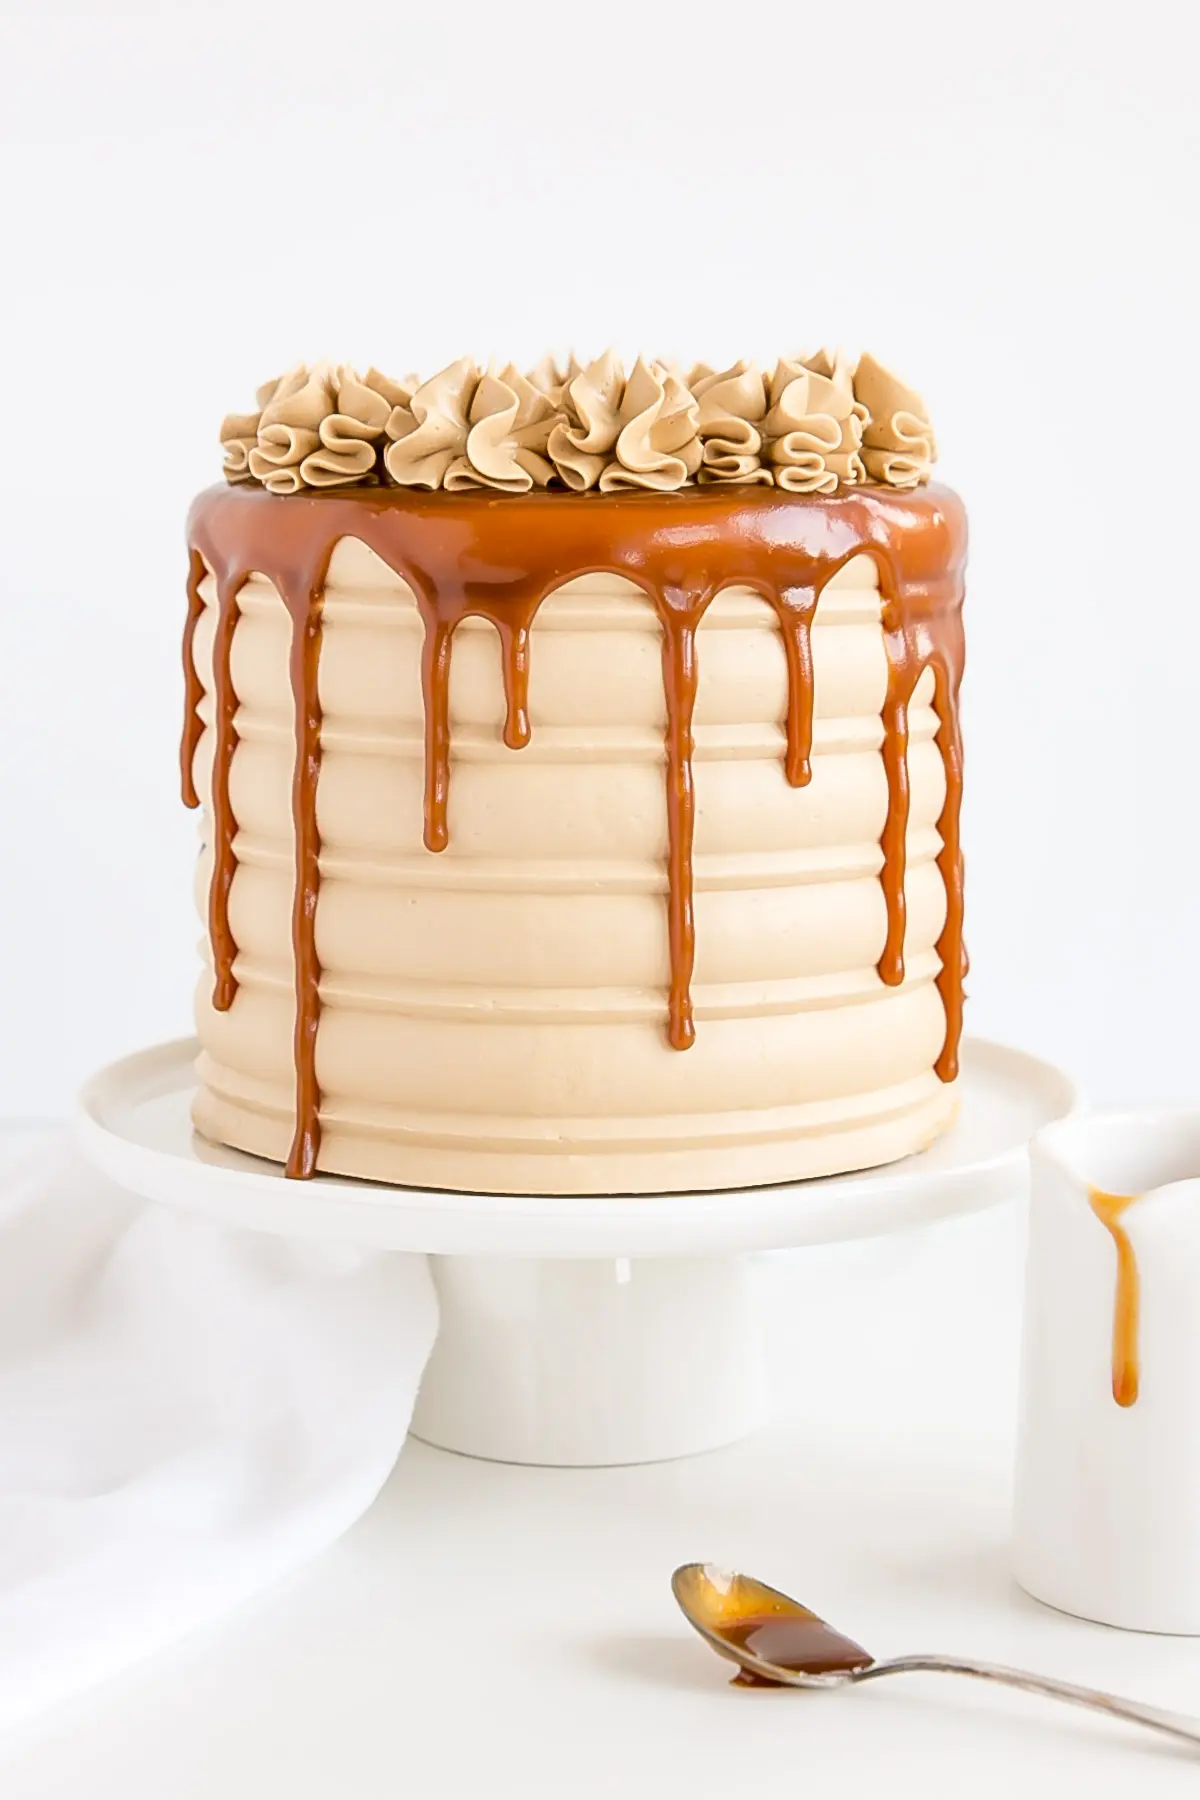
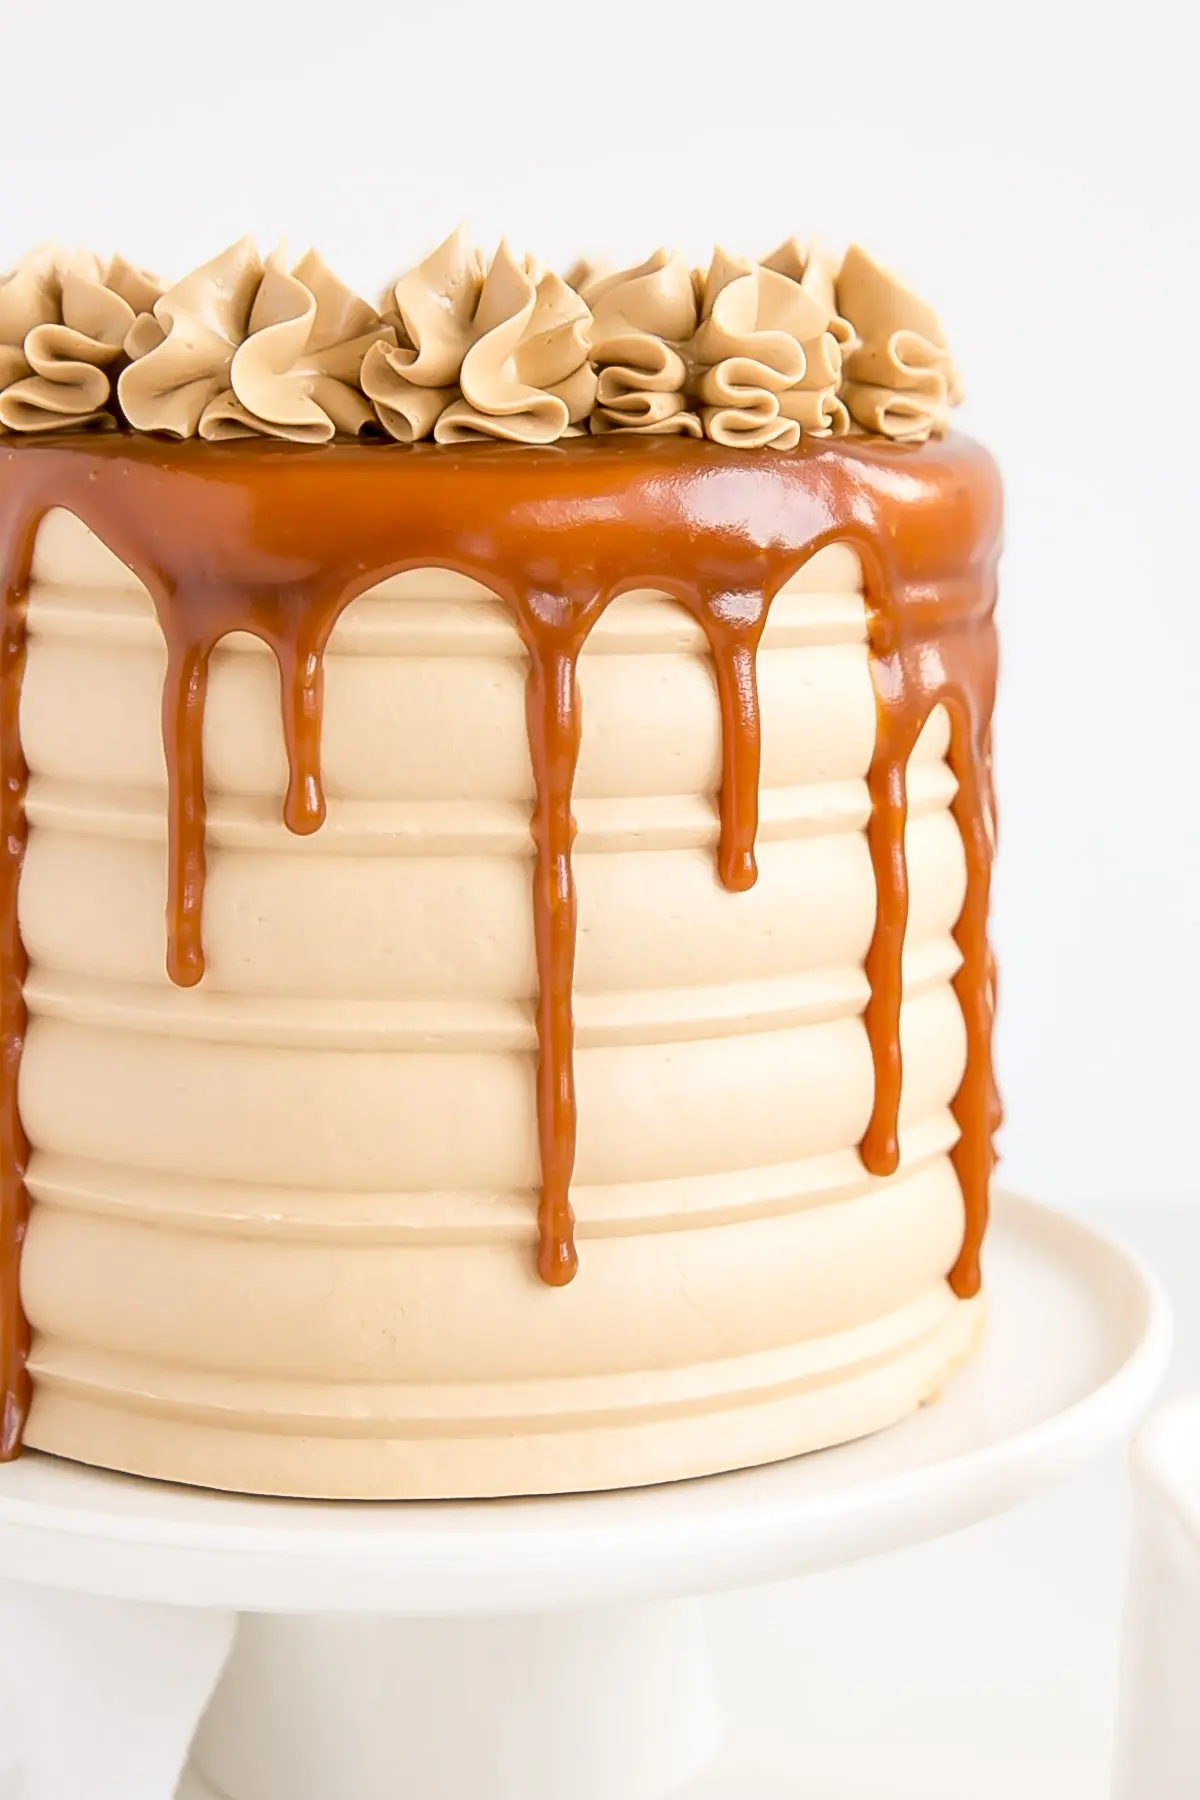
I am obsessed with how pretty this Caramel Cake turned out. Not only the perfectly smooth cake combed sides, but the caramel drip that was just the right consistency to not drip all the way down and create a hot mess. It’s not often things work out smoothly over here, so I need to celebrate it when it happens!
Before we dive into the decorating of this pretty cake, let’s talk about how to make caramel, in case you’ve never done it before. Spoiler: it’s actually really easy! It just requires some attention to detail.
How to make Caramel
There are a number of different ways you can make caramel, but I’m going to tell you about my favorite way to do it. It requires very few ingredients and just a bit of patience. Please see my tutorial on How to make Caramel for more details. You’ll need the following:
Tools:
- med-large pot
- whisk
- pastry brush
Ingredients:
- granulated sugar
- water
- heavy cream (room temp)
- butter (room temp)
- salt (if making salted caramel)
Once you have your tools and ingredients ready, place the sugar and water into a pot and stir to combine, but do not stir from this point forward. Stirring will cause the sugar to crystallize, and we don’t want that!
Dip a pastry brush into water and brush down the sugar from the sides of the pot (also prevents crystallizing). Place the pot over med-high heat and bring the mixture to a boil. Occasionally brush down the sides of the pot with water to prevent crystals from forming.
Continue cooking the sugar until it starts to change color. This can take anywhere from 5-10mins depending on the amount of sugar, size of pot, temperature, etc. I recommend watching the sugar the entire time, as once it starts to color it can burn very quickly. I never take my eyes off the pot while it’s cooking. Okay maybe I do for the first couple minutes or so, but I watch it like a hawk after that.
When the sugar starts to caramelize and turn a bit yellow, you can swirl the pot a bit to mix it around. Continue cooking until the sugar is a nice amber color. It will start to smell AMAZING.
Immediately remove the pot from the heat and carefully whisk in the heavy cream (pour slowly, whisk quickly). It will bubble up a LOT, so be prepared. Once all the cream is whisked in, add the butter and whisk until incorporated. Return to heat and simmer for 2mins.
At this point I remove the pot from the heat and set it aside to cool. You could transfer the caramel to a heatproof container and let it cool that way instead. I sometimes place plastic wrap directly on top to prevent a skin from forming, but it’s not critical. If you do this, be careful, as the caramel is hot. The caramel will thicken as it cools.
You can leave it at room temperature overnight or place it in the fridge if storing for longer. If you store it in the fridge, you may need to warm it up a bit in the microwave before using.
Be sure to check out my How to Make Caramel post for a detailed tutorial.
How do I turn this into a Salted Caramel Cake Recipe?
If you’ve gotten this far, it’s really so simple to turn your caramel sauce into salted caramel instead and make a Salted Caramel Cake. All you have to do is add a bit of salt once you’ve finished cooking it.
Add some salt, dip a spoon into the hot caramel, let it cool, taste, repeat as needed. That’s it! How much you add is completely up to you. I don’t like salted caramel (gasp) so I recommend starting with less (1/4 tsp) and adding as needed. Ideally use a good quality sea salt.
A salted caramel sauce will work perfectly well with this Caramel Cake recipe if that’s what you’d prefer.
Important things to note about making Caramel
- You’ll want to use a larger pot than you think you’ll need. The caramel bubbles a LOT when the cream is added. At least 4-5x the volume.
- Brushing down the sides of the pot is important to prevent your sugar from crystallizing — we don’t want a grainy caramel!
- Don’t take your eyes off the sugar. Once it starts to turn color it can burn very quickly.
- Do not attempt to make the caramel with cold cream or butter — they must be at room temperature (see below).
- The caramel will be HOT so handle with care. If you’re making a salted caramel, be sure to let it cool before tasting it! Dip a spoon into the hot caramel, let it cool, taste, add more salt as needed.
It is critical that your cream and butter are completely at room temperature. I’ve made this caramel many times before but I didn’t really pay attention too much to the temps this time. Read: I was too lazy to wait for them to come to room temperature properly and figured it would be fine (bad baker!). My cream was straight out of the fridge, so I nuked it in the microwave to warm it up, but my butter was still a bit cold.
I went with it anyhow, because I figured it gets heated anyway, right?? Well, the end result was a bit of a mess. The caramel looked like it had come together well, but upon cooling it completely split and separated and kinda curdled.
Caramel also does not react well to drastic changes in temperature, so it’s important that the cream and butter are added slowly and are room temperature. I’m sure it didn’t help things that I way overcooked it after I added everything in. Instead of simmering it, I basically boiled it on high for 2 minutes. It was a hot mess, and truly quite disgusting. I should have taken a picture!! Anyhow, I should have followed my own directions, but overconfidence and laziness got in the way and I ended up having to redo the whole thing.
I hope all that didn’t scare you away from making your own caramel sauce at home. It’s really very easy, it just requires a bit of focus and attention for 15mins or so. And actually following directions.
This caramel sauce is seriously SO good and so versatile. You could use it as a topping for other desserts or ice cream or pancakes… the list goes on! You’ll never look to get store bought caramel again after you try this.
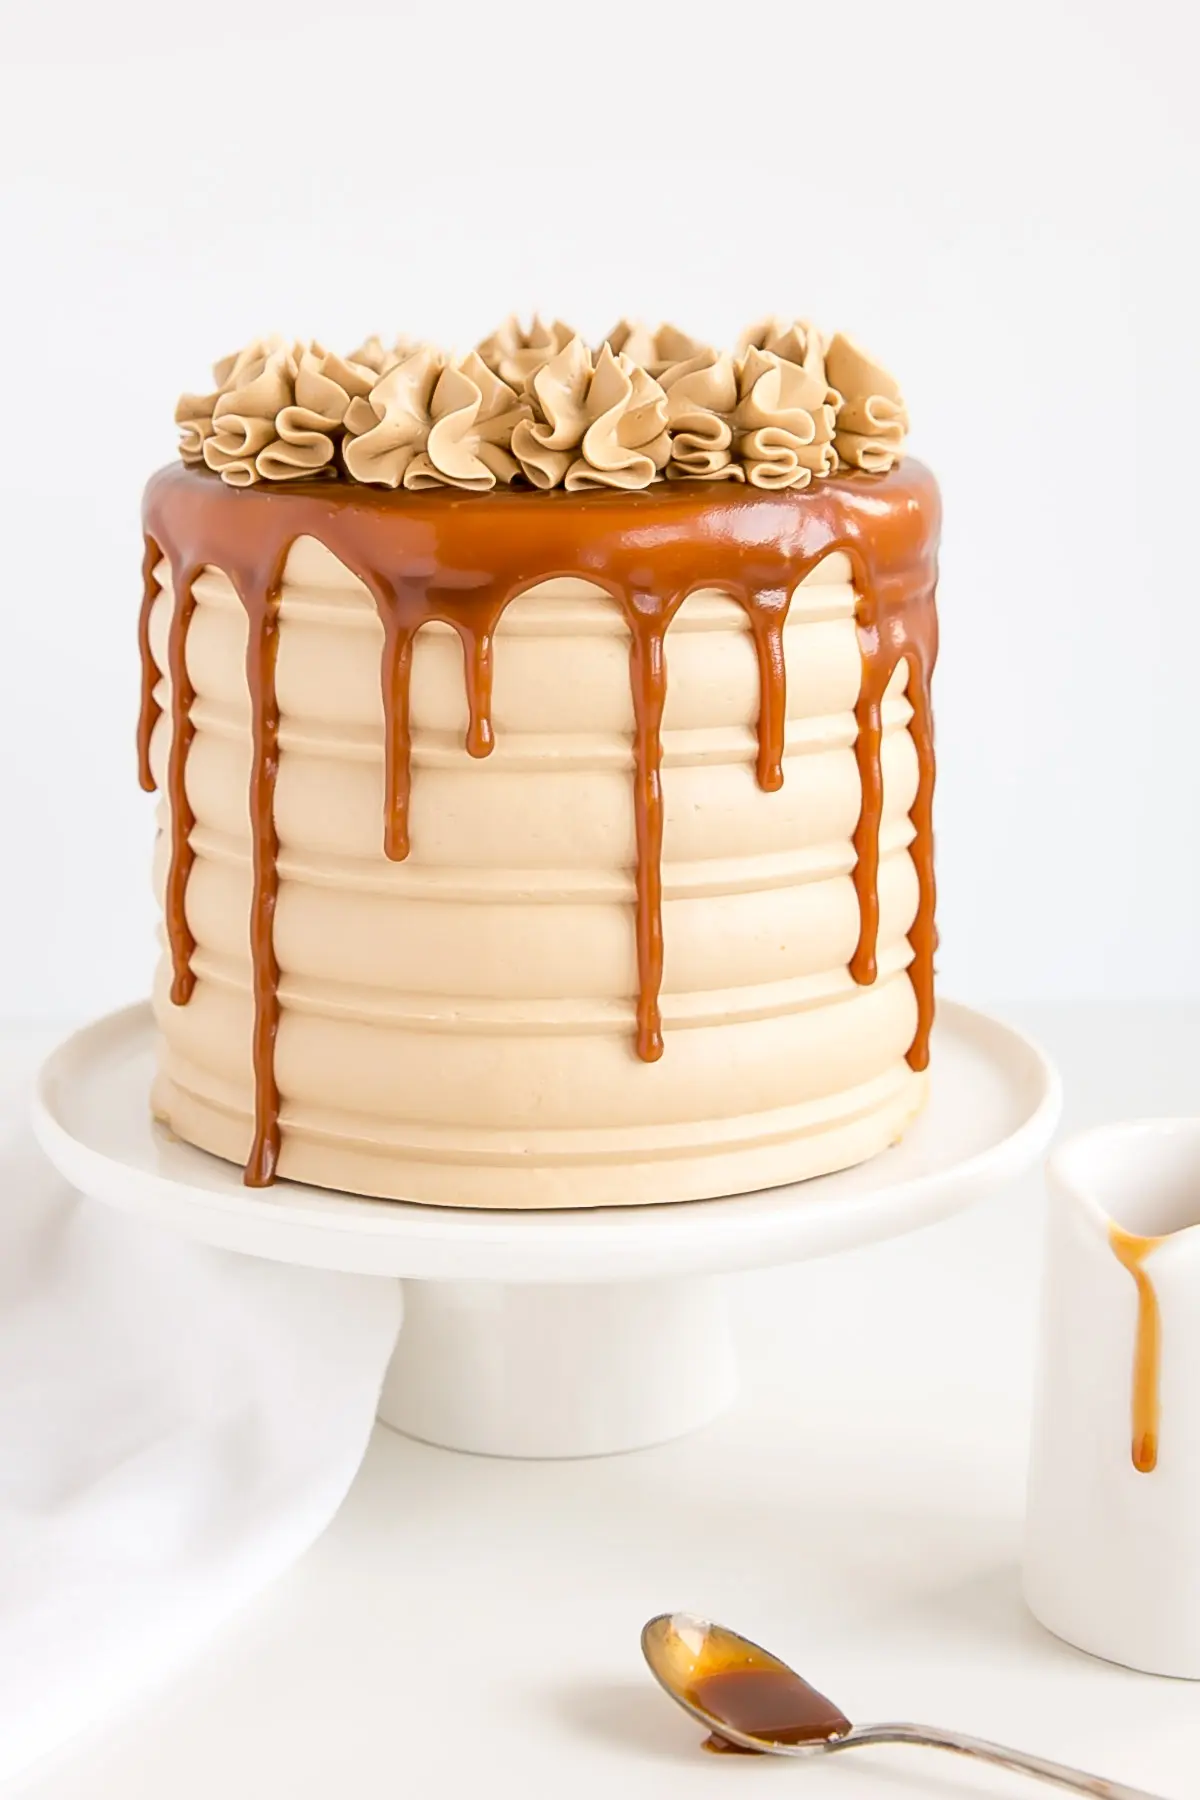
How did you decorate this Caramel Cake?
Okay, let’s talk about the decorating of this cake, because I know people are just dying to know and it’s actually really simple. I used a cake comb on the sides. Specifically, I used the right side of the middle comb from this set.
After crumb coating the cake and chilling it for 20mins, I frosted it like any cake except that I used way more frosting on the sides than I normally would. I knew I’d be scraping some of that frosting off and I wanted to make sure there was enough to fill in the indents in the comb.
Once the cake was frosted and smoothed, I placed the cake comb up against the cake, pressed in a bit, and spun my turntable. I did this like I would if I was just smoothing it with a flat scraper. One long, smooth motion. I had to do this about 10 times or so to get rid of the bubbles and make sure everything looked perfect.
As always though, there is a back side to this cake that is less than pretty — specifically where the cake comb started/stopped. I couldn’t completely smooth out the little dent there. Maybe my frosting was a bit soft. If you have any tips on this I’m all ears, I am far from a cake combing expert!
If I were making this a Salted Caramel Cake, I would sprinkle some sea salt over the top of the decorated cake once the drips have set.
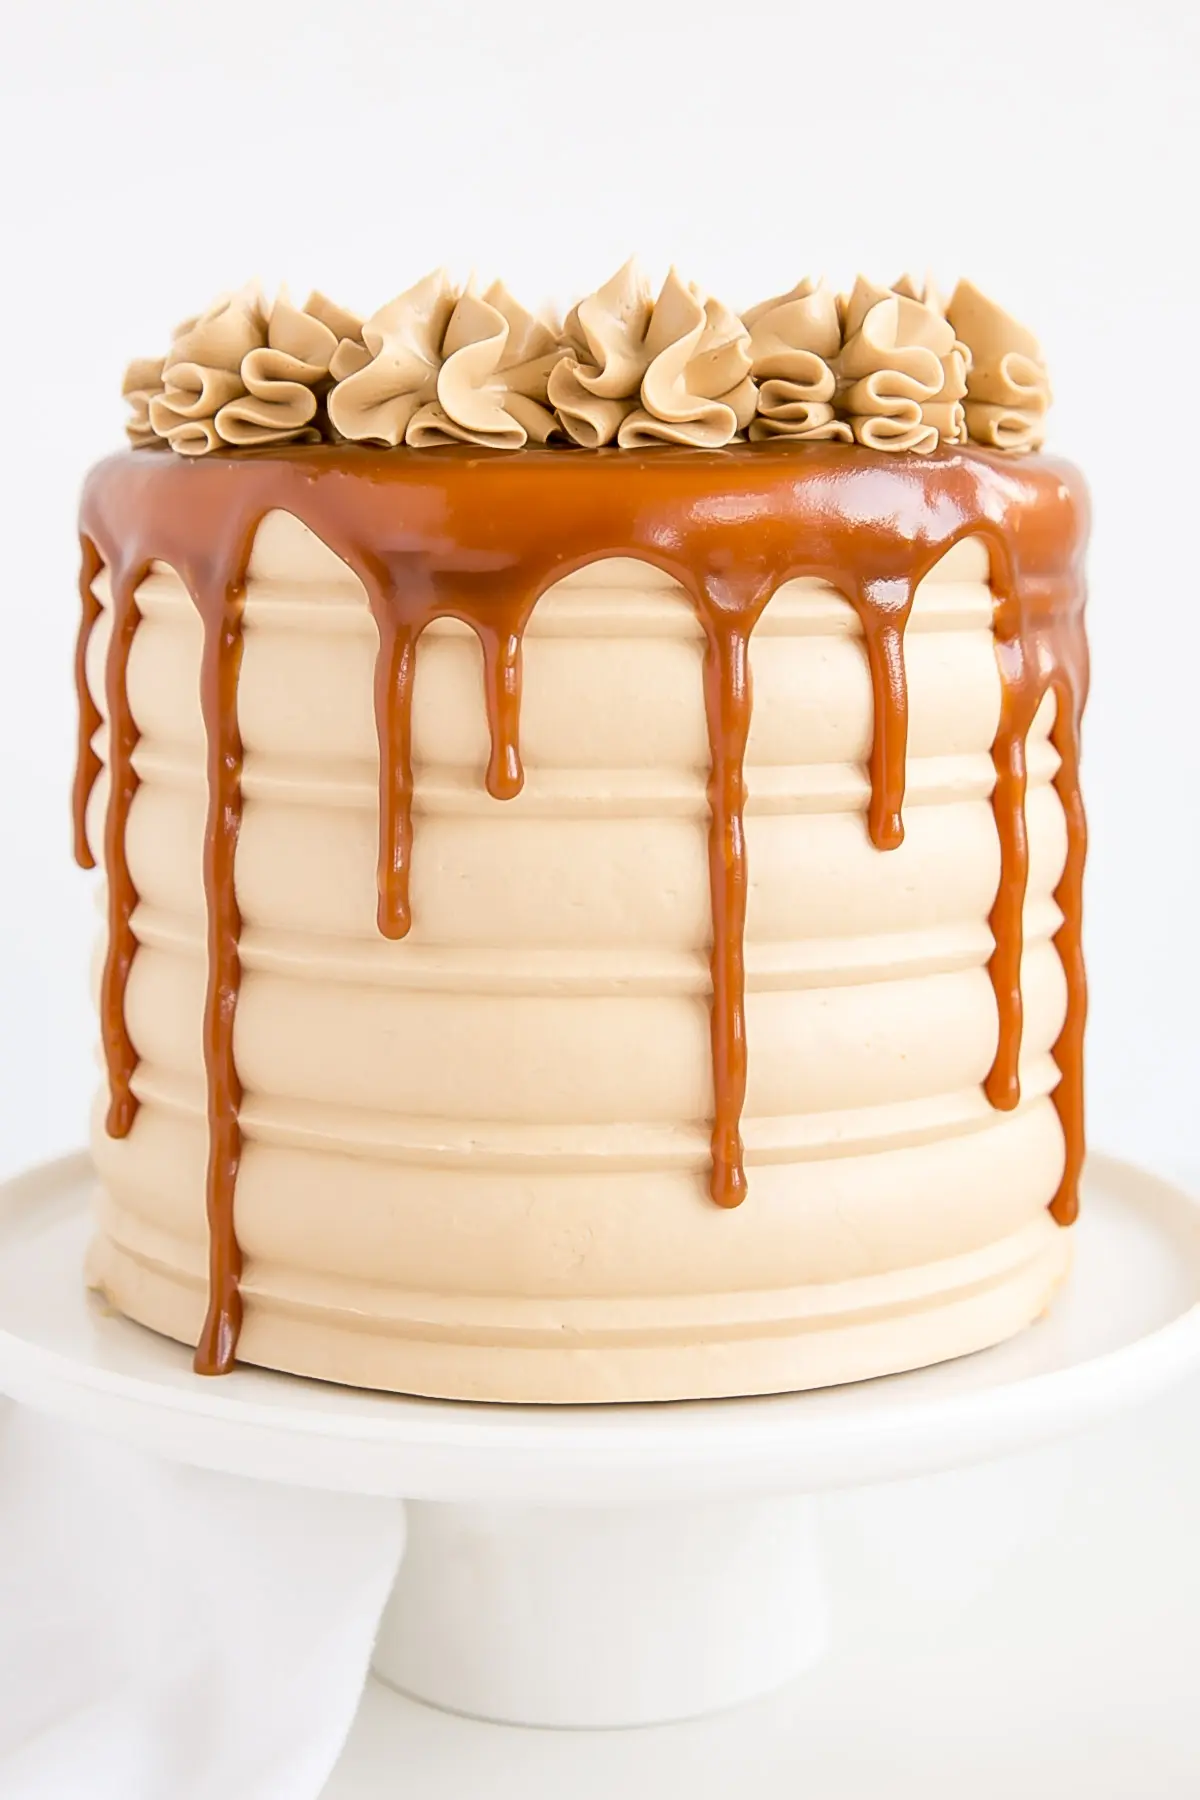
Tips for the Caramel Drip
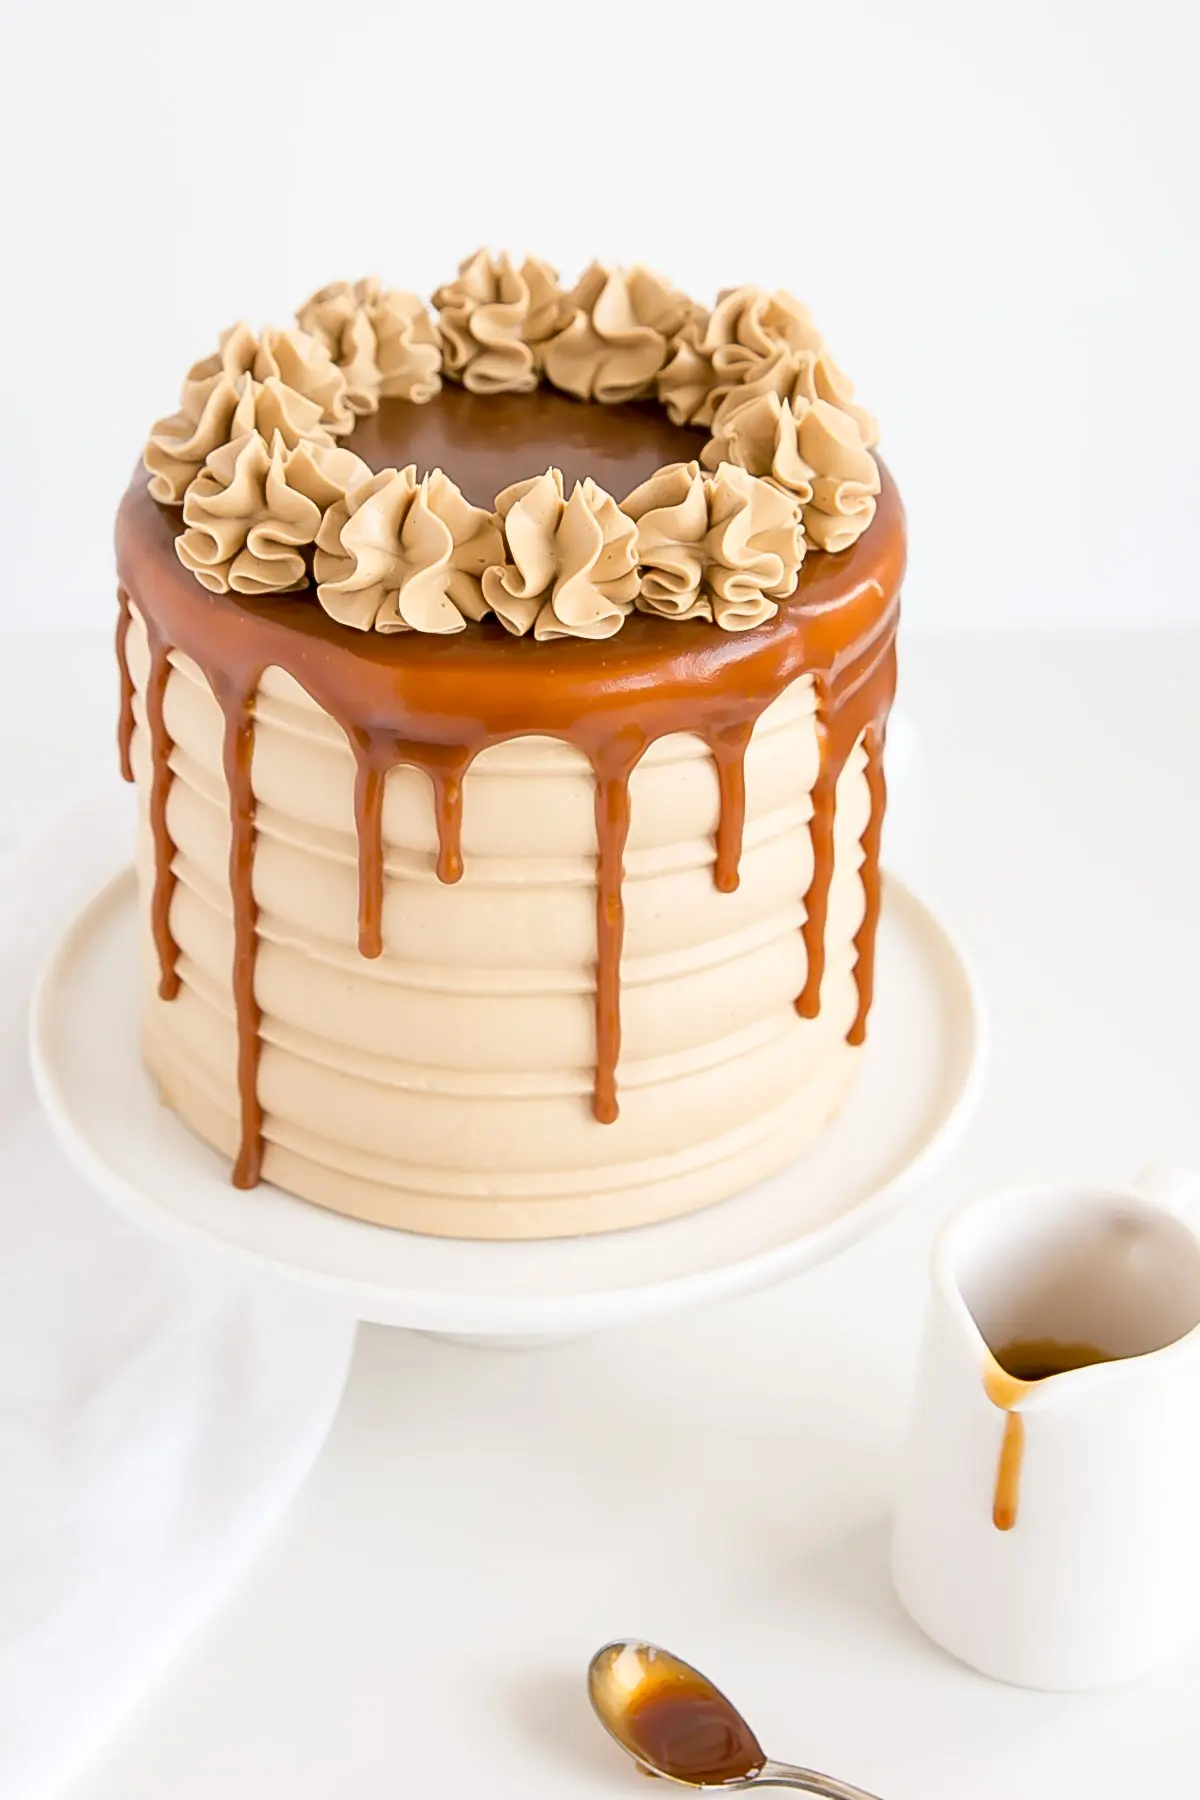
A caramel drip is notoriously difficult to work with. It’s a different consistency than a ganache drip, and doesn’t set as quickly once it hits the cold cake. As such, you actually want it to be thicker than you think you need for the drip.
It’s important that the cake is super chilled too. I chilled mine overnight, but only because I was spacing out my baking. A good hour in the fridge should do. My caramel was a bit on the thicker side because I had that in the fridge as well, so I microwaved a small portion of it (1/4 cup or so) in very small increments (3-5 seconds), until I got something pourable but still thick — a lava-like consistency.
I did a test drip on the back of the cake to see how it looked. I actually thought it was still too thick at this point, but you need to be patient with caramel — it will keep dripping down. What I thought was too thick actually ended up being perfect.
Really, it just takes some practice to know what the right consistency is. Always use a chilled cake though, and make sure your caramel (or ganache) is not warm in any way.
I use a teaspoon to do my drip cakes, but you could use a squeeze bottle if you prefer. I like that I have more control with a teaspoon and can be a bit more heavy handed in areas. I prefer drips that are chunky and spaced randomly.
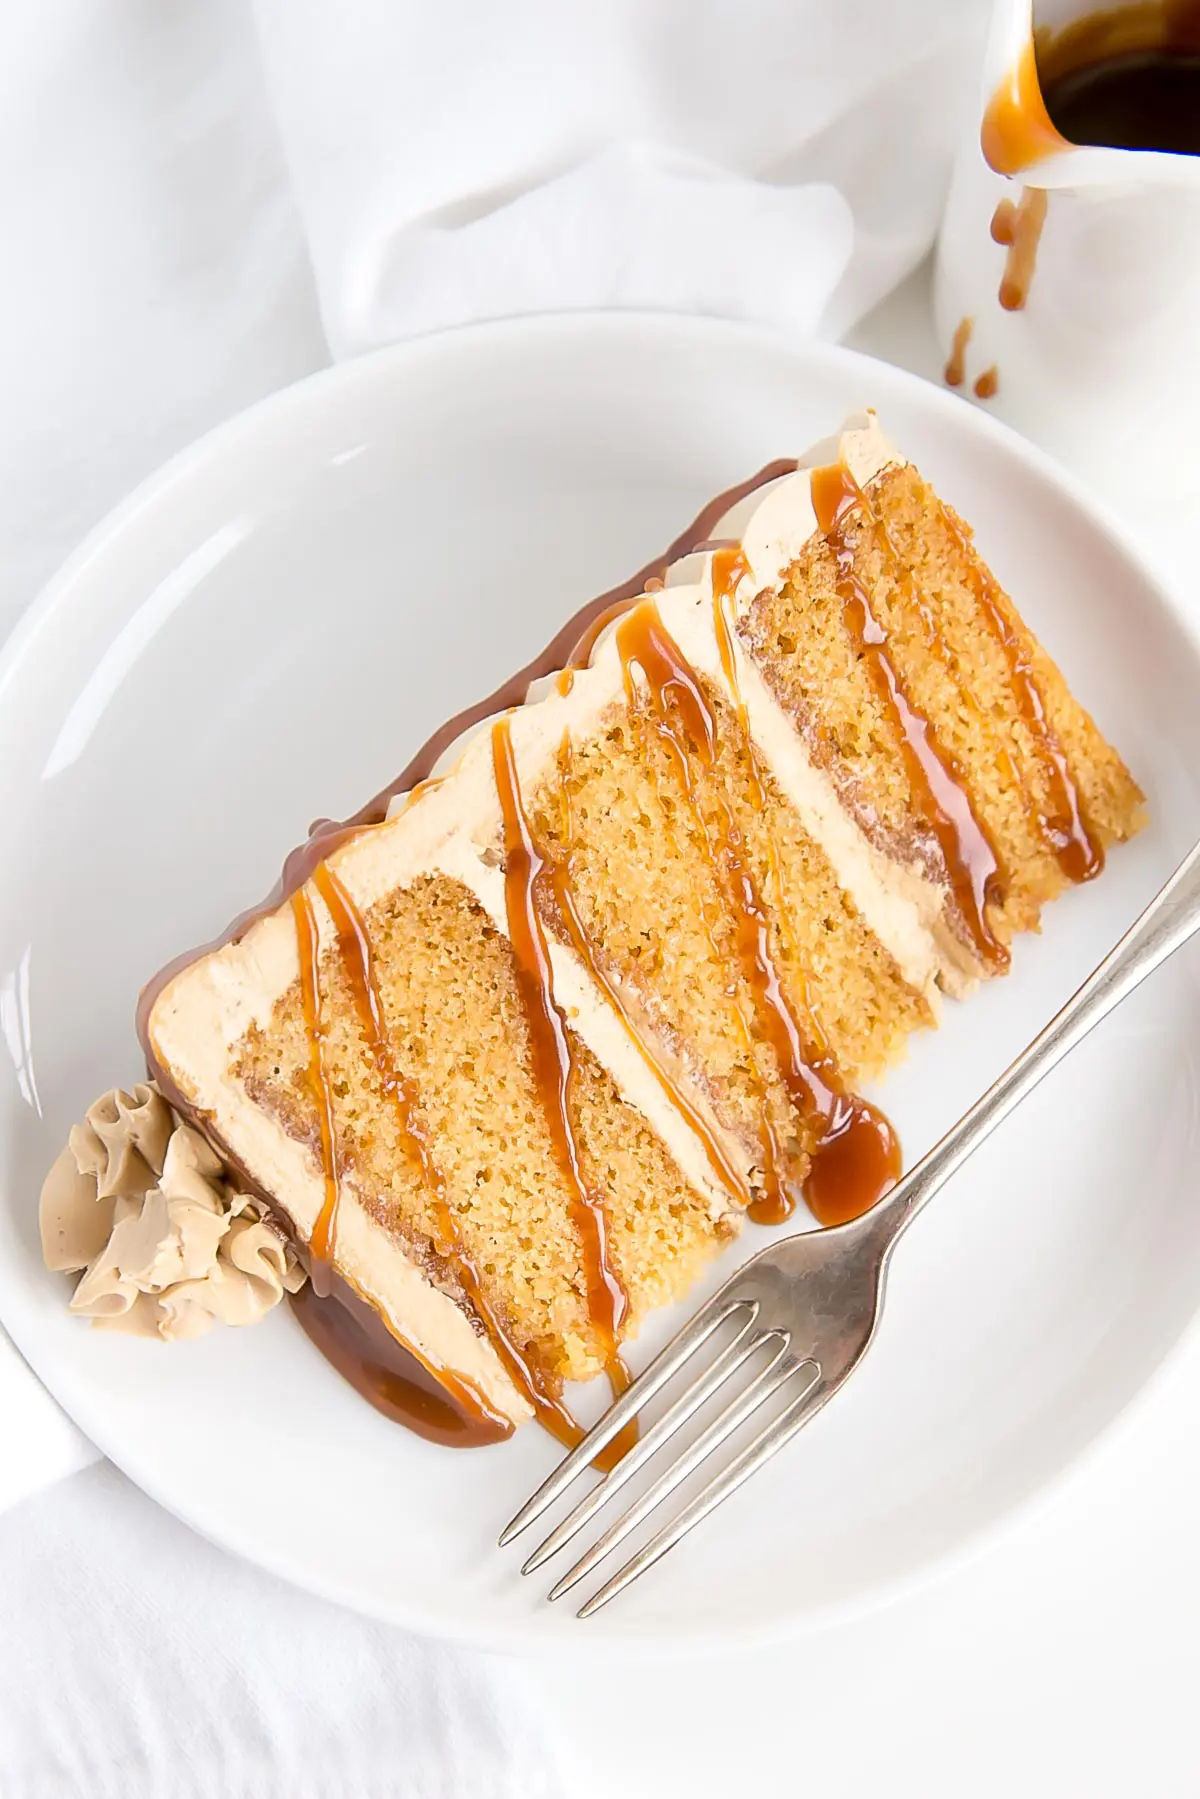
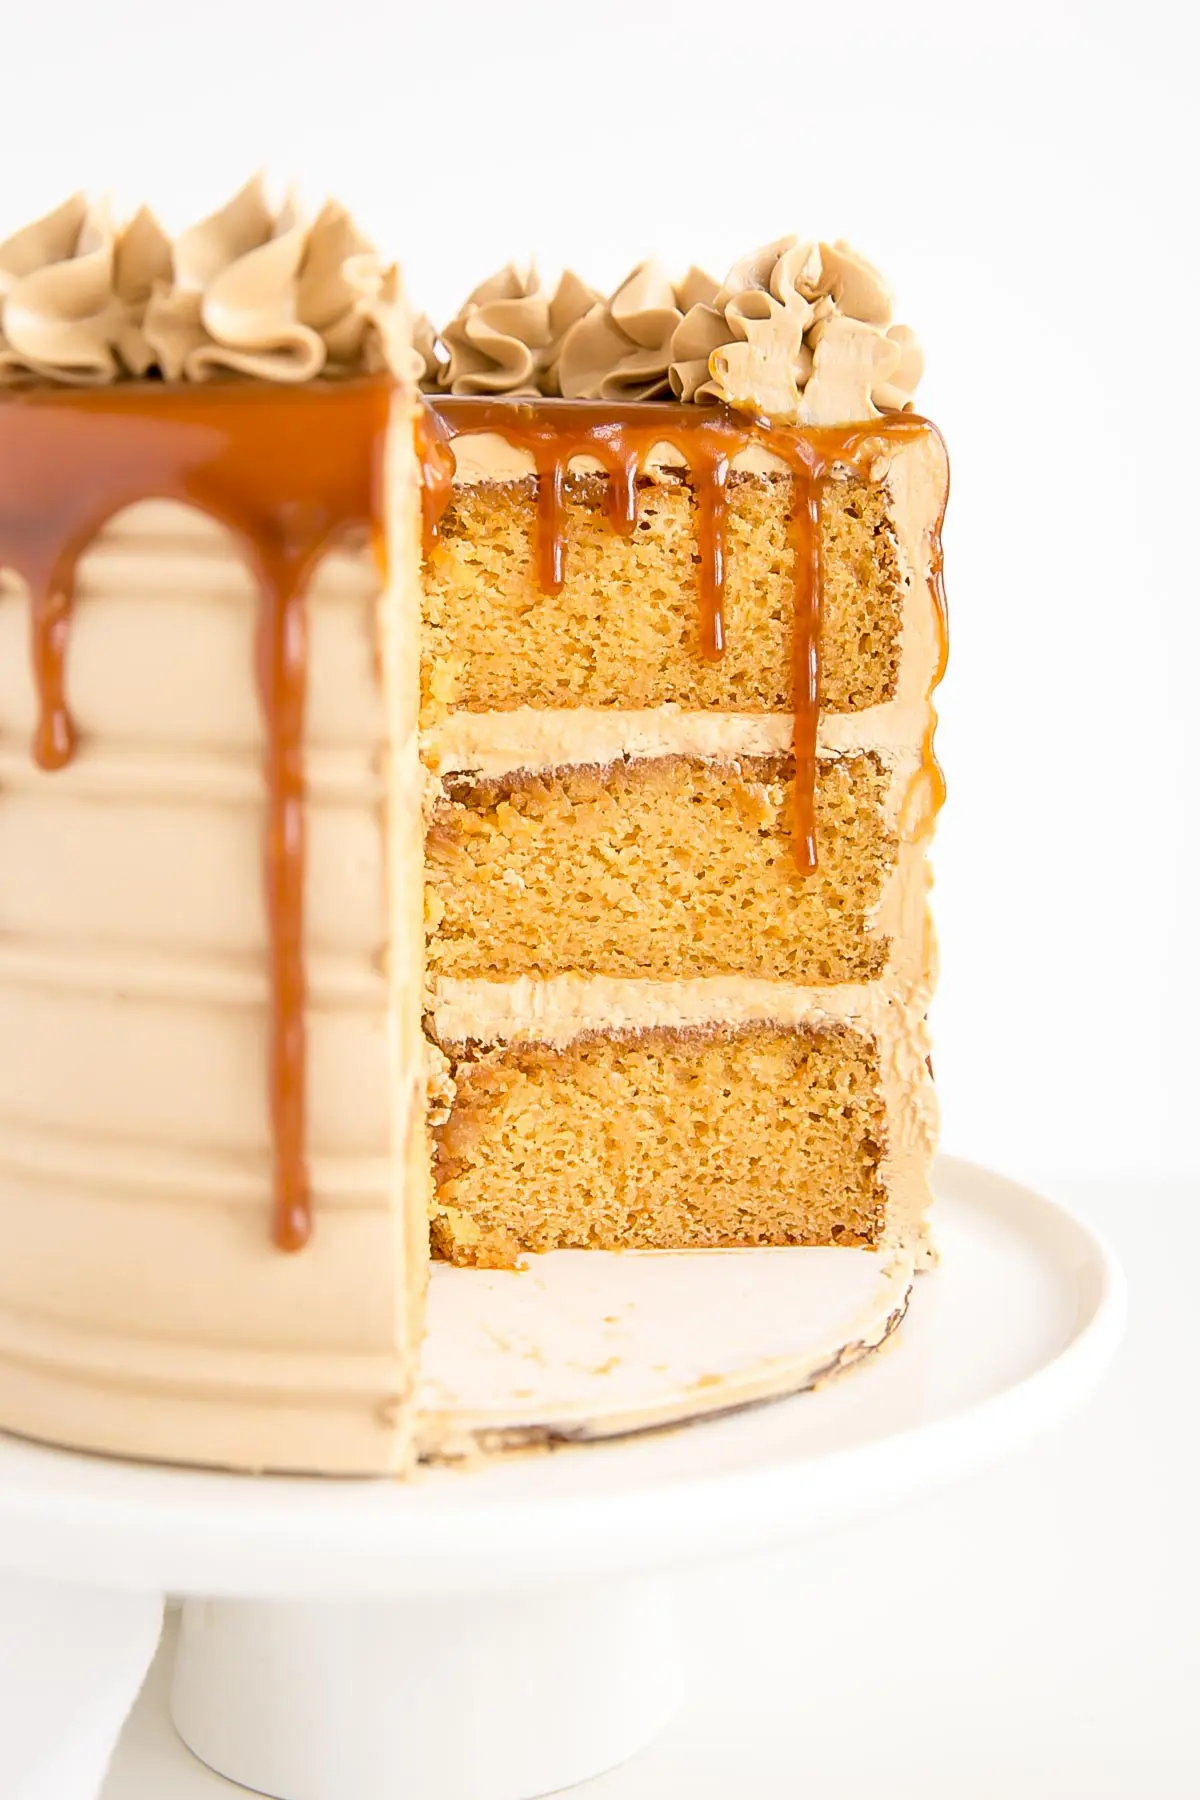
If you’re a fan of caramel (and who isn’t??) you are going to love this cake! That perfectly delicious caramel flavor shines throughout, and I love that you can actually taste it in the cake layers — I wasn’t sure this would come through, but it does!
This caramel sauce recipe and caramel Swiss meringue buttercream are some of my faves. You’ll want to be eating both with a spoon!!
Looking for more caramel desserts?
- Caramel Cookie Cups
- Caramel Apple Cake
- Maple Caramel Carrot Cake
- Turtles Layer Cake
- Chocolate Dulce de Leche Cake
Tips for making this Caramel Cake Recipe
- The recipe as-is will also work in two 8″ cake pans. For three 8″ pans, 1.5x the recipe.
- To make cupcakes, all you need to do is reduce the baking time — start checking at 15mins or so. The recipe will make 18-24 depending on size.
- For the caramel, it is critical that your cream and butter be at room temperature. Do not attempt to make it with cold cream or butter — it will separate when cooled.
- Be sure to check out my How to Make Caramel post for a detailed tutorial.
- If you prefer Dulce de Leche, you can use that instead in the cake and frosting — it won’t drip as well unless you thin it out somehow.
- For the texture on the sides of the cake, I used the right side of the middle cake comb from this set.
- Be sure your cake is well chilled and your caramel on the thicker side before you attempt the drip.
- I used dark brown sugar in my Swiss meringue buttercream because I wanted more of a caramel color to it. Granulated or light brown sugar will work just fine too.
- Be sure to check my Swiss Meringue Buttercream post for tips and troubleshooting.
- To help ensure your cake layers bake up nice and flat, check out my Flat Top Cakes post!
Caramel Cake (Salted Caramel Cake)
Ingredients
Caramel (make in advance):
- 1 1/2 cups granulated sugar
- 1/3 cup water
- 225 ml heavy cream room temperature
- 3/4 cup unsalted butter room temperature
- 1/2 tsp sea salt optional, to taste, for salted caramel
Caramel Cake:
- 2 1/4 cups all-purpose flour
- 2 1/4 tsp baking powder
- 3/4 tsp salt
- 3/4 cup unsalted butter room temperature
- 1 cup granulated sugar
- 3 large eggs room temperature
- 1 1/2 tsp vanilla extract
- 1/2 cup caramel room temperature
- 1 cup milk room temperature
Caramel Swiss Meringue Buttercream:
- 5 large egg whites
- 1 2/3 cups dark brown sugar packed
- 2 cups unsalted butter room temperature, cubed
- 1/2 cup caramel room temperature
- salt optional, to taste, for salted caramel
Instructions
Caramel (make in advance):
- Place sugar and water into a medium pot, stir to combine, but to not stir from this point forward. Cook over high heat, washing down the sides of the pot with a pastry brush dipped in water as needed to prevent crystals.
- Cook until desired color of caramel is reached (amber) and immediately remove from heat. Very slowly pour in (room temperature) heavy cream while whisking quickly. The mixture will bubble up (a lot) and boil. Add (room temperature) butter, return to heat, and bring back to a boil. Simmer for 2 minutes whisking constantly.
- If you want to make this a salted caramel, add your salt at this point. Whisk it in (start with less than you think you’ll need), dip a spoon into the caramel, let it cool, taste it, add more salt as needed.
- Remove from heat and let cool to room temperature (about 2 hours). Transfer to a container and place in fridge to thicken.*
Caramel Cake:
- Preheat oven to 350F. Grease and flour three 6″ cake rounds, line with parchment.
- In a medium bowl, combine flour, baking powder, and salt. Set aside.
- In the bowl of a stand mixer combine butter and sugar. Beat on med-high until pale and fluffy (2-3 mins). Add eggs one at a time, fully incorporating after each addition. Add vanilla and caramel and mix until incorporated.
- Alternate adding flour mixture and milk, beginning and ending with flour (3 additions of flour and 2 of milk). Fully incorporating after each addition.
- Spread batter evenly into prepared pans and bake for 35-40 mins or until a toothpick inserted into the center comes out mostly clean.
- Place cakes on wire rack to cool for 10mins then turn out onto wire rack to cool completely.
Caramel Swiss Meringue Buttercream:
- Place egg whites and sugar into the bowl of a stand mixer, whisk until combined.**
- Place bowl over a pot with 1-2″ of simmering water and whisk constantly until the mixture is hot and no longer grainy to the touch or reads 160F on a candy thermometer (about 3mins)
- Place bowl on your stand mixer and whip on med-high until the meringue is stiff and cooled (the bowl is no longer warm to the touch (approx. 5-10mins)).
- Switch to paddle attachment. Slowly add cubed butter and mix until smooth.
- Add cooled caramel and whip until smooth.*** Add additional salt if desired if making a salted caramel buttercream.
Assembly:
- Trim cake layers slightly. Place one layer of cake on a cake stand or serving plate. Top with 1-2 Tbsp cooled caramel. Spread evenly pressing into the cake layers so the cake absorbs the sauce. Top with 2/3 cup of frosting, spread evenly. Repeat with remaining layers.
- Frost and smooth the outside with a thin crumb coat. Chill for 20mins.
- Frost and smooth the outside of the cake, generously frosting the sides specifically. Smooth with an icing smoother. Use a cake comb on the sides of the cake. Repeat, scraping off more frosting each time, until smooth.
- Using a small spoon, place dollops of caramel around the top edges of the cooled cake, allowing some to drip down.****
- Fill in the top of the cake with more caramel and spread evenly with an offset spatula. Pipe rosette dollops using a 1M tip with remainder of frosting.
Notes
** Ensure there is NO trace of egg yolks in your whites and that your mixer bowl and whisk is completely grease free or your meringue won’t stiffen.
*** The buttercream may look like it’s curdled at some point. Keep mixing until it is completely smooth.
**** If caramel has thickened too much, microwave in 5-10 second intervals until it’s pourable (but not warm). You want the caramel to be rather thick for the drips. It will continue to drip down.




Jessica says
This looks amazing! How deep do the cake pans need to be if using two 8 inch cake pans?
Olivia says
Hi Jessica! They should be at least 2″ deep (mine are all 2″). I hope you love it!
Ruby says
I had a baker use this recipe and the cake tasted wonderful but came out very dry. I remade the cake using this recipe and the batter looked like the cake would be very dry cause it was so thick. I always level off my measurements, so that’s not it. I decided to add an egg, a small packet of instant vanilla pudding mix, a 1/4 cup more milk and 3oz more of salted caramel. I put it into 2 9 inch pans. They turned out beautifully moist and fluffy. The cake tasted divine!
Olivia says
Hi Ruby! My cakes tend to be more on the dense side rather than light and fluffy, but it shouldn’t be unpleasantly dense. Overly dense cakes can be from overmixing the cake batter once the flour is added (it develops too much gluten) or not using room temperature ingredients so the cake batter doesn’t emulsify properly. Another issue could be too much flour. It’s best to spoon the flour into your measuring up and level it off. If you dip your scoop into your flour sometimes you get more than you need. And finally, dryness can be from overbaking. Baking times are just a guideline as every oven bakes differently.
Jennifer says
Hi,
I made your caramel and found the sweetness level perfect for me. I was wondering how the sweetness of the cake and buttercream compare to the caramel, on par or more or less?
Thanks!
Olivia says
Hi Jennifer! The caramel is probably the sweetest part but each component here is sweeter than normal due to the added caramel. The cake and frosting are not AS sweet as the caramel, but sweeter than a normal cake or frosting.
Aleena says
Could I make this a day ahead?
Olivia says
Hi Aleena! Yes for sure. I recommend storing in the fridge and taking out 2-3 hours before serving.
Heather says
Would it work if I used 2 x 9 in x 1.5 height instead of three 6 inch? It would be a four layer cake… I just don’t want to mess with the recipe.
Olivia says
Hi Heather! Converting pan sizes is always tricky. Here are some sites I use as a guideline:
http://www.joyofbaking.com/PanSizes.html
https://www.cookipedia.co.uk/recipes_wiki/Cake_tin_conversion_charts
The recipe as is works well in two 8″ pans. The layers will be thinner in 9″ ones. If you want a 4 layer cake I would 2x the recipe.
Robyn says
I’d love to make this cake but I’d need to use a 9 inch instead of a 6 inch. How much should I adjust the timing?
Olivia says
Hi Robyn! Converting pan sizes is always tricky. Here are some sites I use as a guideline:
http://www.joyofbaking.com/PanSizes.html
https://www.cookipedia.co.uk/recipes_wiki/Cake_tin_conversion_charts
Based on that, for three 9″ pans I would 2-2.25x the recipe.
Sharon says
How much would I need to increase for a sheet cake. Already made the caramel it was amazing!
Olivia says
Hi Sharon! What size sheet cake pan? Converting pan sizes is always tricky. Here are some sites I use as a guideline:
http://www.joyofbaking.com/PanSizes.html
https://www.cookipedia.co.uk/recipes_wiki/Cake_tin_conversion_charts
Sandra says
Your caramel sauce is amazing, easy and turns out perfect every time! Many recipes say to add the butter first and it is always a disaster for me. Thank You!!
Olivia says
Hi Sandra! Thanks so much, I’m so happy you love it 🙂
Erin says
Ummmm. Wow. The caramel sauce is out of this world. I imagine the cake is as well but I only needed the sauce.
Olivia says
Haha, so happy you love it!
Monica says
Great recipe! Everyone enjoyed the cake! Saving the recipe to make again as cupcakes in the future.
Olivia says
Hi Monica! So glad everyone loved it. Thanks for the feedback 🙂
Luna says
Hi, I only have 9 inch pans. How much should I alter recipe? Thanks you!
Olivia says
Hi Luna! Converting pan sizes is always tricky. Here are some sites I use as a guideline:
http://www.joyofbaking.com/PanSizes.html
https://www.cookipedia.co.uk/recipes_wiki/Cake_tin_conversion_charts
Shania says
Hi! I was wondering if I can add vanilla bean paste to the frosting for a speckled effect? If so, how would you recommend incorporating that into the recipe? Thank you!
Olivia says
Hi Shania! For sure, just add it to the buttercream at the end. I would start with 1 teaspoon and see if that’s enough specks for you.
Kristina Seidel says
The cake, caramel, and frosting all came out absolutely perfect! Thank you for adding in your posts about making the perfect Swiss Buttercream and Caramel sauce, they were super helpful. This cake is too delicious, everyone should 100% make it!
Olivia says
Hi Kristina! So happy you loved it and found the information helpful 🙂 Thanks for the feedback!
Pink kimono says
I used 25g less sugar in the cake, but it tasted great. Made the buttercream and despite never getting it to temp it worked out silky and fine. No idea why, I can always set it over a boiling rather than simmering pot for ages and I just end up with meringue already. Either way, lovely cake so thank you very much!
Olivia says
Hi Pink Kimono! I’m so happy you loved this one. Thanks for the feedback!
Sophie says
Hey,
How far in advance can I make the caramel sauce and caramel buttercream?
Olivia says
Hi Sophie! Both can be made weeks in advance if needed and frozen. The both the caramel and the buttercream will be fine at room temperature for a day or two, in the fridge for a couple weeks, or frozen for up to 3 months. Both will need to be brought to room temperature before using again and the buttercream will need to be rewhipped. Make sure it’s completely at room temp or it can split. See this post for more details: https://livforcake.com/swiss-meringue-buttercream-recipe/
Jay says
I’m so excited to try this one! Can the cake layers be frozen so you can prep in advance?
Olivia says
Hi Jay! For sure, just cool the layers, double wrap in plastic wrap, and freeze for up to 3 months. Take out 2-3 hours before assembly.
Gen says
Hello from Australia! Would you mind clarifying the caramel that is added to the cake mix before baking – is from the caramel made earlier or something different?
Gen.
Olivia says
Hi Gen! Yes, that is from the caramel earlier! Use that for the cake, frosting, and drip.
Alisa Davis says
What piping tip did you use to decorate the top?
Olivia says
Hi Alisa! I mention this in the recipe, it’s a 1M tip 🙂
Diya says
Hi this looks like a great recipe. I was wondering if I were to make this recipe with 2 six inch layers instead of 3 how much would I have to reduce to recipe by?
Olivia says
Hi Diya! I would 2/3 the recipe. You can change the Servings to 8 to get the amounts.
Jess says
This butter cream recipe and caramel recipe is amazing I can’t stop eating the butter cream!!
I wonder though if I may have over cooked my cake or why it may have been a bit dry?
Thanks!
Olivia says
Hi Jess! So happy you love the caramel and buttercream! Bummer about the dry cake 🙁 Is it possible it was overbaked? Baking times are just a guideline as every oven bakes differently. Another culprit could be too much flour. It’s best to spoon the flour into your measuring up and level it off. If you dip your scoop into your flour sometimes you get more than you need.